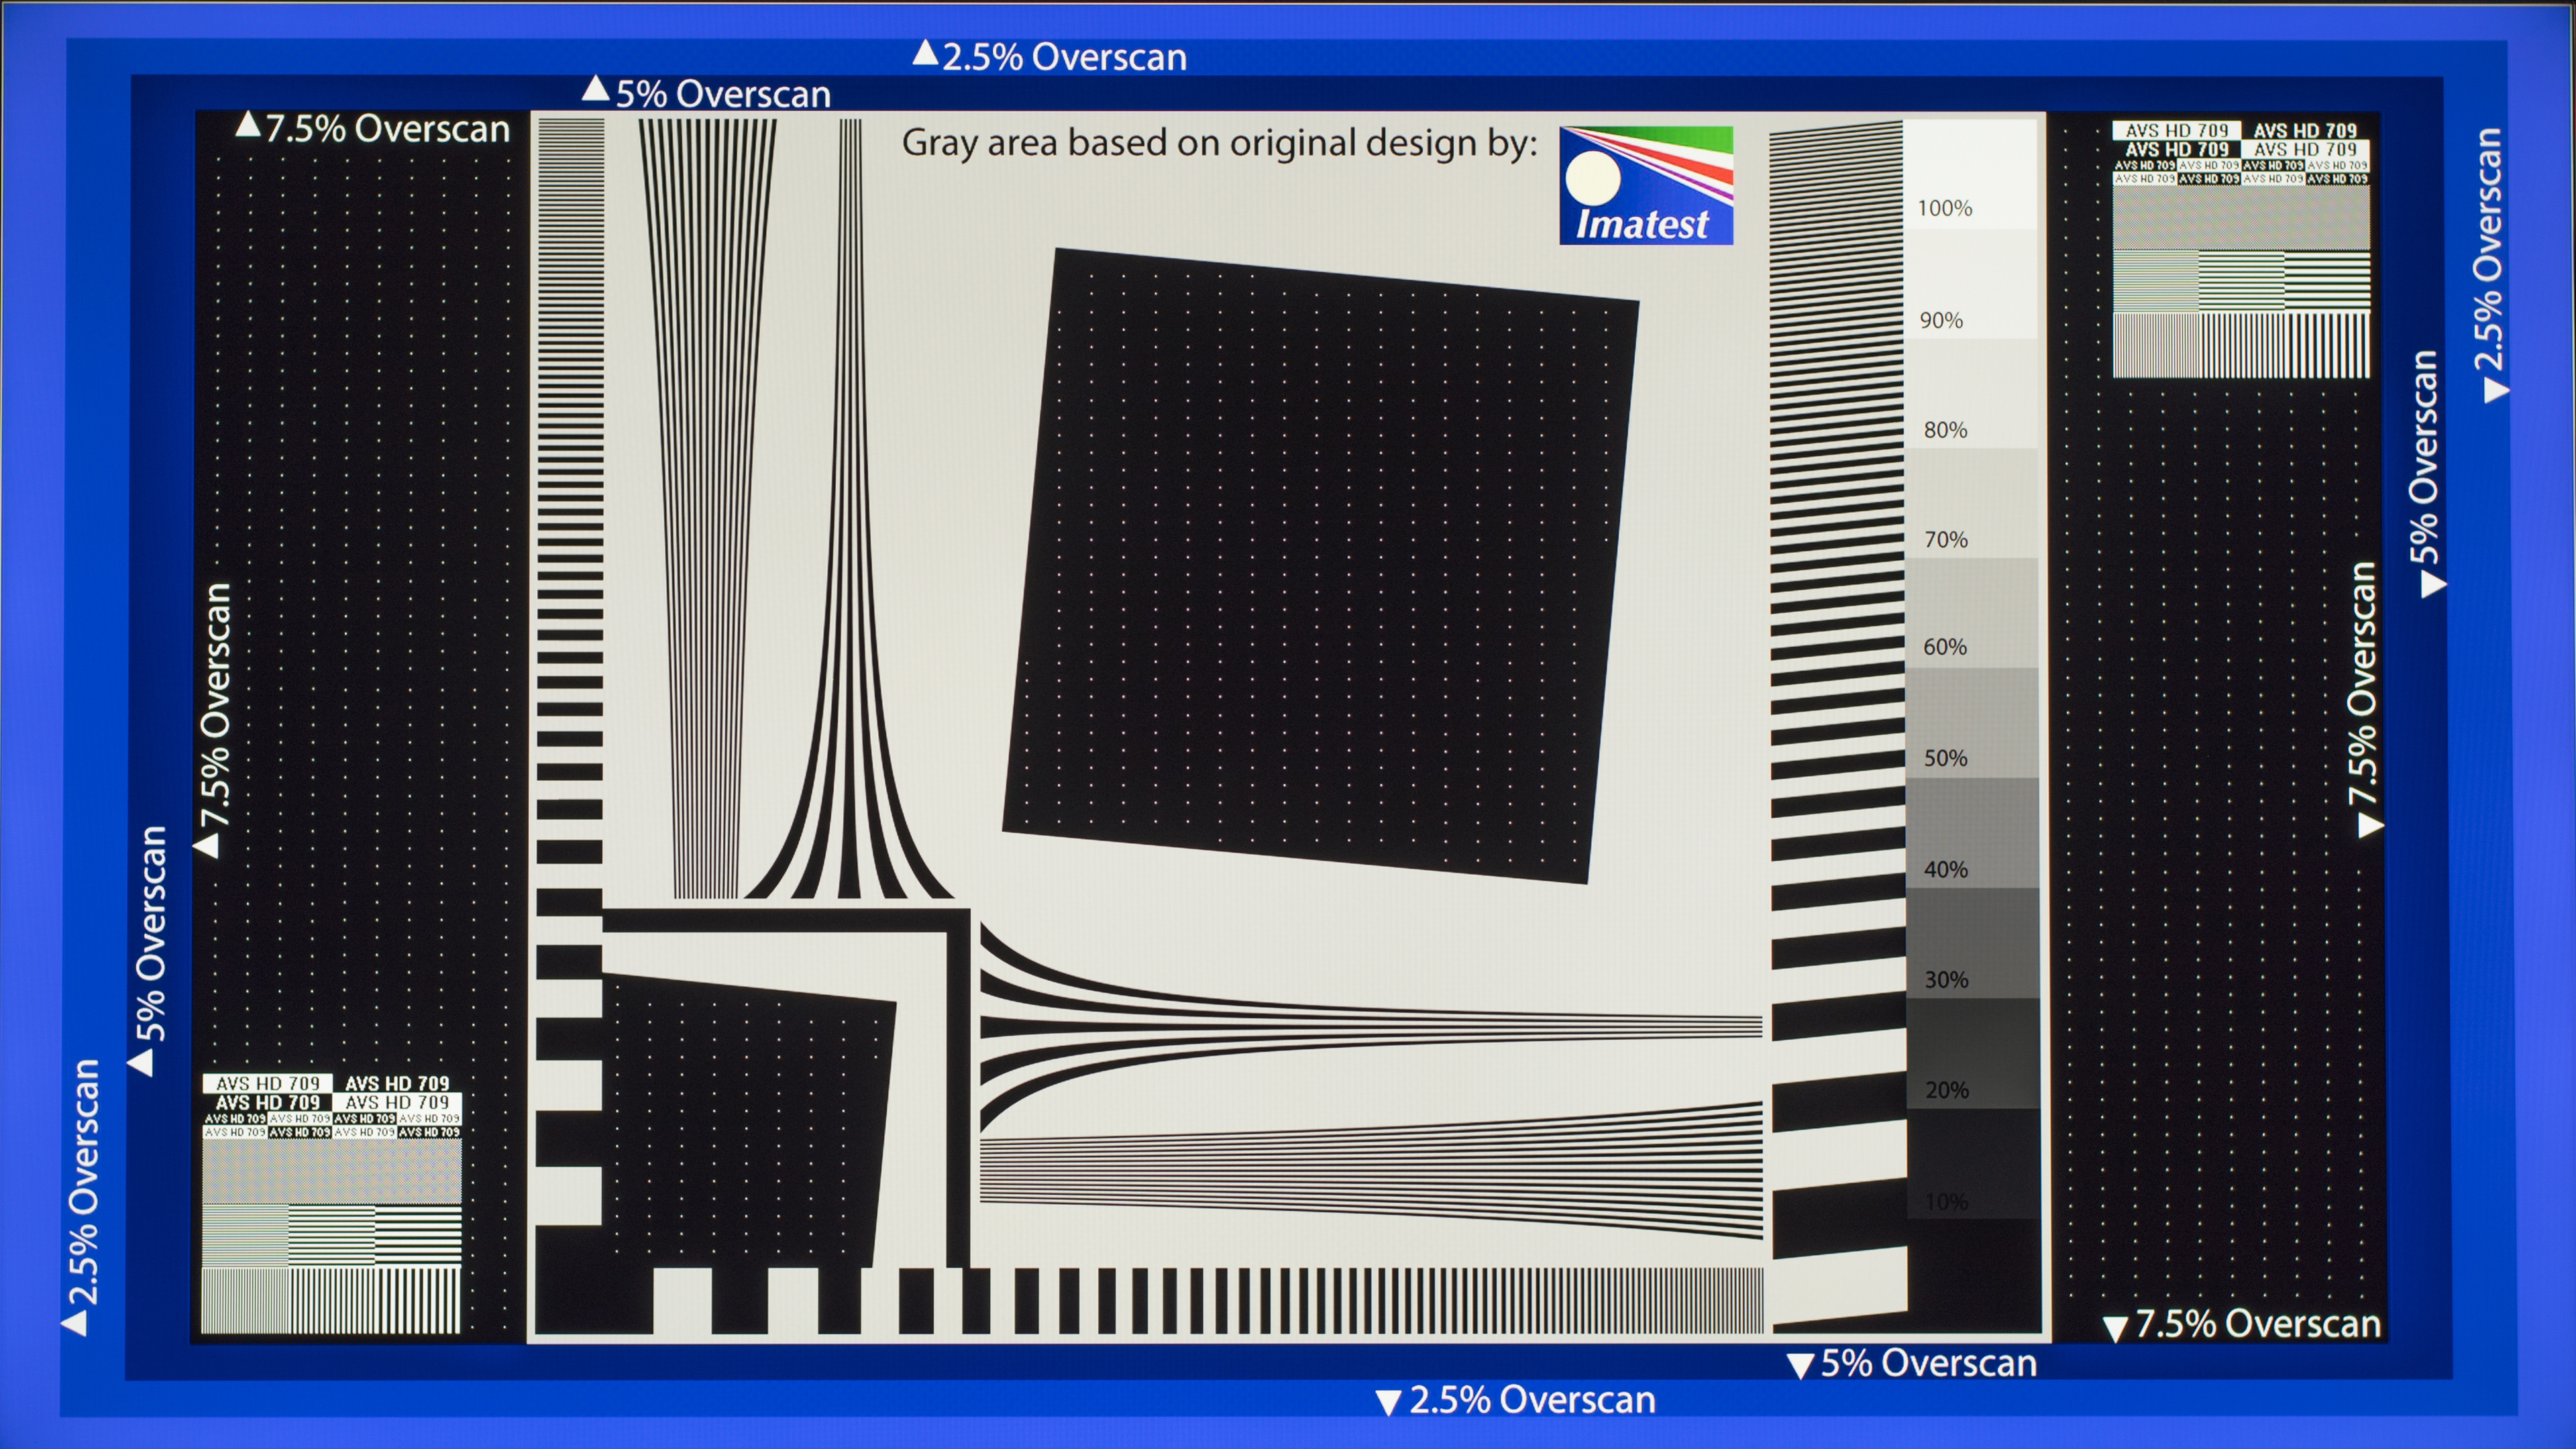
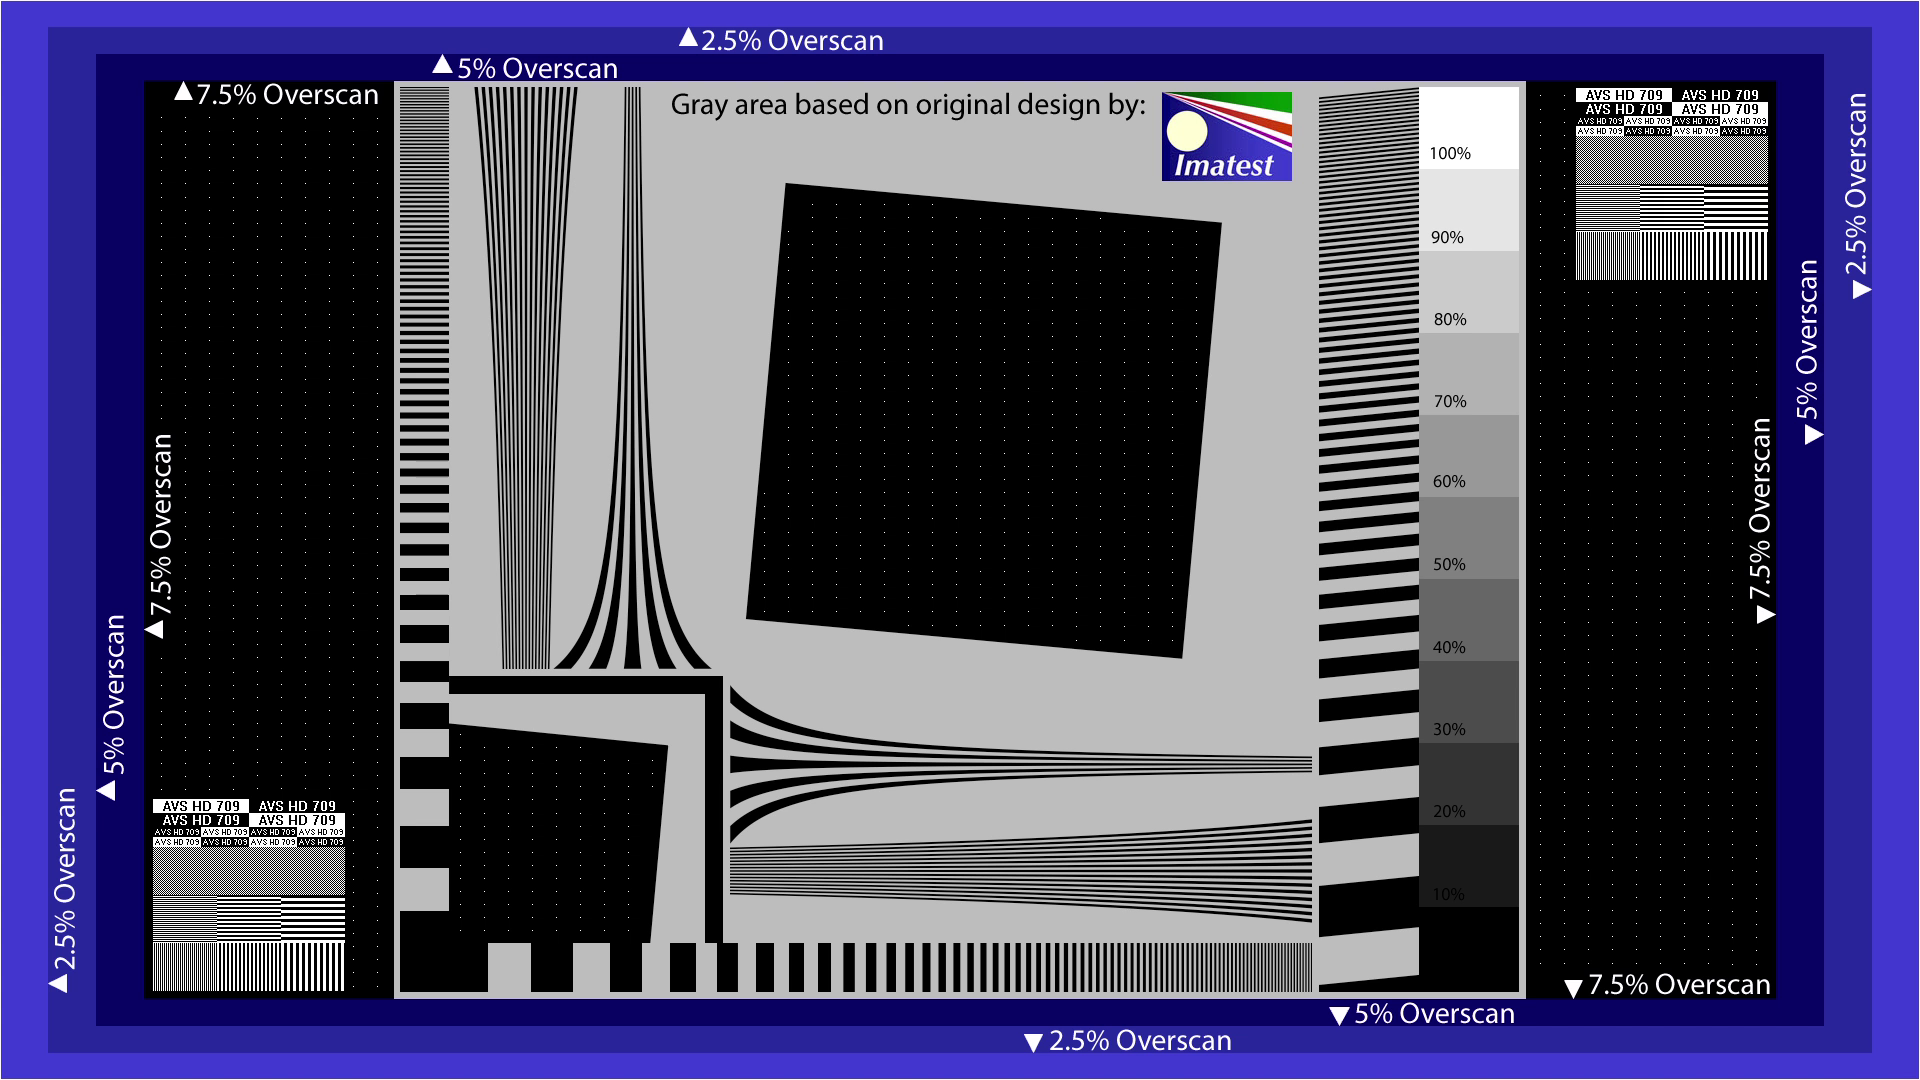
There are plenty of options for calibrating your TV, ranging from calibration discs to professional calibration services, or even just the recommended settings we include with every review. If you’re interested in learning how to make basic adjustments to a TV’s picture, this guide will help to calibrate the essential settings on a TV. For each one, we include a test pattern that will help you find the best setting.
All patterns are from the AVS HD 709 calibration package, which can be downloaded in full here. To use them, just display the images on your TV via HDMI or USB, and then follow the instructions we outline below.
Note: Adjusting one setting can affect the results for another, so it’s a good idea to re-check the earlier patterns throughout the process, just to make sure everything is still working well.
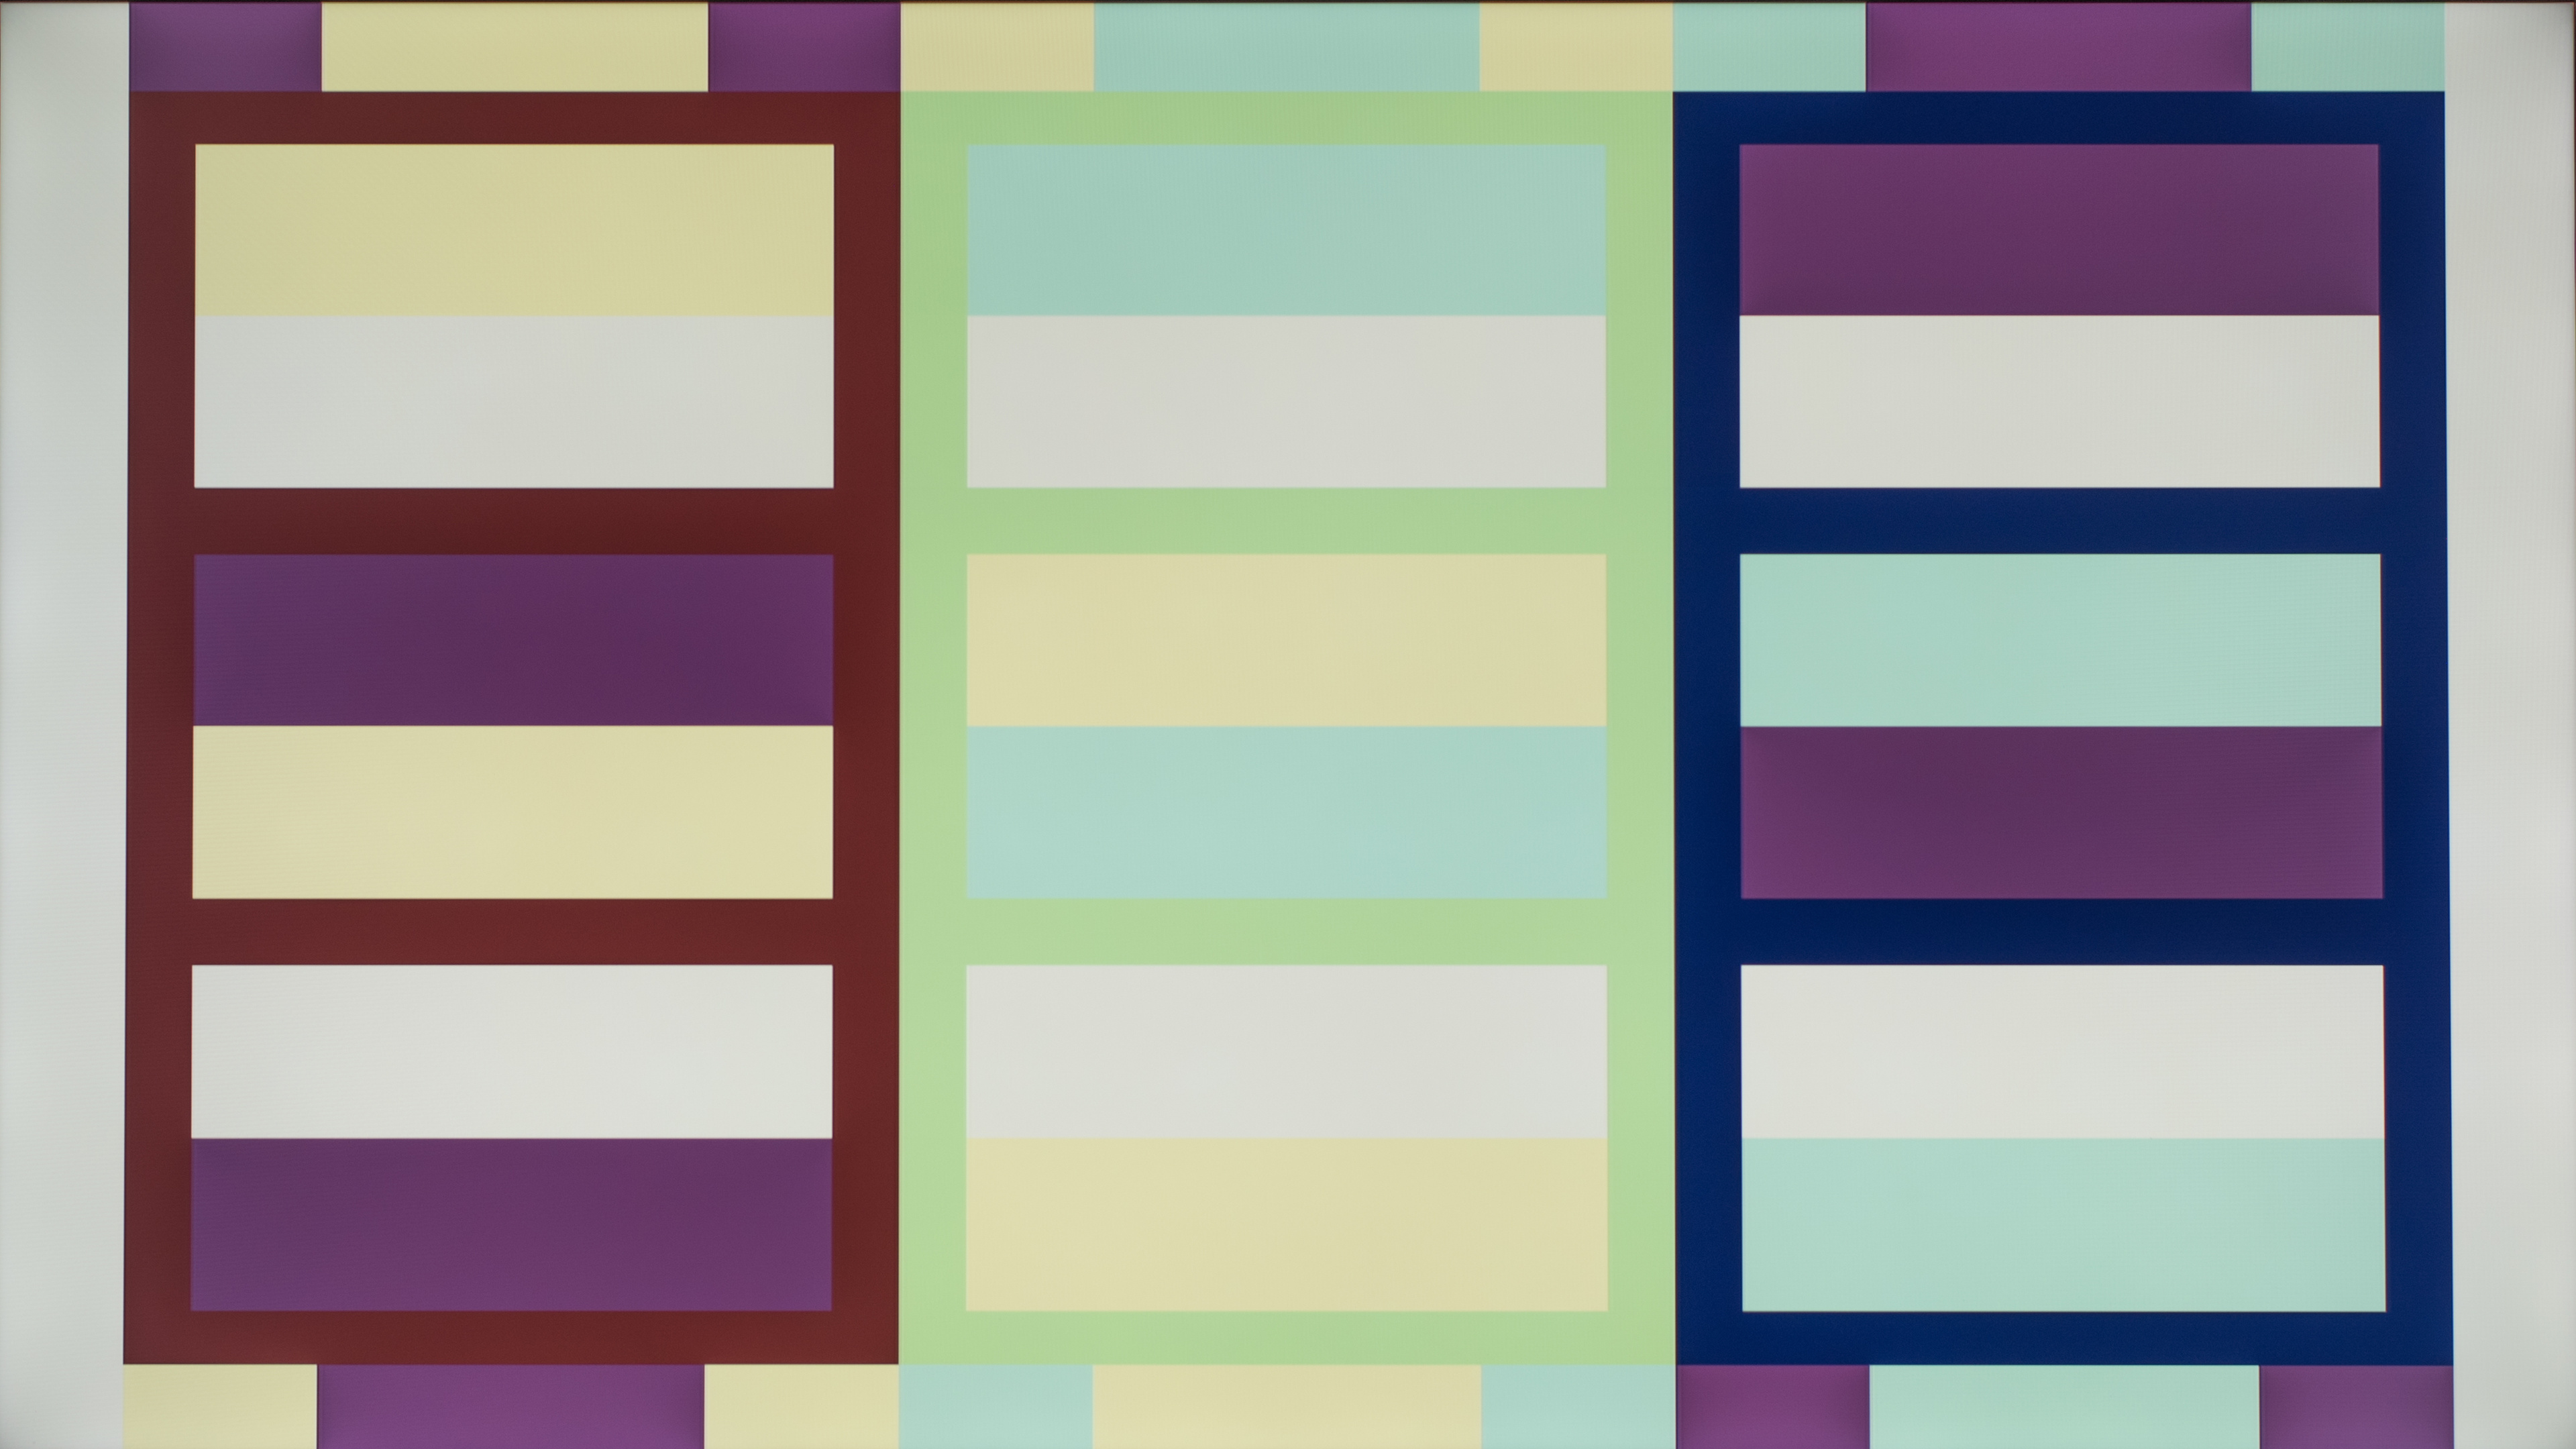
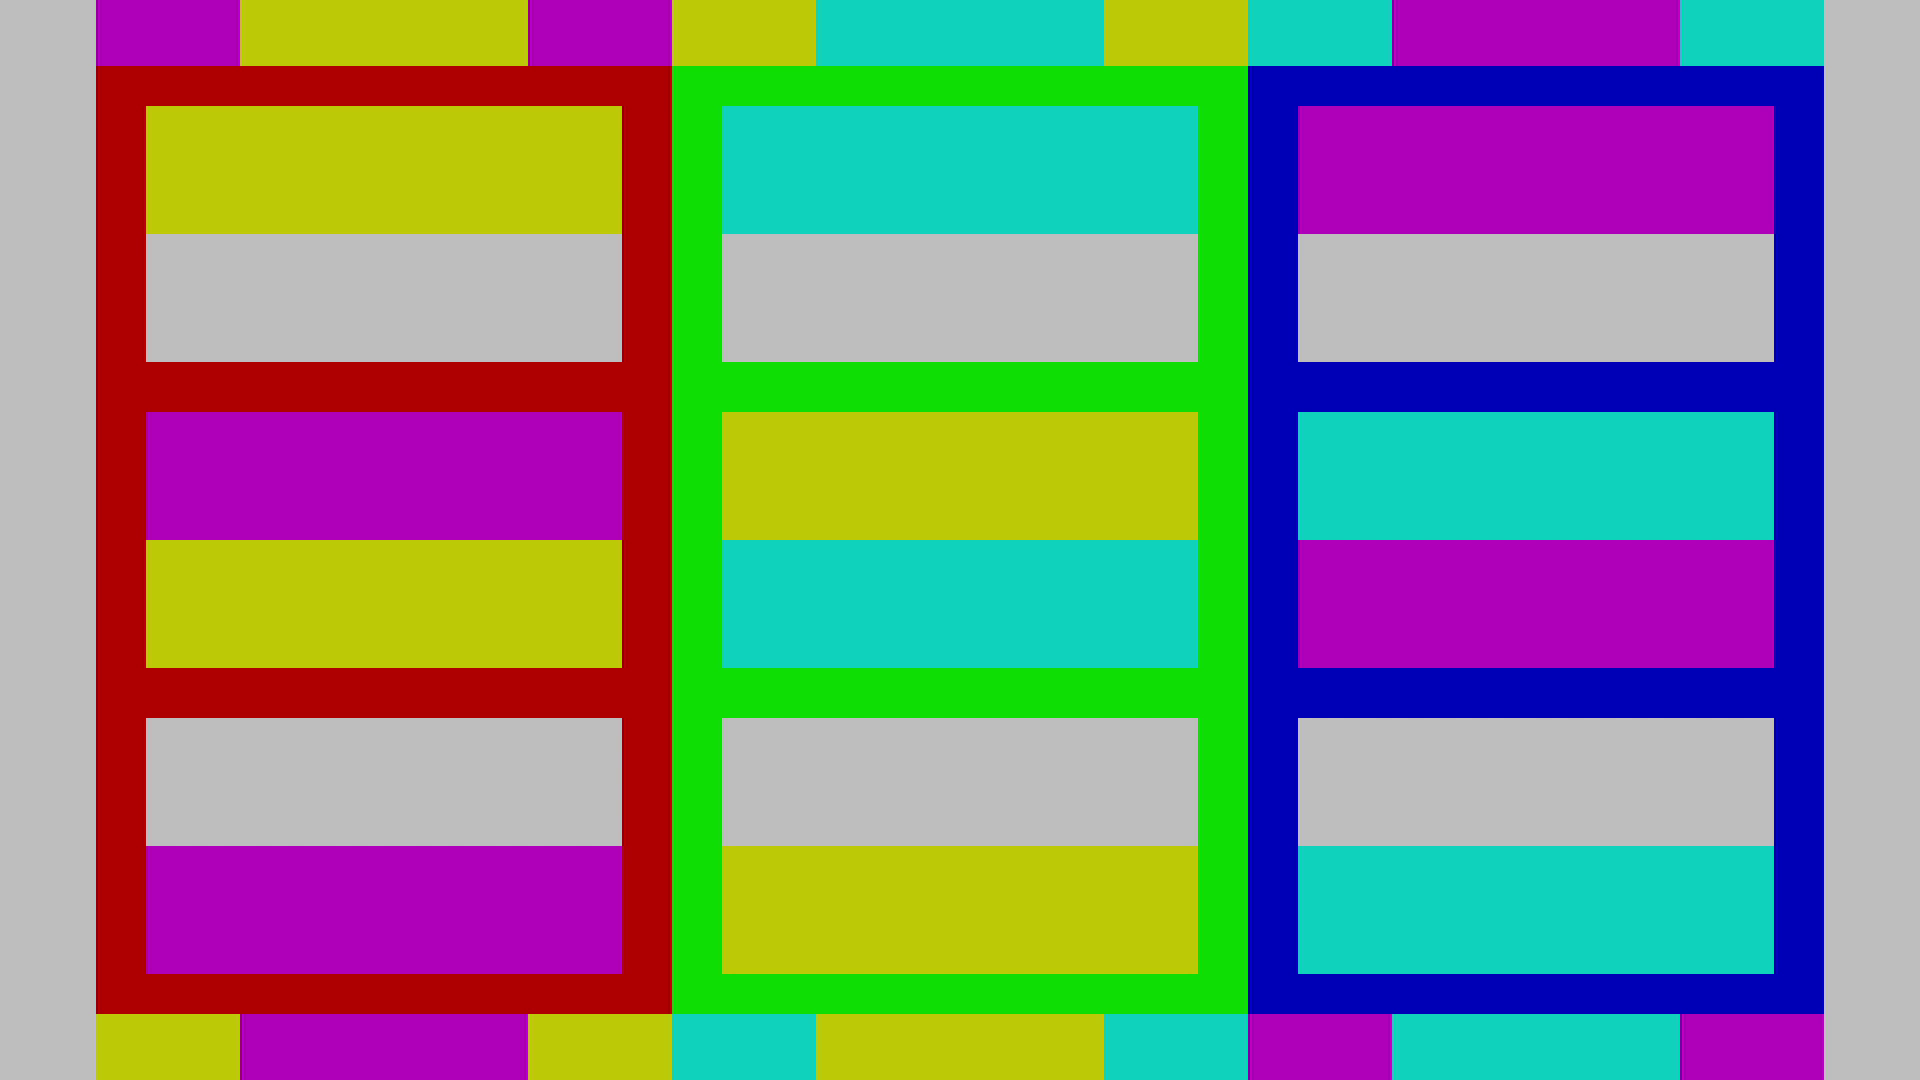
Picture Mode
 Standard mode
 Movie mode
 Dynamic mode
The first thing you want to adjust is the TV's picture mode. This setting usually has the biggest impact on picture quality. Each picture mode has different default settings, and some of them behave differently from one another, even if you try and match the settings across modes.
| Sony | Samsung | LG | Vizio | Hisense | TCL | |
| Recommended Setting | Custom | Movie | Expert (Dark Room) | Calibrated Dark | Theater Night | Movie |
Special settings for gaming
Good picture quality is important for video games, but you also want to make sure you don’t have too much input lag.
If that is a concern, you should choose the ‘Game’ picture mode (or ‘PC’ on some models), or go into the TV’s settings and enable ‘Game’ mode. From there, the rest of the settings can be adjusted normally, and the picture will look very similar to what you get with ‘Movie’ or ‘Standard.’ On some models though, the PC or Game modes disable many of the TV's picture enhancements, and some TVs even limit which picture modes are available.
Backlight
 Minimum backlight
 Medium backlight
 Maximum backlight
For LED TVs, the backlight setting determines the brightness of the LEDs that are used to light the image. The higher the setting, the brighter the picture will be. There is no right answer for this setting. Each user needs to adjust this setting to their specific viewing conditions. If you're in a bright room, for example, the TV has to be set to a brighter setting than if it was placed in a completely dark room. It also depends on personal preferences, as some people prefer a brighter or darker image.
Adjusting the backlight setting doesn't have a significant impact on overall picture quality. It tends to brighten everything pretty much equally, so although blacks tend to let a bit more light through, whites are brighter as well, so the contrast ratio actually remains about the same. For LED TVs, don’t worry about using a high backlight setting, it won’t make your TV wear out sooner.
Recommended setting: Whatever looks best to you, based on your viewing conditions and personal preference.
OLED TVs
OLED TVs don't have a backlight, so instead, look for a setting called 'OLED Light' on LG TVs, or 'Brightness' on Sony OLED TVs. Like the backlight setting above, you should adjust this to your viewing conditions. Unlike LED TVs though, higher backlight settings can have an impact on the life of your TV, so it isn't recommended to leave this at the maximum for SDR content.
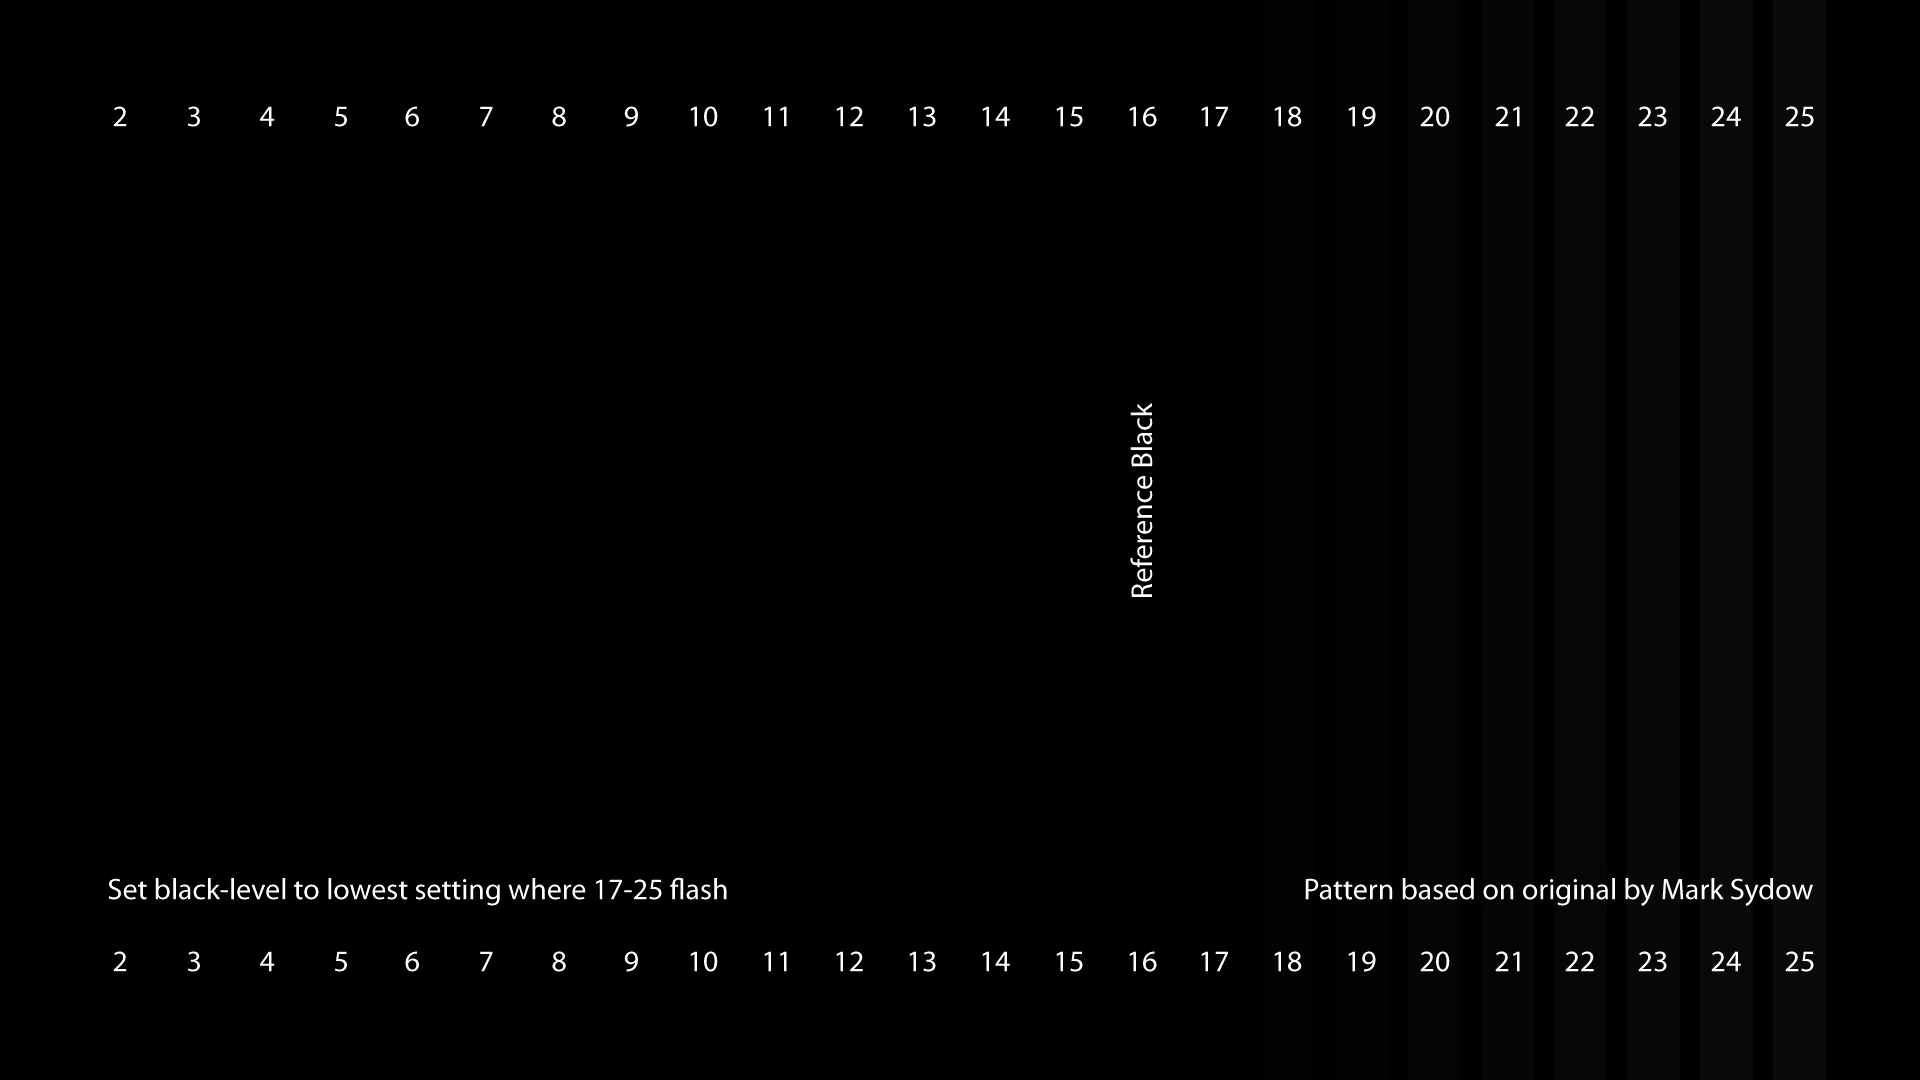
Brightness
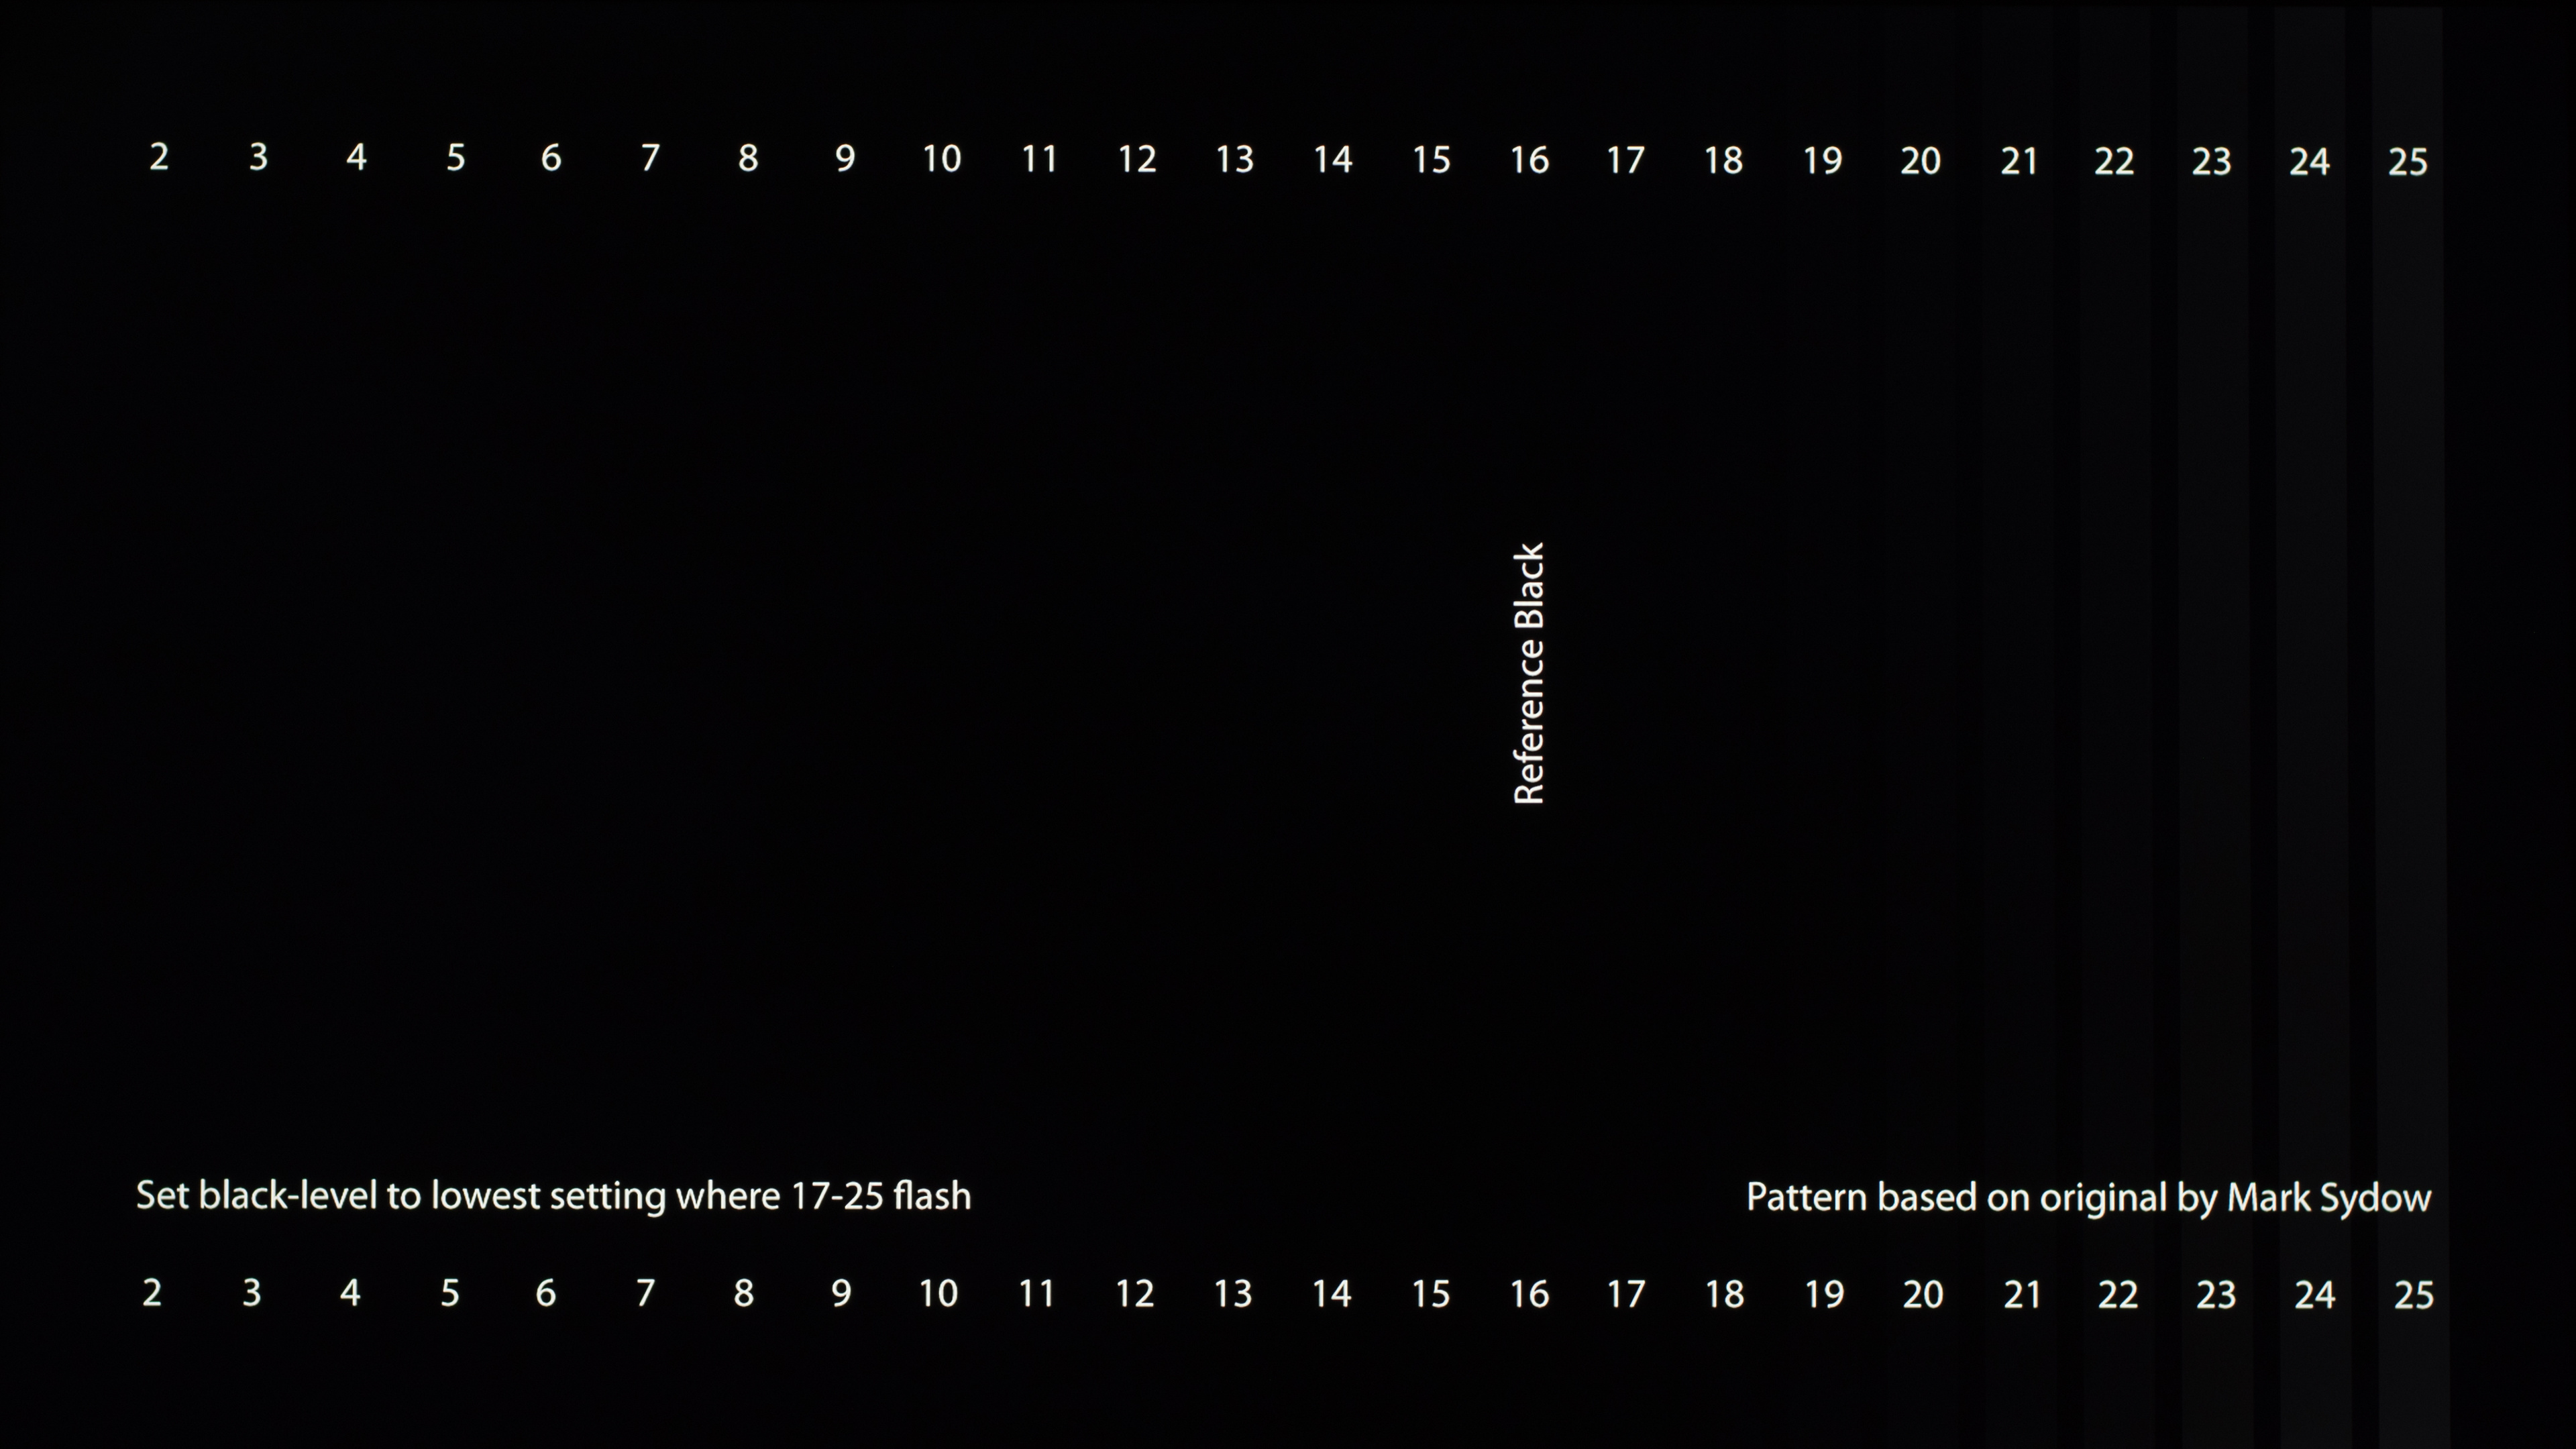
 Minimum brightness
 Correct brightness
 Maximum brightness
The ‘Brightness’ setting on a TV is used to adjust the depth of black on the screen. Set it too low and you will ‘crush’ the blacks, which means you’ll lose detail in darker images. Set it too high and the blacks won’t look dark enough.
Almost all TVs have this set correctly by default, so we recommend leaving it alone. If you want to try adjusting it using the pattern above, set the brightness to the minimum value and then increase it until you see the black portion on the left begins to lighten.
Recommended setting: Usually the default setting in ‘Movie’ or ‘Custom’ mode.
Contrast
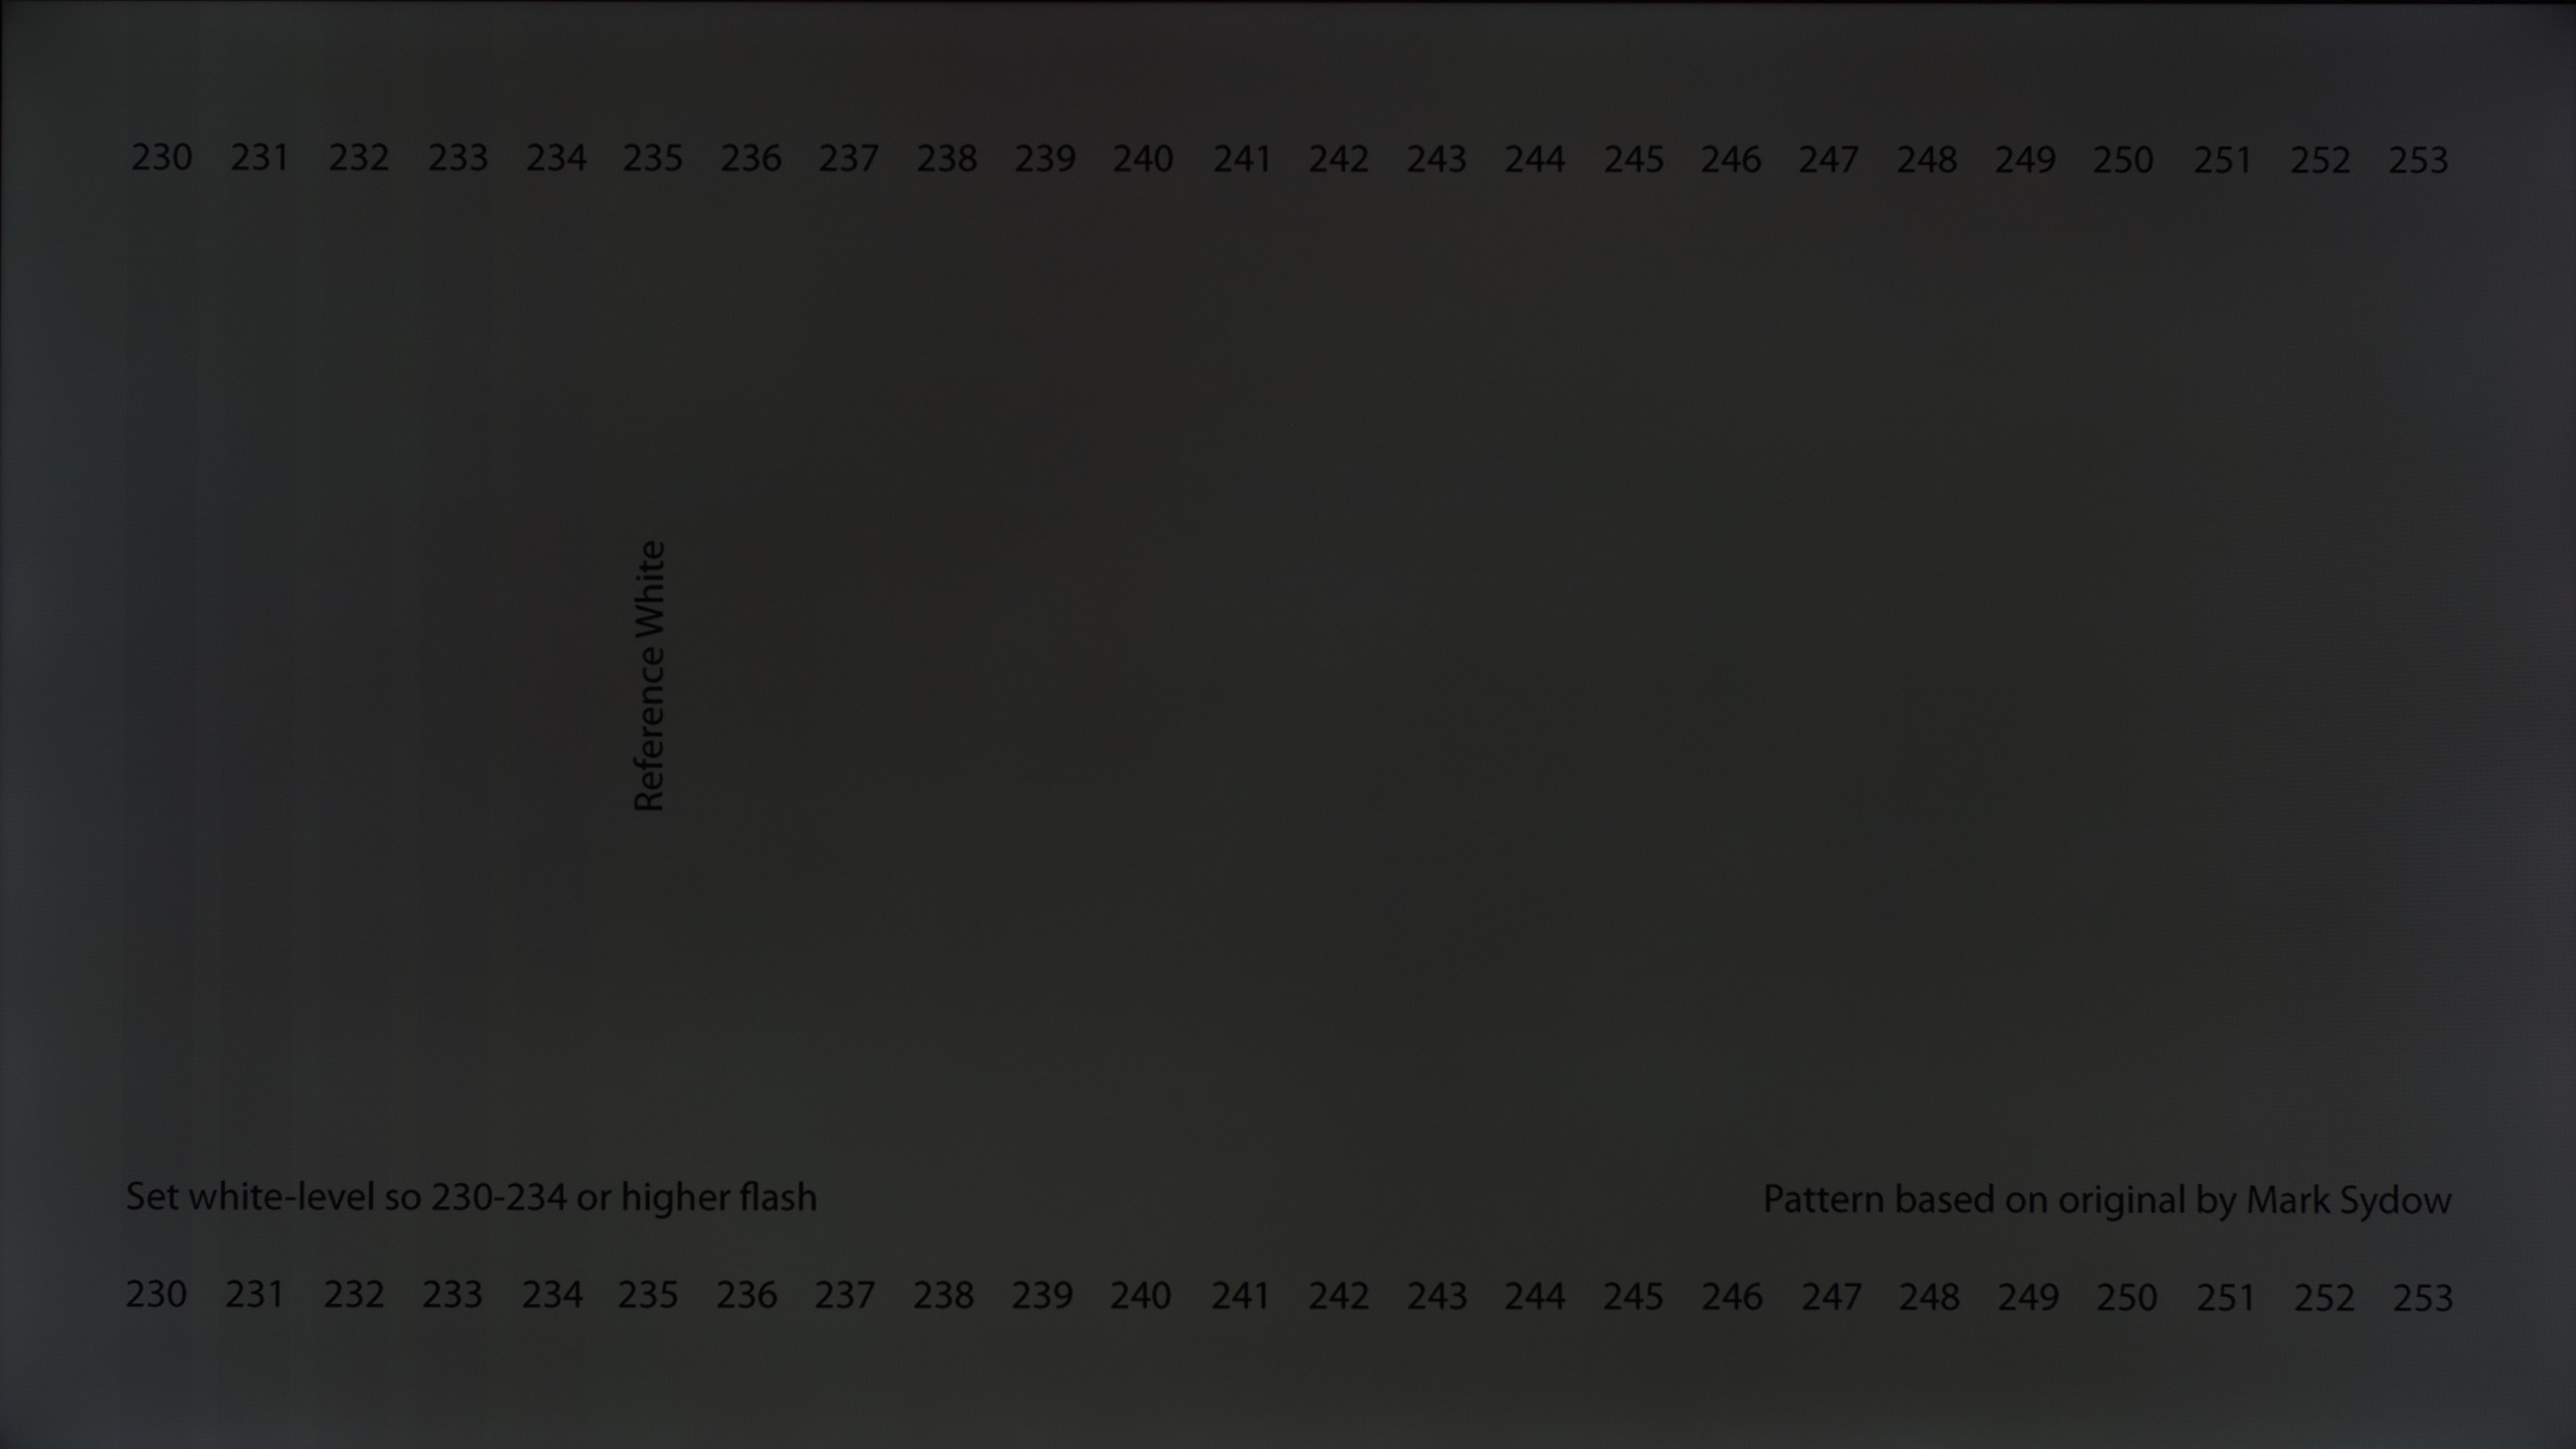 Minimum contrast
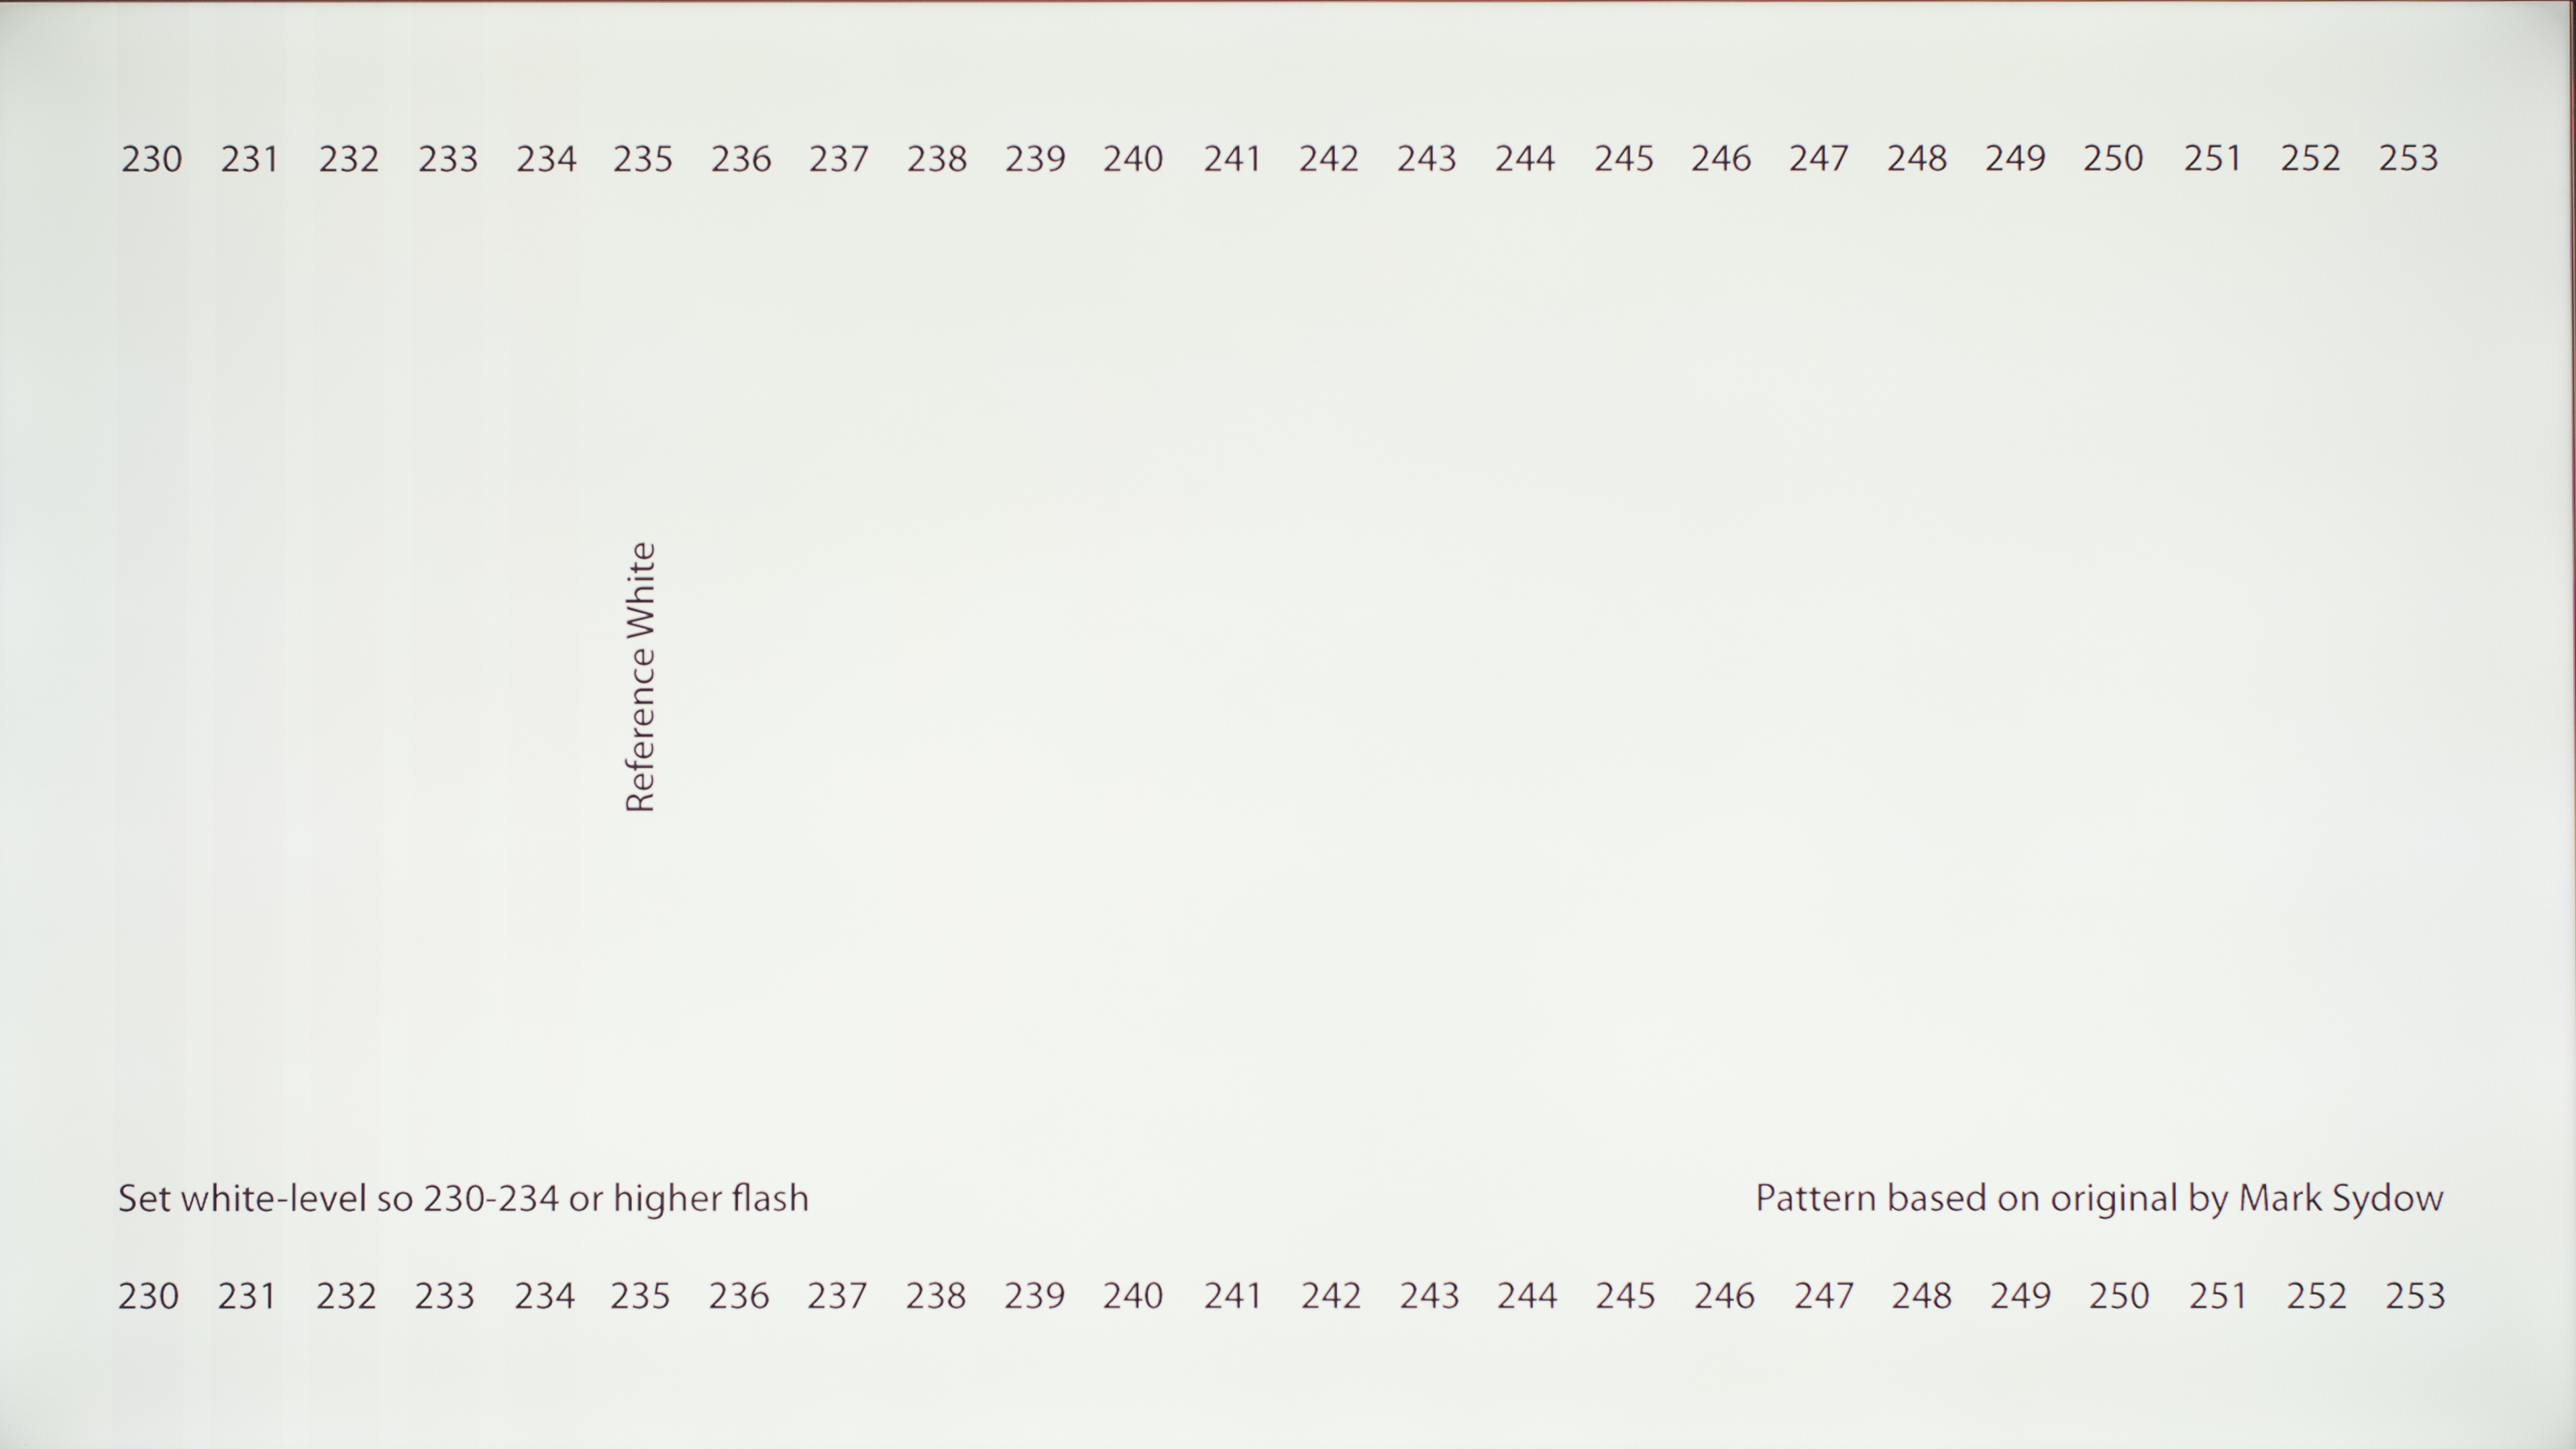 Correct contrast
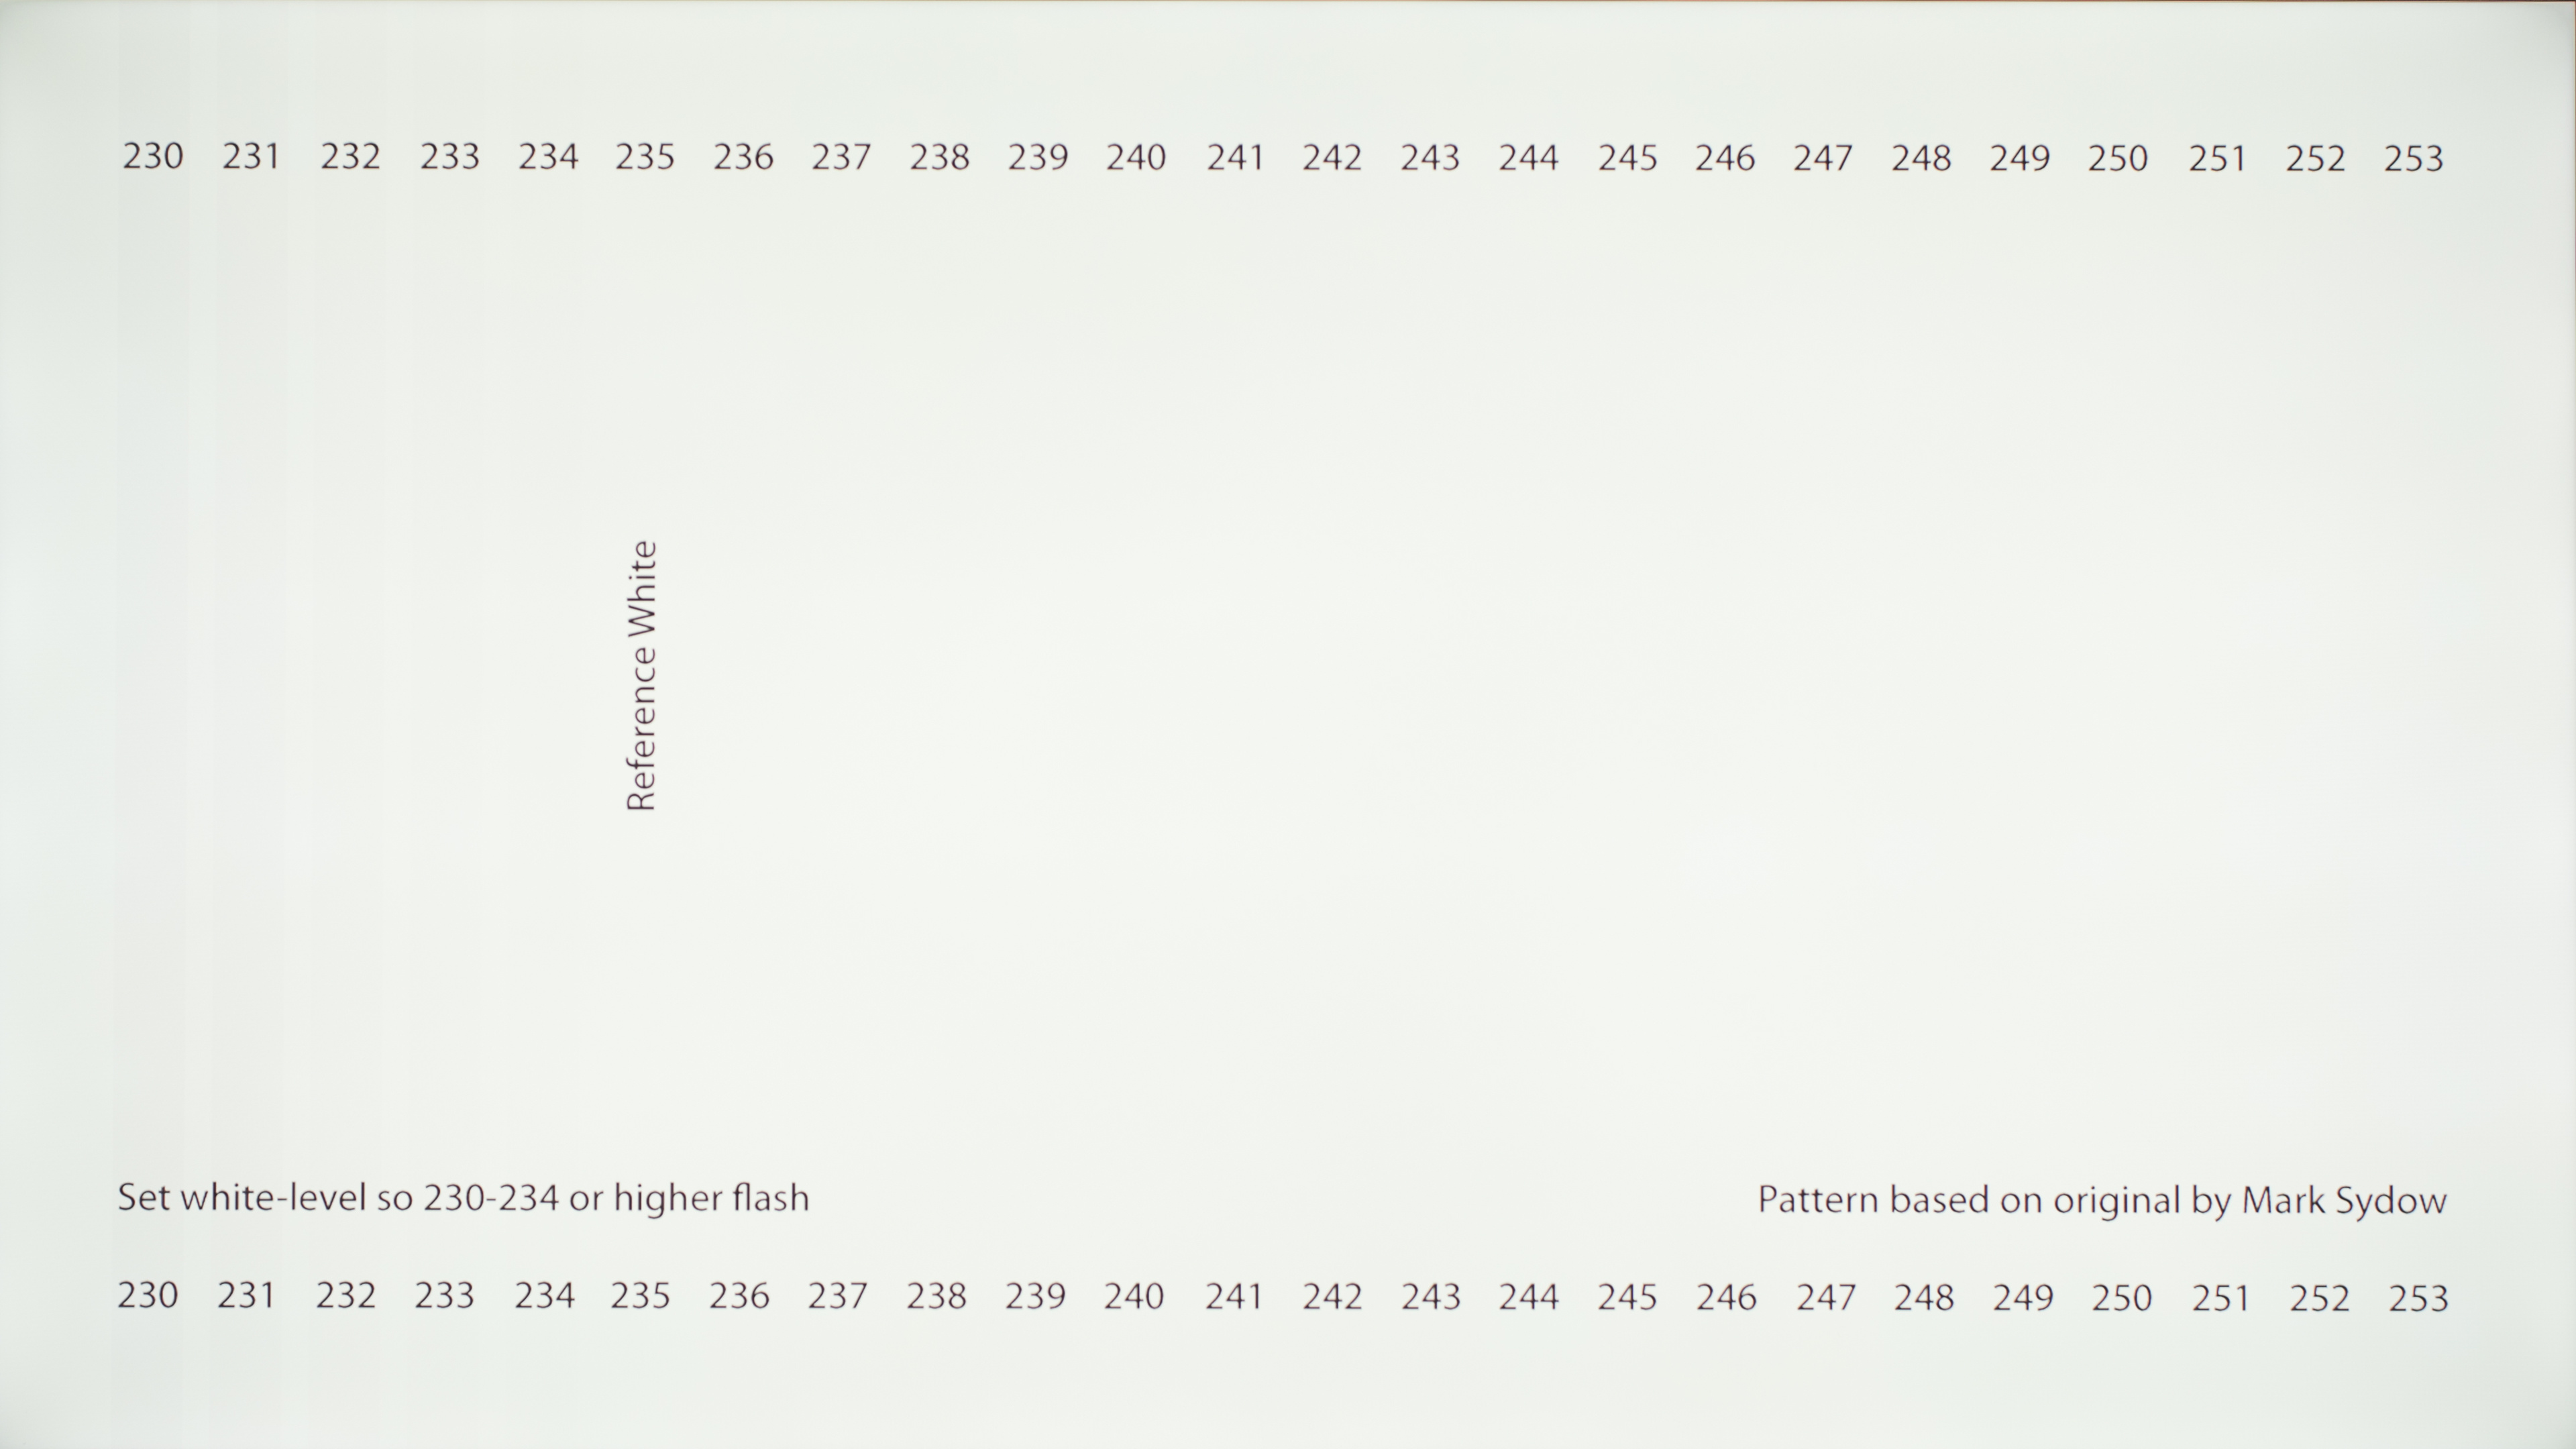 Maximum contrast
The contrast setting adjusts the amount of detail present in bright images. If contrast is set too high, whites could be ‘clipped,’ which means there is detail being lost in bright portions of an image. Too low, and the bright portions of the image won’t look bright enough.
This setting should be pretty close to correct by default, but sometimes needs a bit of tweaking. Just lower the contrast setting on your TV to the minimum, and then increase until only lines 230-234 appear. It’s very rare for a new TV to clip the whites, so it’s fine to set the value to the max if there is no loss in detail at that high setting. As you can see from the above images, there's little difference between the correct setting and the maximum.
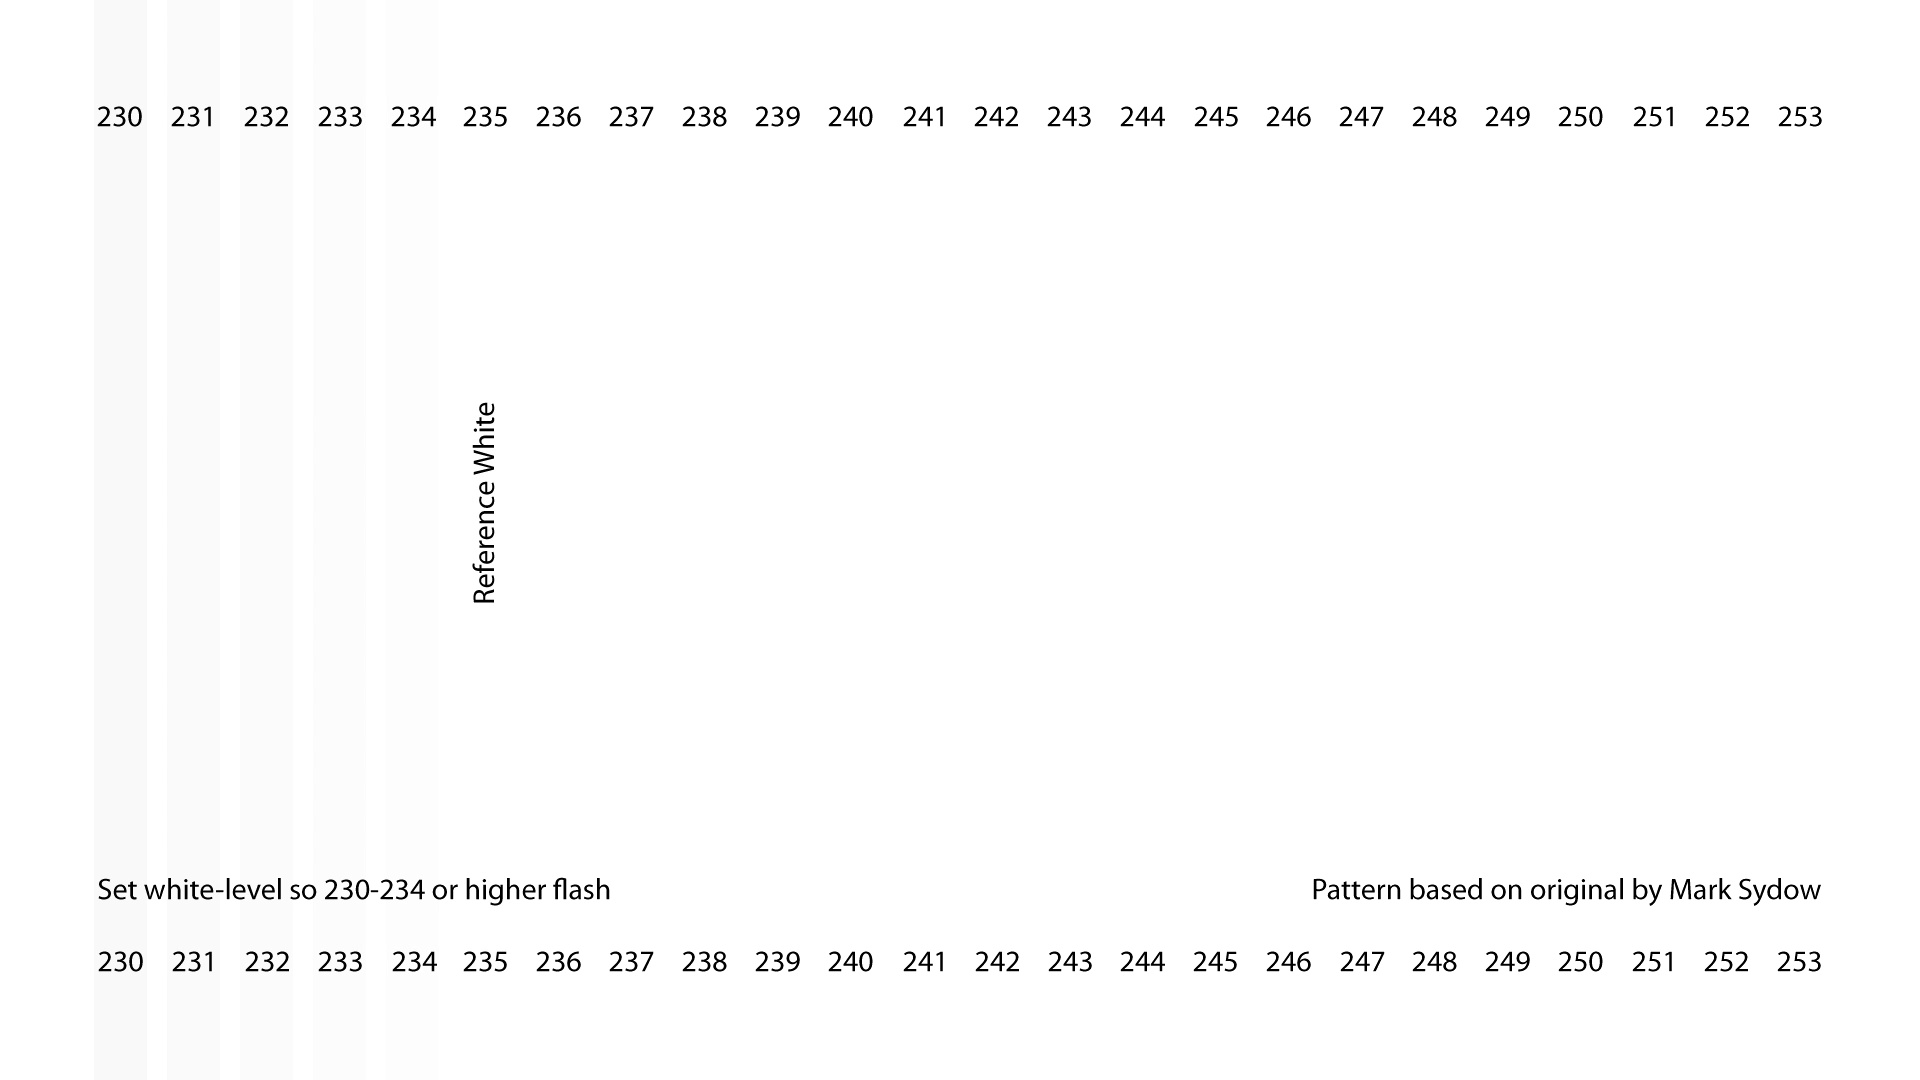
Recommended setting: Default, or max.
Sharpness
 Correct sharpness
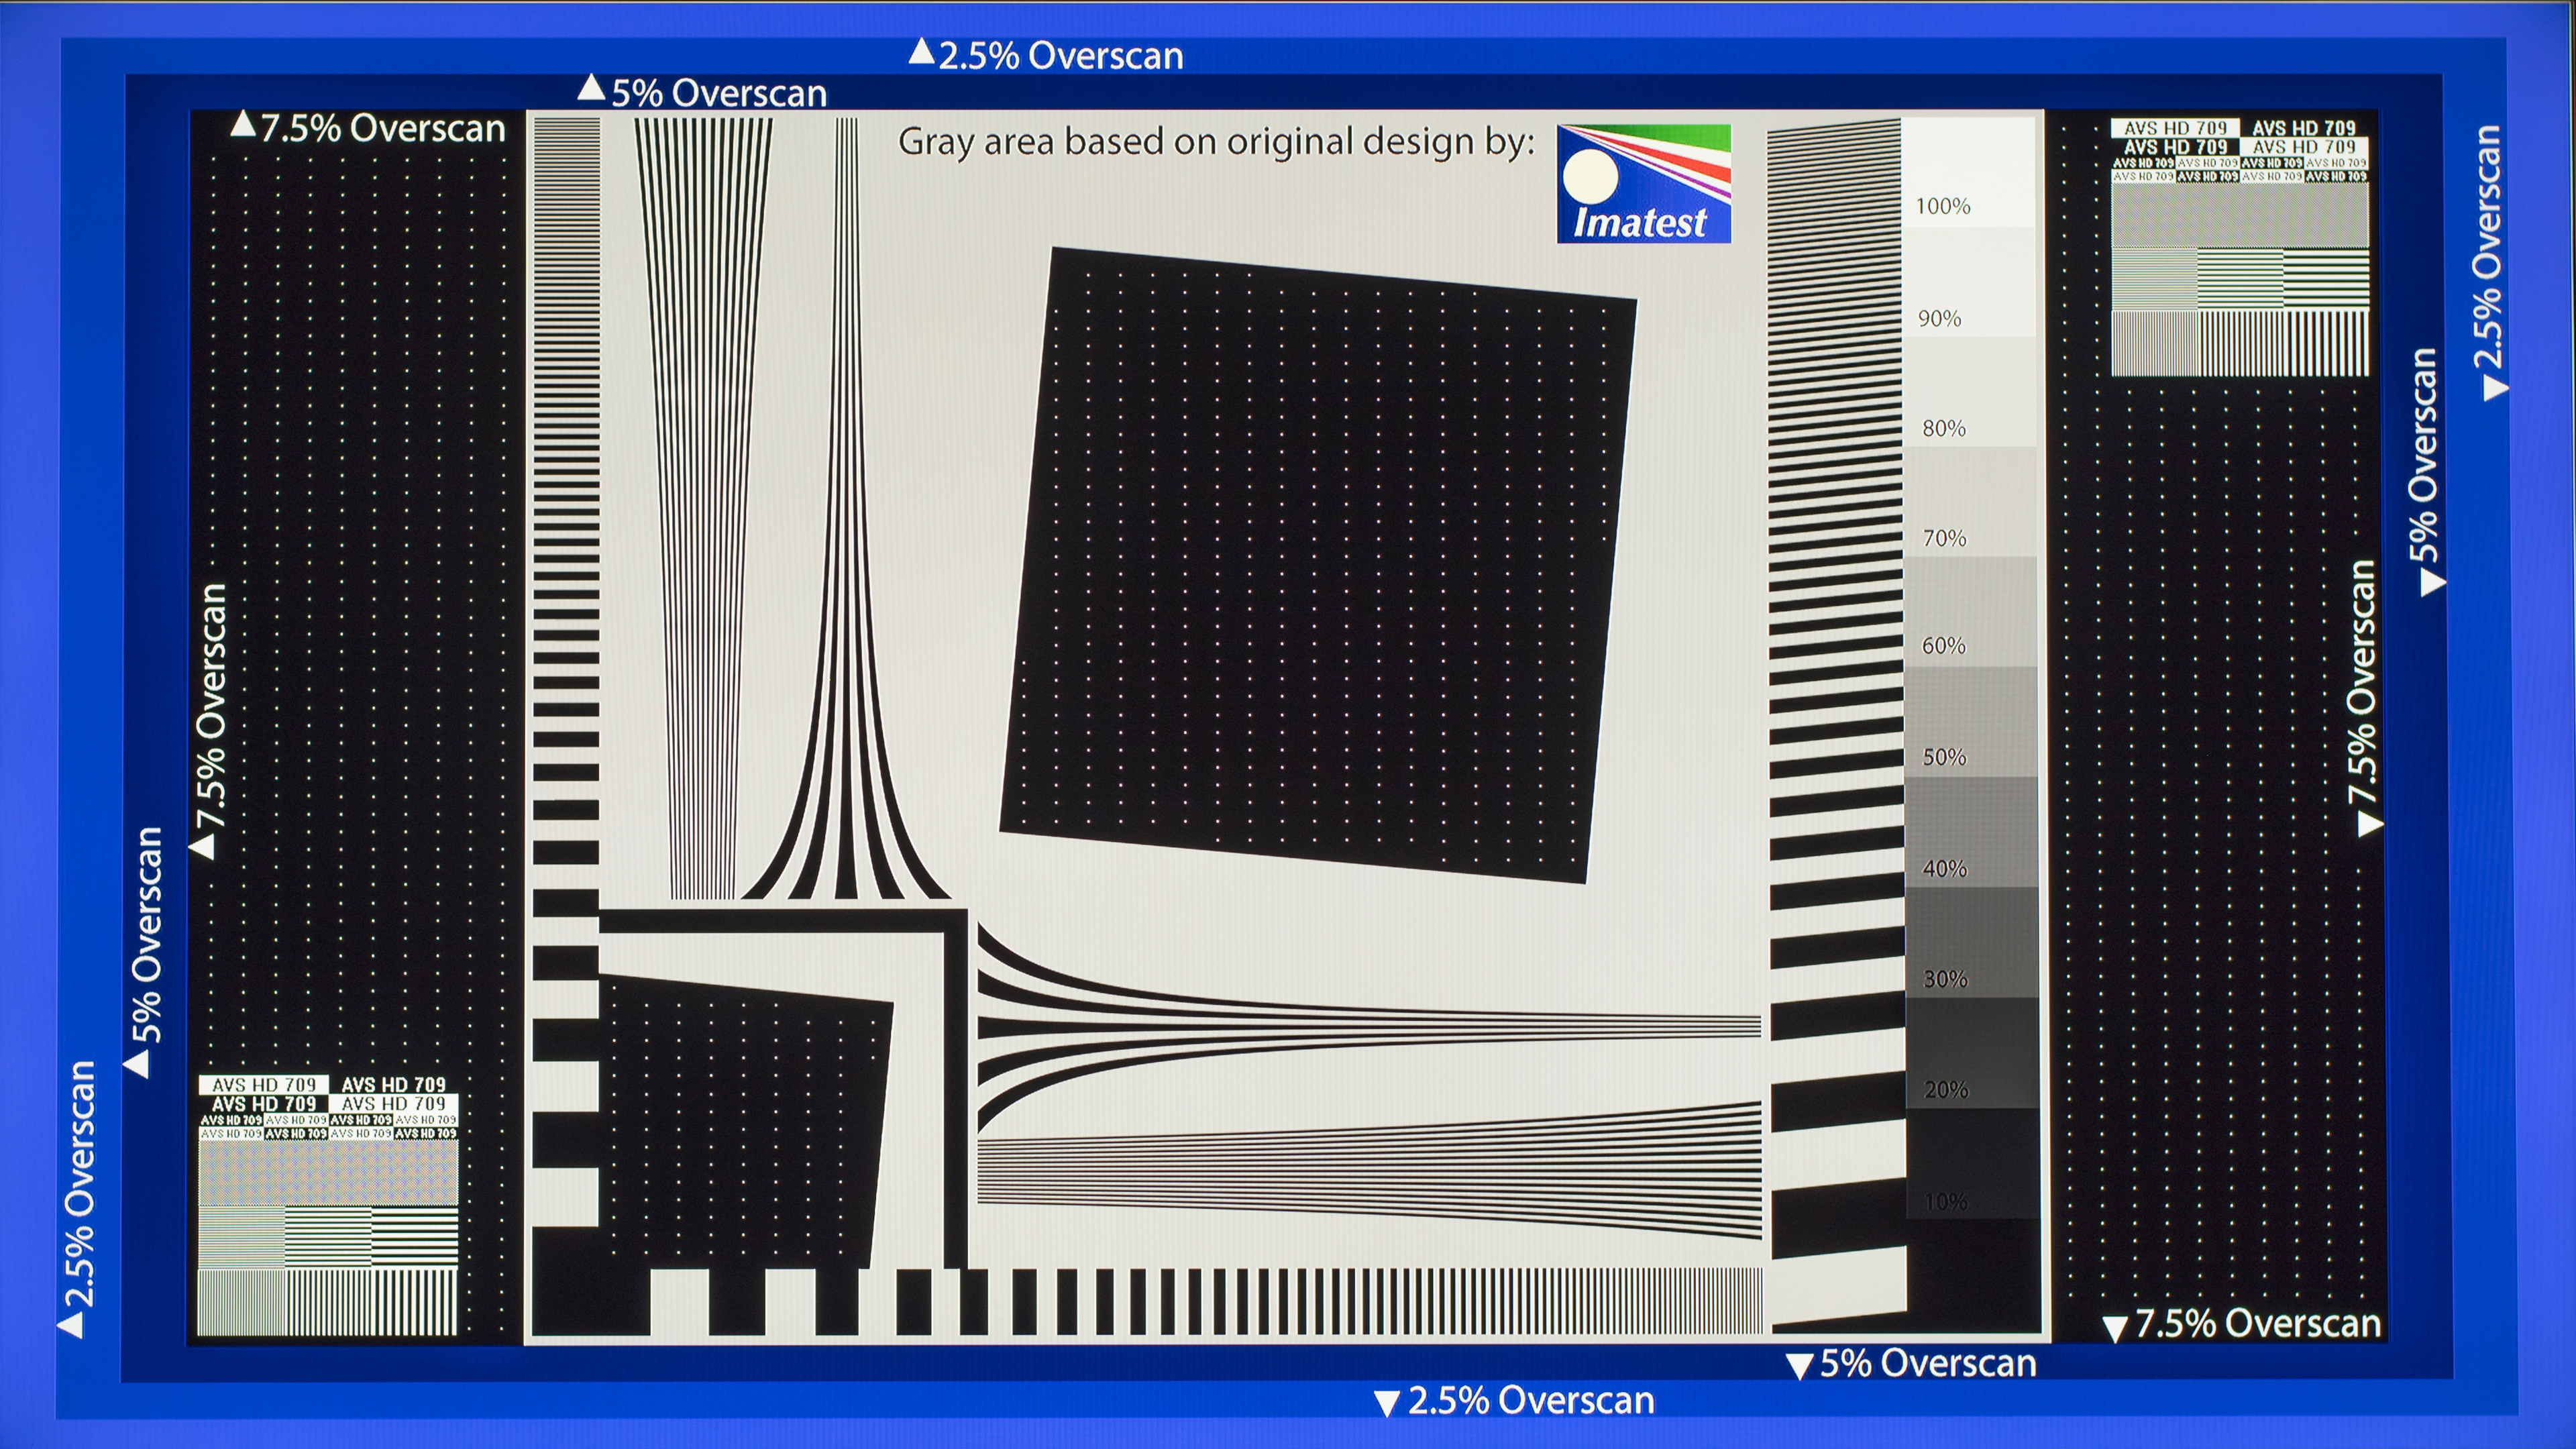 Maximum sharpness
Adjusting a TV’s sharpness setting changes how it defines distinct objects on the screen. The proper sharpness setting will make things look about the same as they do in real life. Too much will exaggerate contours and lines. It's very rare for a TV to have the option to remove sharpness from an image, which is why only two images are compared here.
Because high levels of sharpness make an image ‘pop,’ it’s not uncommon for a TV’s picture to be over-sharpened by default. To adjust this setting with the pattern, increase Sharpness to as high as it goes, and then decrease until the lines look normal and any geometric patterns in the lines (usually diamond-shaped) go away.
Recommended setting: ‘0’ for Samsung, Vizio, TCL, Hisense & LG. ‘50’ for Sony and for Samsung TVs in PC mode.
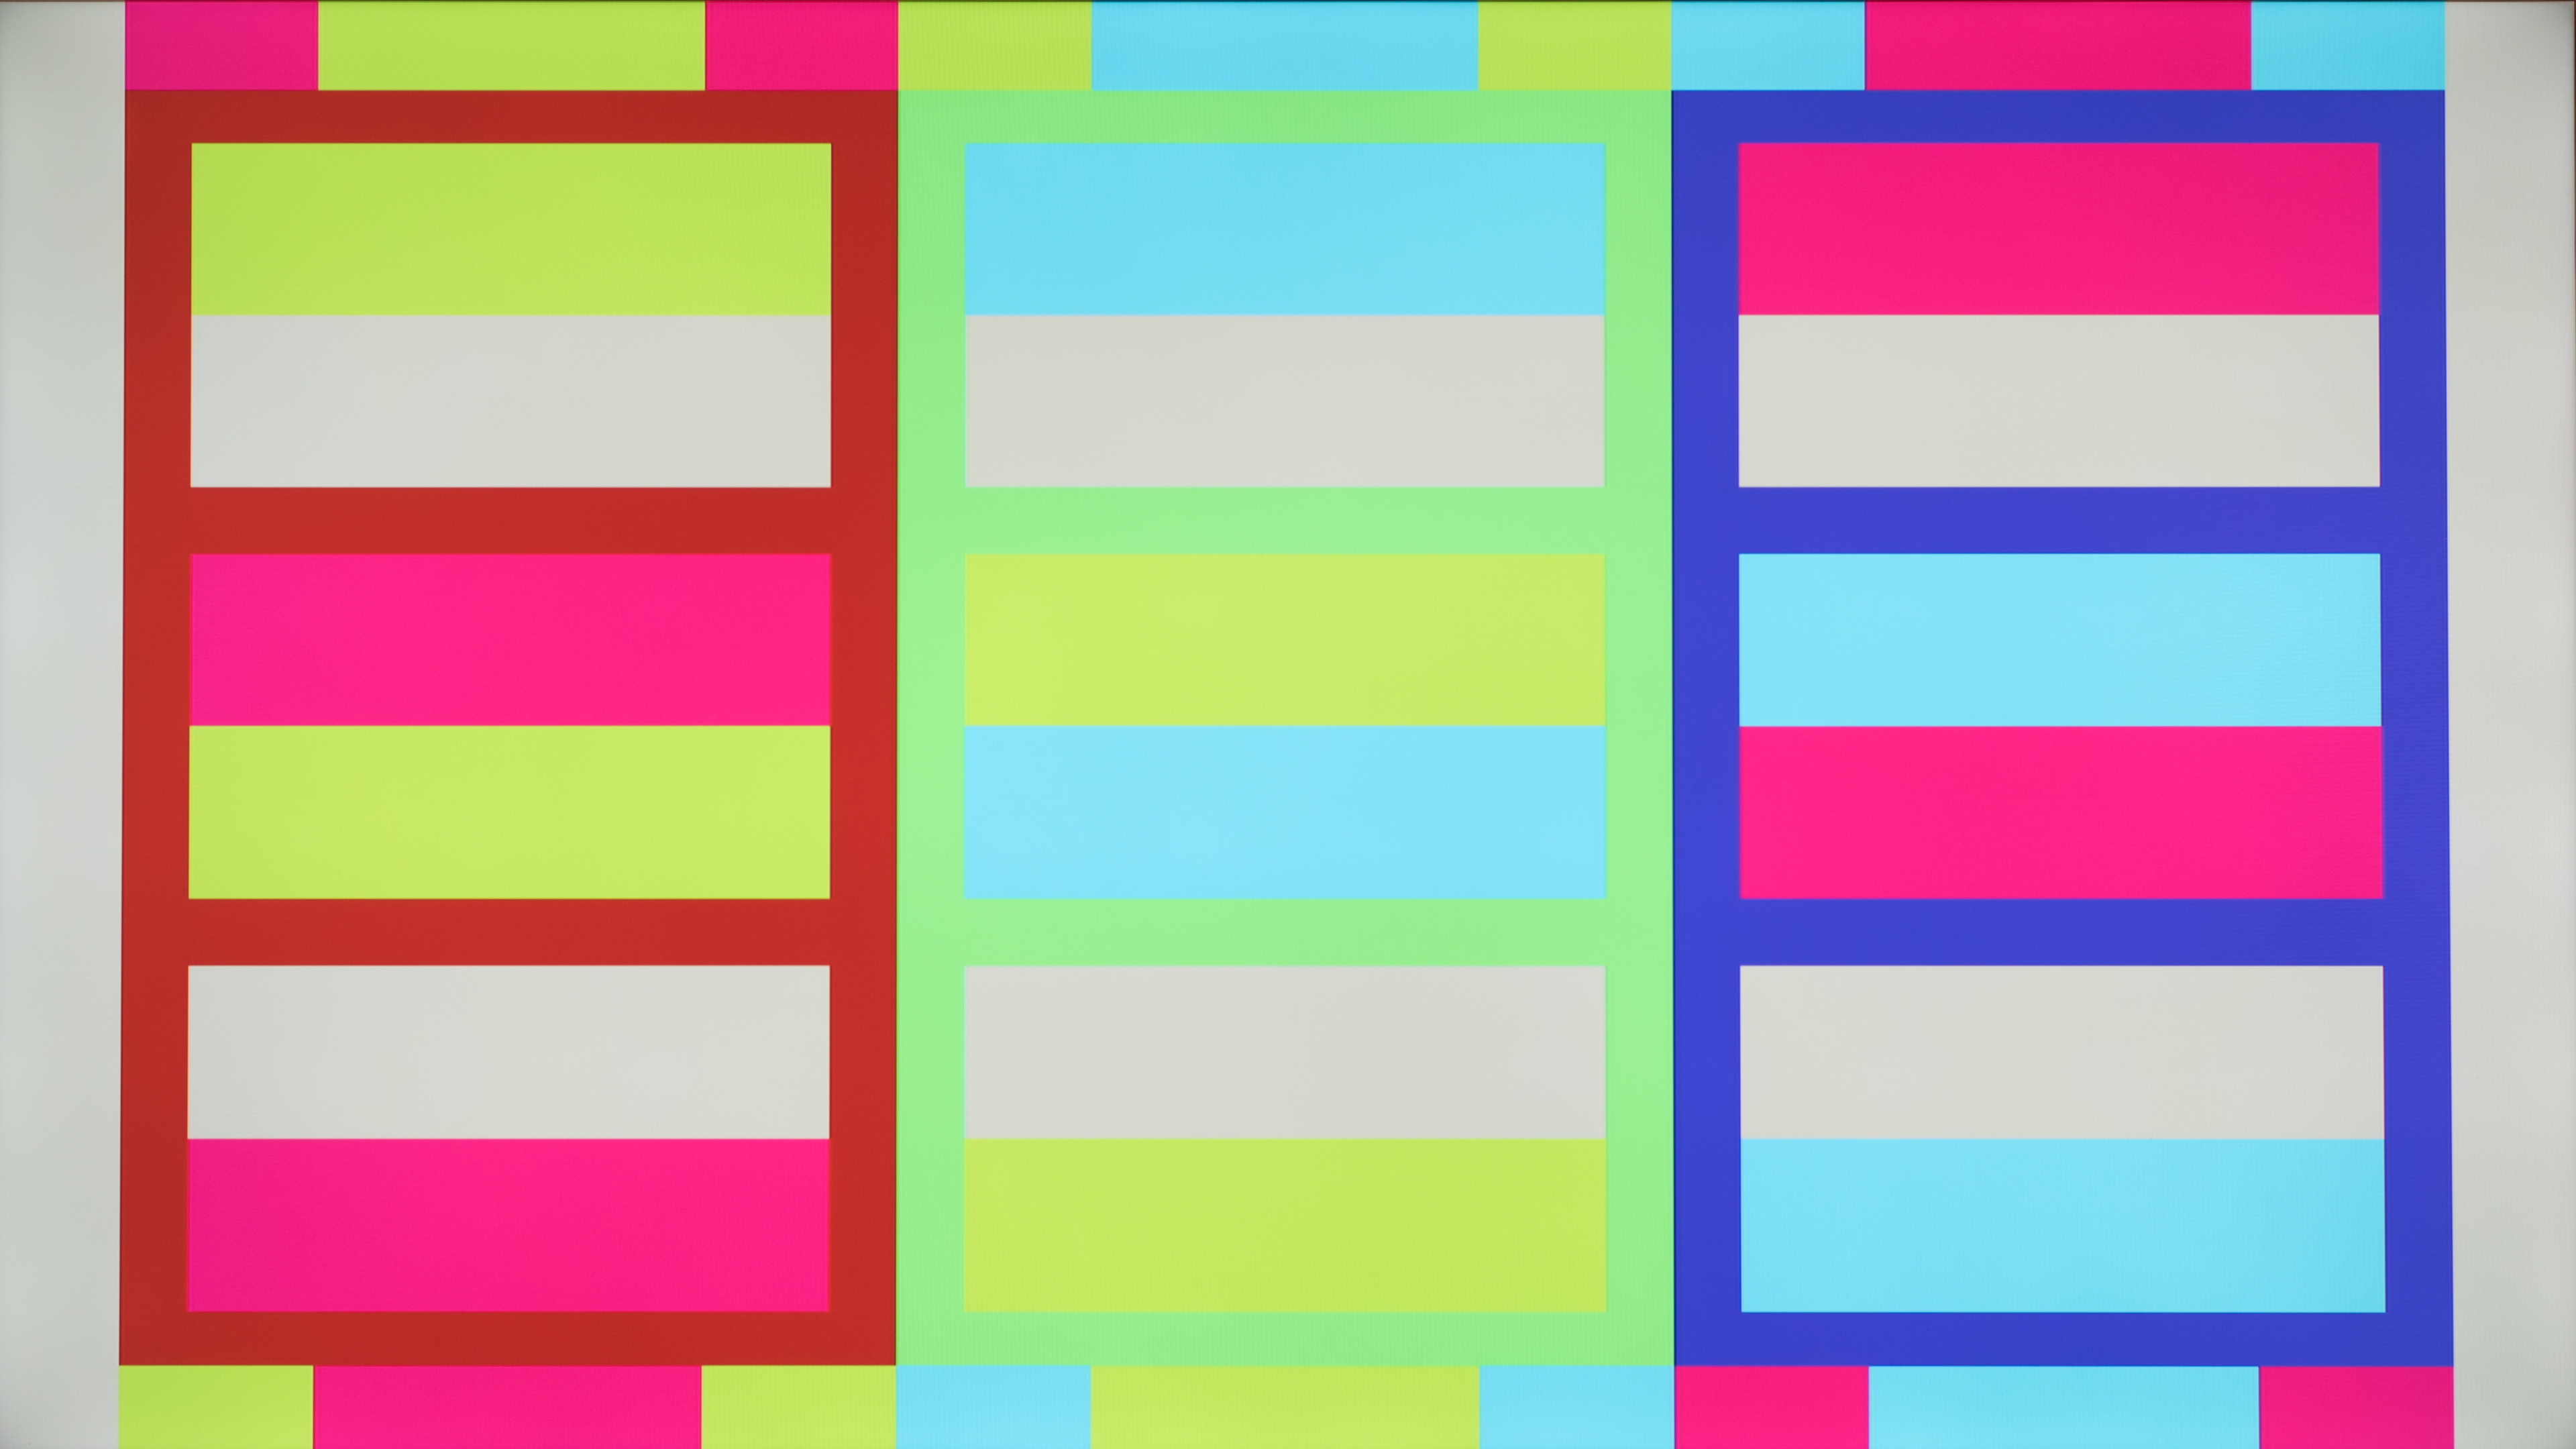
Color
 Faded color
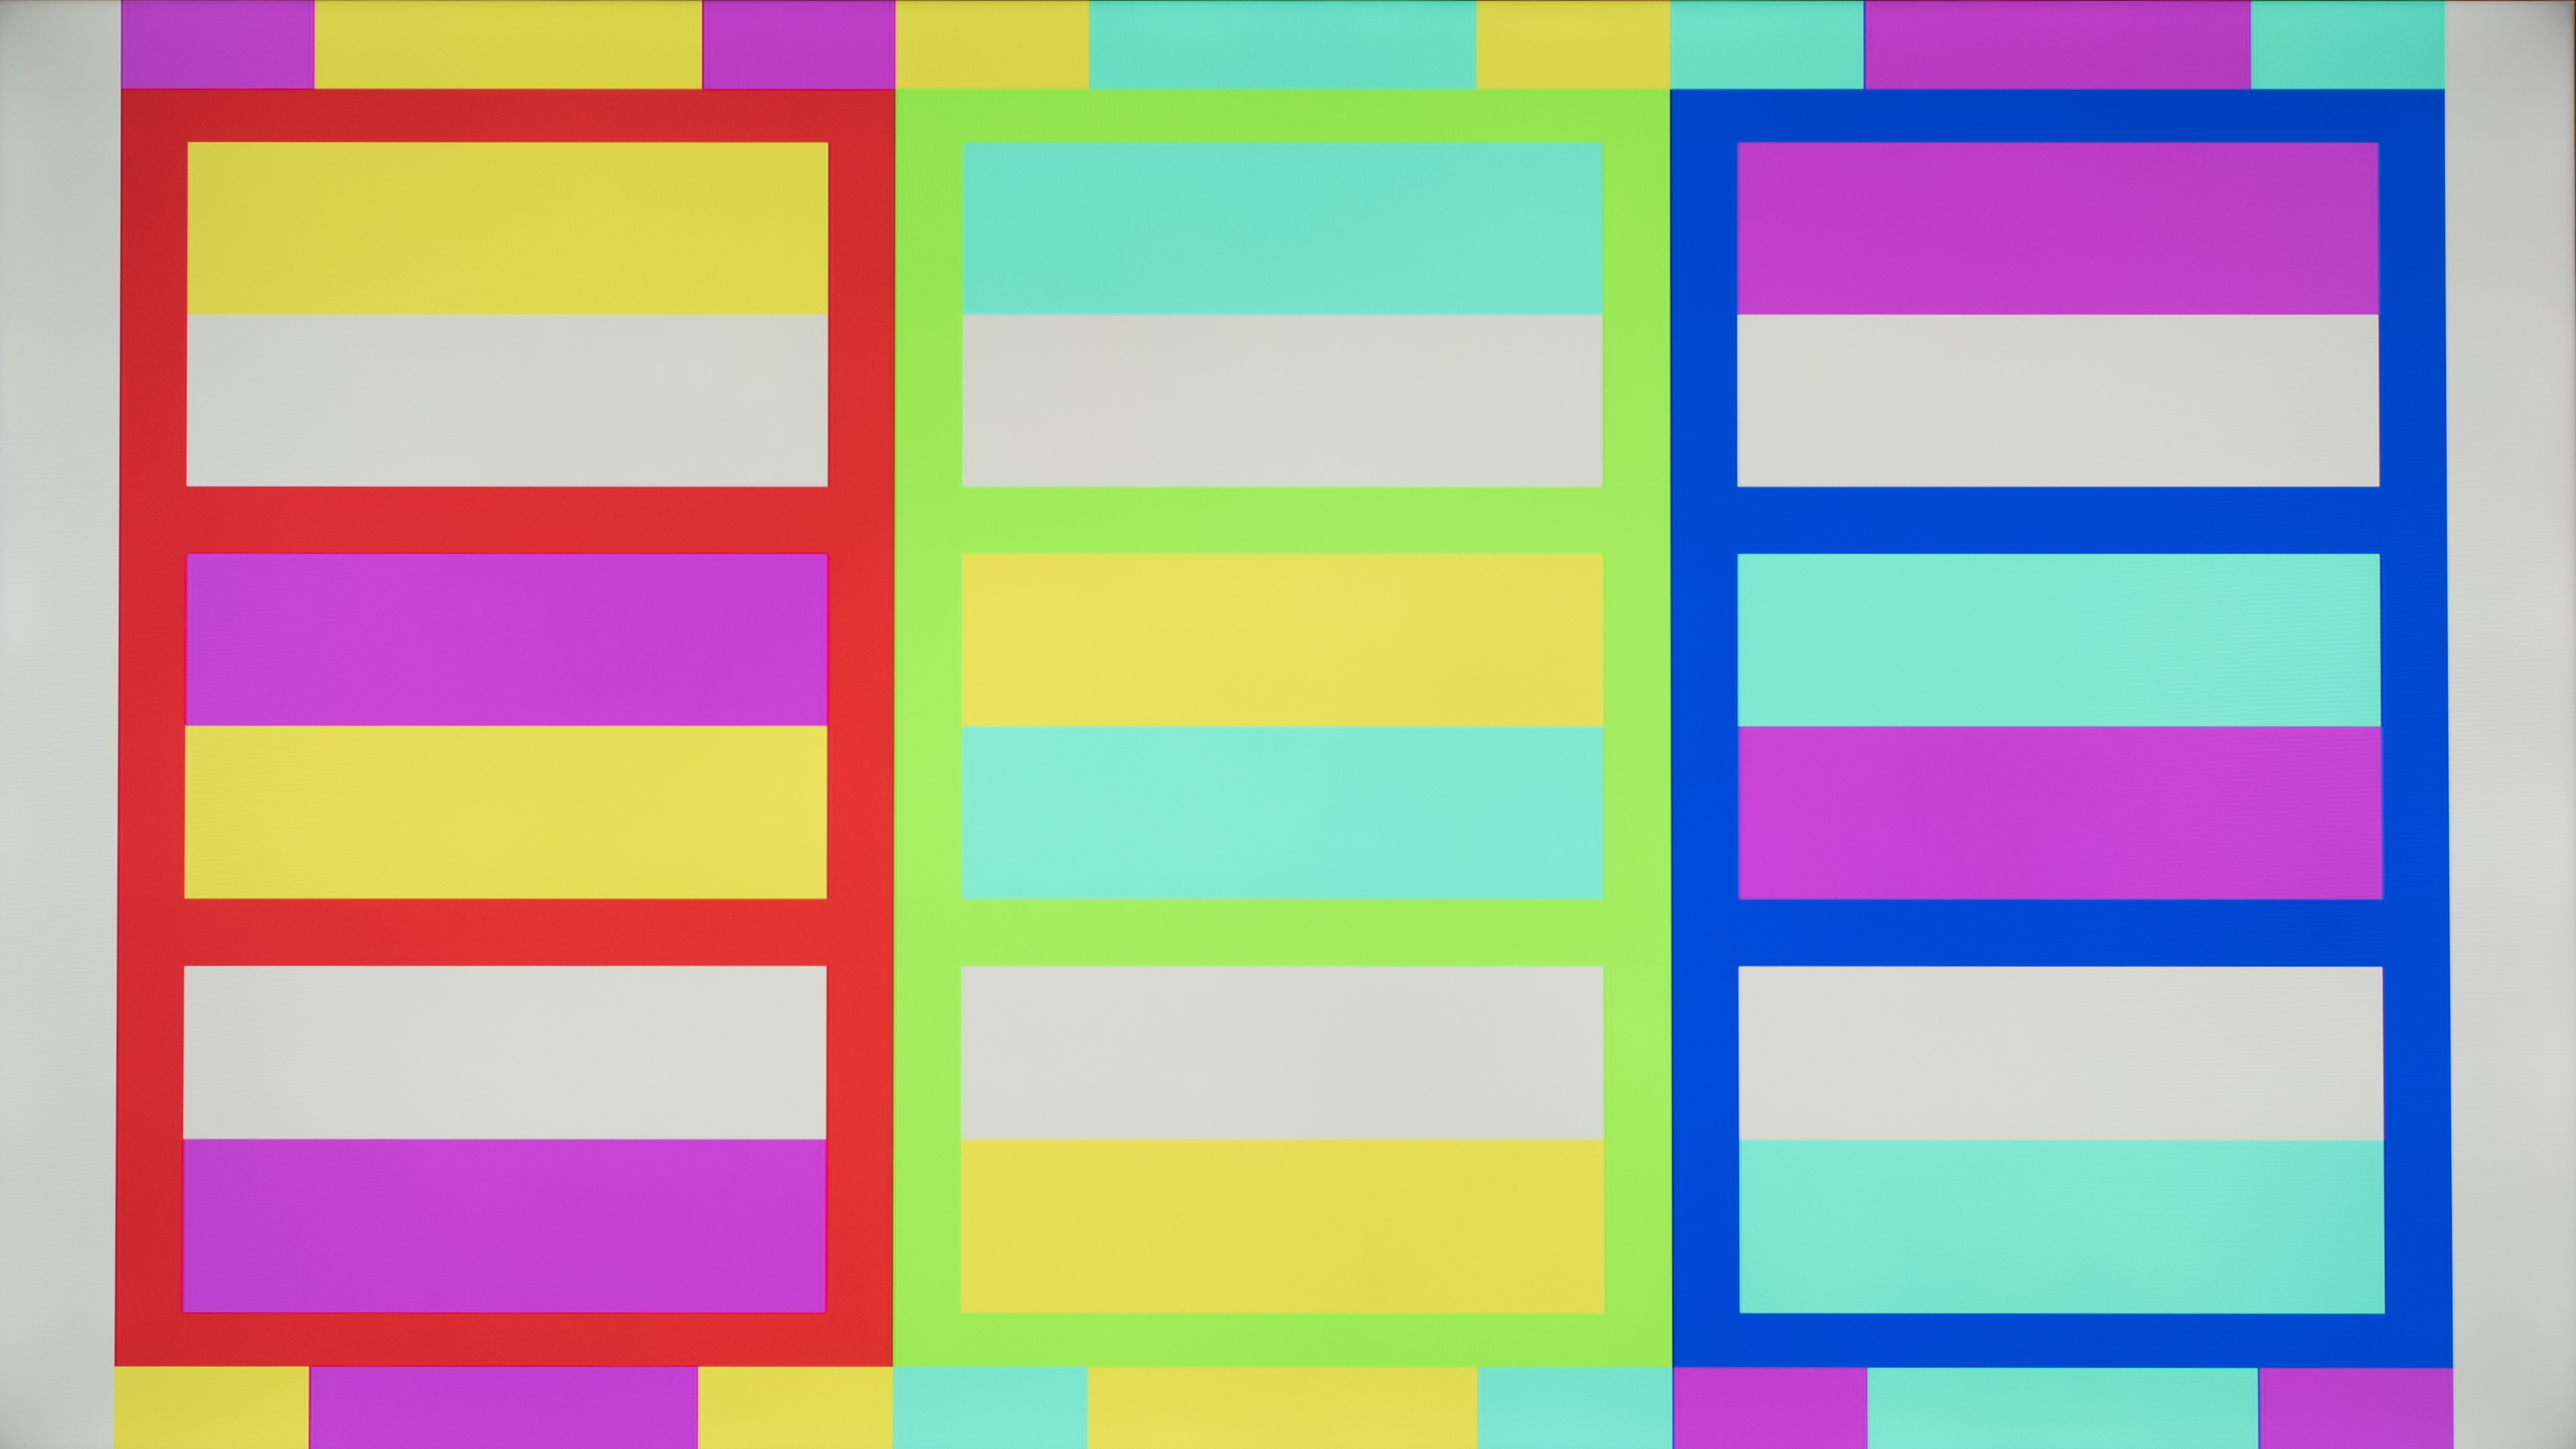 Correct color
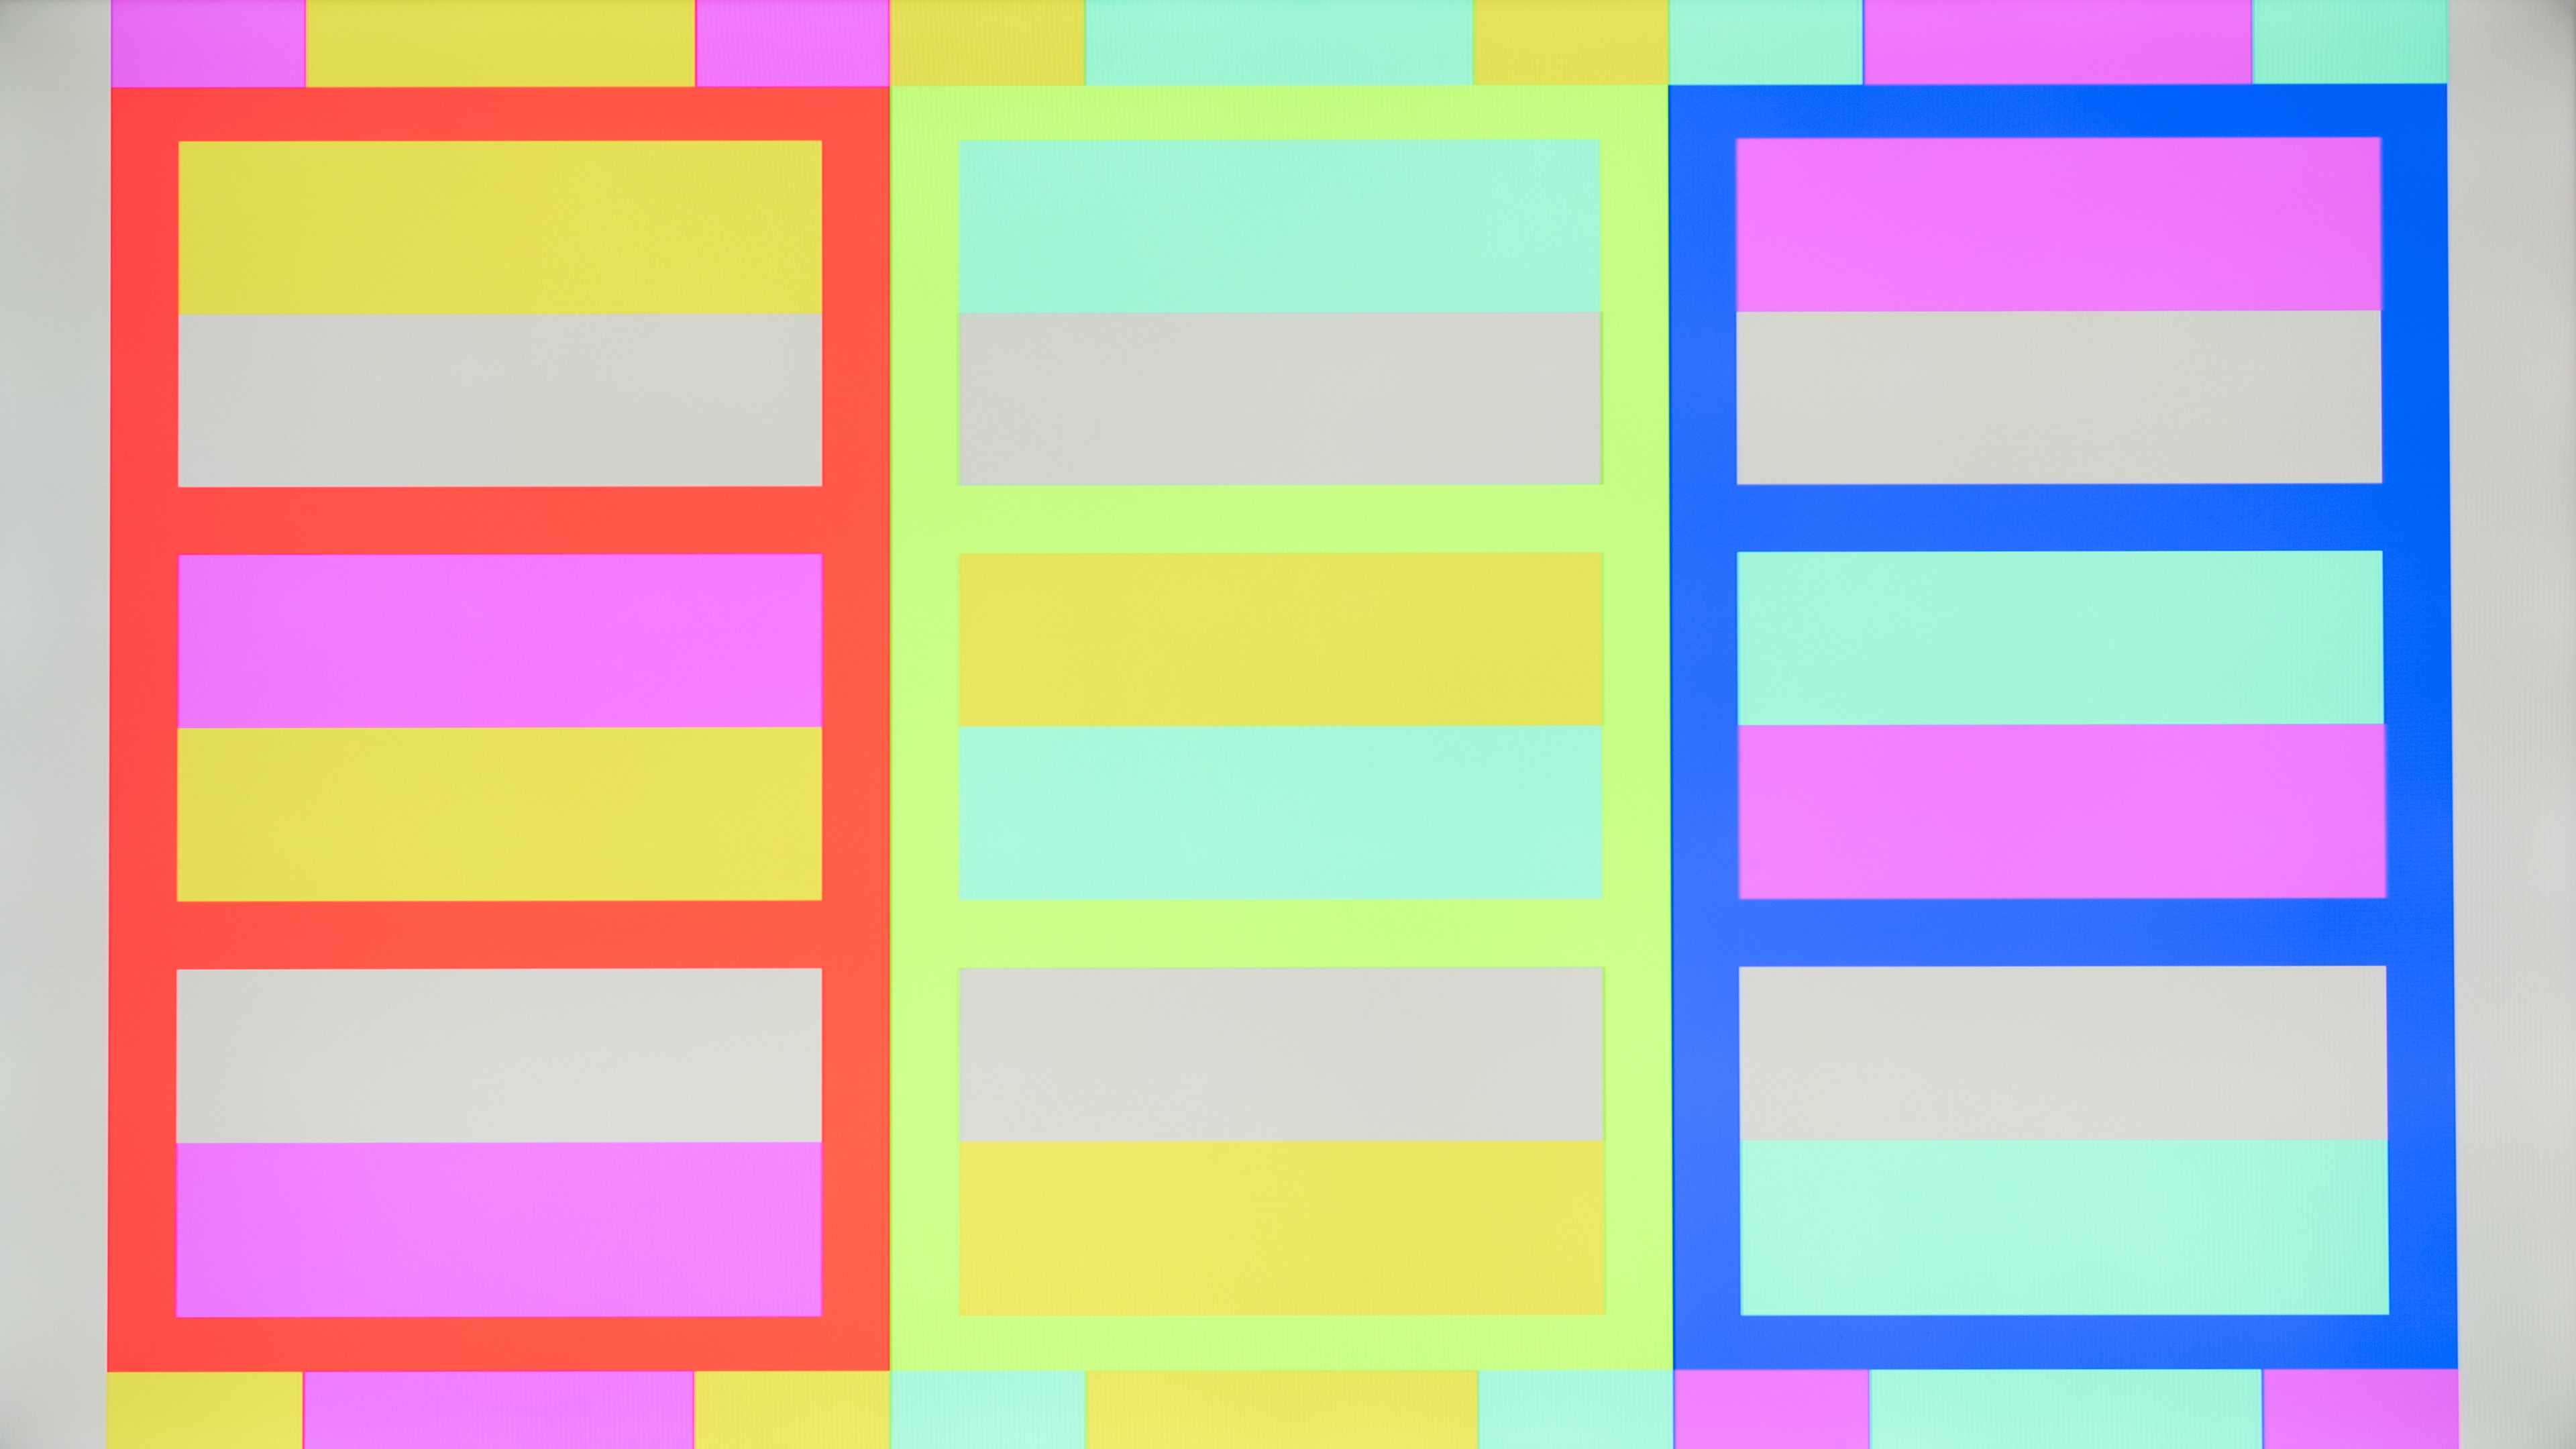 Maximum color
The ‘Color’ setting adjusts the level of saturation of colors in the TV’s images. Too little saturation will wash out the color of the image (extreme example at the above-left), and too much will oversaturate the picture (above-right).
Modern TVs almost always have this set correctly by default in their ‘Movie’ mode, and while the most basic way to modify it, which requires a blue filter, works pretty well, the best policy is to just leave this setting alone.
To adjust this setting with the pattern, look through a blue filter and adjust the color setting so that the blue box on the far left looks the same as the smaller gray boxes within.
Recommended setting: The default setting in the 'Movie' or 'Custom' picture mode.
Tint/Hue
 Green tint
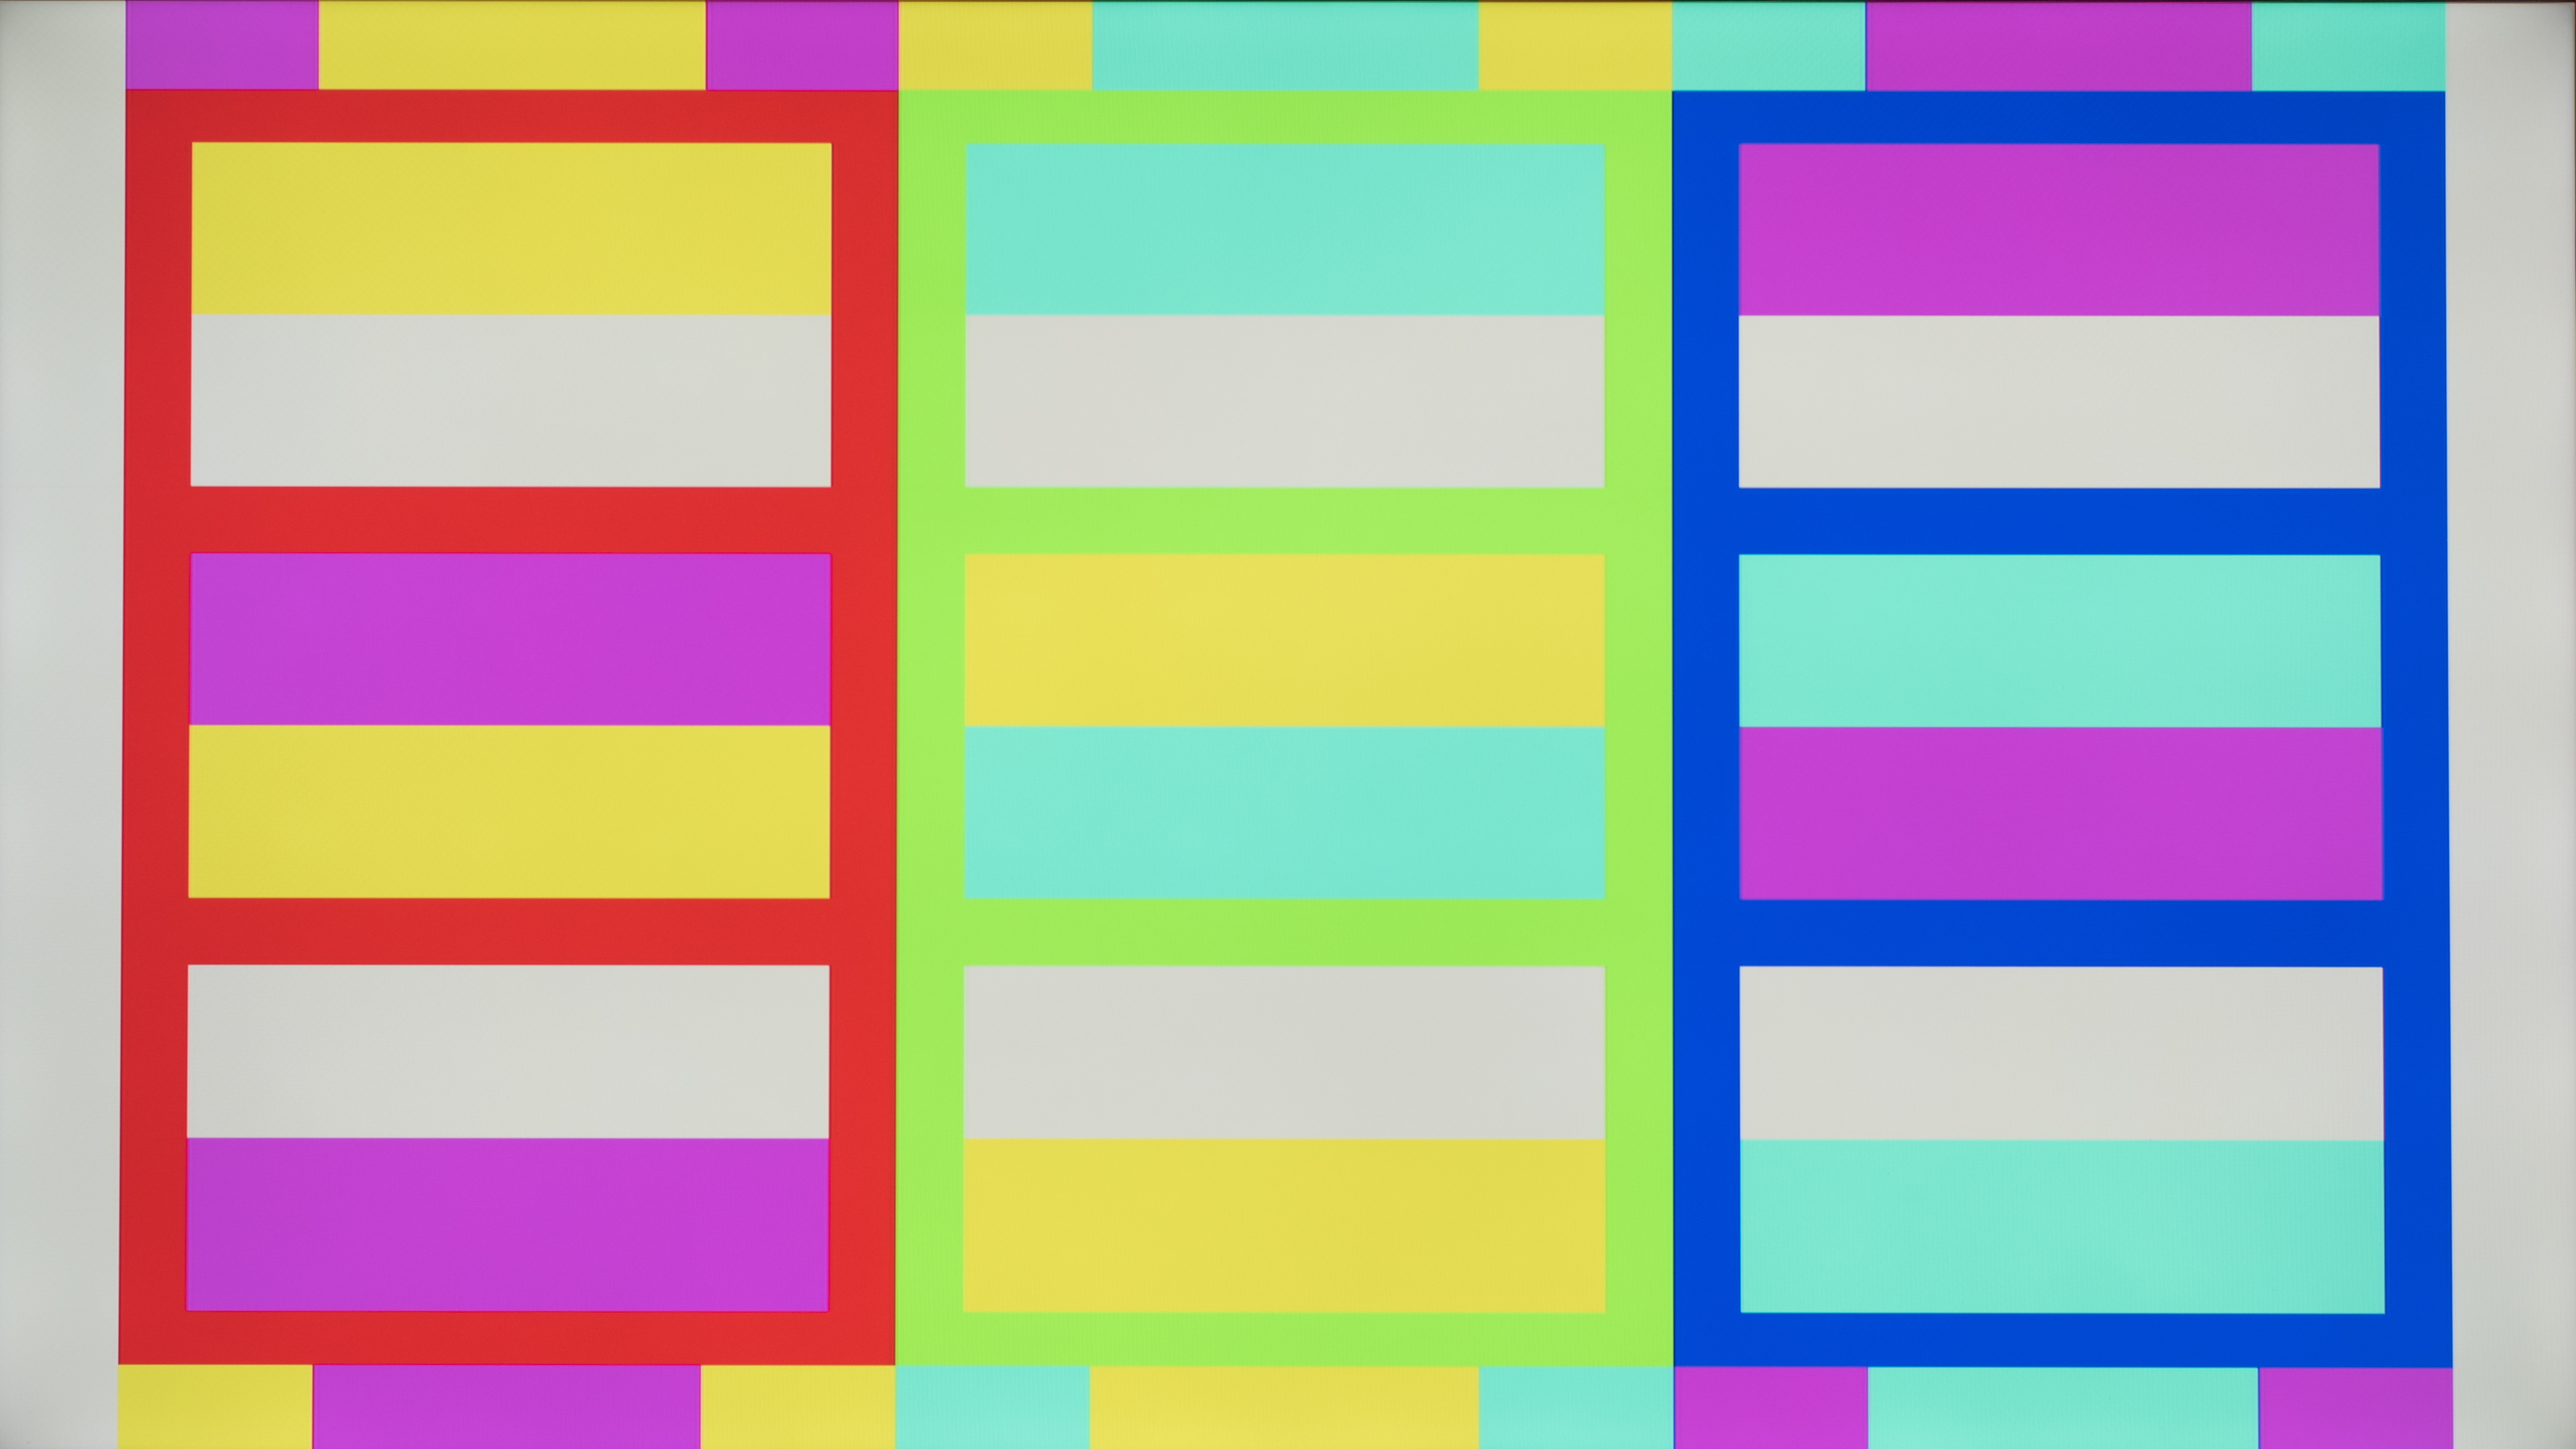 Correct tint
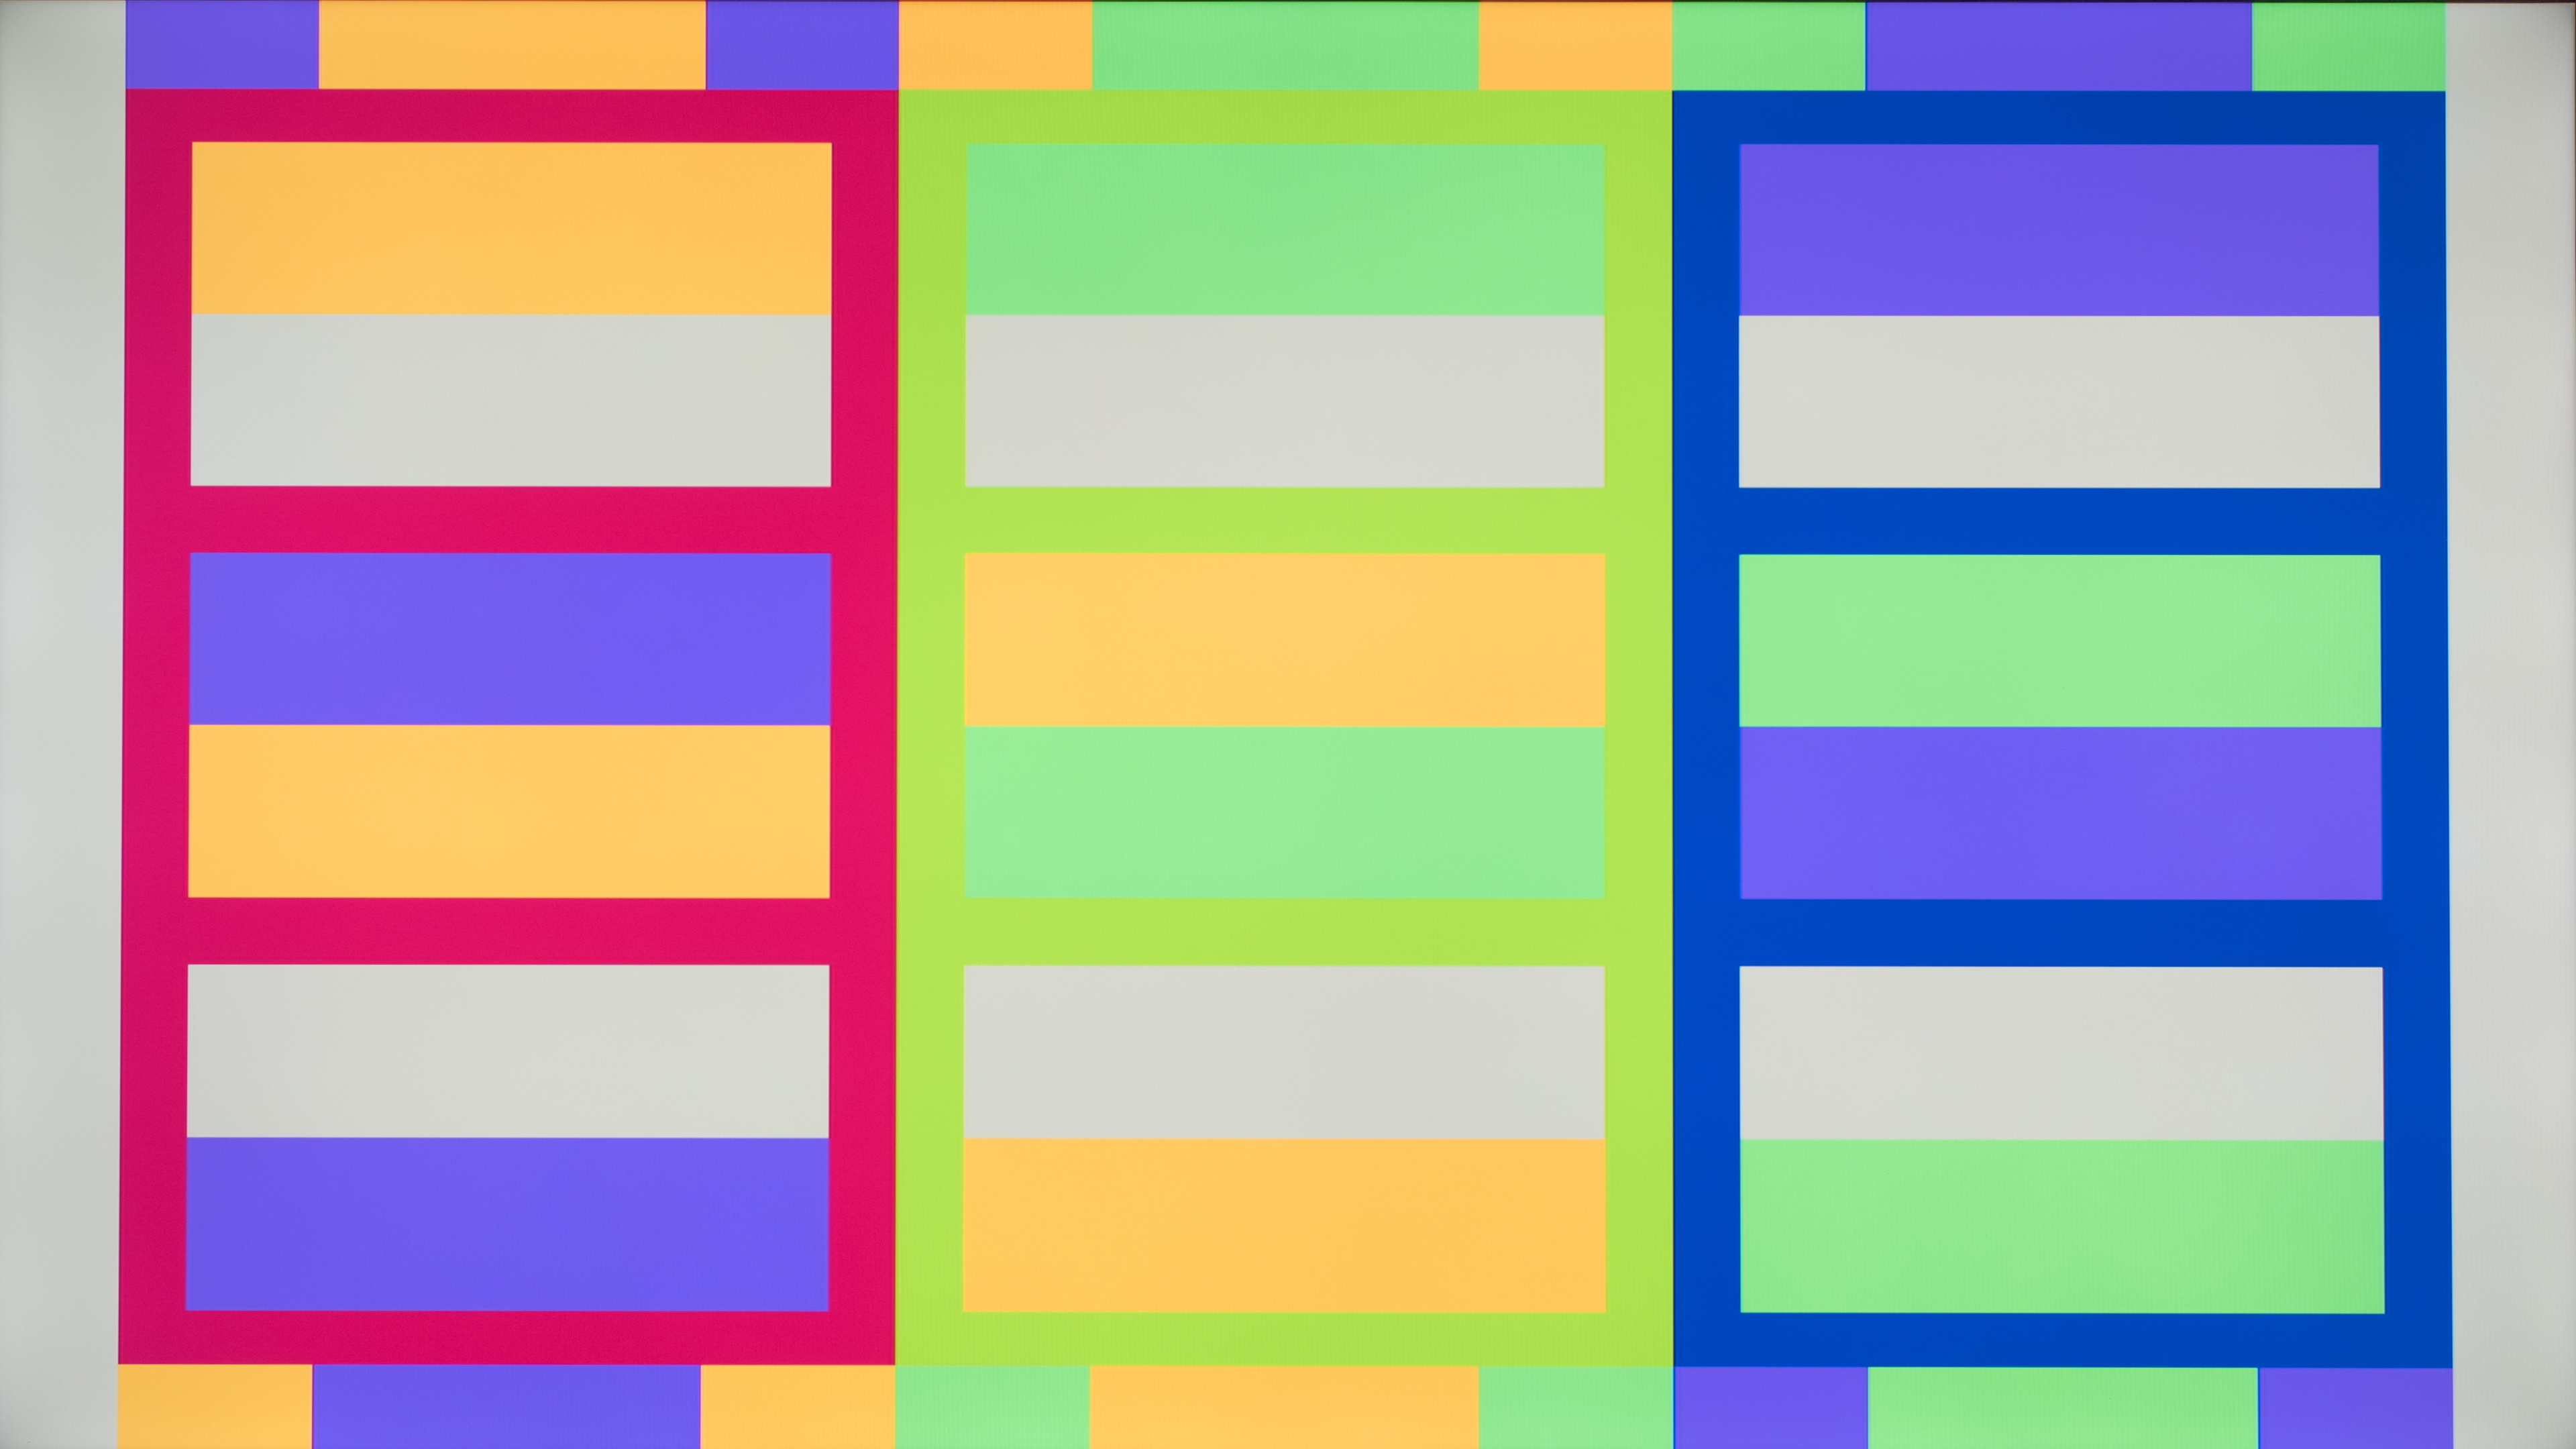 Red tint
This setting adjusts the amount of red and green tint to the image on the TV. Like the color setting, this is almost always correct by default, so there’s no need to adjust it yourself. Once again, if you decide to adjust this setting yourself, use a blue filter.
To adjust this setting using the pattern, look through your blue filter and adjust the tint/hue setting so that the magenta and teal boxes (located in the blue and red columns) look identical.
Recommended setting: The default setting in the 'Movie' or 'Custom' picture mode.
White balance & Color space
 White balance menu on the Samsung Q80R
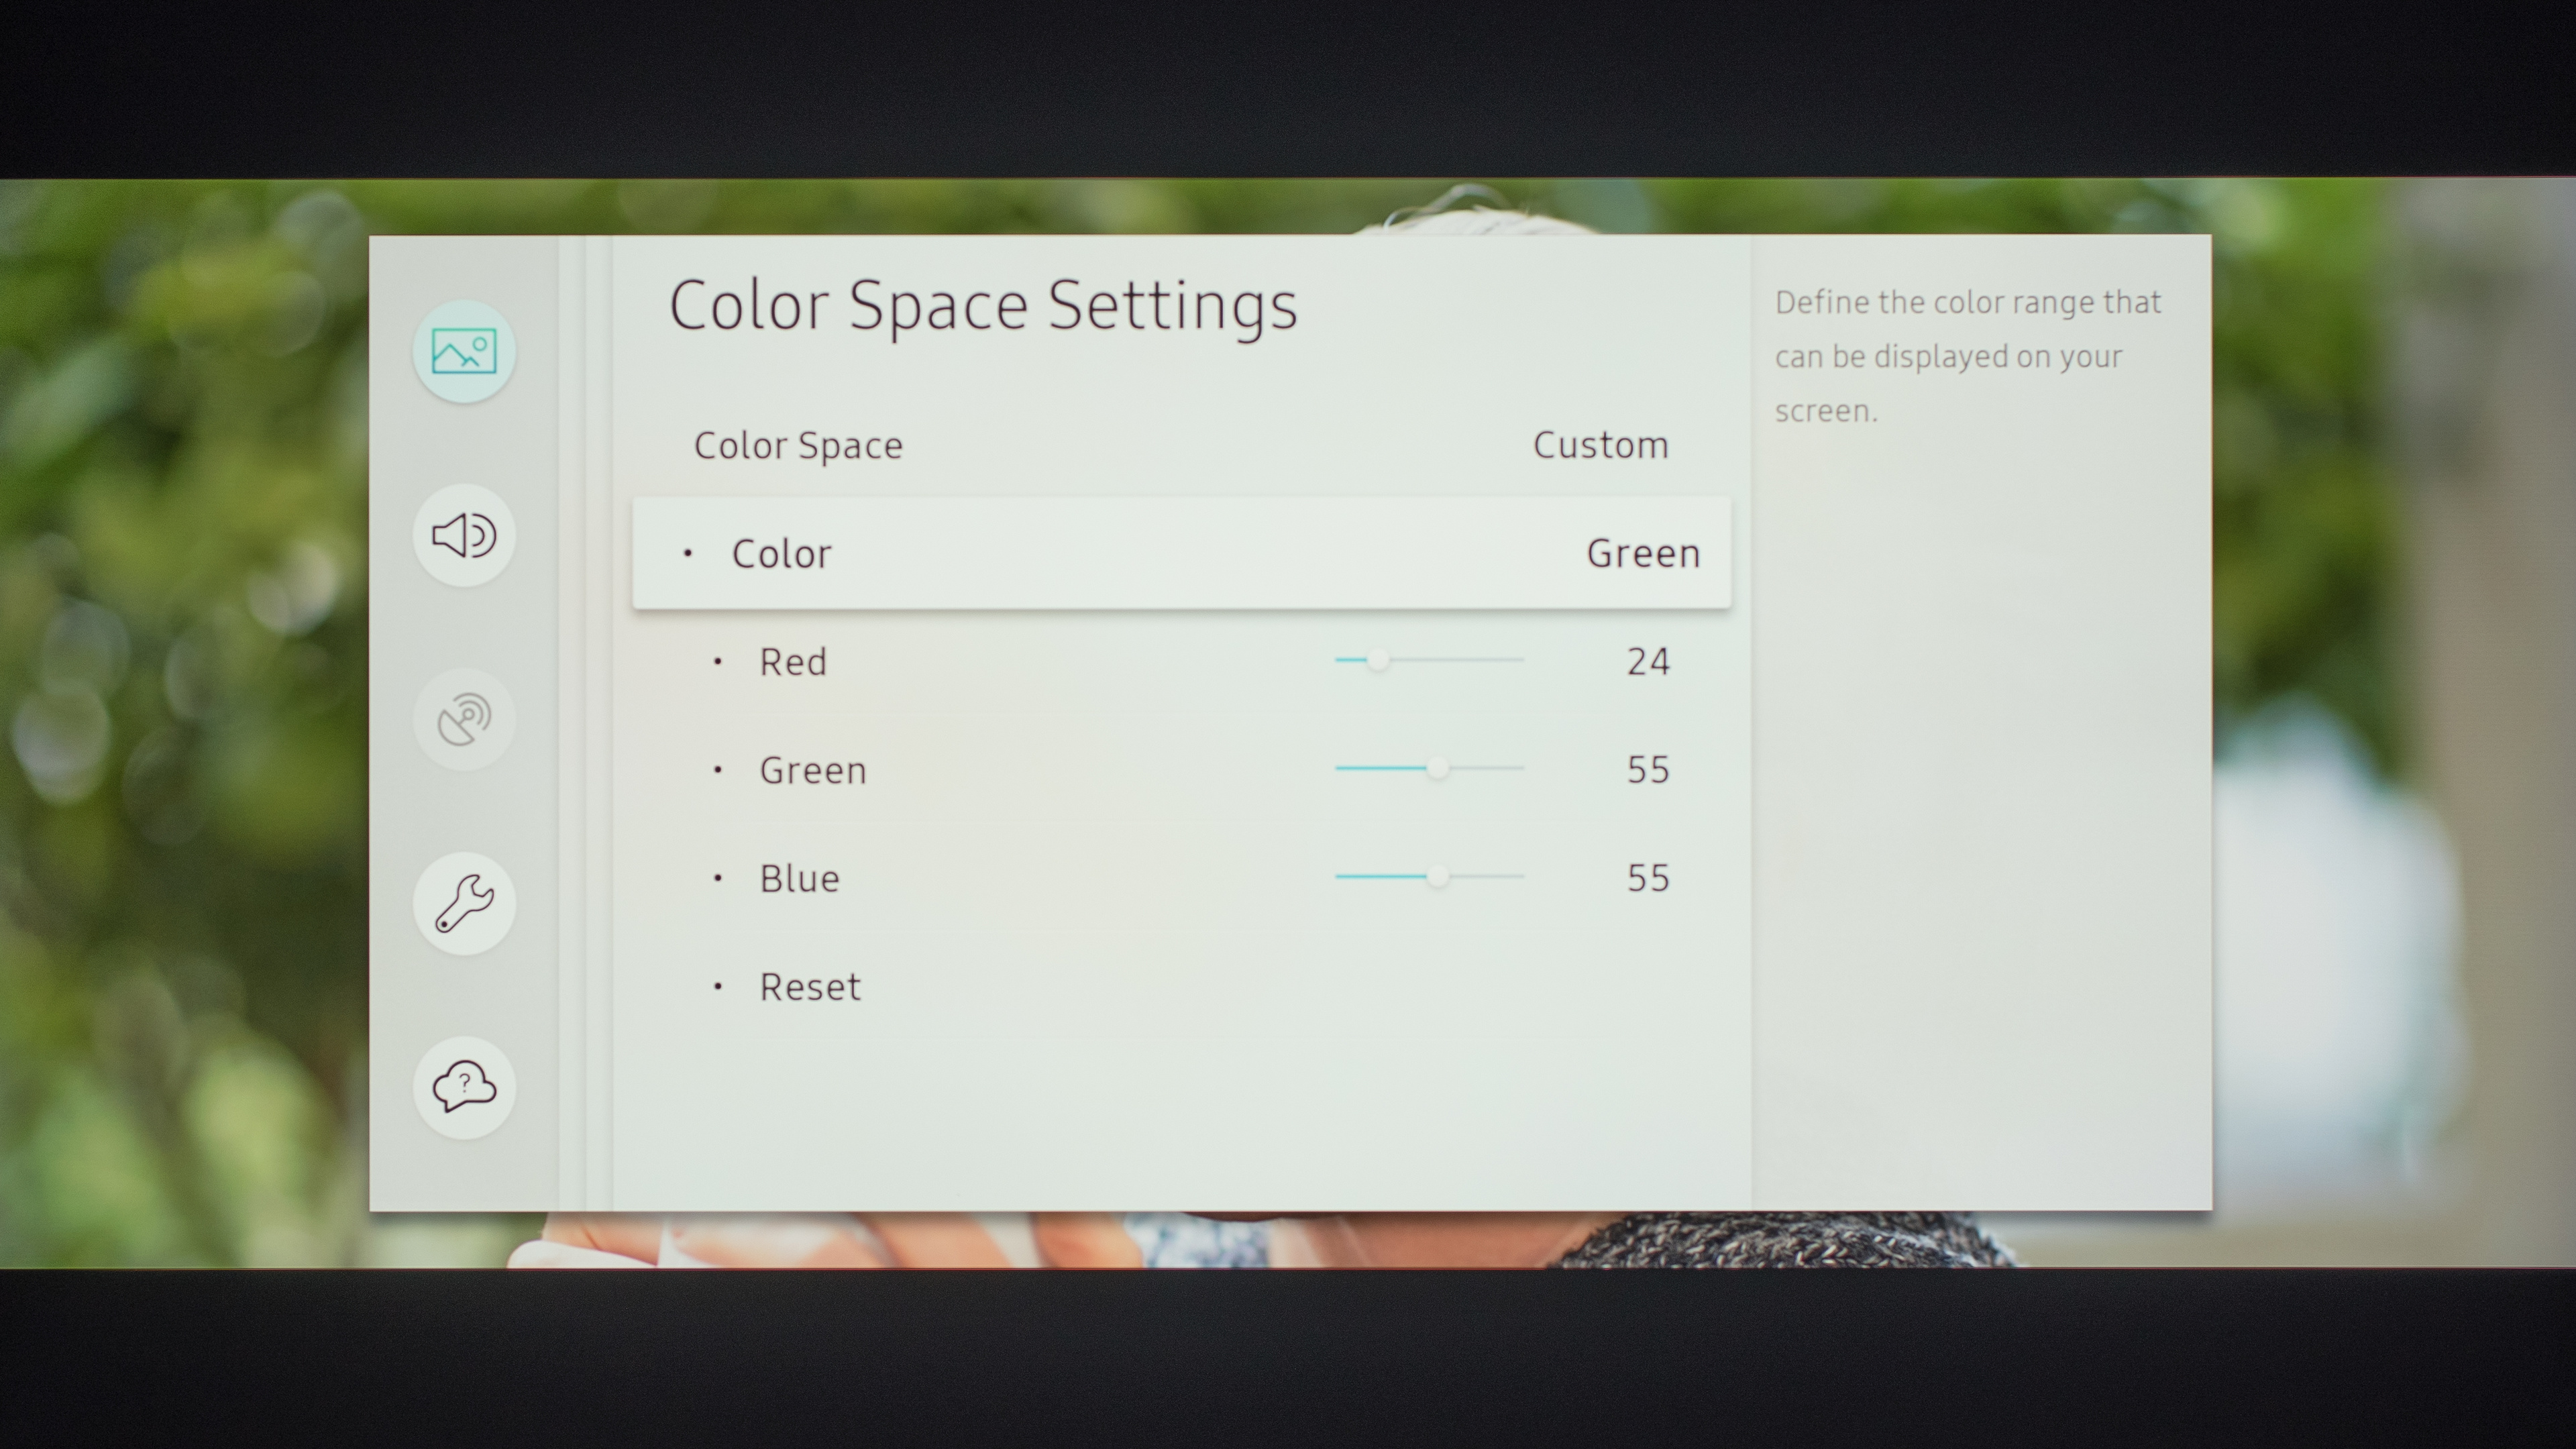 Color space menu on the Samsung Q80R
Adjusting the white balance means changing the amount of red, blue, and green in several different shades of gray. By correcting each of these shades, the overall color of the image is corrected to be as accurate as the TV can manage.
This can't be adjusted without specialized equipment, so we don't recommend trying to adjust this by eye. It also varies between units, even of the same model and size, so we don't recommend copying someone else's settings, including the values we provide on each review settings page.
Color tone/color temperature
Warm color temperature Cool color temperature
Warmer color temperatures will make the picture look yellower, and cooler temperatures look bluer. We recommend using a warm temperature – that’s what professional calibrators use (it is the closest to the 6500k standard color temperature) - but you should choose whatever you like best.
Recommended setting: Warm
HDMI Black Levels
 TV RGB: Limited / PC RGB: Limited (Correct)
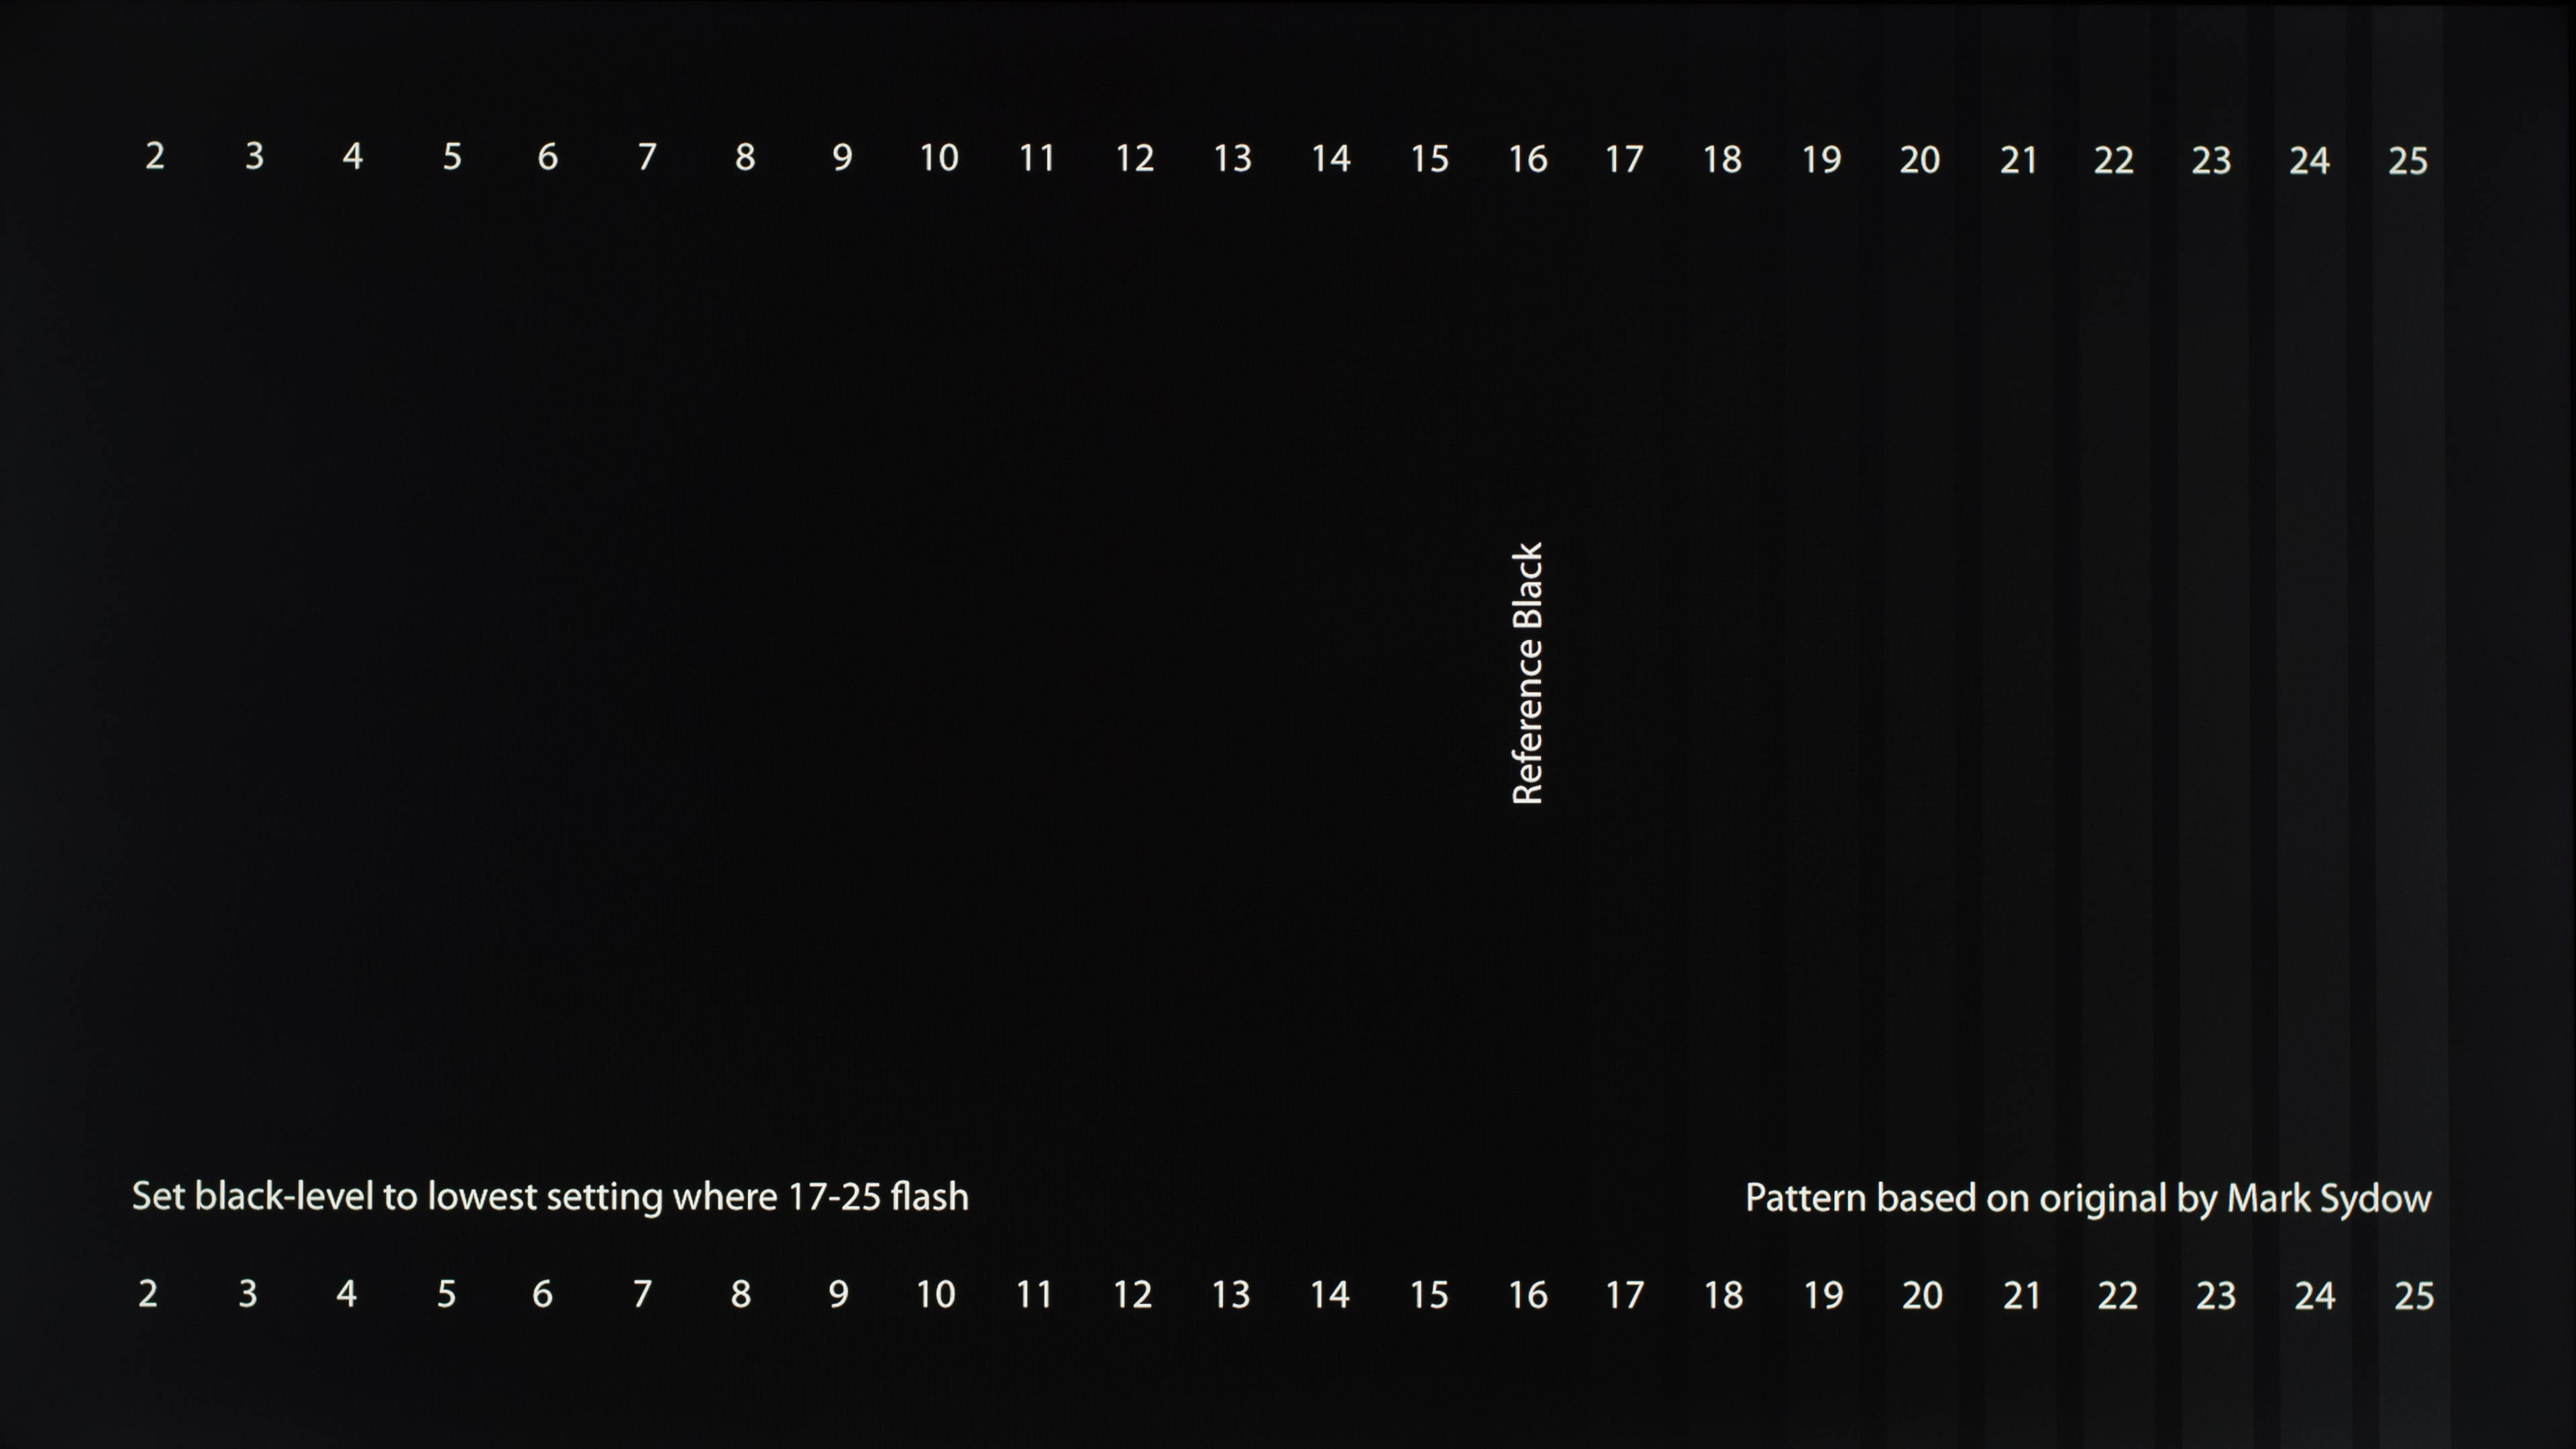 TV RGB: Full / PC RGB: Limited
 TV RGB: Full / PC RGB: Full (Correct)
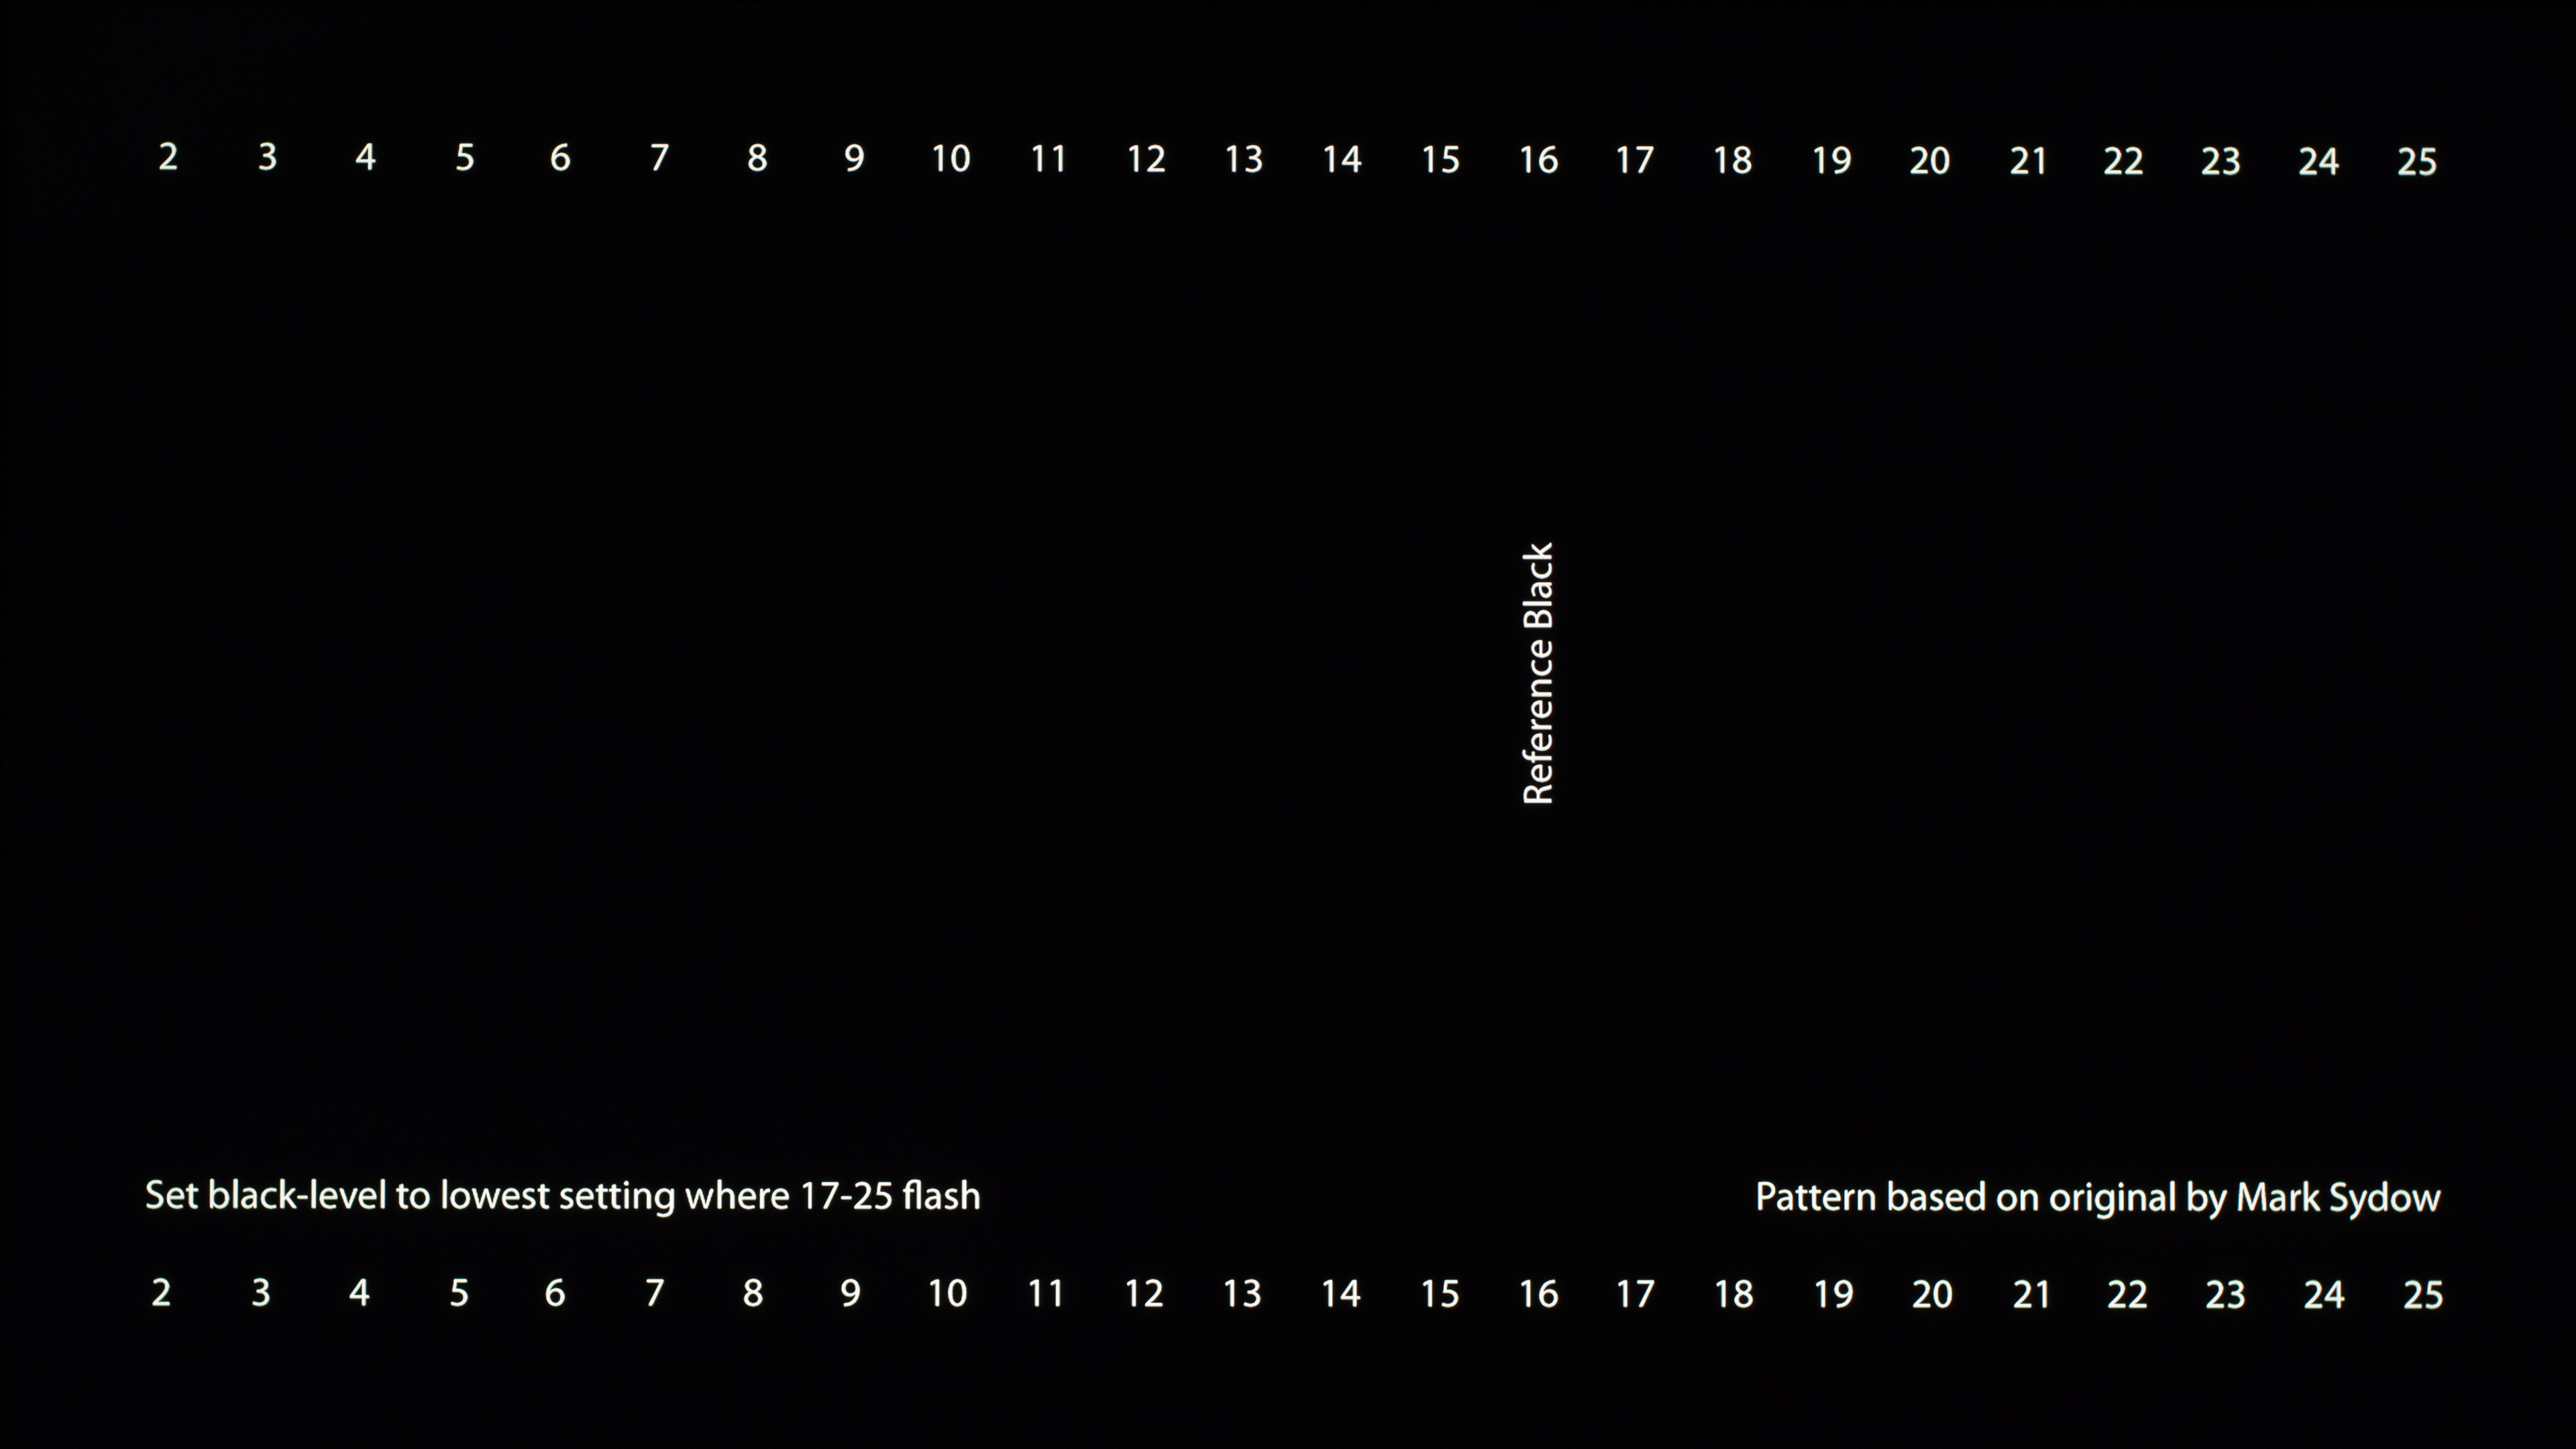 TV RGB: Limited / PC RGB: Full
This setting determines the amount of detail in blacks and shadows, with 'Full' offering a bit more detail. It doesn't really matter which setting you choose, as long as both devices are set to the same thing. As you can see in the above images, a mismatch will result in poor blacks.
Recommended setting: It doesn't matter, as long as your TV and source are set to the same thing.
Dynamic contrast
Dynamic contrast OFF Dynamic contrast ON
Dynamic contrast is a software-based contrast enhancer. It doesn't actually increase the absolute contrast of the picture (pure blacks and pure whites stay the same). Instead, it gives the impression of a greater contrast by darkening the shadows and brightening up the highlights. We recommend turning off this feature as it can cause color banding and changes the intended gamma curve.
Recommended setting: Off
Local dimming
 Local dimming OFF
 Local dimming ON
Local dimming adjusts the backlight in dark areas of the screen, to reduce the amount of backlight bleed and improve the contrast ratio. Not all TVs support this feature, and relatively few TVs do it well. You should adjust this to your personal preference, depending on your viewing conditions, and even the content you're watching. Learn more
Recommended setting: You should adjust this to your personal preference.
Motion Interpolation
 Motion interpolation OFF
 Motion interpolation ON
The motion interpolation feature enhances the frame rate of video, smoothing it out and adding the ‘soap opera effect.’ Use it if you like it, disable it if you don’t. Note that this usually increases input lag a lot, so it’s not ideal for gaming. Learn more
Recommended setting: Personal preference.
Noise removal/reduction
Low-quality video (cable, DVDs, other low-resolution media) often have compression artifacts or other noise (little dots or general fuzziness). Most TVs have an option to reduce or remove noise, and it’s a good idea to use it for lower-quality video. When watching high-quality video (Blu-ray, video games, PC signals), these settings can cause a loss of fine details, so we don't recommend them. Unfortunately, it's difficult to capture the difference in a photo, which is why none are included for this feature.
Recommended setting: Off for most recent content, On for older, lower resolution videos.
Conclusion
Most TVs are able to achieve decent accuracy with only a few minor settings changes, most of which can be easily done by beginners at home, with no specialized equipment. For most people, having a TV professionally calibrated isn't necessary. In the end though, not everyone enjoys an accurate image, so you should adjust your TV to whatever looks best to you, adapted to your viewing conditions.
Glossary for different brands
Although most settings are pretty similar between brands, there are some notable differences in certain settings. Below, you'll find a list of the most commonly used settings on the 6 most popular brands that we test. Note that some settings tend to change from year-to-year, the setting names listed below are for the most recent 2019 models that we've tested.
| Samsung | Sony | Vizio | LG | TCL | Hisense | |
|---|---|---|---|---|---|---|
| Picture mode | Picture Mode | Picture mode | Picture Mode | Picture Mode | Picture Mode | Picture Mode |
| Backlight | Backlight | Brightness | Backlight | Backlight (OLED Light for OLED TVs) | TV brightness & Backlight | Backlight level |
| Brightness | Brightness | Black Level | Brightness | Brightness | Brightness | Brightness |
| Contrast | Contrast | Contrast | Contrast | Contrast | Contrast | Contrast |
| Sharpness | Sharpness | Sharpness | Sharpness | Sharpness | Sharpness | Sharpness |
| Color | Color | Color | Color | Color | Color | Color |
| Tint | Tint (G/R) | Hue | Tint | Tint | Tint | Tint |
| White balance & color space | White Balance/Color Space | Adv. color temperature | Color Tuner | White Balance / Color Management System | Expert Picture Settings (Only available on the companion app) | Color tuner, White balance |
| Color temperature | Color Tone | Color temperature | Color Temperature | Color Temperature | Color temperature | Color temperature |
| Full/limited RGB | HDMI Black Level | HDMI video range | (Automatic) | Black Level | (Automatic) | (Automatic) |
| Dynamic contrast | Contrast Enhancer | Adv. contrast enhancer | Black detail | Dynamic Contrast | Dynamic Contrast | Active Contrast |
| Local dimming | Local Dimming | Auto local dimming | Active Full Array | LED Local Dimming | Local contrast | Local Dimming |
| Motion interpolation | Auto Motion Plus | Motionflow | Motion Control | TruMotion | Action Smoothing | Motion enhancement |
| Noise removal | Digital Clean View | Random noise reduction, Digital noise reduction | Reduce Noise | MPEG Noise Reduction | Noise Reduction | Noise reduction, Digital noise reduction |
| Black Frame Insertion | LED Clear Motion | Clearness | Clear Action | Motion Pro (OLED Motion for OLED TVs) | LED Motion Clarity | Motion Clearness |
| Full Bandwidth | Input Signal Plus | HDMI signal format | Full UHD Color | Ultra HD Deep Color | HDMI Mode | HDMI 2.0 format |