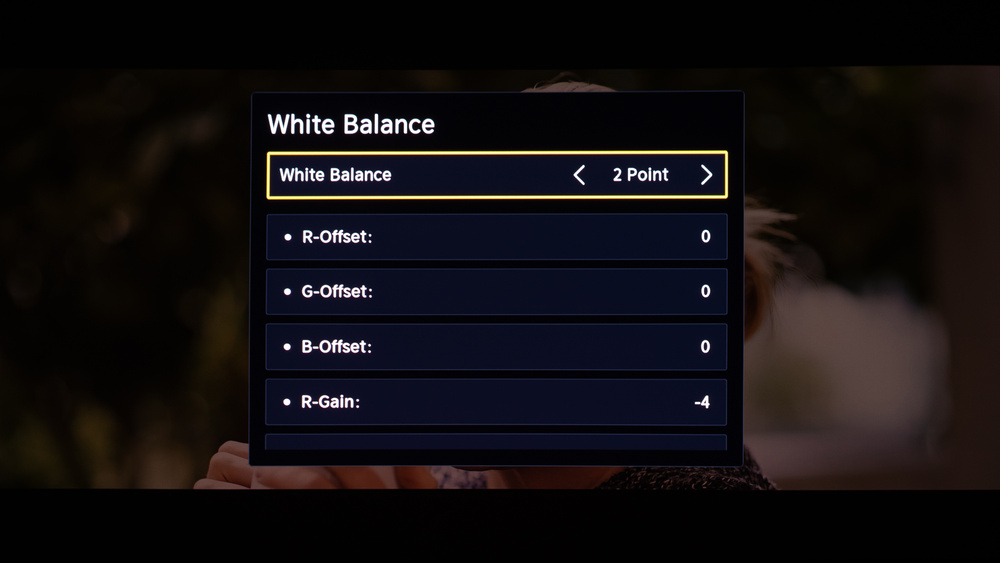
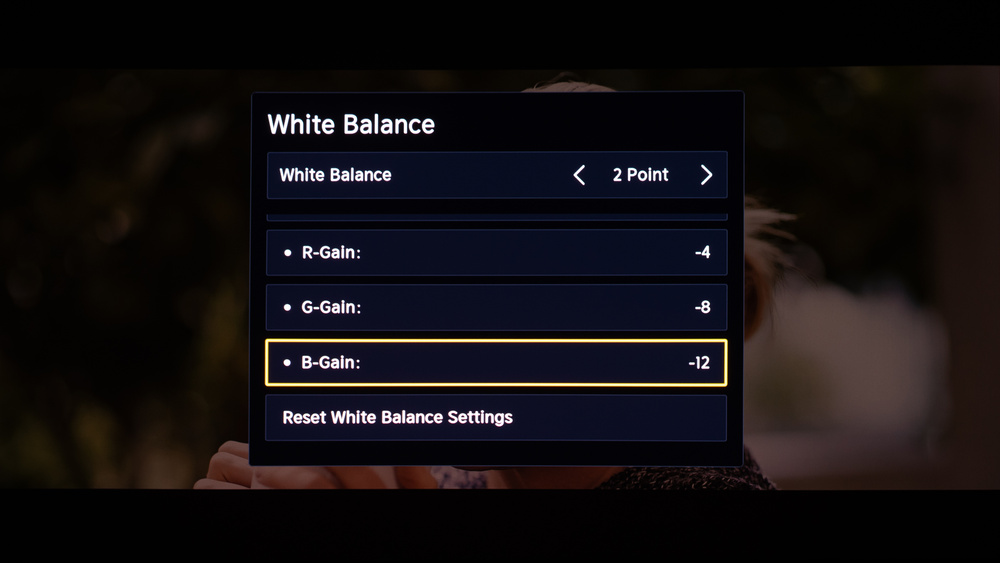
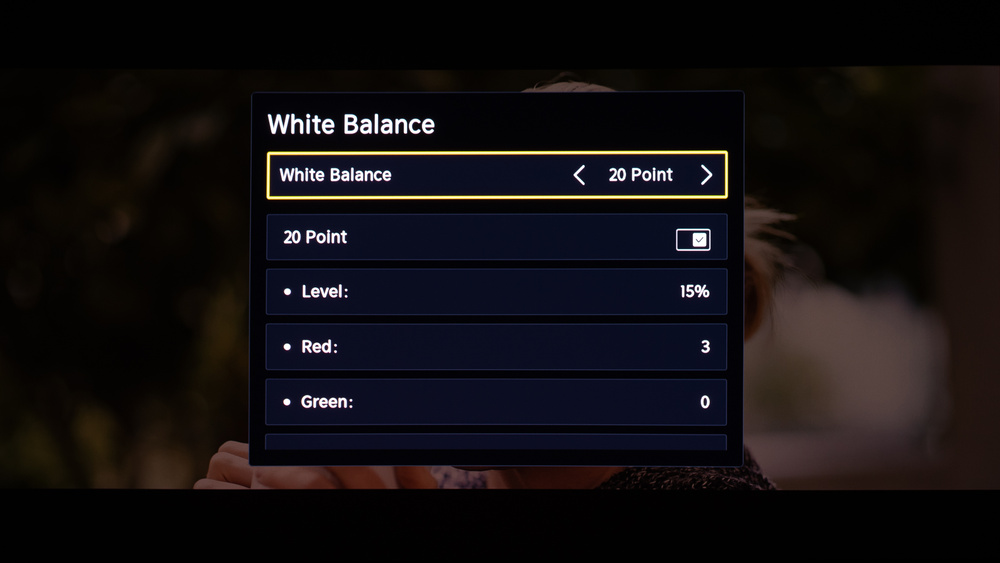
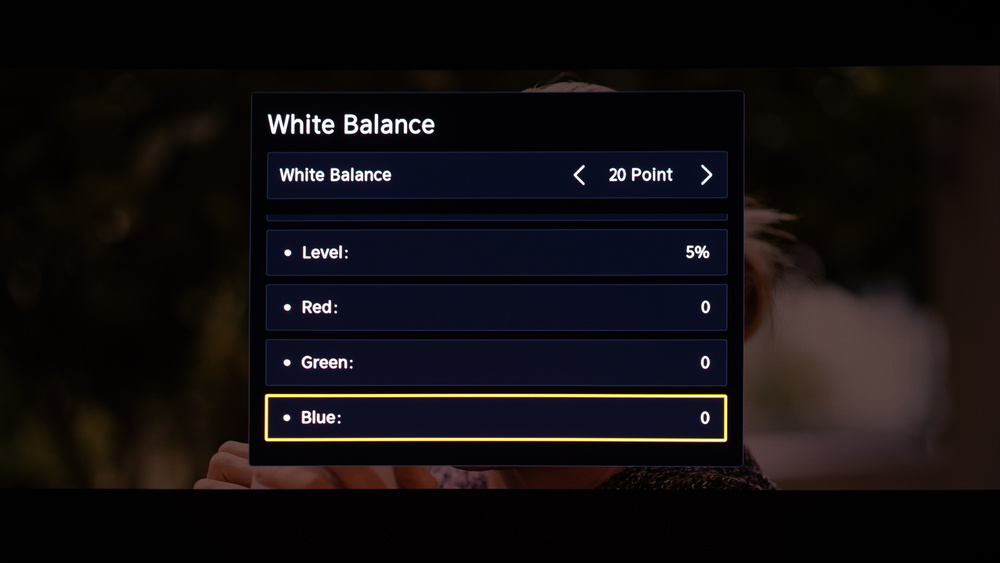
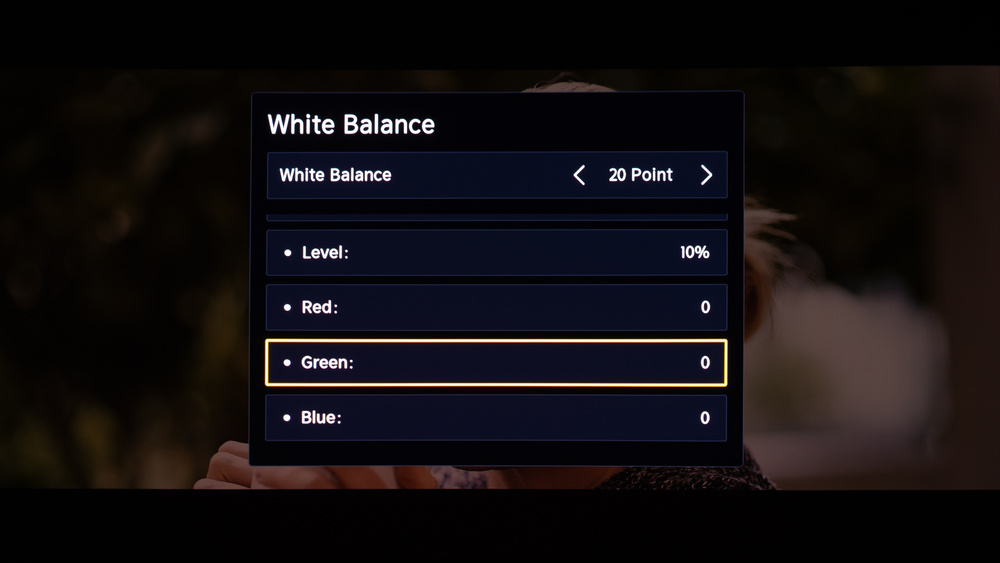
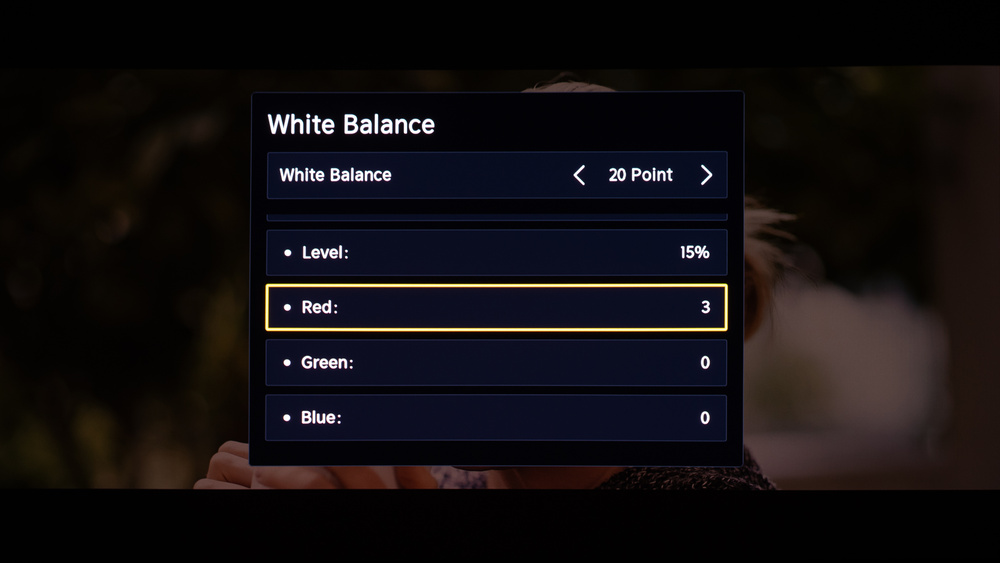
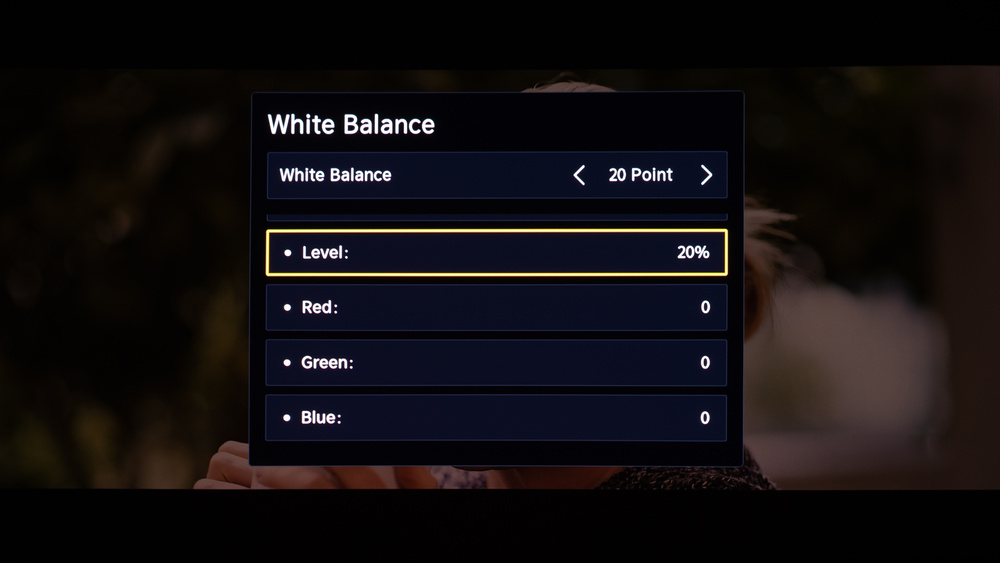
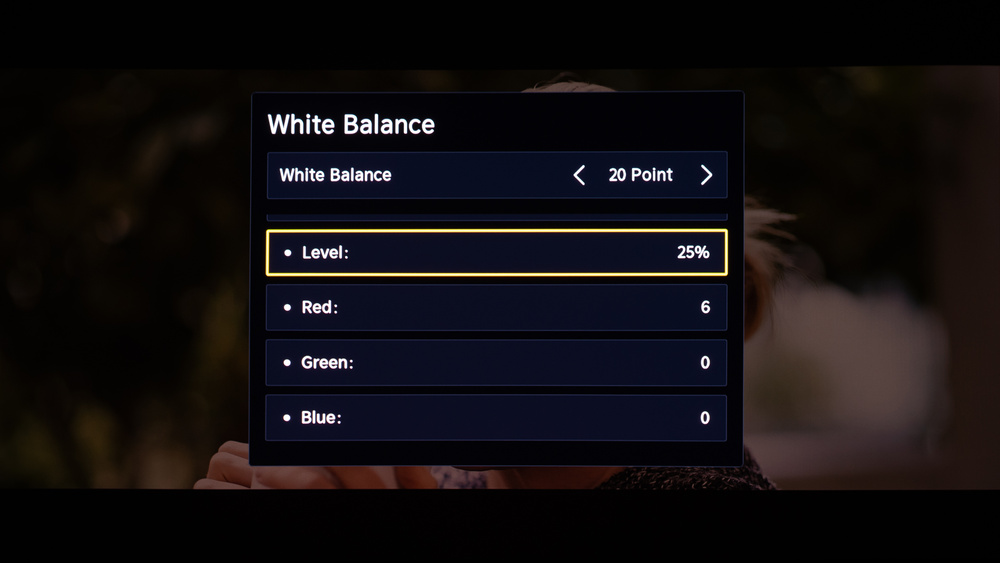
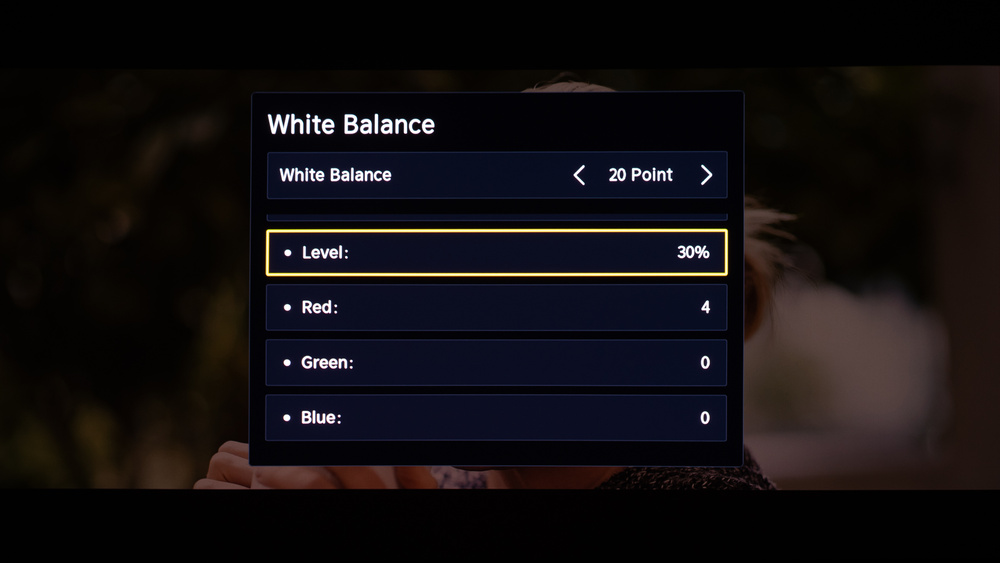
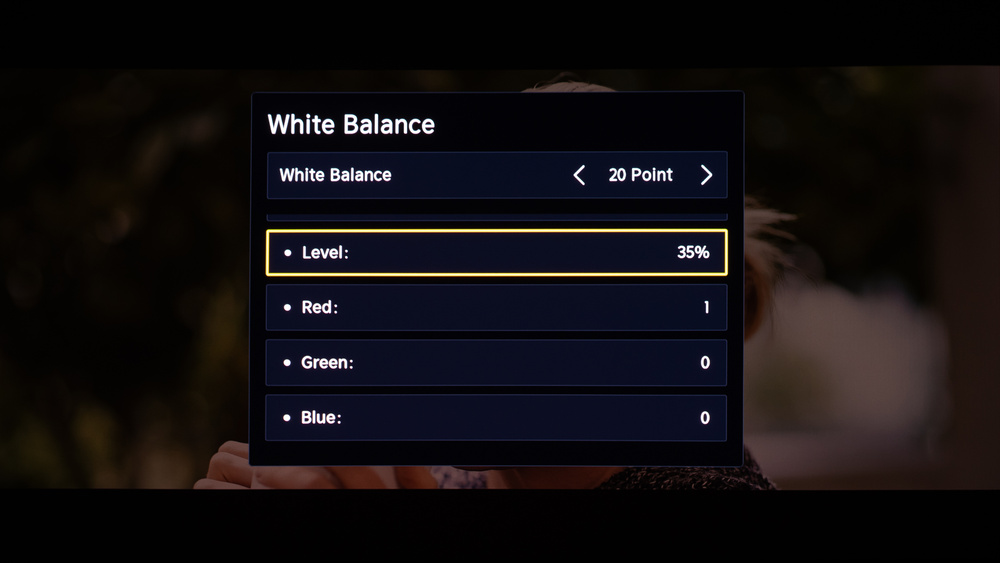
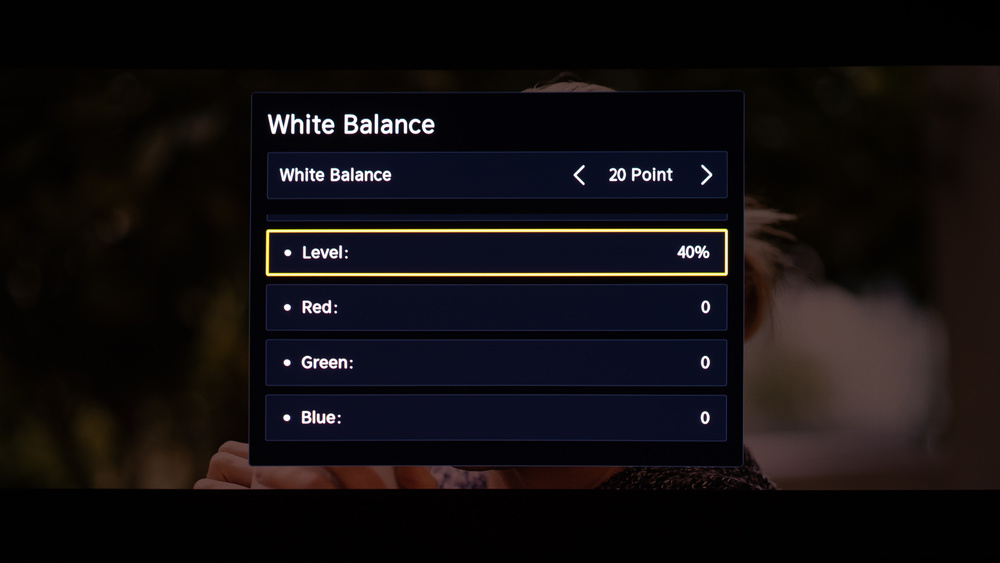
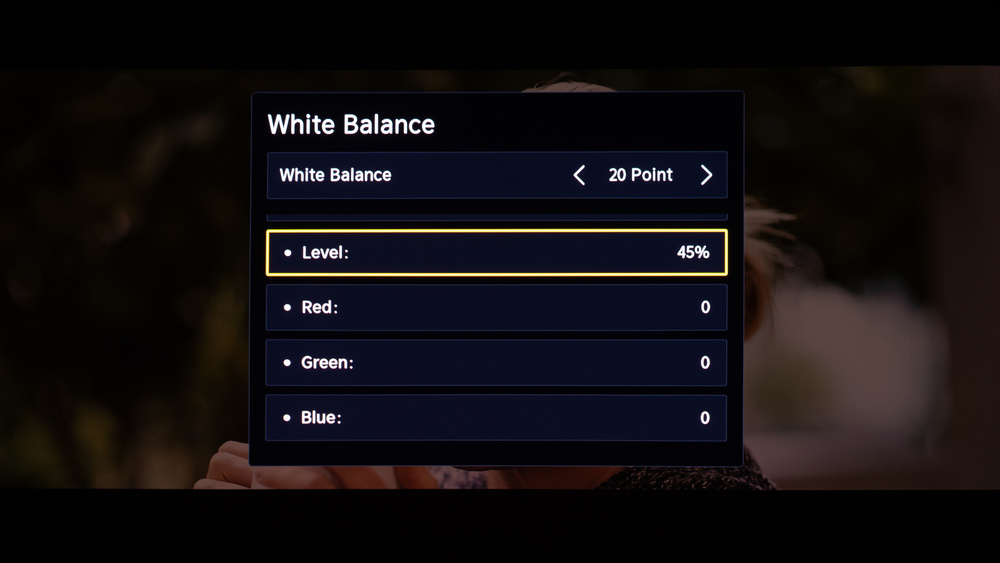
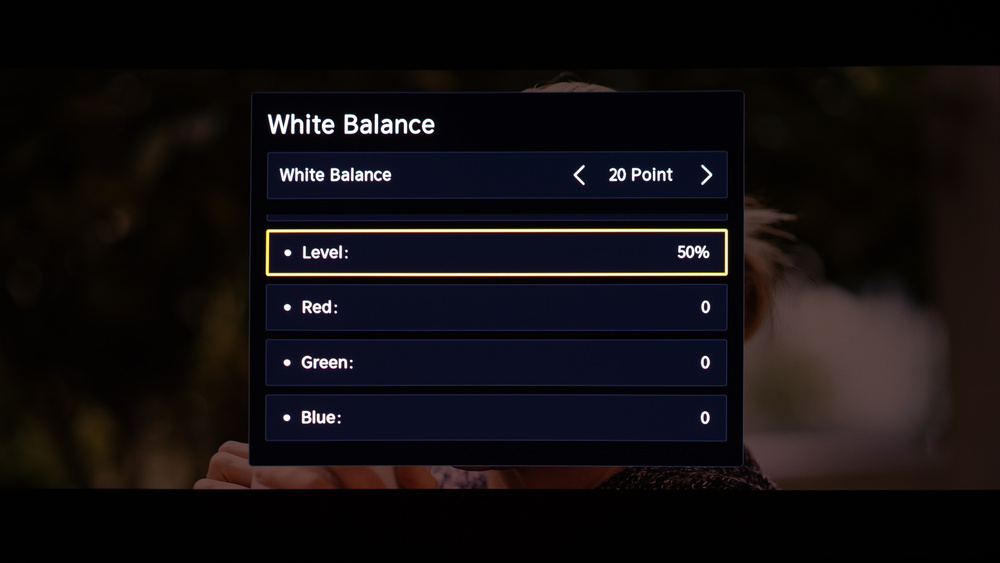
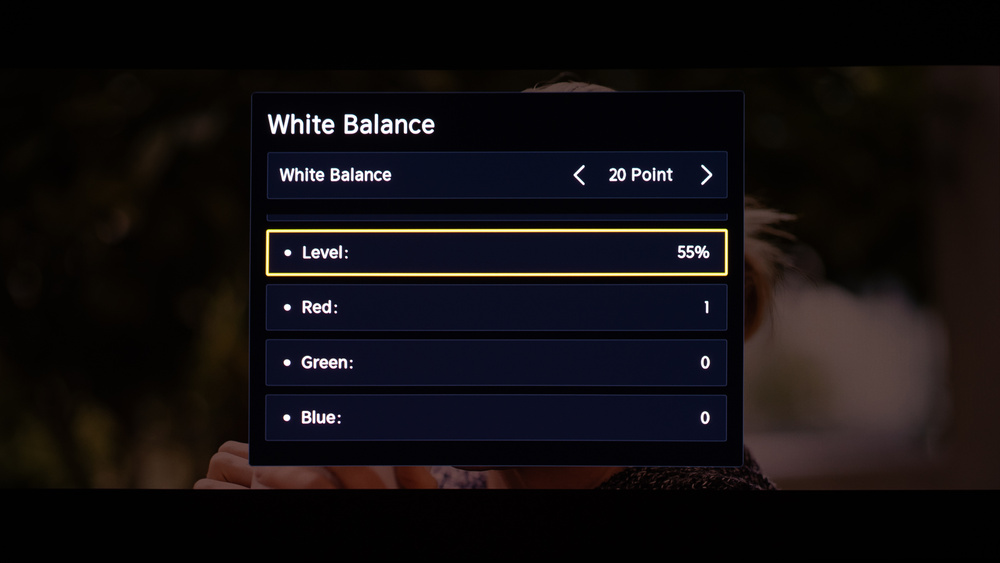
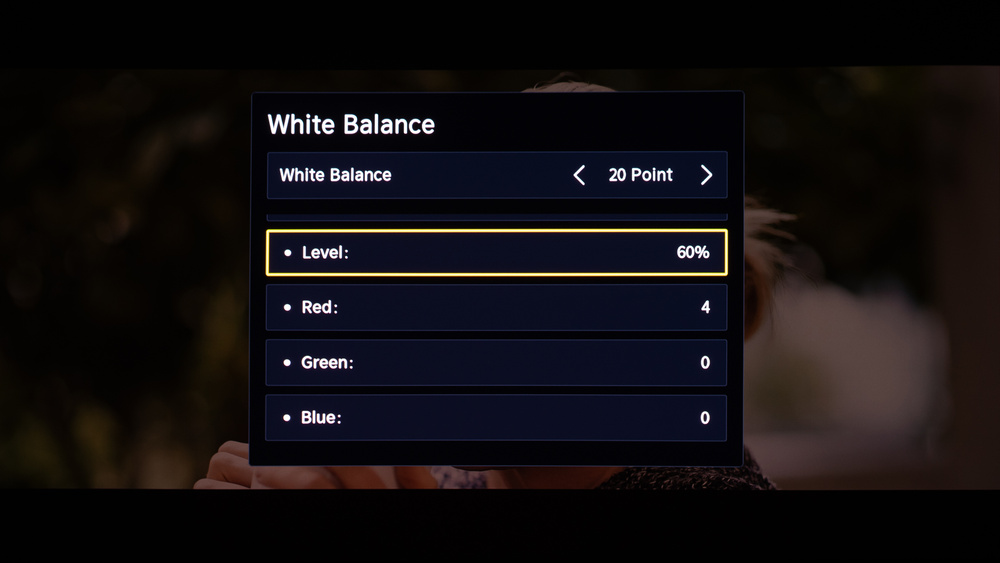
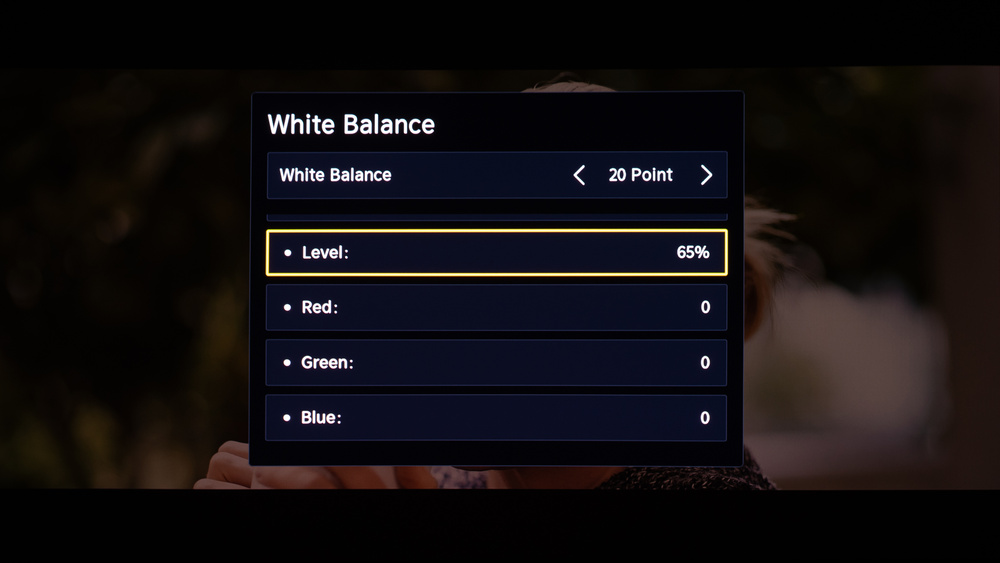
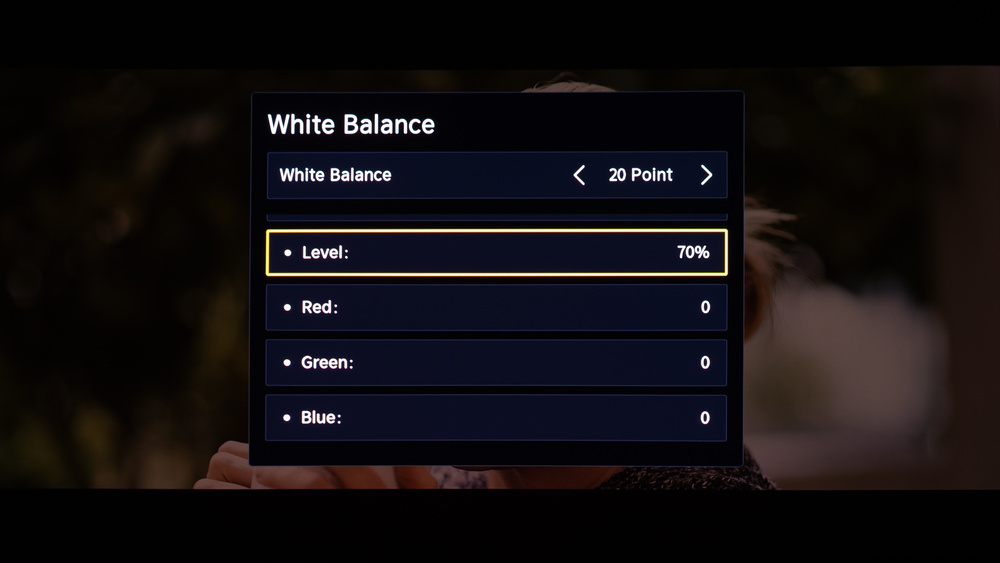
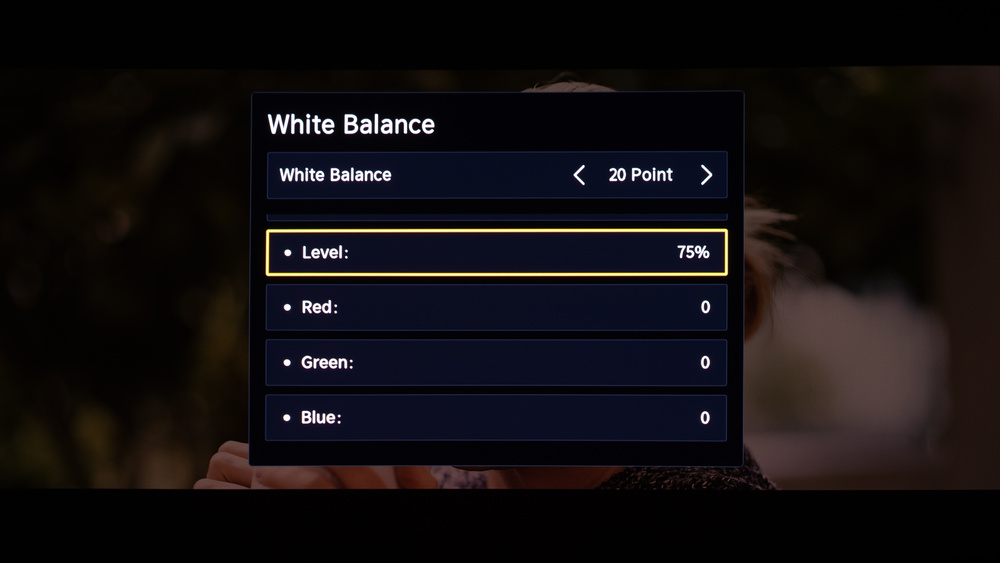
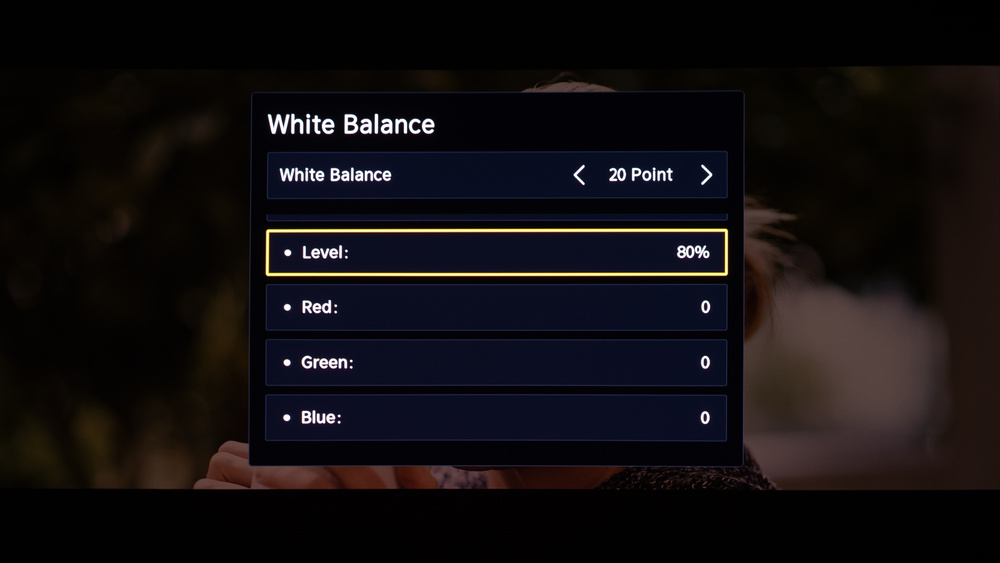
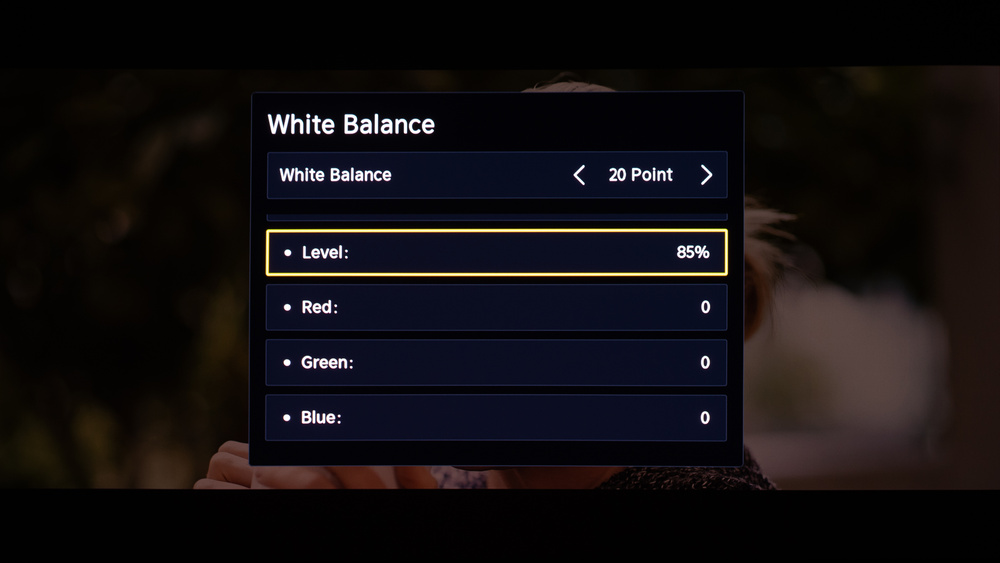
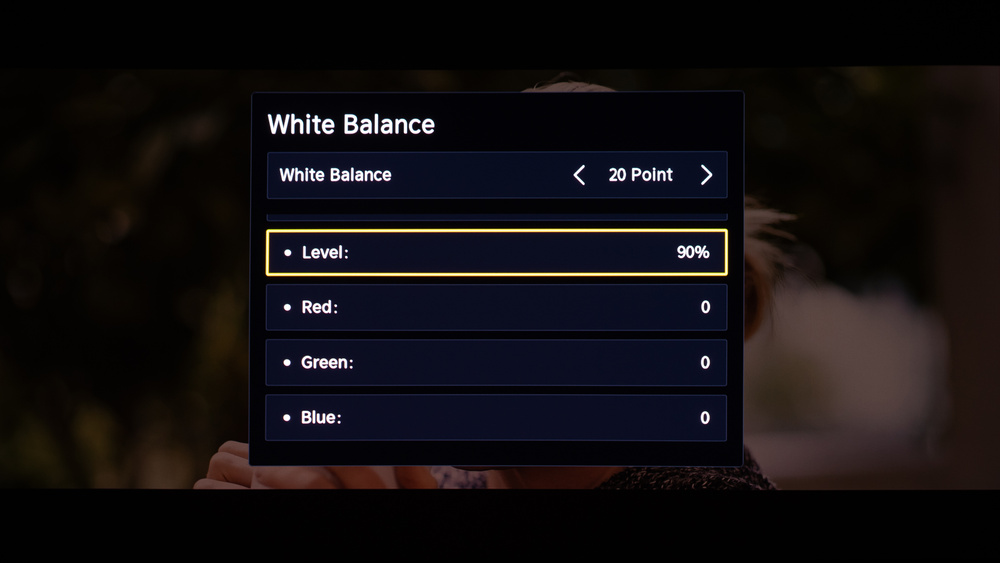
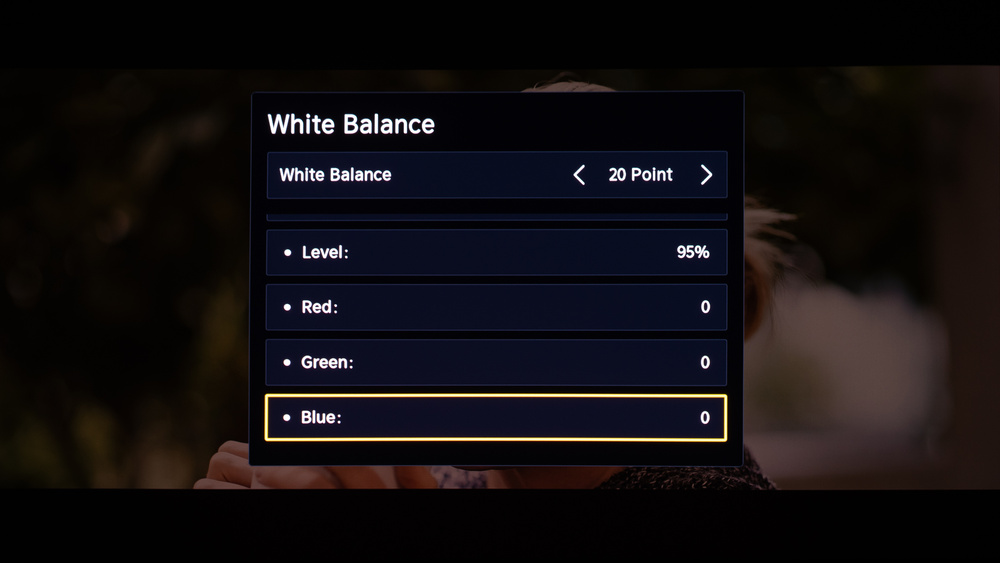
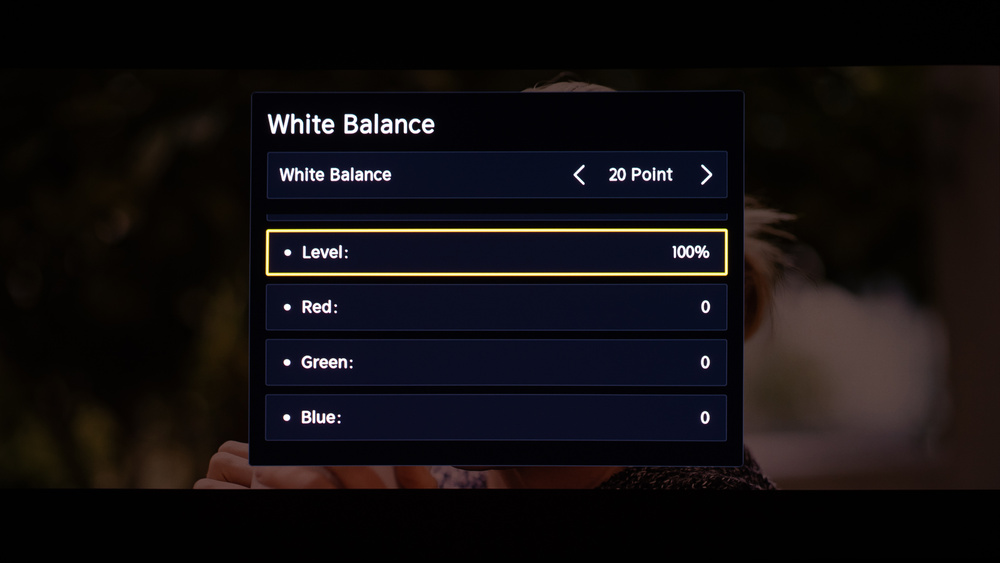
We used the following calibration settings to test the Hisense PX4-PRO. Keep in mind that results can vary slightly between individual units, firmware versions, and picture modes, so you may need small tweaks if your unit looks a bit different.
These settings are meant to provide a solid starting point for accurate SDR playback in a typical living room. They aren't meant to be copied 1:1, and your best results will depend on your screen size, throw distance, room brightness, and wall/screen color.
SDR Picture Settings
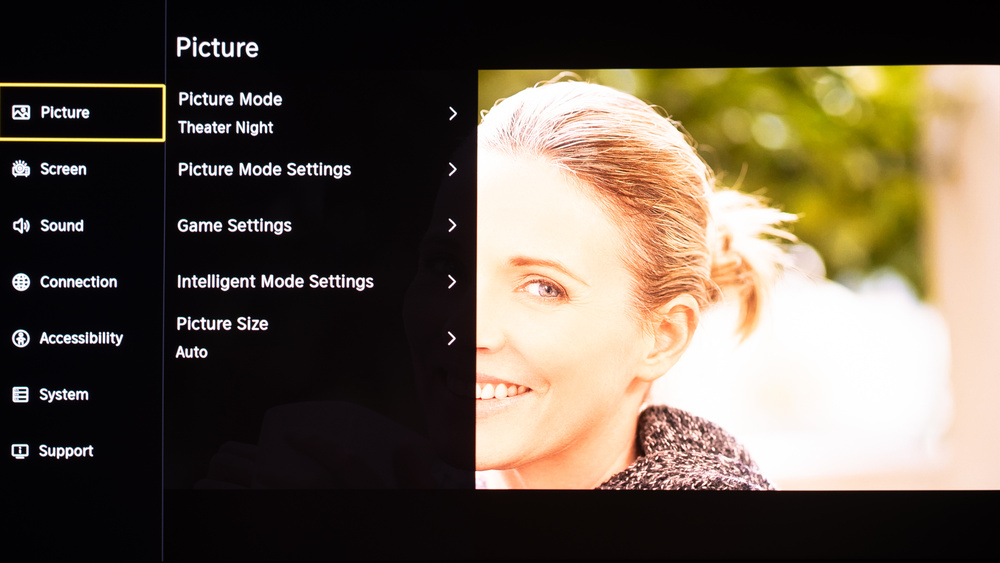
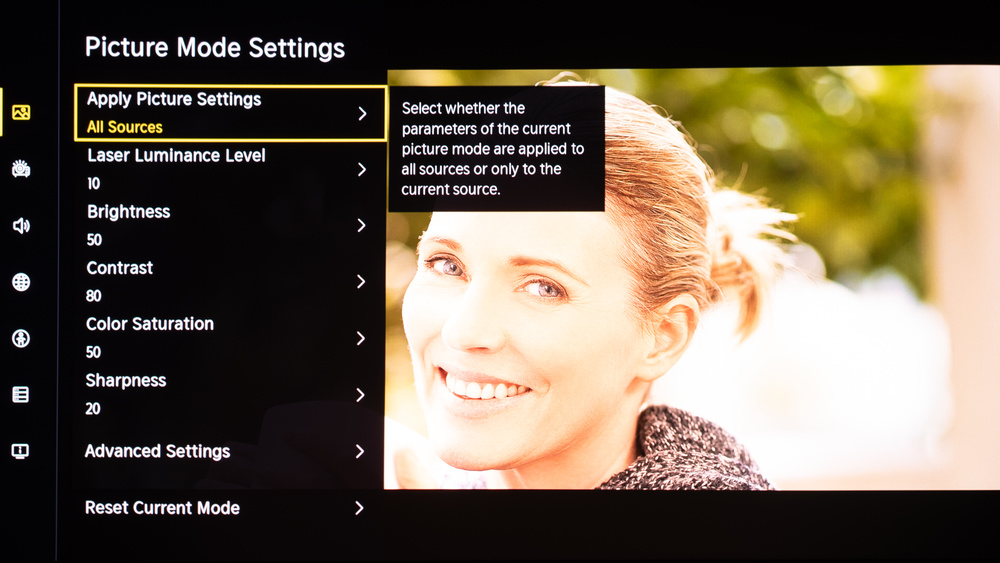
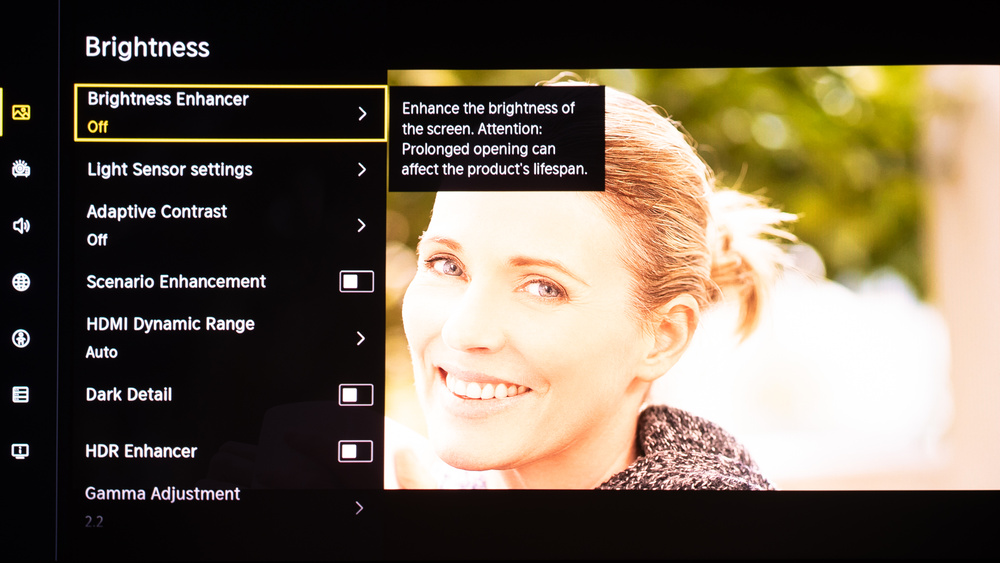
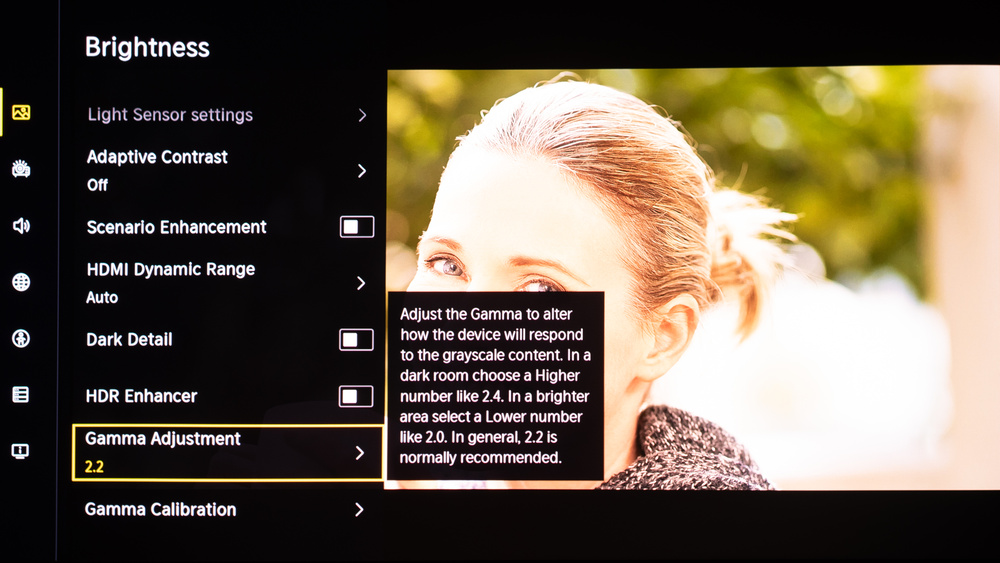
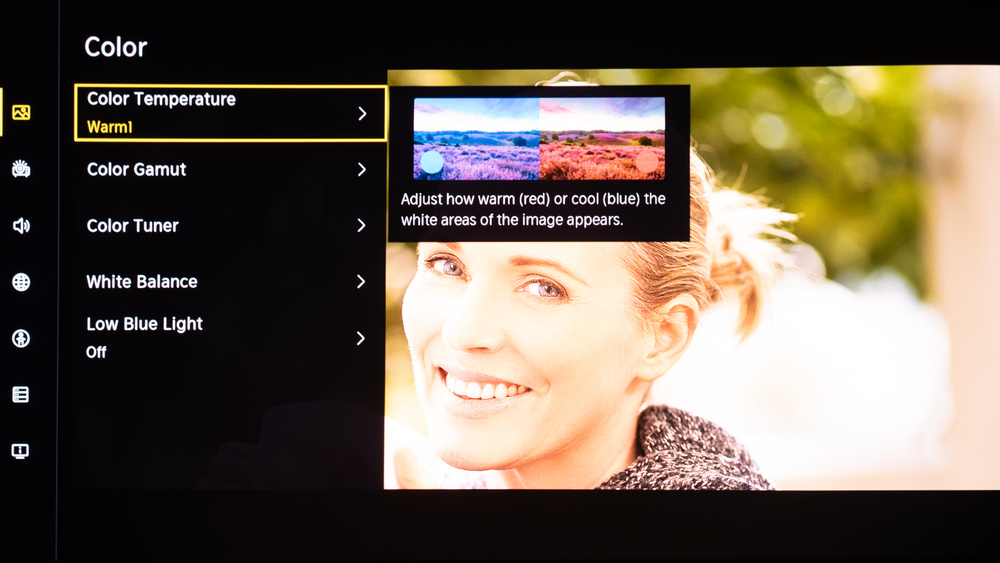
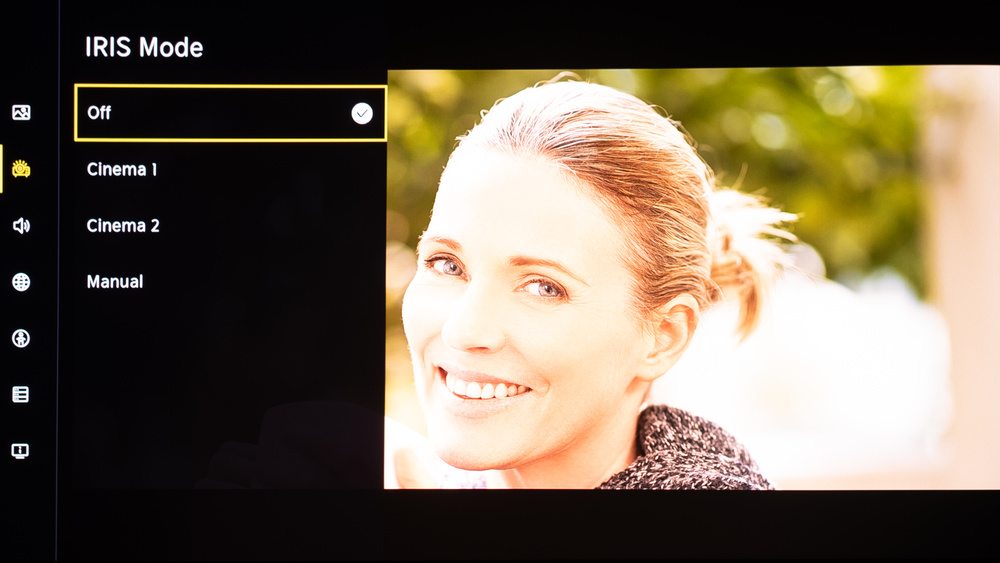
For SDR content, you can choose a few different preset picture modes. We used 'Theater Night' because it allows for the most customization, even better than 'Filmmaker Mode,' including adjusting the projector's white balance (see below). The Scenario Enhancement and Adaptive Contrast settings were left disabled, as you need to disable IRIS to use them, which causes contrast to be worse. All other settings were either left to default, disabled, or left off.
- Picture Mode: Theater Night
- Color Temperature: Warm1
- Gamma Adjustment: 2.2
- Manual IRIS: 1
Gaming Settings
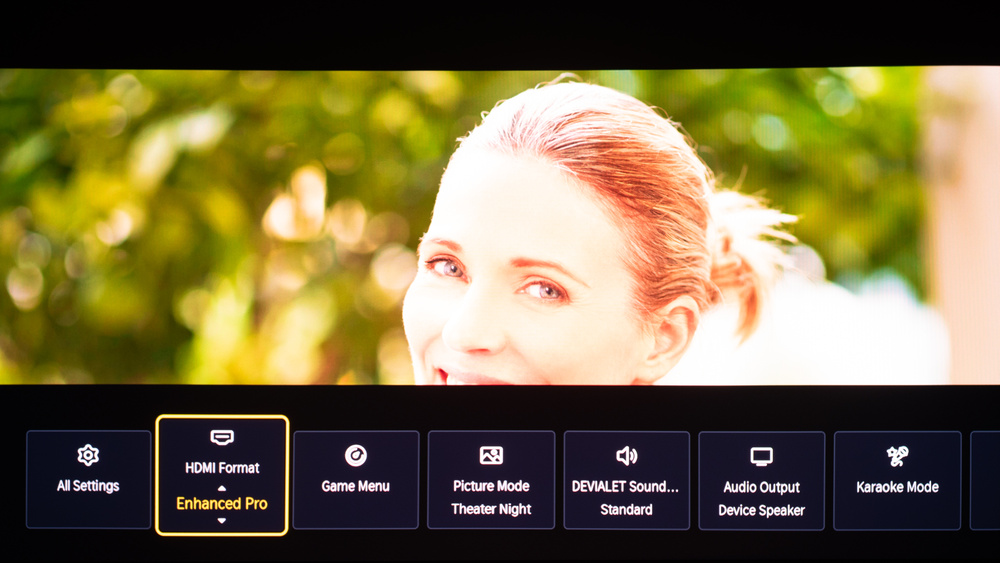
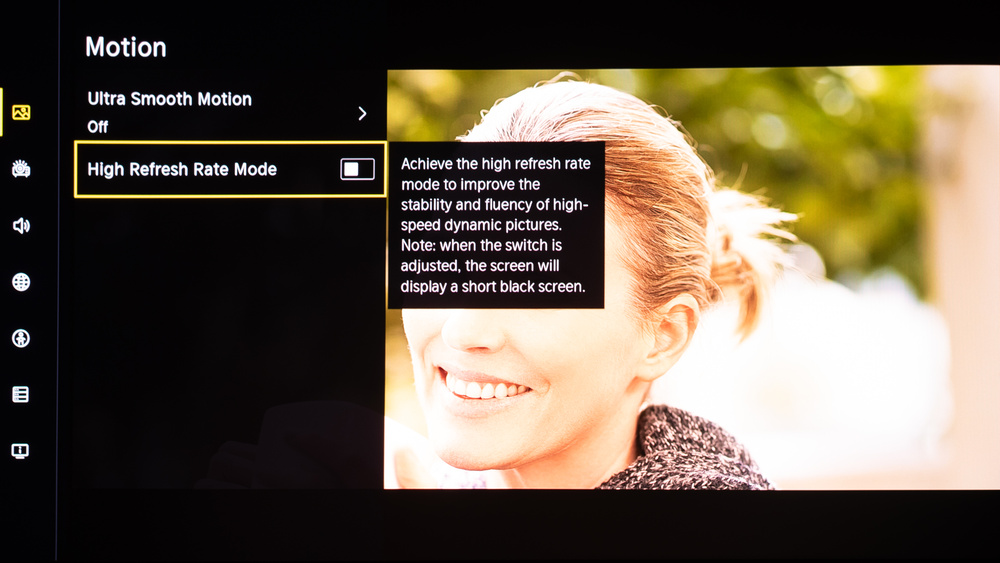
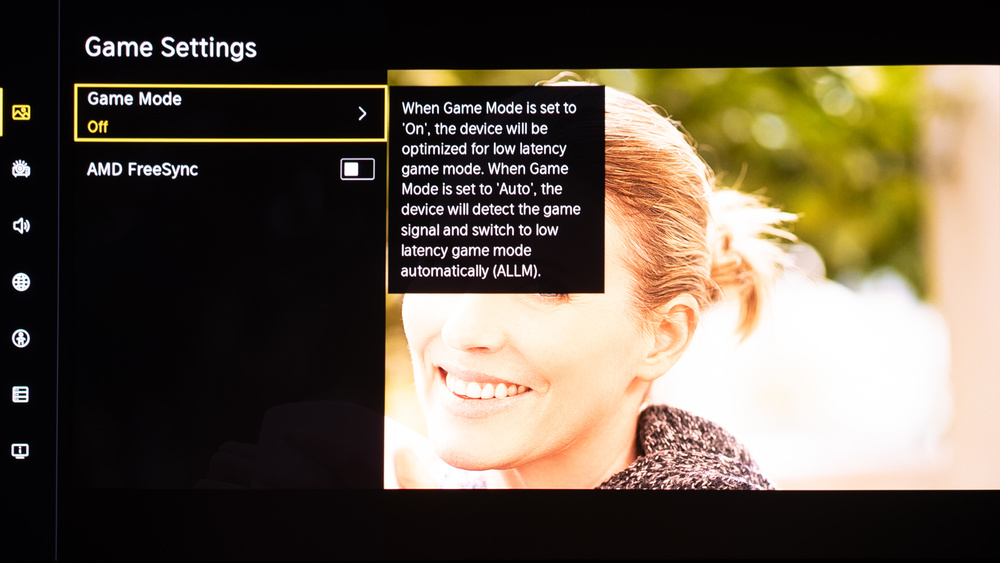
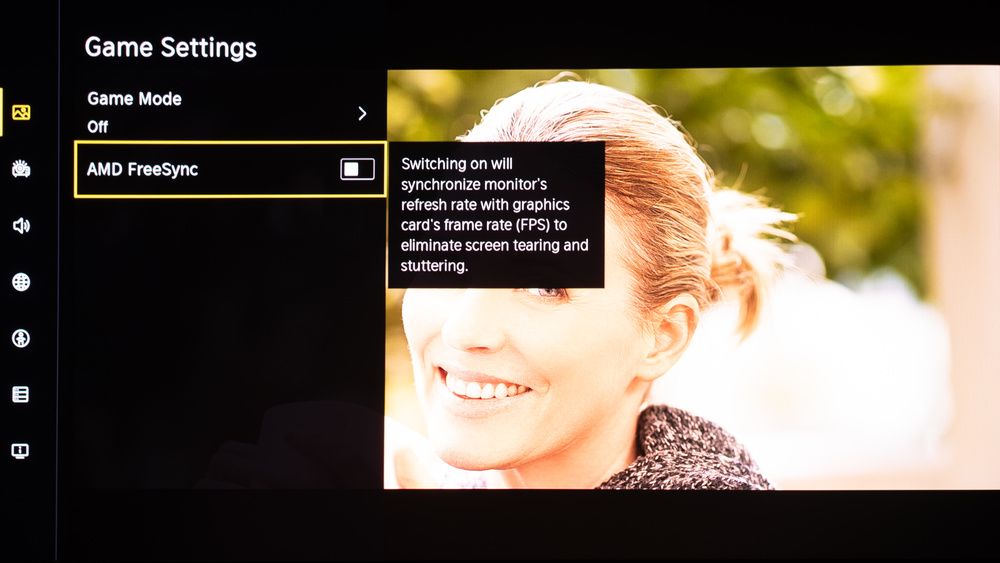
From the base SDR settings, very few changes are required for the best gaming experience.
- Enable High Refresh Rate Mode and set HDMI Input to 'Enhanced Pro' to game in 120Hz and 240Hz. Note that High Refresh Rate Mode limits the unit to 1080p resolution.
- For the lowest input lag, make sure to enable Game Mode.
- Enable AMD FreeSync to get VRR support to reduce screen tearing.
Our other settings are the same as those in our SDR Picture Settings.
Other Settings
For information on any other settings or features that fall outside of the scope of our testing, please refer to Hisense's product page.
White Balance Settings
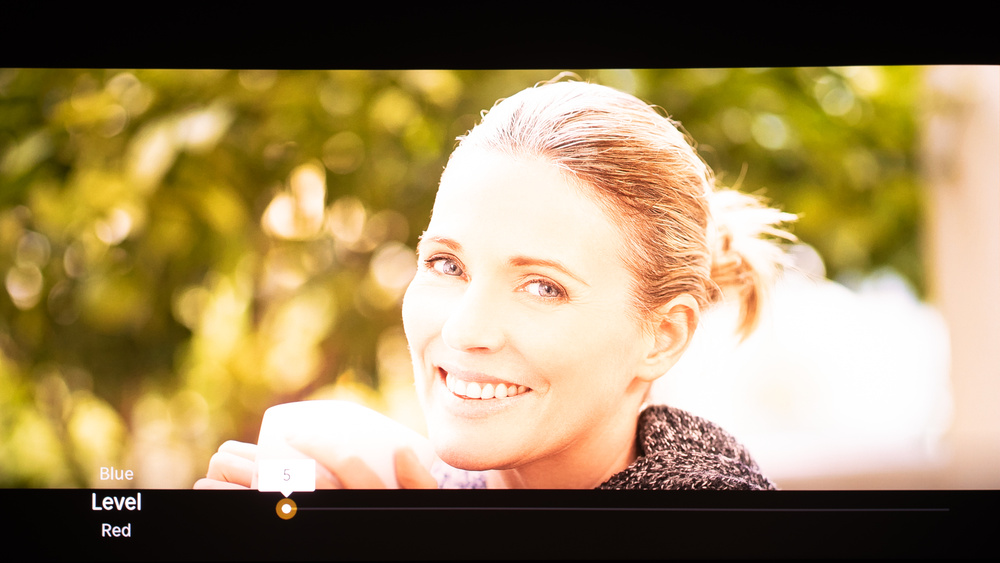
The following are the results of our unit's white balance and colorspace calibration. They're provided for reference and shouldn't be copied, as the calibration values vary per individual unit due to manufacturing tolerances. If you want to try them, you'll need to enter all the values shown, as all of them are active at the same time. If you end up with worse picture quality, simply reset them to the default values.