Products
Tested using Methodology v0.14
Updated Oct 29, 2026 05:48 PM
SEE PRICE
DicksSportingGoods.com
Tested using Methodology v0.14
Updated Oct 29, 2026 06:19 PM
SEE PRICE
Amazon

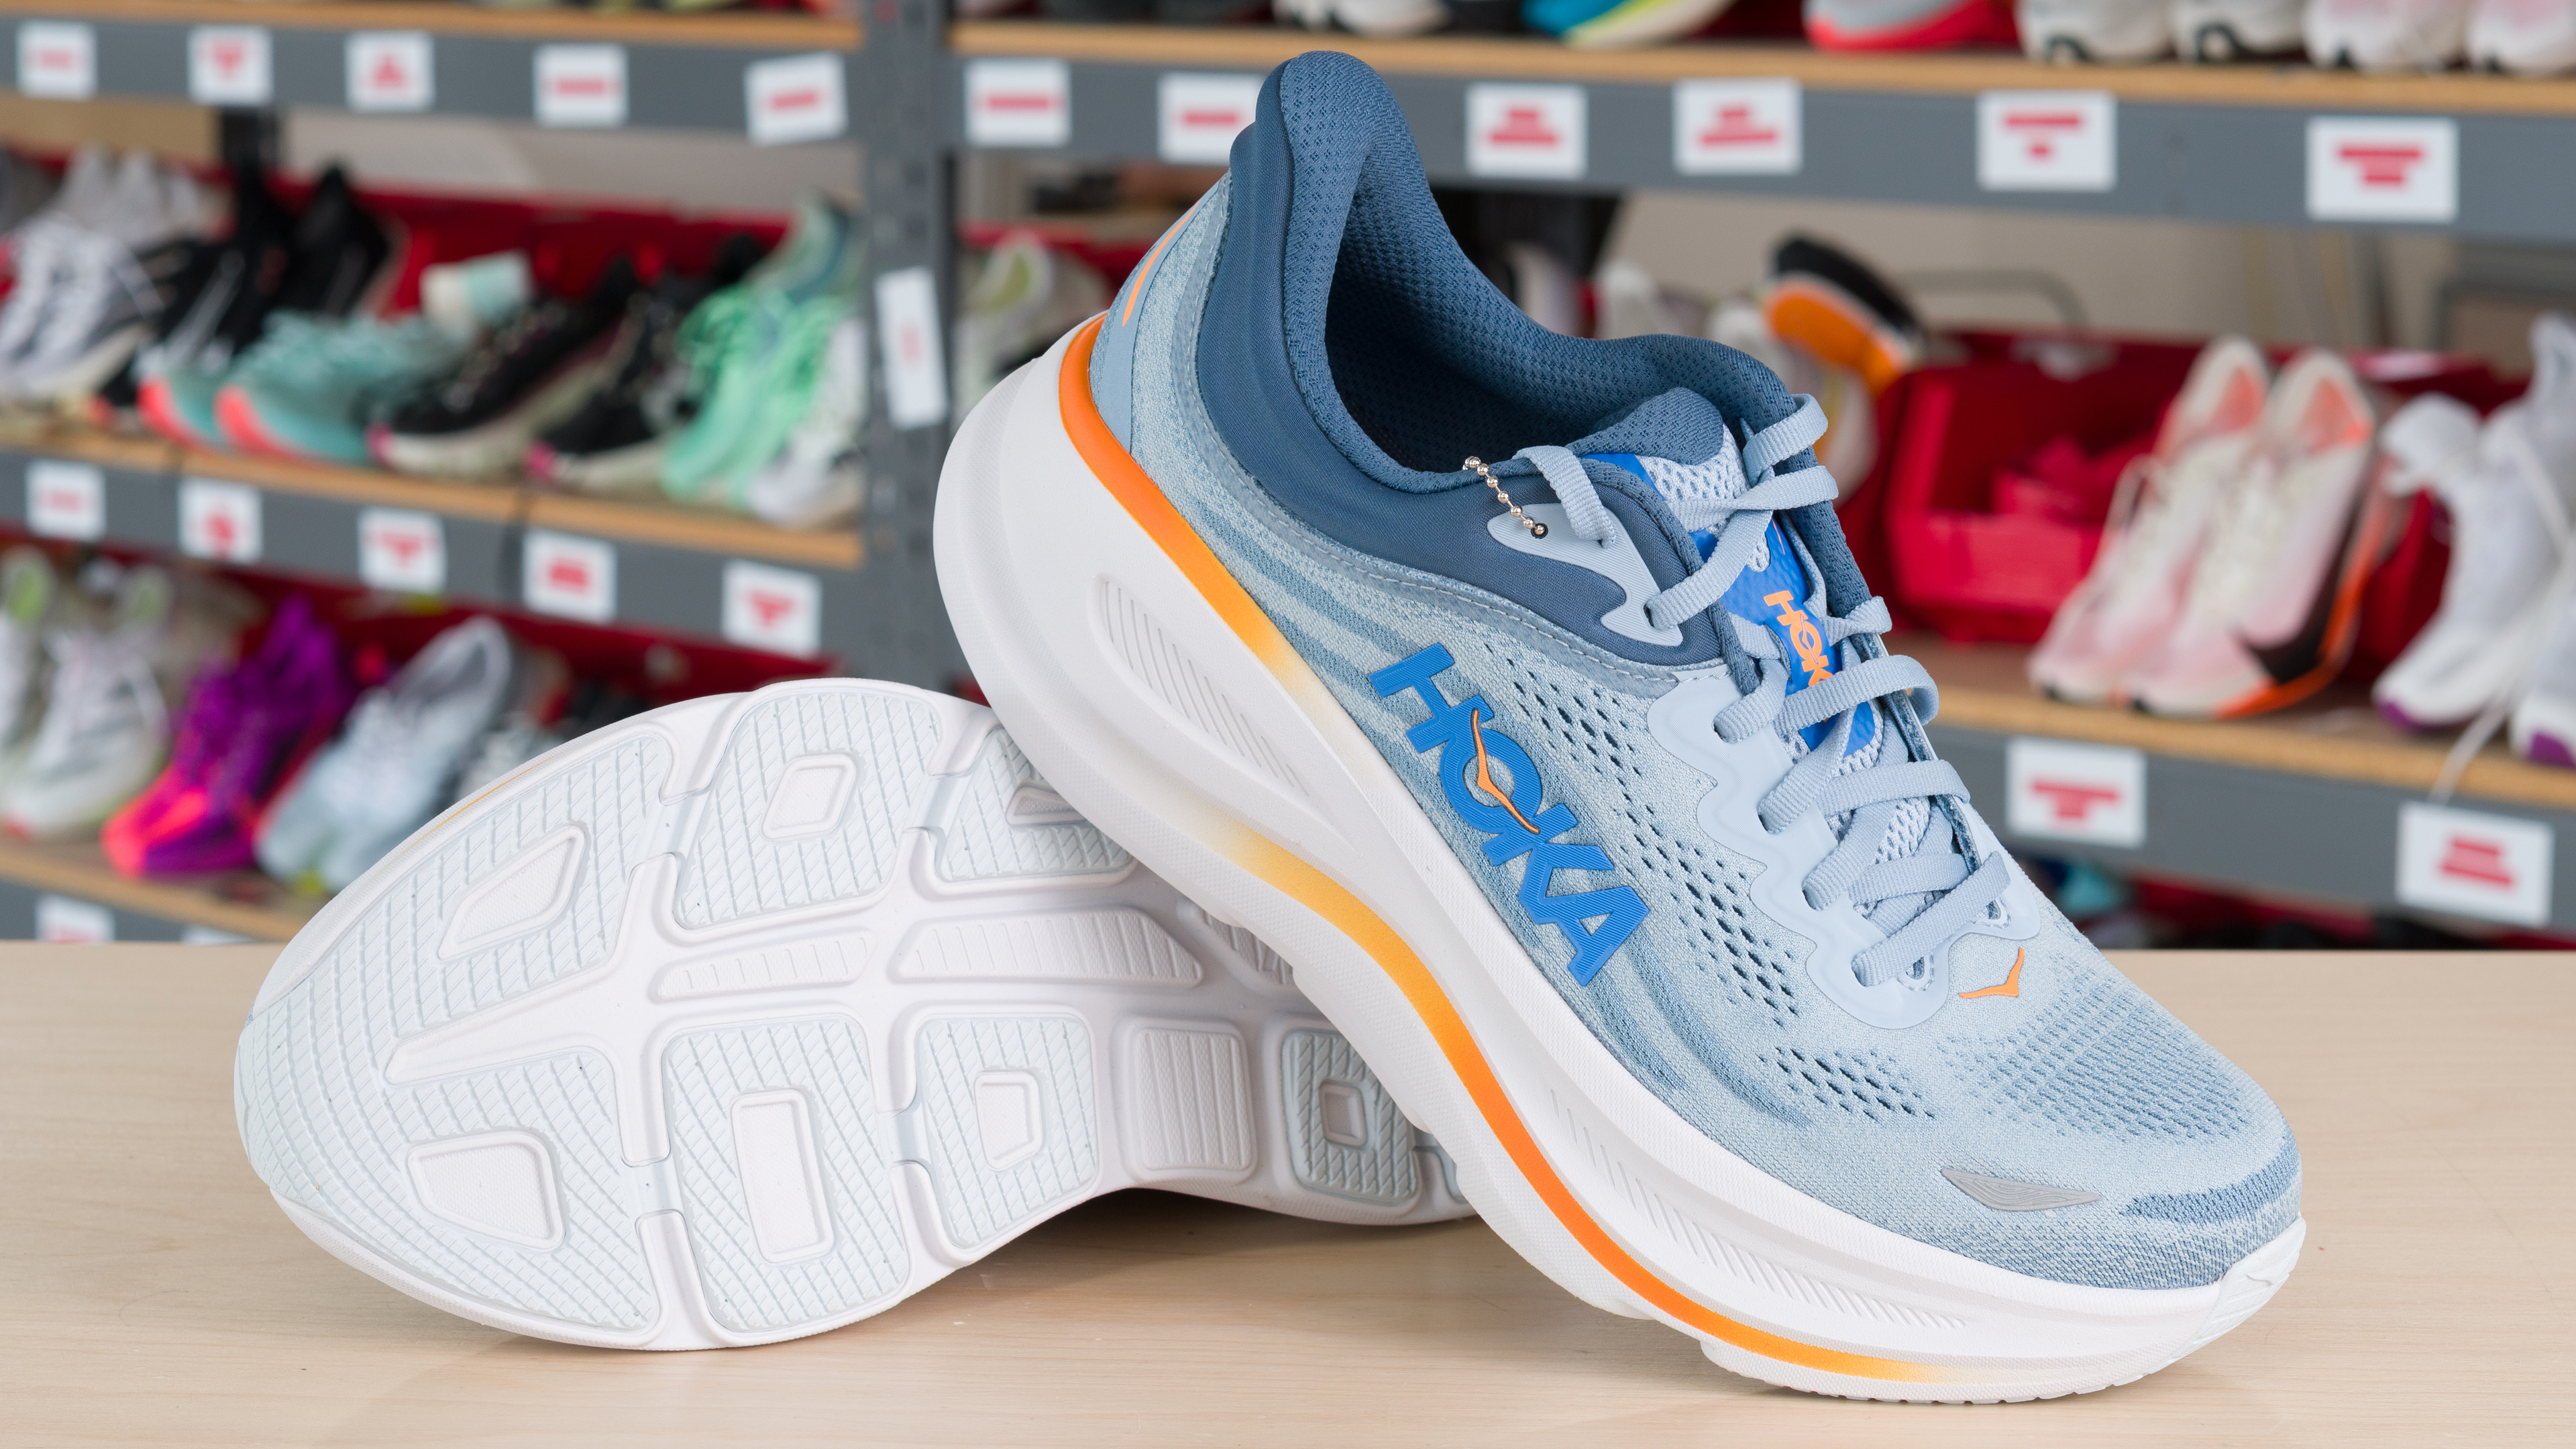
Heel Stack Height
39.2 mm
Weight
257.5 g (9.08 oz)
Heel-To-Toe Drop
8.3 mm
Plate
None
Heel Stack Height
41.5 mm
Weight
297.8 g (10.50 oz)
Heel-To-Toe Drop
7.0 mm
Plate
None
Our Verdict
HOKA Clifton 9
HOKA Bondi 9
The HOKA Bondi 9 is a better running shoe than the HOKA Clifton 9. Its softer, more deeply cushioned platform provides much better protection from road impact, especially over longer runs. Its better energy return also provides more assistance through each stride, making it easier to keep your legs moving. That said, the Clifton 9 is significantly lighter, more stable, and cheaper. If you mainly want a straightforward shoe for everyday mileage and don’t need the Bondi’s extra cushioning, the Clifton is a good alternative.
Variants
- Clifton 9 (Black/Black - (Women - US 7))
- Clifton 9 (Black/Rose Gold - (Women - US 7))
- Bondi 9 (Asphalt Grey/Gravel - (Men - US 9))
- Bondi 9 (Aster Flower/Starlight Glow - (Women - US 7))
Main Differences for
Half/Full Marathon Racing
Half/Full Marathon Racing
Threshold
Half/Full Marathon Racing
6.5
6.8
Weight
6.1
4.5
Forefoot Compression Energy Return
2.4
6.8
Forefoot Bending Energy Return
3.6
6.6
Forefoot Long Run Cushioning
6.9
8.3
Full Comparison
Design
Weight
6.1
4.5
Right Shoe Weight Photo
Compare High-Res

Compare High-Res
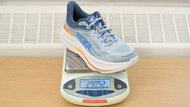
Left Shoe Weight Photo
Compare High-Res

Compare High-Res
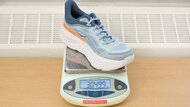
Weight
257.5 g (9.08 oz)
297.8 g (10.50 oz)
Stack Heights
Stack Height Photo
Compare High-Res

Compare High-Res
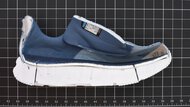
Heel Stack Height
39.2 mm
41.5 mm
Forefoot Stack Height
30.9 mm
34.5 mm
Heel-To-Toe Drop
8.3 mm
7.0 mm
Advertised Heel-To-Toe Drop
5.0 mm
5.0 mm
External Shape
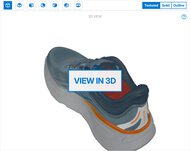
3D Model Full Shoe
Preview 3D

Preview 3D
Outsole Heel Width
89 mm (3.5")
99 mm (3.9")
Outsole Arch Width
84 mm (3.3")
87 mm (3.4")
Outsole Forefoot Width
107 mm (4.2")
120 mm (4.7")
Heel Width-To-Stack Ratio
2.27
2.39
Forefoot Width-To-Stack Ratio
3.47
3.48
Internal Shape
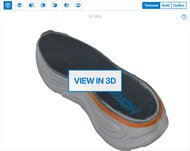
3D Model Internal
Preview 3D

Preview 3D
Internal Length
274 mm (10.8")
277 mm (10.9")
Internal Heel Width
58 mm (2.3")
64 mm (2.5")
Internal Forefoot Width
87 mm (3.4")
94 mm (3.7")
Wide Sizing Available
Yes
Yes
Forefoot Fit: Width
9.6
7.6
Forefoot Width Photo
Compare High-Res

Compare High-Res
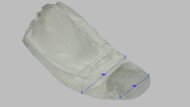
Ball-Of-Foot TTS Deviation
-0.4 mm (-0.014")
-1.1 mm (-0.041")
Toe TTS Deviation
-1.9 mm (-0.075")
-8.3 mm (-0.325")
Forefoot Fit: Height
10
8.3
Forefoot Height Photo
Compare High-Res

Compare High-Res
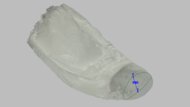
Toe TTS Deviation
0.0 mm (-0.002")
-2.2 mm (-0.087")
Arch Fit: Width
9.3
8.6
Arch Fit Photo
Compare High-Res

Compare High-Res
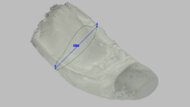
Arch Width TTS Deviation
-1.4 mm (-0.056")
-2.5 mm (-0.098")
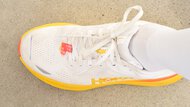
Length Fit
10
10
Toe Clearance Photo
Compare High-Res

Compare High-Res
Heel Rocker Geometry
8.0
7.0
Heel Rocker Photo
Compare High-Res

Compare High-Res
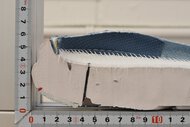
Heel Spring
25 mm (1.0")
17 mm (0.7")
Heel Apex Position
19.2%
15.5%
Heel Rocker Angle
24.1°
24.4°
Forefoot Rocker Geometry
5.8
7.3
Forefoot Rocker Photo
Compare High-Res

Compare High-Res
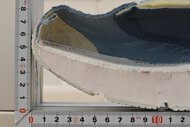
Toe Spring
40 mm (1.6")
50 mm (2.0")
Toe Apex Position
62.2%
62.1%
Forefoot Rocker Angle
20.0°
24.4°
Foam
Primary Foam Picture
Compare High-Res

Compare High-Res

Secondary Foam Picture
Compare High-Res

Compare High-Res
Primary Foam Name
Not Advertised
Not Advertised
Primary Foam Type
EVA
EVA
Secondary Foam Name
No Secondary Foam
No Secondary Foam
Secondary Foam Type
No Secondary Foam
No Secondary Foam
Laces
Laces Picture
Compare High-Res
Compare High-Res
Lace Type
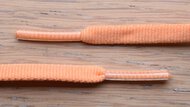
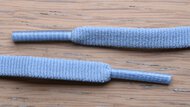
Flat
Flat
Width
5.0 mm (0.2")
6.0 mm (0.2")
Thickness
2.0 mm (0.1")
1.8 mm (0.1")
Stretch
15.0%
13.0%
Other Features
Other Features Photo
Compare High-Res

Compare High-Res
Tongue Gusset Type
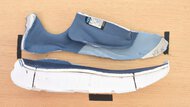
Non-gusseted
Non-gusseted
Plate
None
None
Performance
Heel Compression Energy Return
2.2
6.4
Heel Compression Video
Heel Energy Return
Preview Graph

Preview Graph
Heel Energy Return
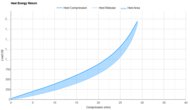
68.1%
74.3%
Forefoot Compression Energy Return
2.4
6.8
Forefoot Compression Video
Forefoot Energy Return
Preview Graph

Preview Graph
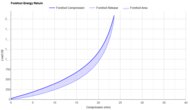
Forefoot Energy Return
68.6%
75.4%
Heel Cushioning
7.6
8.8
Heel Cushioning Picture
Compare High-Res

Compare High-Res

Heel Cushioning
Preview Graph

Preview Graph
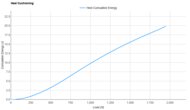
Energy Absorbed At 550N
3.11 J
3.81 J
Energy Absorbed At 1100N
9.51 J
11.03 J
Energy Absorbed At 1900N
16.72 J
19.35 J
Forefoot Cushioning
7.9
8.9
Forefoot Cushioning Picture
Compare High-Res

Compare High-Res

Forefoot Cushioning
Preview Graph

Preview Graph
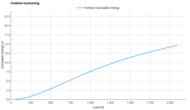
Energy Absorbed At 800N
4.51 J
5.77 J
Energy Absorbed At 1300N
8.58 J
10.02 J
Energy Absorbed At 2050N
13.19 J
14.47 J
Heel Firmness
8.5
6.4
Heel Firmness Graph
Preview Graph

Preview Graph
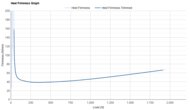
Firmness At 550N
50.1 N/mm
39.8 N/mm
Firmness At 1100N
57.8 N/mm
48.0 N/mm
Firmness At 1900N
79.1 N/mm
66.2 N/mm
Forefoot Firmness
8.6
5.6
Forefoot Firmness Graph
Preview Graph

Preview Graph
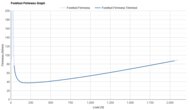
Firmness At 800N
65.2 N/mm
48.2 N/mm
Firmness At 1300N
80.0 N/mm
62.6 N/mm
Firmness At 2050N
107 N/mm
87 N/mm
Forefoot Long Run Cushioning
6.9
8.3
Forefoot Long Run Cushioning
Preview Graph

Preview Graph
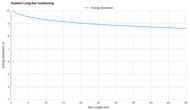
Energy Absorbed At 10km
7.60 J
9.31 J
Energy Absorbed At 20km
7.34 J
9.03 J
Energy Absorbed At 30km
7.18 J
8.86 J
Energy Absorbed At 40km
7.05 J
8.72 J
Rocker Stiffness
6.1
5.2
Forefoot Rocker Stiffness Video
Forefoot Rocker Stiffness Graph
Preview Graph

Preview Graph
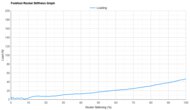
Force To Flatten The Rocker
63 N
46 N
Forefoot Bending Energy Return
3.6
6.6
Forefoot Bending Video
Forefoot Bending Energy Return
Preview Graph

Preview Graph
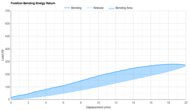
Forefoot Bending Energy Return
52.0%
63.0%
Forefoot Bending Stiffness
7.8
6.5
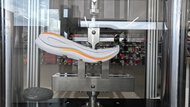
Forefoot Bending Resistance Picture
Compare High-Res

Compare High-Res
Forefoot Bending Resistance
Preview Graph

Preview Graph
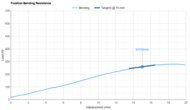
Forefoot Bending Stiffness
14.0 N/mm
9.4 N/mm
Forefoot Bending Force
364 N
258 N
HOKA Clifton 9
HOKA Bondi 9
Comments
HOKA Clifton 9 vs HOKA Bondi 9: Main Discussion
What do you think of these products? Let us know below.
Looking for a personalized buying advice from the RTINGS.com experts? Members have direct access to buying advice on our member forum.