Products
Tested using Methodology v0.13
Updated Jun 30, 2026 08:28 PM
Tested using Methodology v0.13
Updated Jun 30, 2026 08:30 PM

Our Verdict
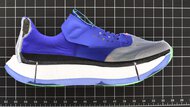
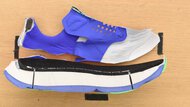
ASICS SUPERBLAST 3
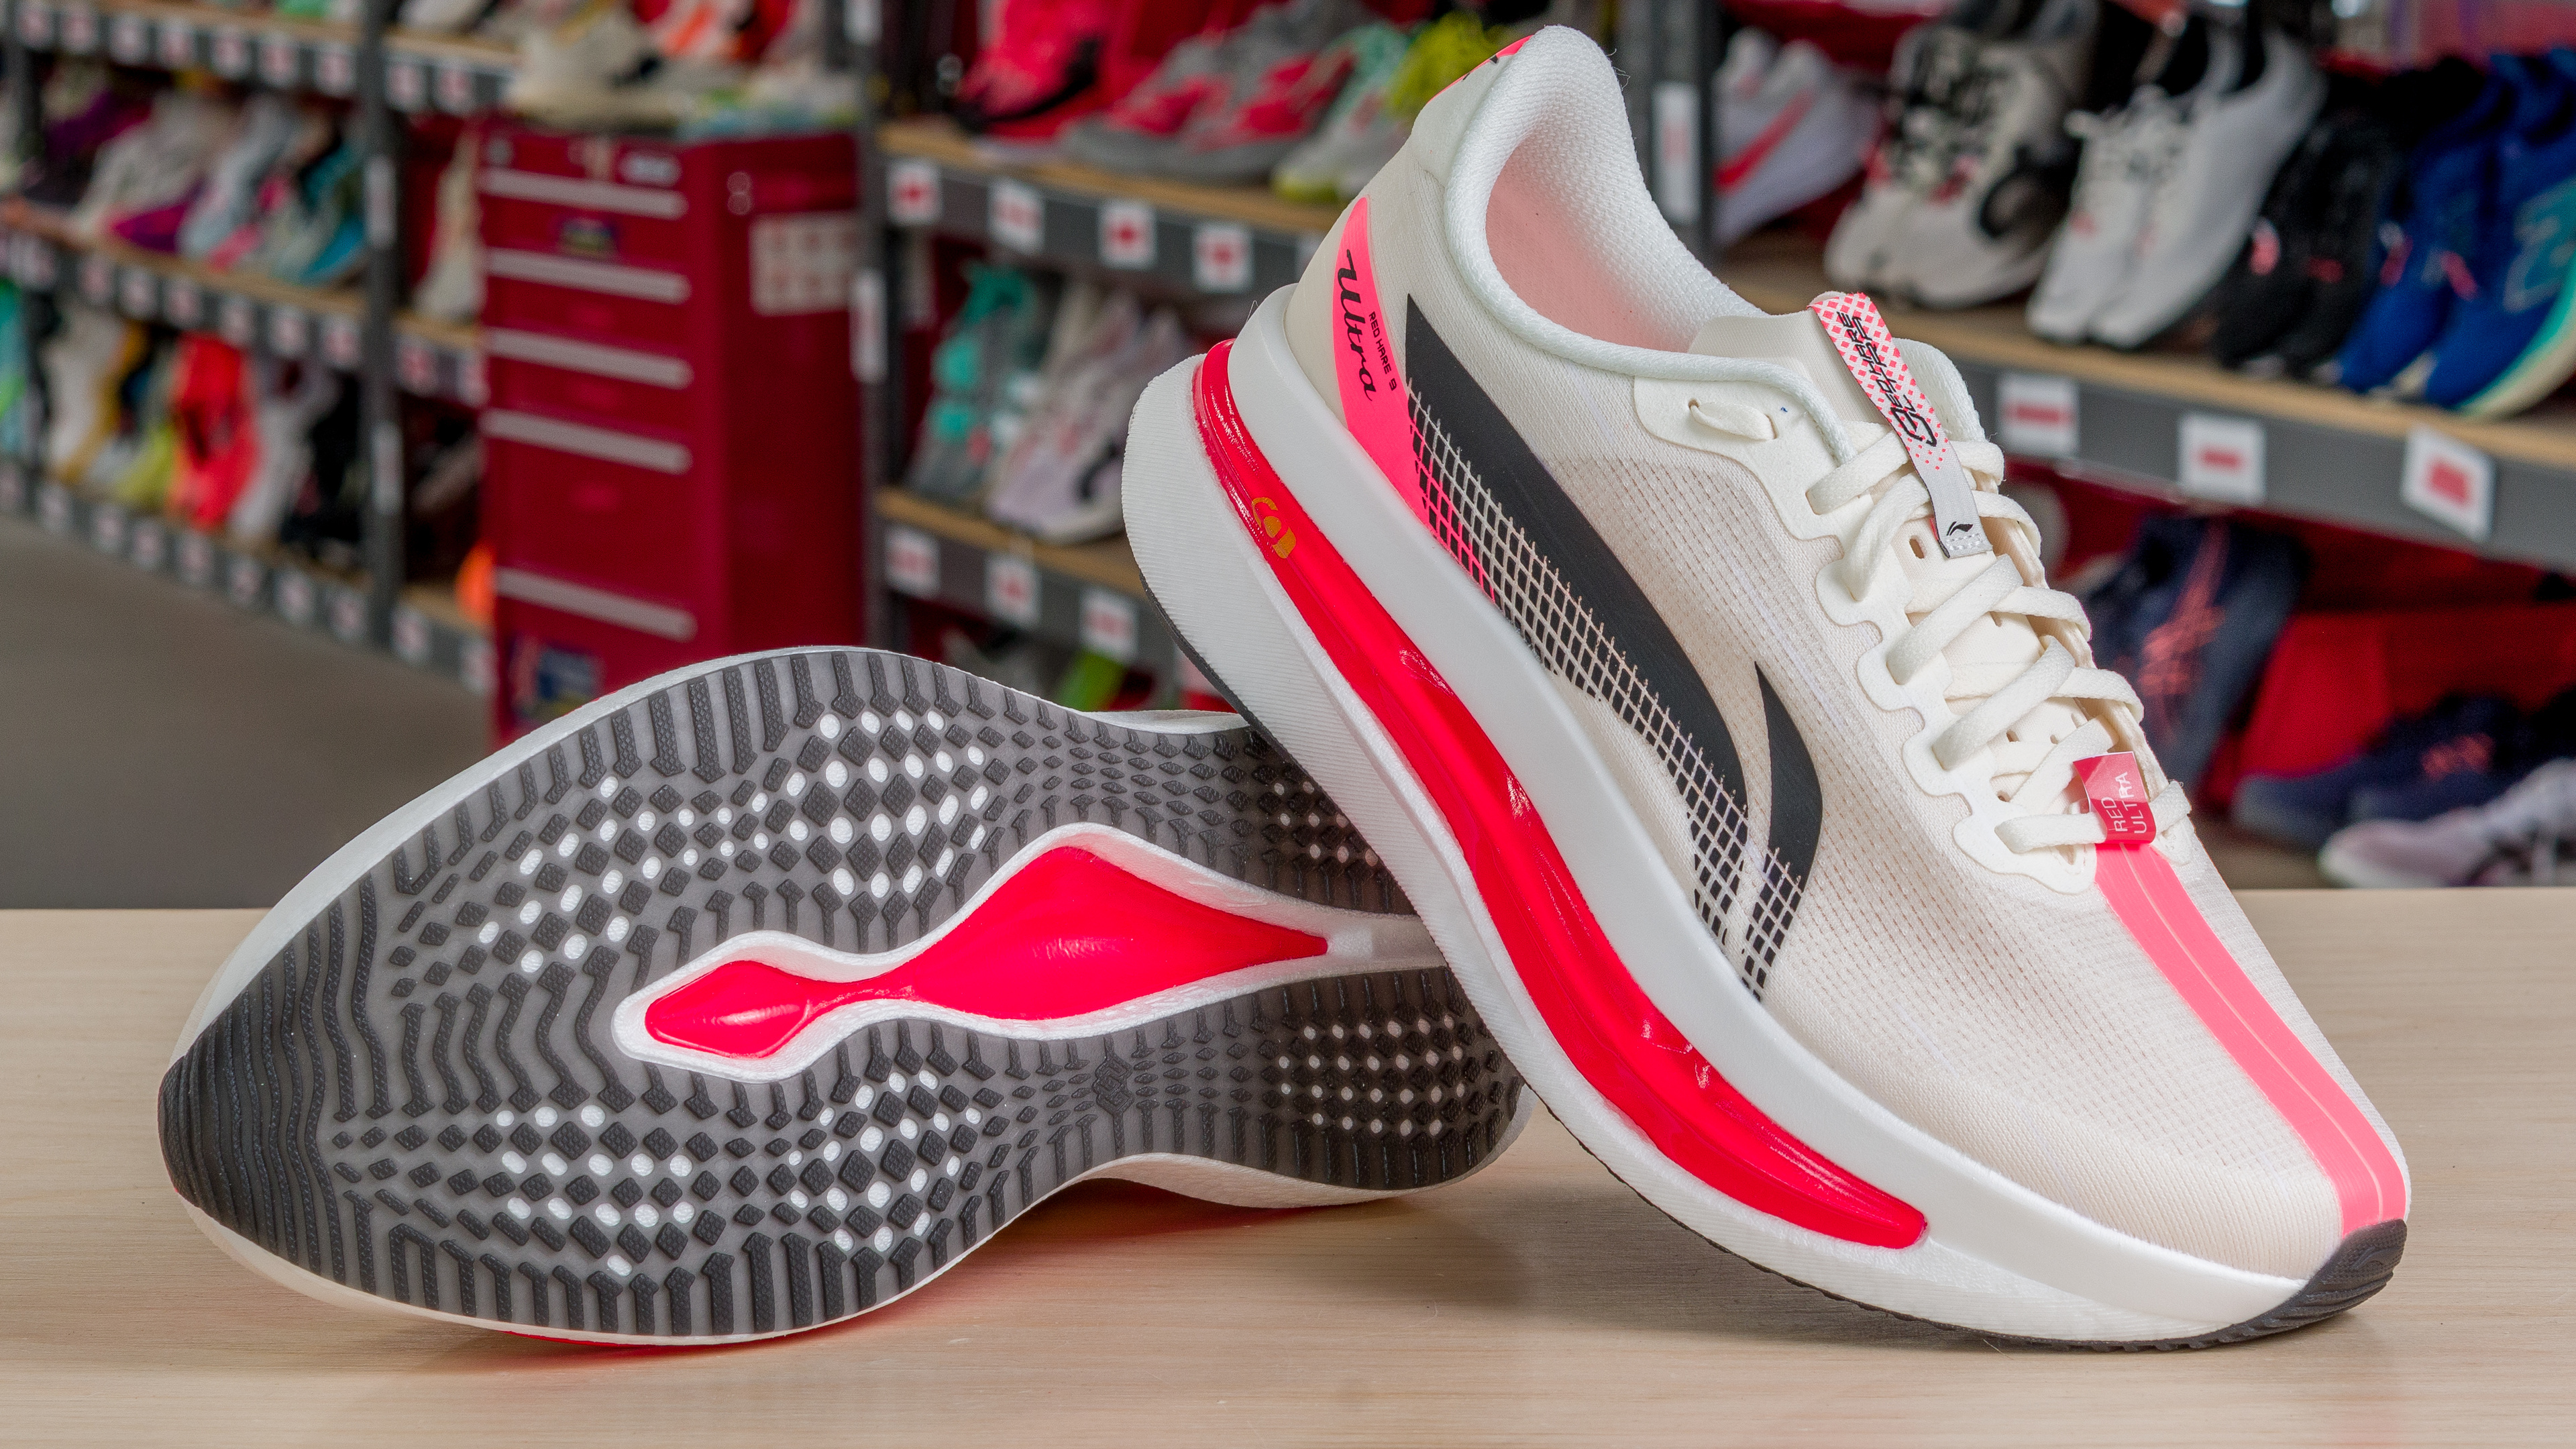
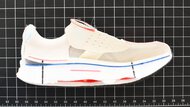
Li-Ning Red Hare 9 Ultra
The ASICS SUPERBLAST 3 and the Li-Ning Red Hare 9 Ultra are two shoes that blur the line between max-cushioned and super trainers. They're similarly stacked in the heel, although the Li-Ning has a bigger heel-to-toe drop. Both shoes have truly remarkable cushioning, but the SUPERBLAST 3 is a bit firmer, which keeps it more stable. The Li-Ning relies more on its bouncy foam for forward propulsion, whereas the ASICS relies more on its stiff rockered geometry. The Red Hare 9 Ultra is a great shoe for runners who want a fun, bouncy ride, while the SUPERBLAST 3 is better for runners who like a smooth, rolling sensation.
Variants
- SUPERBLAST 3 (Cobalt Burst/Light Orange - (Men - US 9))
- SUPERBLAST 3 (Seashell/Sun Coral - (Men - US 9))
- Red Hare 9 Ultra (Black - (Women - US 7))
- Red Hare 9 Ultra (Champagne White - (Women - US 7))
Main Differences for
Half/Full Marathon Racing
Threshold
Half/Full Marathon Racing
Full Comparison
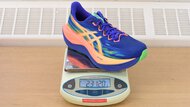
Weight
Right Shoe Weight Photo
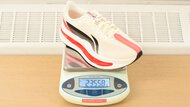
Left Shoe Weight Photo
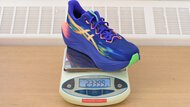

Weight
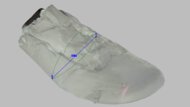
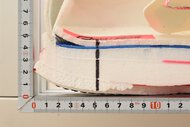
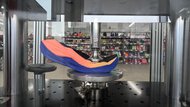
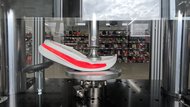
Stack Heights
Stack Height Photo
Heel Stack Height
Forefoot Stack Height
Heel-To-Toe Drop
Advertised Heel-To-Toe Drop
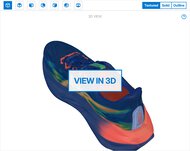
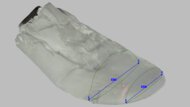
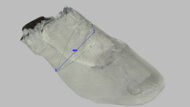
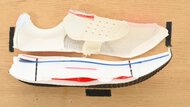
External Shape
3D Model Full Shoe

Outsole Heel Width
Outsole Arch Width
Outsole Forefoot Width
Heel Width-To-Stack Ratio
Forefoot Width-To-Stack Ratio
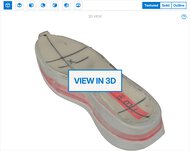
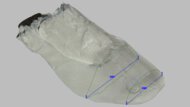
Internal Shape
3D Model Internal

Internal Length
Internal Heel Width
Internal Forefoot Width
Wide Sizing Available
Forefoot Fit: Width
Forefoot Width Photo
Ball-Of-Foot TTS Deviation
Toe TTS Deviation
Forefoot Fit: Height
Forefoot Height Photo
Toe TTS Deviation
Arch Fit: Width
Arch Fit Photo
Arch Width TTS Deviation
Length Fit
Toe Clearance Photo
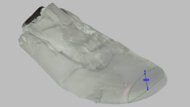
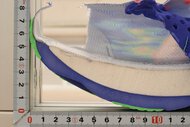
Heel Rocker Geometry
Heel Rocker Photo

Heel Spring
Heel Apex Position
Heel Rocker Angle
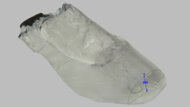
Forefoot Rocker Geometry
Forefoot Rocker Photo
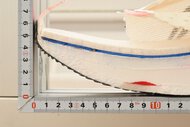
Toe Spring
Toe Apex Position
Forefoot Rocker Angle
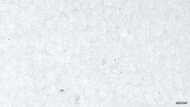
Foam
Primary Foam Picture
Secondary Foam Picture
Primary Foam Name
Primary Foam Type
Secondary Foam Name
Secondary Foam Type
Other Features
Other Features Photo
Tongue Gusset Type
Plate
Heel Compression Energy Return
Heel Compression Video
Heel Energy Return
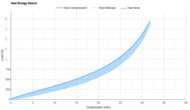
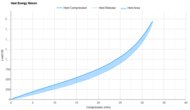
Heel Energy Return
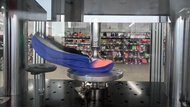
Forefoot Compression Energy Return
Forefoot Compression Video
Forefoot Energy Return
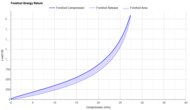
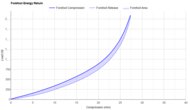
Forefoot Energy Return
Heel Cushioning
Heel Cushioning Picture
Heel Cushioning
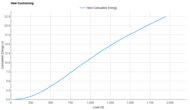
Energy Absorbed At 550N
Energy Absorbed At 1100N
Energy Absorbed At 1900N
Forefoot Cushioning
Forefoot Cushioning Picture
Forefoot Cushioning
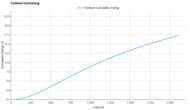
Energy Absorbed At 800N
Energy Absorbed At 1300N
Energy Absorbed At 2050N
Heel Firmness
Heel Firmness Graph
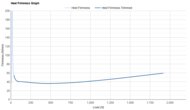
Firmness At 550N
Firmness At 1100N
Firmness At 1900N
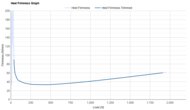
Forefoot Firmness
Forefoot Firmness Graph
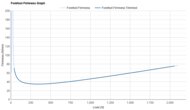
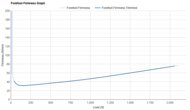
Firmness At 800N
Firmness At 1300N
Firmness At 2050N
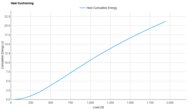
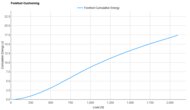
Forefoot Long Run Cushioning
Forefoot Long Run Cushioning
Energy Absorbed At 10km
Energy Absorbed At 20km
Energy Absorbed At 30km
Energy Absorbed At 40km
Rocker Stiffness
Forefoot Rocker Stiffness Video
Forefoot Rocker Stiffness Graph
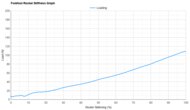
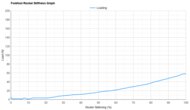
Force To Flatten The Rocker
Forefoot Bending Energy Return
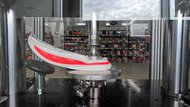
Forefoot Bending Video
Forefoot Bending Energy Return
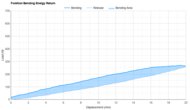
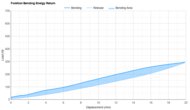
Forefoot Bending Energy Return
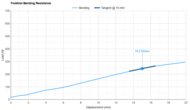
Forefoot Bending Stiffness
Forefoot Bending Resistance Picture
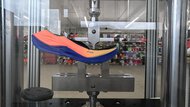

Forefoot Bending Resistance
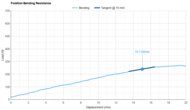
ASICS SUPERBLAST 3
Li-Ning Red Hare 9 Ultra
Comments
ASICS SUPERBLAST 3 vs Li-Ning Red Hare 9 Ultra: Main Discussion
What do you think of these products? Let us know below.
Looking for a personalized buying advice from the RTINGS.com experts? Members have direct access to buying advice on our member forum.