Like any product you wear every day, it's occasionally a good idea to clean your AirPods, and we've got the full rundown of the process and tools you need to do it. Over time, Apple AirPods and AirPods Pro are bound to collect dirt and gunk, which are unsightly and unsanitary. It can negatively impact their performance, too. While the steps to restoring your AirPods bear a strong resemblance to how to clean your earbuds, given the manufacturer's explicit instructions, there are some key differences worth addressing.
Tools To Clean AirPods
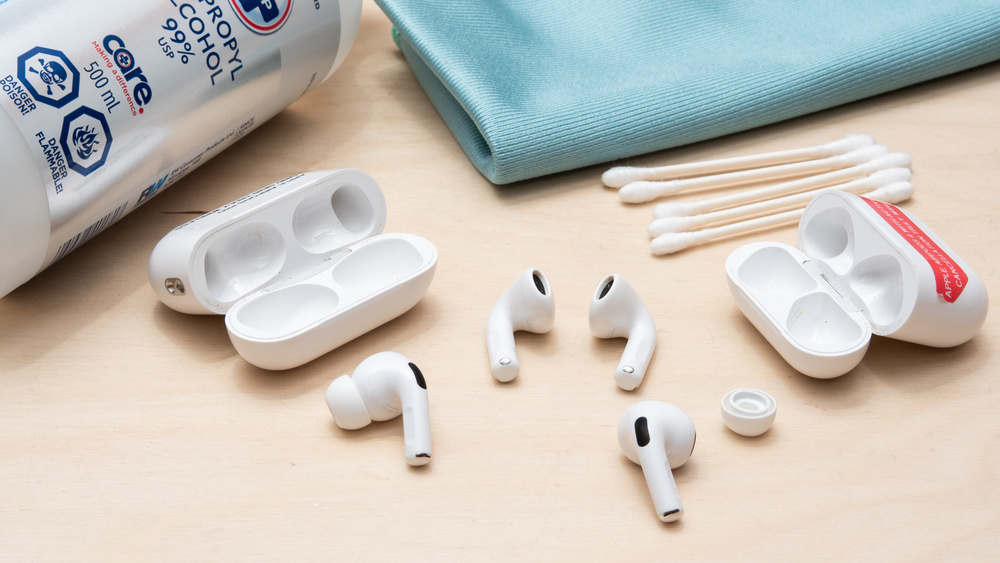
While you can buy preconfigured cleaning kits, many common household items work just as well for cleaning your AirPods and AirPods Pro. Below are the tools for various approaches to cleaning AirPods, but you don't necessarily need all of them.
- Cotton swabs (also known as Q-Tips)
- 70% isopropyl alcohol (or a lower percentage)
- Gentle soap
- Water
- Apple recommends micellar water with PEG-6 Caprylic/Capric Glycerides for AirPods (3rd generation), AirPods 4, and AirPods Pro (2nd generation). Micellar water is often found in the personal hygiene department of drugstores and grocery stores as a face wash.
- Lint-free microfiber cloths
- A soft toothbrush
- A loop wire cleaning tool (such as this one from Westone, which also has a handy brush end)
- Reusable Blu Tack (also known as Sticky Tack, Fun Tak, poster putty)
Apple explicitly recommends the Belkin AirPods Cleaning Kit to clean your AirPods, but at the time of writing, it has a dismal 1.2/5 stars in the Belkin store with enough user complaints of non-functional AirPods after cleaning (and one review mentioning the brush bristles disintegrating), so we can't strongly suggest buying it. That score isn't exactly a ringing endorsement, even if you acknowledge user error and that people with bad experiences are frequently more motivated to leave a negative review than those with positive experiences.
Tips Before You Start Cleaning
Before you dive in, a word of advice: less is more. While we can provide suggestions and ideas, check Apple's advice so you don't void your warranty.
- If you're exerting too much force when cleaning, you should stop and try a different tool.
- You don't need to soak or dunk your AirPods to clean them. Most of the time, you can control how much liquid they're exposed to by wetting the cleaning tools, rather than directly applying the cleaning agents to the AirPods.
- If you're uncertain about your cleaning products, try an inconspicuous test spot.
- Any excess liquid left on the AirPods ought to be wiped or dabbed when you've finished cleaning.
- Avoid getting water on the metal battery charging contacts located on the inside of the charging case.
- The AirPods 3, AirPods 4, AirPods Pro, and AirPods Pro 2 all have IP ratings protecting them from water splashes, but they're far from waterproof. Similarly, some, but not all, AirPods charging cases have IP ratings, but that generally only applies to the case when the lid is shut. So, it's best to assume there's no IP rating that applies to the interior of the case, and you should avoid getting the interior charging contacts wet.
Tips For General Care To Make Cleaning Your AirPods Easier
- Give your buds a quick wipe after using them for sweaty workouts or if you're wearing moisturizers, sunscreen, or hair products in order to support their physical integrity and cleanliness.
- Prolonged exposure to chemicals sitting on the plastic and metal can weaken materials on a molecular level. Considering that the buds contain acrylates (including methacrylates) and nickel, which are two known skin irritants for folks with sensitive skin, you don't want the materials to break down.
- Monitor your own ear health by ensuring you don't have much earwax buildup. Having clean ears reduces how much oil and wax can get compacted into your AirPods' ear tips and mesh grilles.
What Apple Says You Should Do to Clean AirPods Models
While your AirPods are still under warranty, follow the brand's advice. If the AirPods bust while you clean them exactly as the manufacturer instructs, Apple is more likely to honor your warranty with a replacement set.
Mesh Grilles and Ear Tips
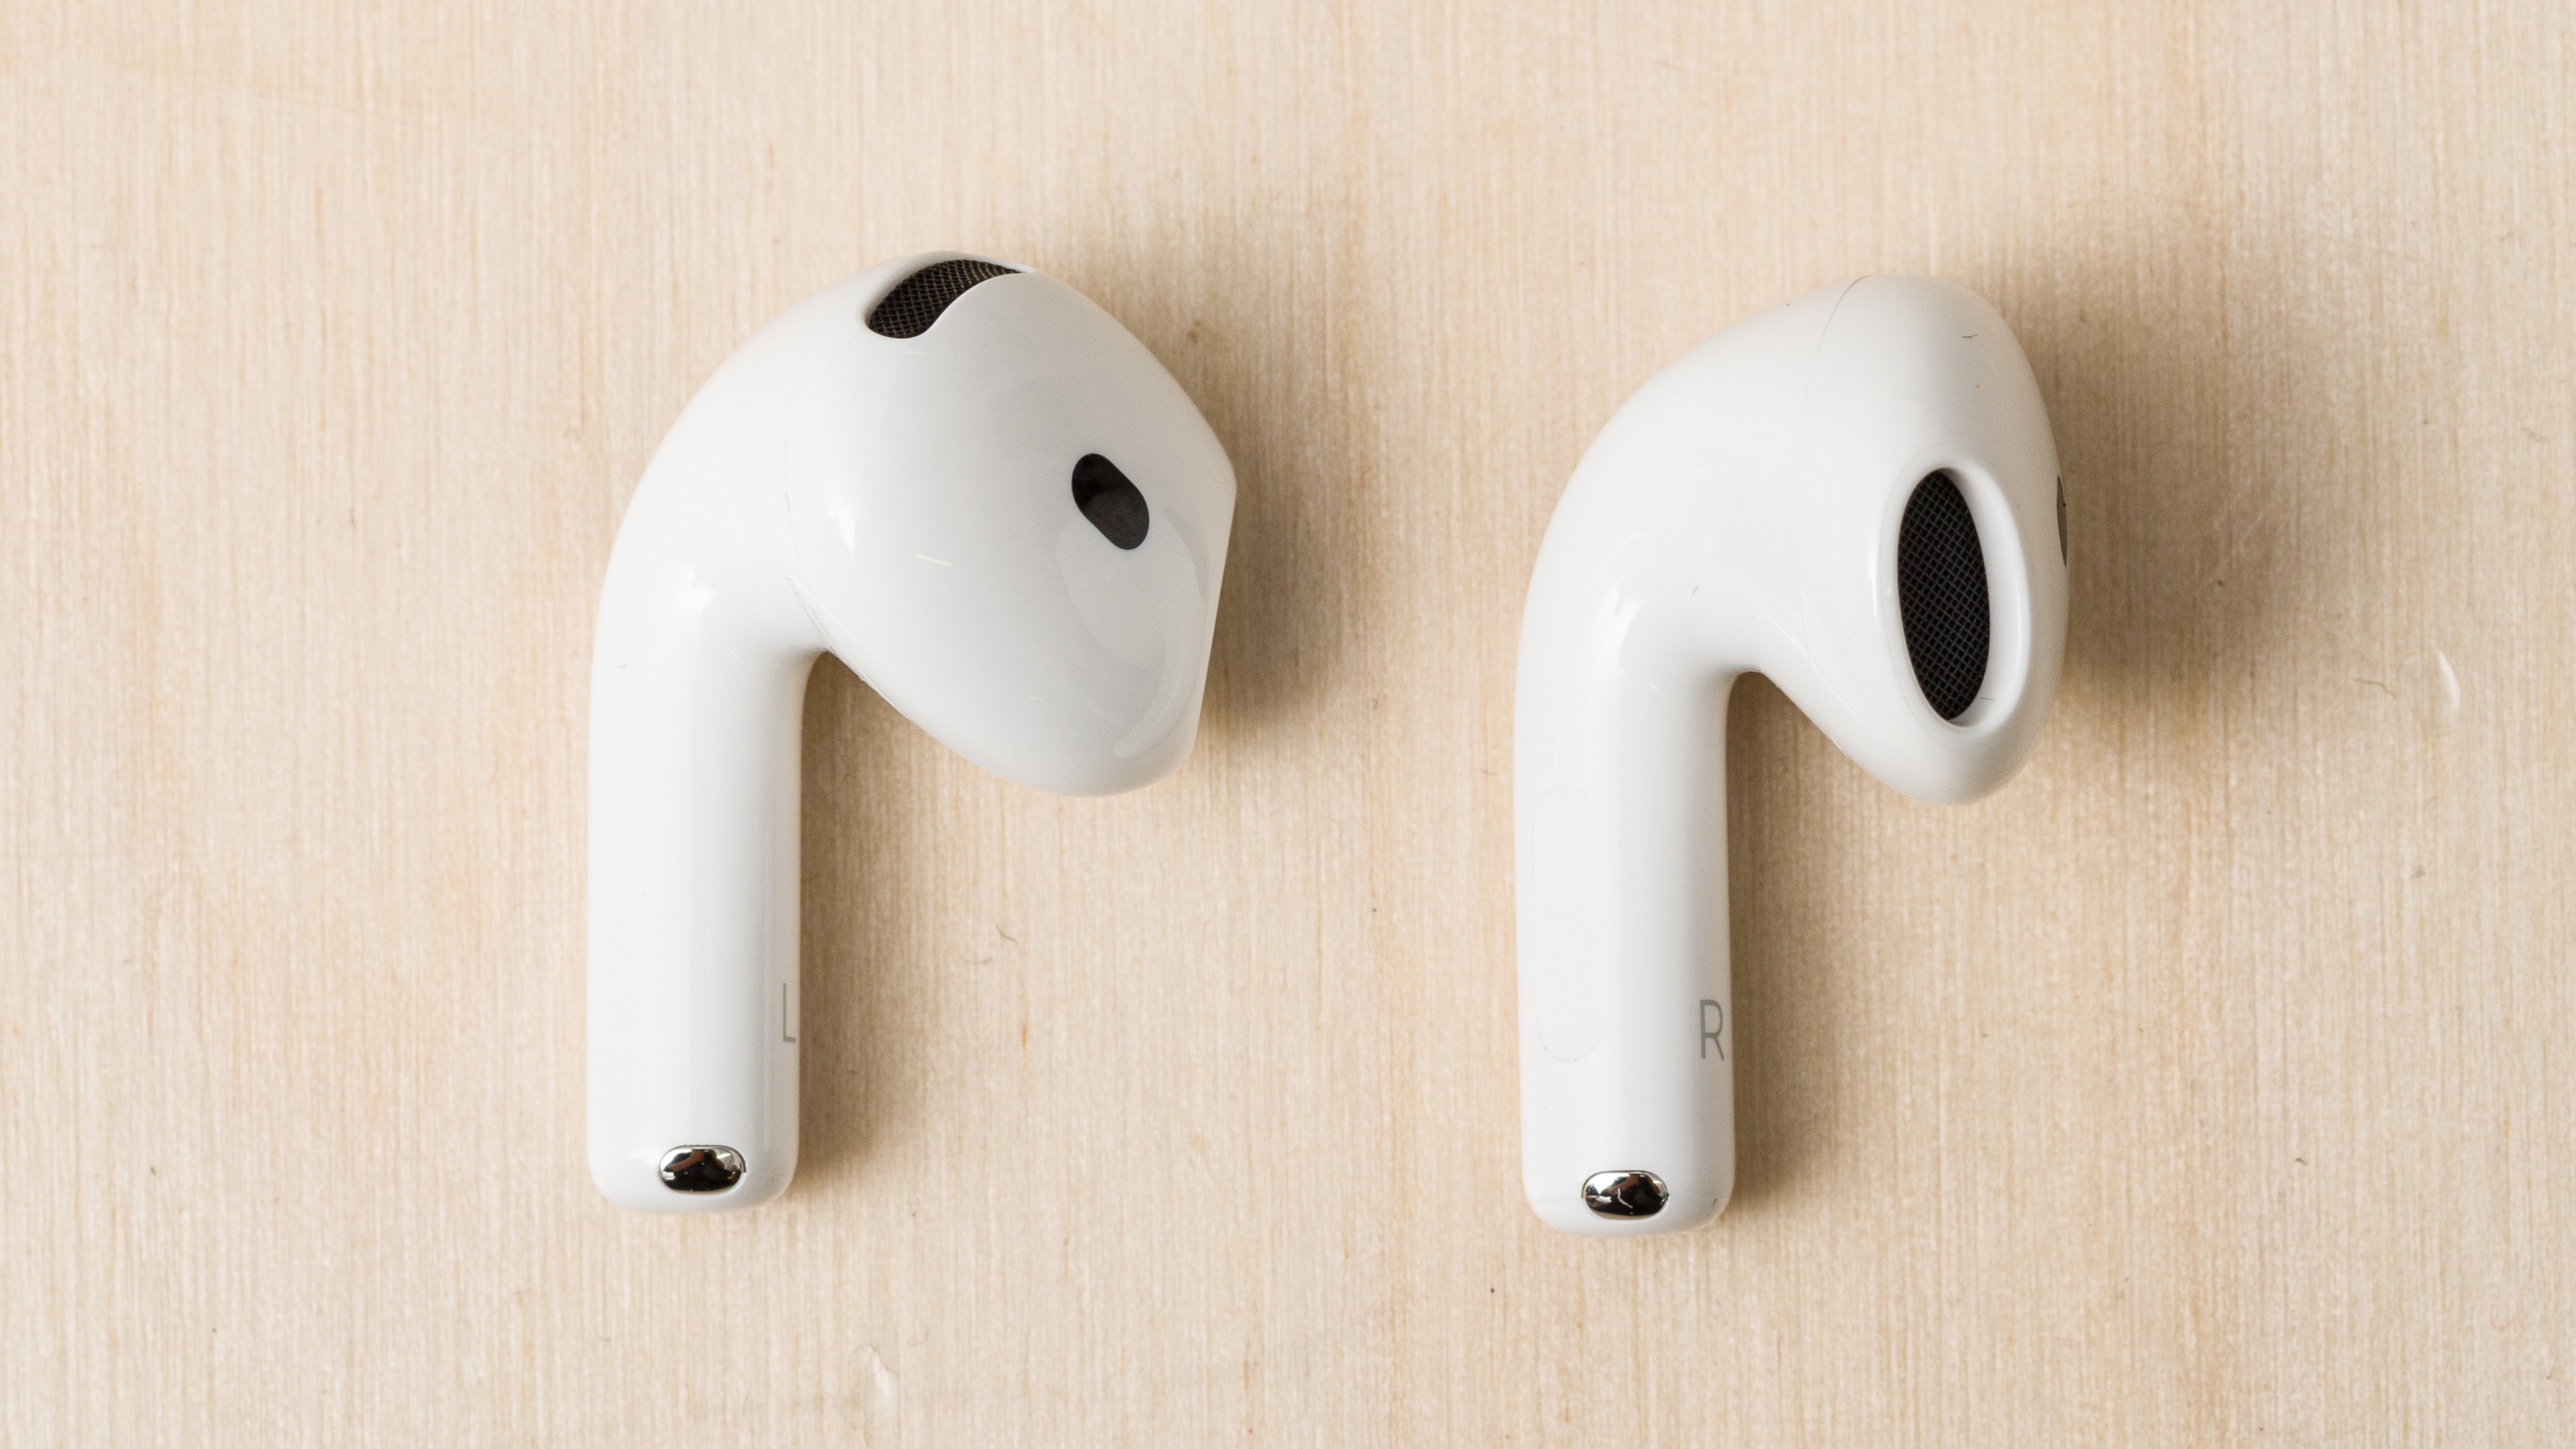
For AirPods 3 and AirPods 4 models, Apple's directions on how to clean AirPods mesh screens indicate that you dip a soft toothbrush in micellar water containing PEG-6 (caprylic/capric glycerides), use the now-wet toothbrush to scrub the mesh and vents, dab the screens with a paper towel, and repeat three times total. Then, use the toothbrush to brush again, but with distilled water. Lastly, pat the excess water on a paper towel and leave the vents to dry for two hours before replacing them in the case.
Here are the directions for the AirPods Pro (2nd generation). After removing the ear tips, clean the largest mesh driver grilles first before moving on to the other vents, following the same process of dipping a soft toothbrush into the micellar water, scrubbing the vents, blotting, and repeating three times before scrubbing one last time using distilled water. Finish by dabbing them with water and leaving them to dry for two hours. The manufacturer advises you to remove the ear tips and simply rinse them 'facing downwards' under tap water, without soap or household cleaners.
Things to Keep in Mind
Interestingly, the directions state to hold the AirPods/AirPods Pro with the mesh grilles facing up, which seems counterintuitive if the goal is not to get liquids lodged inside the earbuds. Although arguably, even though it's easier to see what you're doing with the mesh grille facing up while you scrub, it's not especially difficult to hold an AirPod up to align with your sightline while the mesh points down. This safeguards the AirPod from as much water entering the grilles.
AirPods Housings
Apple advises you to only clean the housings with a damp cloth and then use a second fresh cloth to mop up moisture. You'll also have to leave them out to completely dry for two hours before using them. The instructions explicitly state not to use anything else: no soaps or solvents. So once again, don't do anything the company advises against if it'll void your warranty, but you probably shouldn't share your AirPods if the only cleaning you perform is wiping them. Simply, a cloth dampened with water isn't sufficiently hygienic; it doesn't kill microbes or break down oils. It's helpful if you get sunscreen or cosmetics on them, though.
AirPods Case
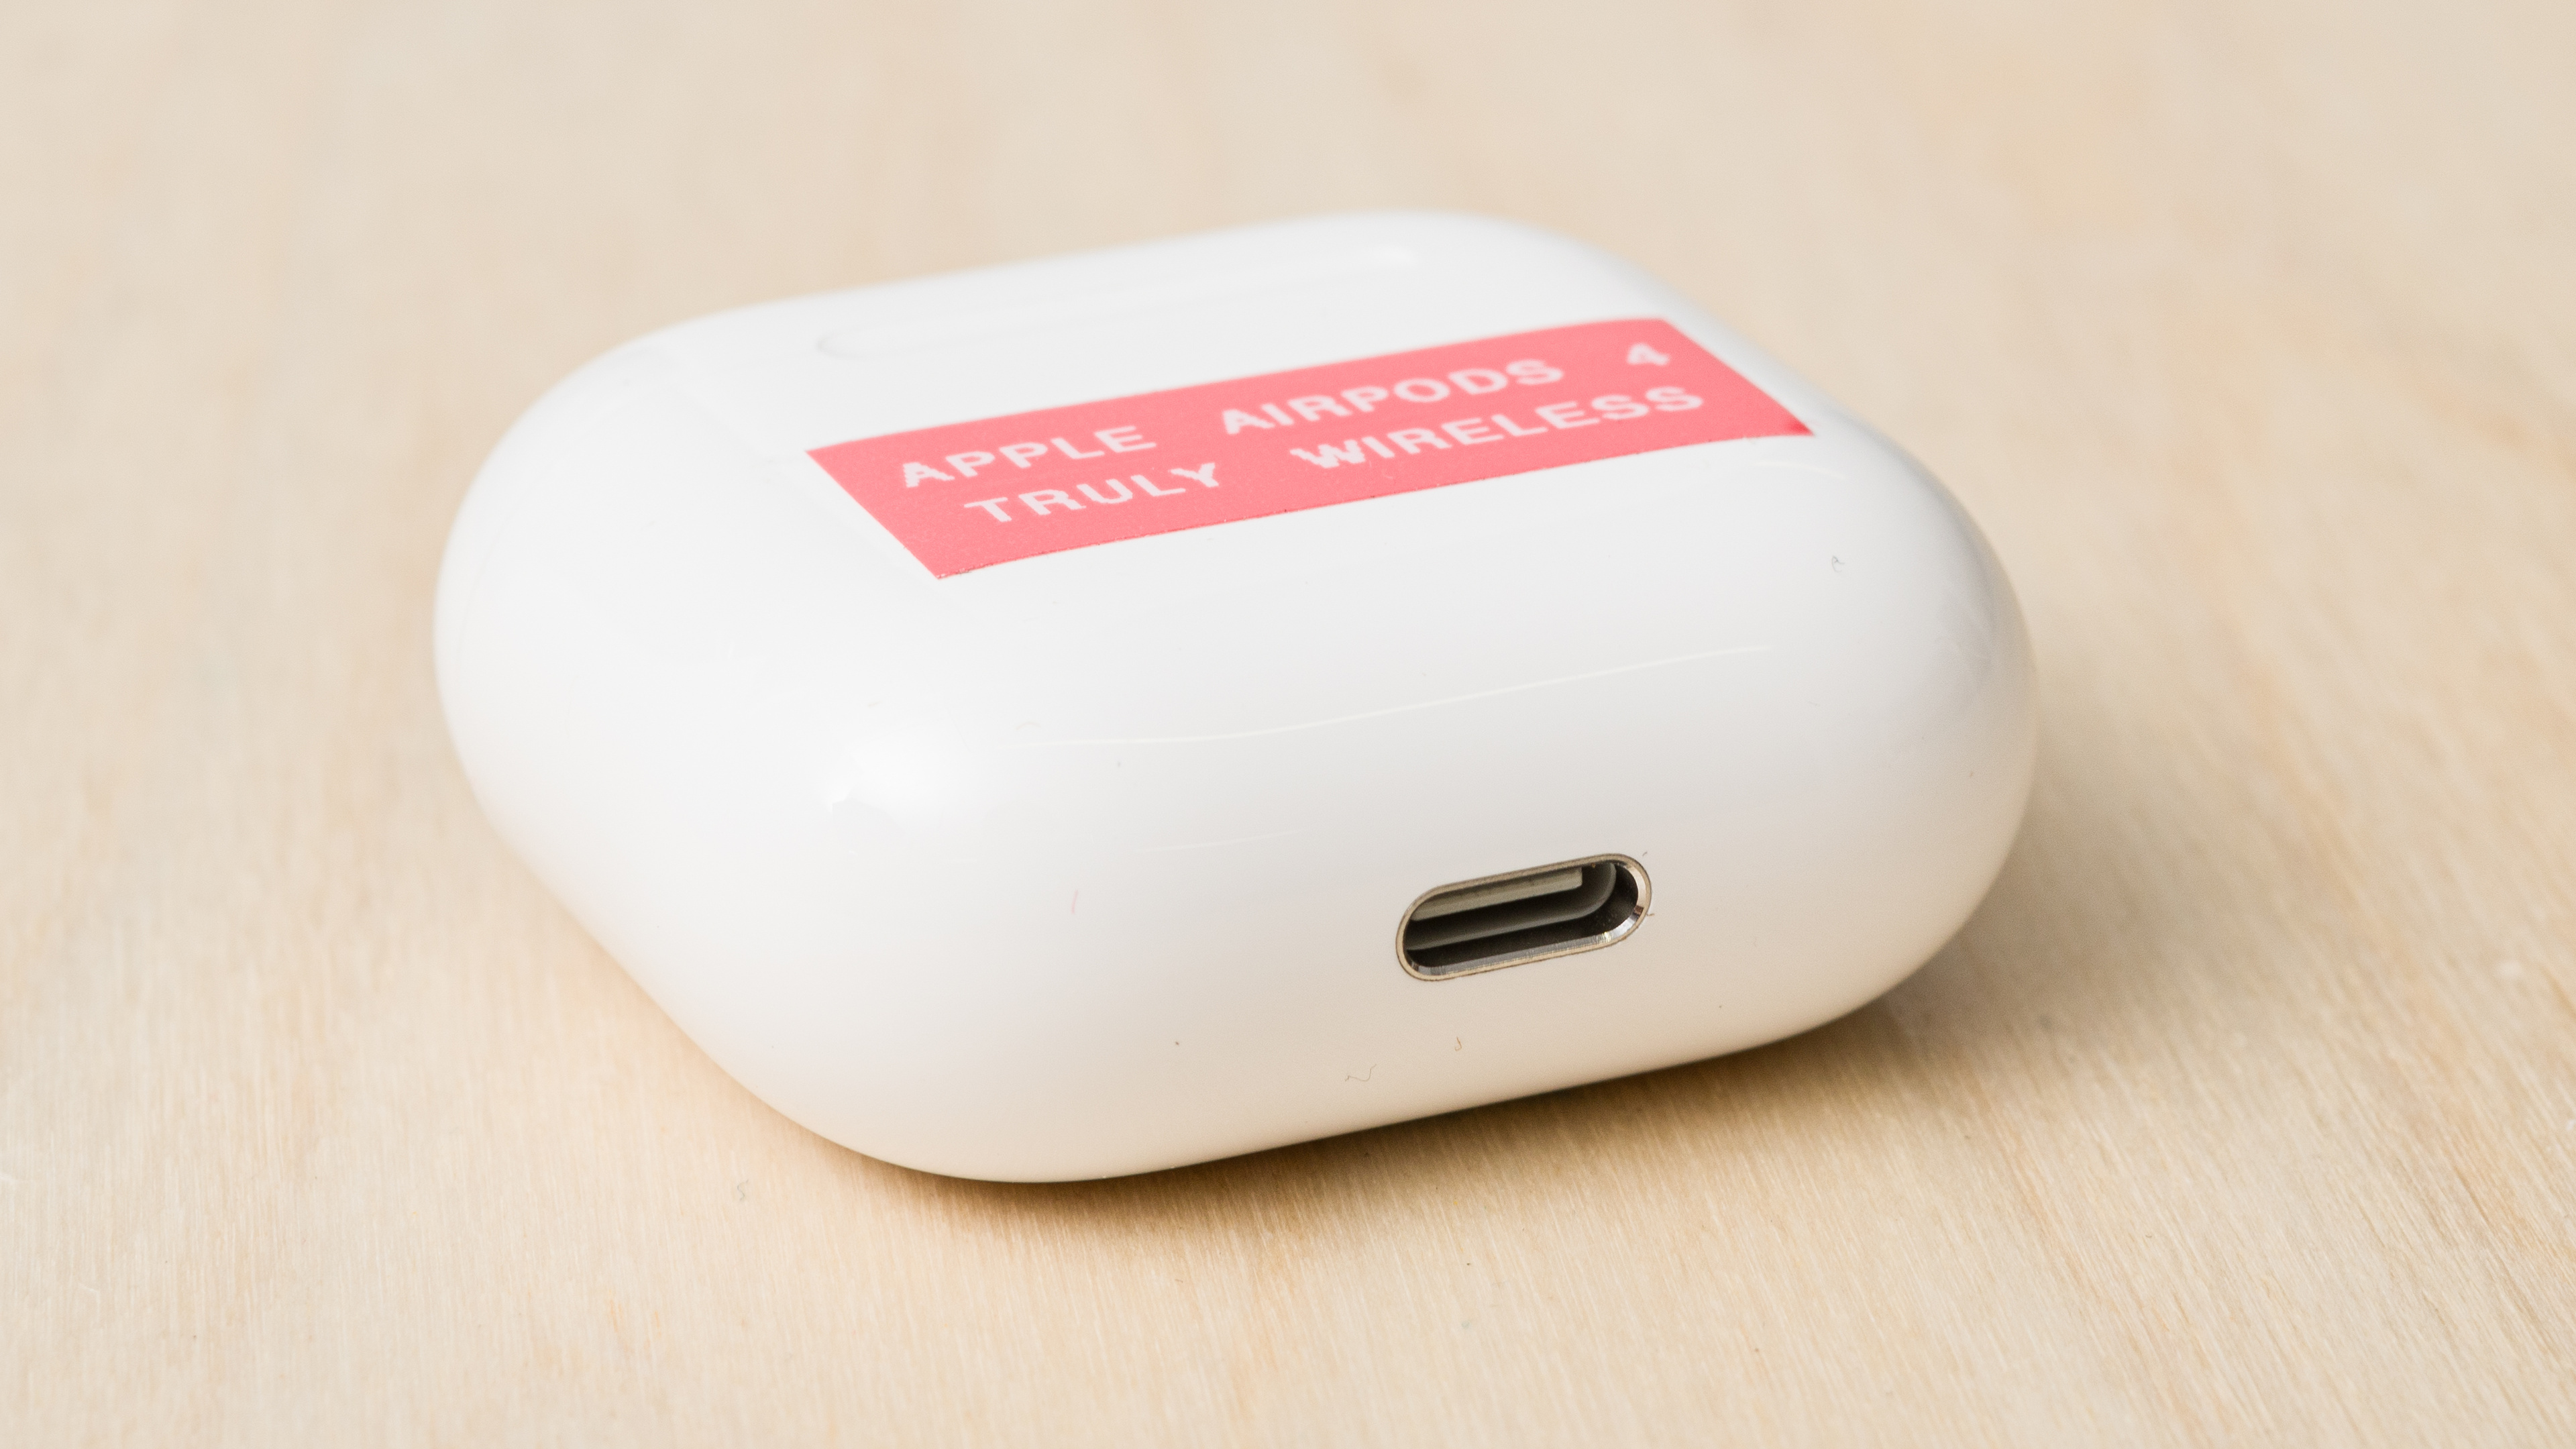
Apple recommends using a clean, lint-free cloth to wipe off any debris from the AirPods case. For how to clean an AirPods case that's especially dirty, get a lint-free, soft cloth that you've dampened with isopropyl alcohol and mop it over the case. Take care not to get the liquid in the charging ports. Use a clean and dry soft brush to clear the port and avoid metal contacts. That said, Apple also states, "Don't put anything in the charging ports," which seems to directly contradict their instruction in the same section to use a soft brush to clean the charging ports. So, use your best judgment and probably avoid putting anything in the charging port if you're not experiencing issues like intermittent charging.
How to Clean AirPods (If You Tried What Apple Advised And It Didn't Work)
So, you tried what Apple recommends, but your AirPods are still gross. If you need to do a thorough cleaning, we've got some suggestions, but the usual disclaimer applies that it's at your own risk.
Many of the same rules apply when cleaning the Apple AirPods and AirPods Pro as when you clean other kinds of earbuds. In most cases, reusable sticky tack (the type usually meant to hang posters) can remove debris, and a lint-free microfiber cloth dampened with isopropyl alcohol (70% or lower) is all you need to wipe down the buds and case. You can usually handle the detailed cleaning with a cotton swab around the vents and grilles. If you have stubborn wax build-up, gently use a wire loop tool around the mesh grilles and nozzles while avoiding putting much direct pressure on them.
Unfortunately, we don't know for certain what kind of plastic Apple uses for AirPods or if it's meaningfully different between each generation model, despite looking and feeling more or less the same: glossy, smooth, and plastic. Basically, this means some models could react differently from other models given the same cleaning treatment, so go easy and try a test spot when you apply any agent. However, we do know that the mesh grilles are stainless steel, and the ear tips are silicone.
More detailed directions for each component are below.
Mesh Grilles
If you tried the toothbrush and micellar water route that the manufacturer recommends, and the stainless steel mesh is still dirty, it's time to try some more intensive methods. While Apple's recommended method isn't necessarily foolproof (or free of questionable logic), you have grounds to contact Apple if something goes awry while under warranty, so this is still usually the first course of action.
To begin, if you have a lot of stuck-on debris in the mesh of your AirPods, start by using poster putty (AKA Sticky Tack, Blu Tack) and pressing it into the mesh and vents where there's gunk. Be mindful not to push the putty in too deeply because it can get embedded into the mesh and vents. You can do the same with the AirPods Pro with the ear tips removed.
For finer detail work and disinfecting, next hold the AirPod (or the AirPod Pro after removing the ear tip) with the mesh pointing downwards. Tipping the AirPods with the mesh facing down helps mitigate the chances of particles and liquid from drenching the internals. Use either a cotton swab or the loop wire tool to gently remove loose wax by pushing it towards the outer edges, taking care not to press it deeper into the mesh or to scrape hard along the plastic lip surrounding the mesh grille. You can try this with a small brush-end tool as well, but sometimes it's hard to get the right degree of control, depending on the stiffness and length of the bristles. Circular movements that work towards the outer edges of the mesh can help avoid mashing wax into the mesh, which otherwise may damage the AirPods.
If the debris is particularly sticky or you want to properly disinfect, occasionally getting the swab (or another tool) a little wet with isopropyl alcohol (70% or lower) can help. So long as you don't rip the cotton off the swab by pressing too hard, this is less abrasive than Apple's toothbrush suggestion. Meanwhile, the alcohol is stronger than micellar water when it comes to loosening debris and sanitization.
Once each grille and vent is cleaned, use a damp cloth to wipe excess moisture away. Alcohol evaporates quickly, and stainless steel and electronics are impervious to its effects, but AirPods are expensive enough that it's worth the extra step. Blot any leftover moisture away and leave the 'Pods out to air dry. Unlike Apple's method, you only need to do this once per cleaning session. You can even use a flashlight to check your handiwork to make sure the meshes are clear of gunk.
A Note On Tools And Cleaning Agents
It's smart to choose the least intensive method that will address your AirPods' specific level of filth rather than overdoing it. Essentially, if you can use a cotton swab or Sticky Tack for the job, that's wiser than immediately leaping to a loop wire tool because it's harder to accidentally cause damage with a cotton swab. Similarly, if micellar water does the job, maybe you don't need the 70% isopropyl alcohol.
You could also try mixing techniques with a soft toothbrush, as Apple recommends, while benefiting from the advantage of rubbing alcohol's more intensive cleaning qualities. However, a toothbrush is also larger and harder to control for detailed work, so it's easier to accidentally embed earwax deeper into the grilles. You can better target your force on the mesh, plastic sidewalls, or nozzles of the AirPods and AirPods Pro if you use the loop wire tool, which offers you finer control. The downside to using the loop wire tool is that you could scratch off the finish on the stainless steel or scratch the plastic around the grilles if you're too aggressive, so it's not the best tool if a swab can handle the debris.
It's worth considering that isopropyl is a disinfectant, and you don't need to go over the area three times, as with the micellar water method Apple suggests, each time adding another possible risk of drenching internal components. Micellar water can break up oils and is gentle. However, micellar water doesn't disinfect, and because it's typically sold as a cosmetic to wash your face, it's not as reliably pure as rubbing alcohol, so you don't know how the other ingredients will interact with the AirPods' internal components. Also, some products with micellar water are a little sticky and can leave a residue, which can trap sticky earwax and dirt.
On the upside, micellar water is far less likely to irritate your skin than rubbing alcohol, and it's unlikely to damage plastic if some of it drips from the steel mesh onto the housings. You could wear gloves if you don't want the rubbing alcohol to dry out the skin on your fingers while cleaning, but it's widely considered safe. The central downside of isopropyl alcohol (70% or less) is that we don't know with absolute certainty what plastic Apple uses for AirPods, and it's still a chemical that can react with some plastics, such as acrylic, under certain conditions. However, since Apple recommends using isopropyl alcohol for cleaning the charging case, it seems like a reasonably safe choice for more aggressive cleaning of other components.
How To Clean AirPods Pro Ear Tips

While Apple advises that you only use water to clean your AirPods Pro and Pro 2 ear tips, since they're made of silicone, which isn't porous, you can introduce soap to clean them more effectively. That said, you can stick to gentle soaps because most ear tips just need any oil and cosmetic product residue that sits on the surface to come off. If you think about silicone as sharing some similar properties as your skin, you know that harsh dish soap can dry out your skin, but a gentle hand soap doesn't, even though both clean your hands.
An easy method to clean the Pro and Pro 2 ear tips is to get a small container of lukewarm (not hot) soapy water, bathe the ear tips in it, and agitate the soapy solution. Manually rub away stuck-on debris with your fingers, or use a cotton swab. Take care not to be too aggressive or tear the silicone with your fingernails. Give the ear tips one last rinse under tap water and leave them to air dry completely on a dust-free surface before putting them back on your AirPods Pro.
That said, if you own the Apple AirPods Pro 3, it's not recommended that you submerge the ear tips in water because their hybrid silicone-and-foam ear tips are more delicate, and water may damage the foam (which is one of the major differences between the AirPods Pro 3 and Pro 2). Instead, you can try using a cotton swab to gently brush away loose debris with the grille pointing downwards to mitigate the risk of wax falling into the grilles. Ordinarily, you'd remove the ear tips from most earbuds when cleaning them, but the foam that fits over the nozzle of the Pro 3 is fairly fragile, so if they're not filthy, you don't want to necessarily risk ripping them to clean them. You can also try dabbing a cotton swab in micellar water and doing a surface-level wipe while trying to avoid touching the foam, but this is finicky work.
The truth is that ear tips aren't designed to last for the lifespan of the product, so expect to replace the ones you use with your AirPods Pro more than once over their lifespan. It's common to find manufacturer suggestions to change your ear tips every three months, but realistically, most people don't change their ear tips that frequently. Instead, look for signs of deterioration, such as discoloration, brittleness, stiffness, or misshapen silicone. You can give your ear tips a wash, and if they still look worn out, then it's time to buy a new pair. Fortunately, you can easily find new ones from Apple.
Housings And How To Clean AirPods Case
In the event that a cursory buff with a damp soft cloth doesn't make you feel like your AirPods are actually clean, consider using isopropyl alcohol (again). If it's just a small area and not the whole bud or case that's dirty, dip a cotton swab in alcohol and wipe the debris away. Next, pat it dry. If the area is metal, like a battery charging contact, it's safer to simply let the isopropyl alcohol evaporate or use a second dry cloth instead of getting water on it.
For a full cleaning of the housings and case, you can follow Apple's advice of using a damp, soft, lint-free cloth, but instead of water, use 70% isopropyl alcohol; by 'damp,' we mean drier than the disinfectant alcohol wipes commonly found in first aid kits. Otherwise, the instructions are the same as Apple's: buff the earbuds and the case with the damp cloth, and then dry them with a second cloth. Don't use the AirPods for a couple of hours to allow them to fully dry before they go back in the case. You could add a step before toweling the earbuds dry with another cloth that's damp with water if you're concerned about skin sensitivity, but it's not really necessary, and not advised on the charging case.
Even though newer models have IP-rated charging cases, you're better off using a cotton swab with isopropyl alcohol to clean the interior of the case, rather than risk getting the charging contacts wet with water, which can (in a worst-case scenario) cause corrosion or short a battery. Honestly, if it's not particularly dirty, you can wipe the interior with a dry, lint-free cloth or a dry cotton swab, as that's safer. Use a small, soft brush tool to sweep out lint and dust from the case's charging port, or very carefully use Sticky Tack, but generally, if it's charging as expected, it's better to leave it alone. It's worth noting that USB-C ports have different contact point locations than Lightning ports, so when using the soft brush, try to avoid putting pressure or scratching these.
Conclusion
While it's advised to follow Apple's directions in most instances, especially if your AirPods are under warranty, sometimes cleaning your AirPods or AirPods Pro requires a bit more power. The best way to clean AirPods is to be conservative with your method; if you can get the job done with a less intense approach, then that's the right choice. Lastly, when cleaning AirPods, don't assume an IP rating translates to a fully watertight product, because it doesn't, and it's wiser to keep in mind that these are still electronics with batteries, H1/H2 chips, microphones, and tiny speaker drivers inside them, so treat them as such.
Recent Updates
10/23/2025: This article was updated to mention how to clean the AirPods Pro 3 ear tips.
08/27/2025: A note was added about using sticky poster putty for removing debris.
08/25/2025: This is the first version of this article.