adidas Adizero Evo SL vs Adizero Boston 13

Which Running Shoe Is Better?

Products

adidas Adizero Evo SL
adidas Adizero Boston 13

Tested using Methodology v0.15

Updated Jul 23, 2026 12:47 PM

SEE PRICE
Adidas.com

Tested using Methodology v0.12

Updated Jun 17, 2026 07:55 PM

SEE PRICE
Adidas.com
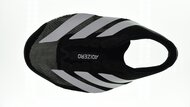
adidas Adizero Evo SL Picture

Track

adidas Adizero Boston 13 Picture

Track

  1. Recommended in 3 articles:
  2. Women
  3. adidas
  4. Cheap
  1. Recommended in 2 articles:
  2. adidas
  3. Heavy Runners

Our Verdict

adidas Adizero Evo SL

adidas Adizero Boston 13

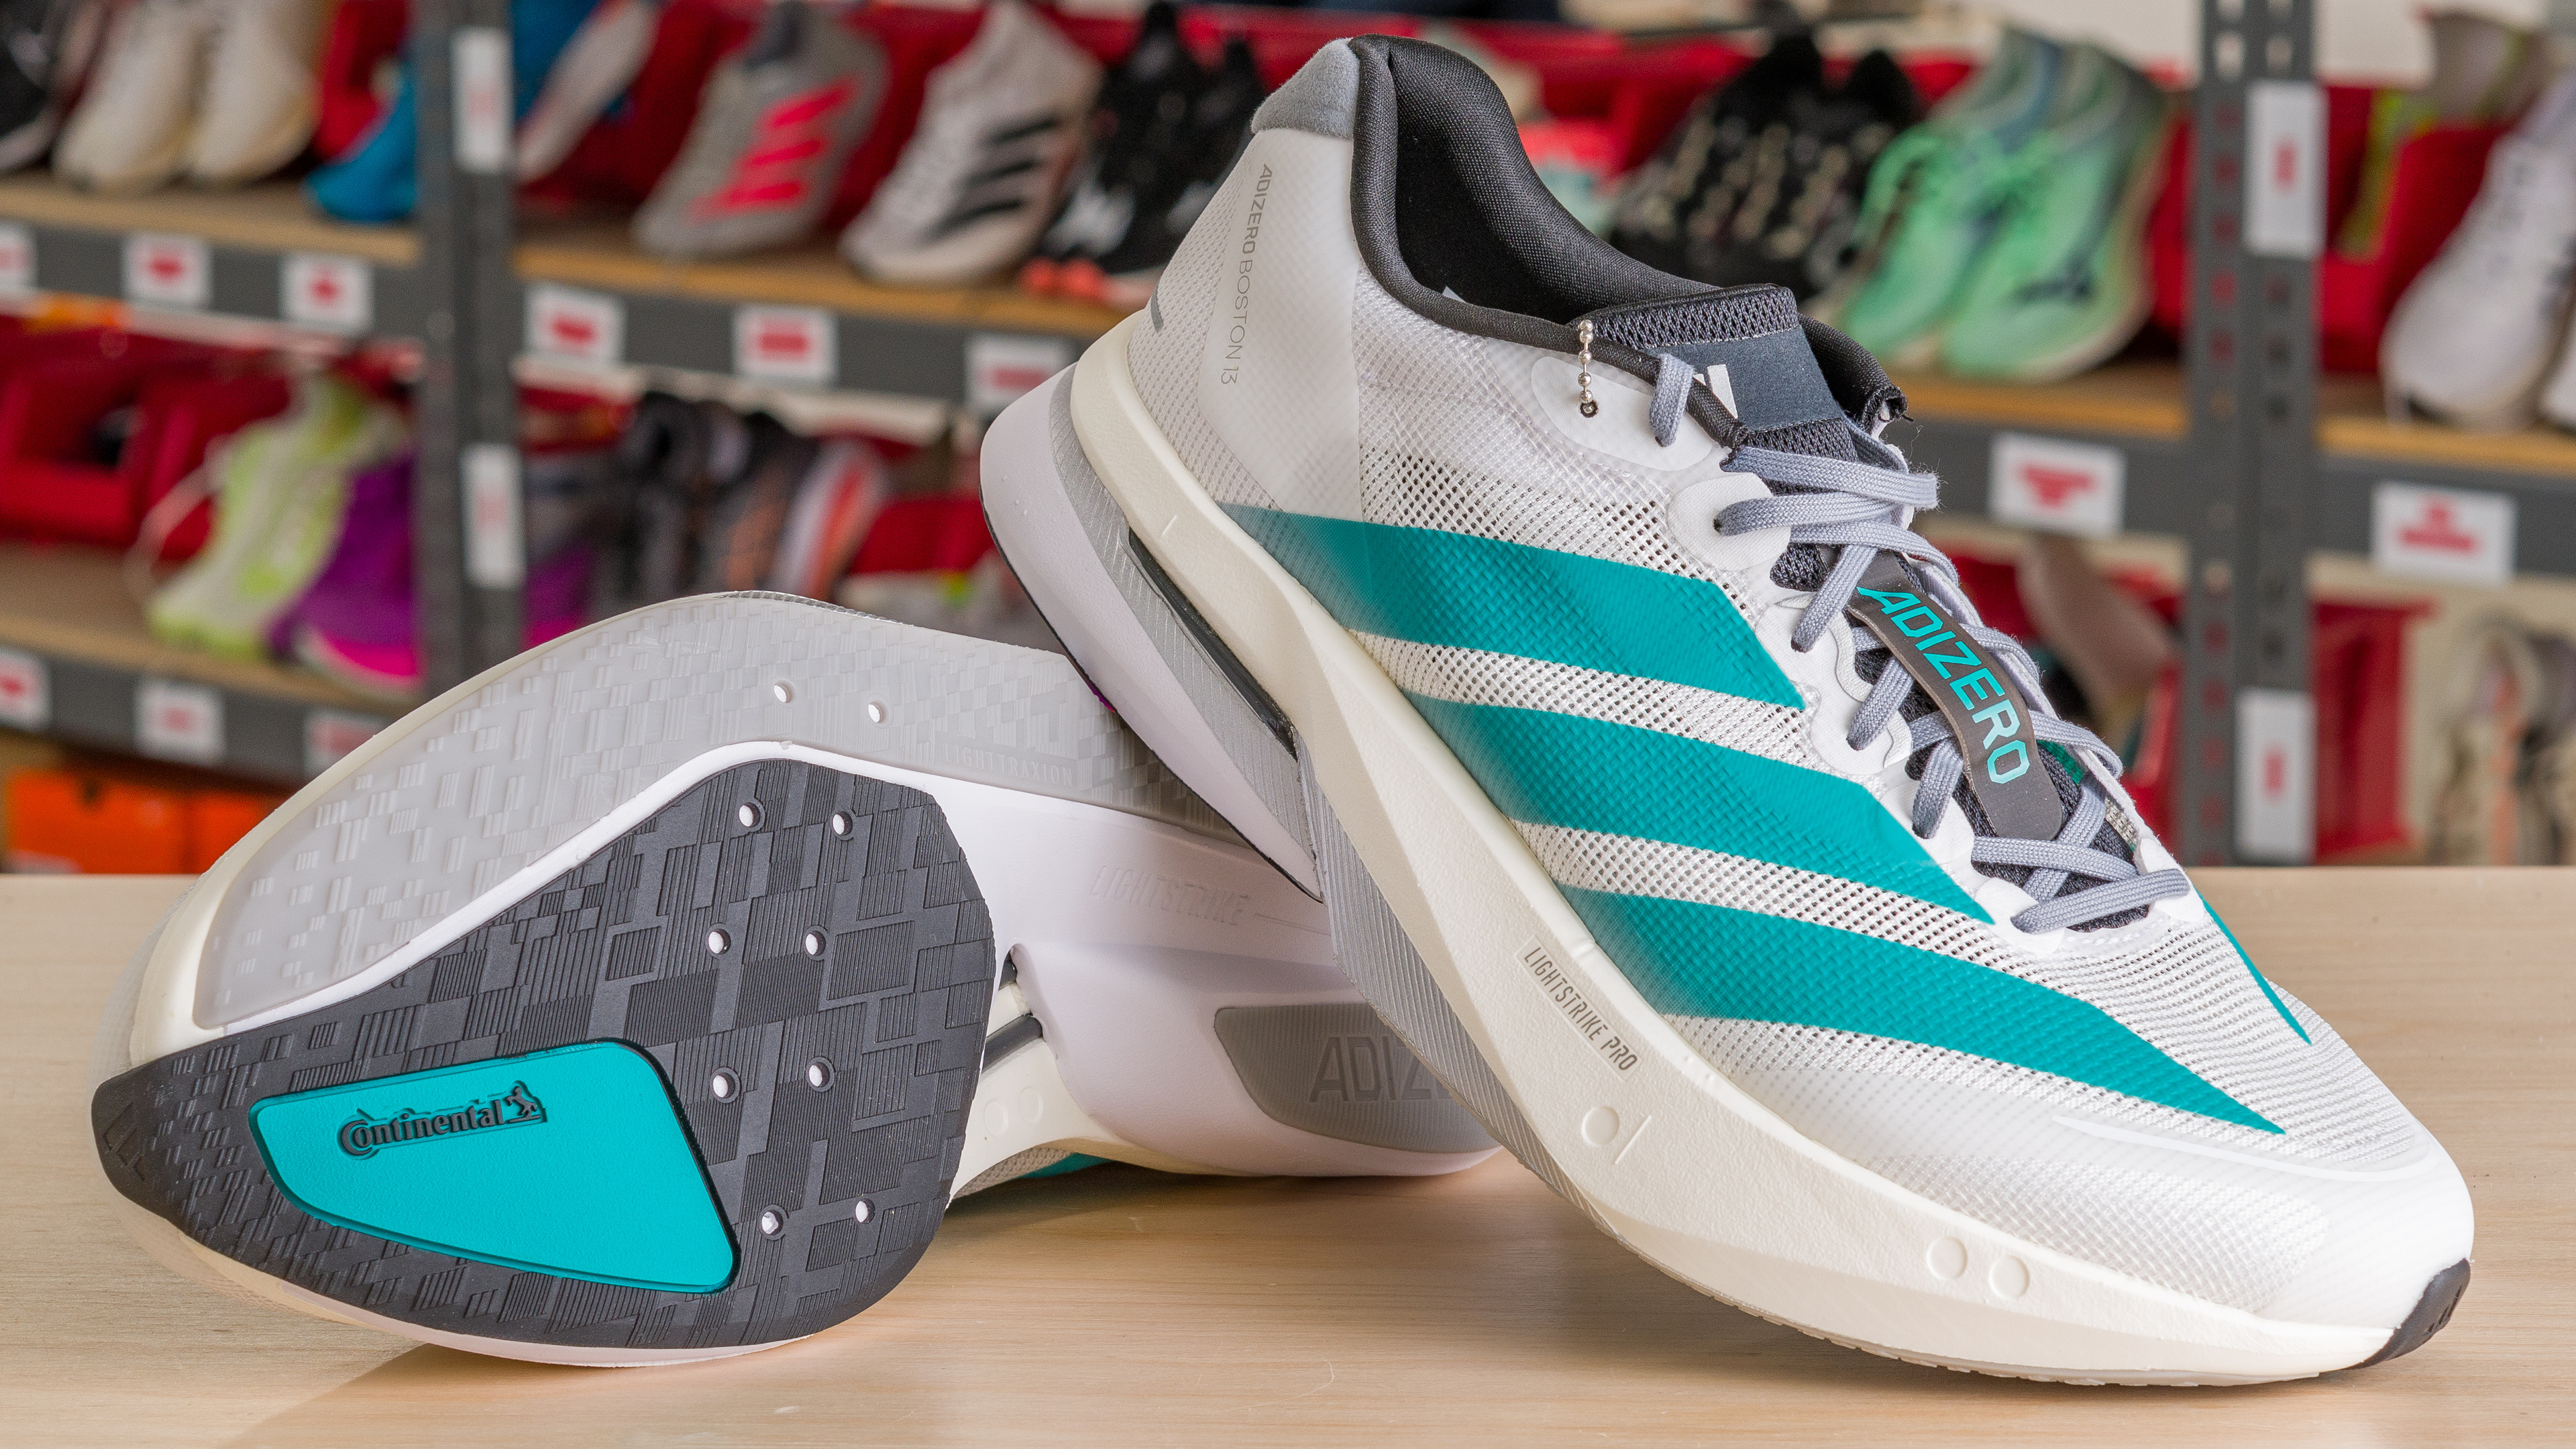
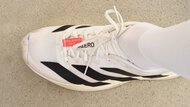
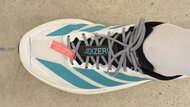
The adidas Adizero Boston 13 and adidas Adizero Evo SL may sit side by side in the Adizero lineup, but they occupy very different spaces. The Evo SL is an uptempo trainer that's unplated (apart from a partial plastic shank), making it a playful option for steady miles. Its midsole is full Lightstrike Pro, giving it a soft, cushioned, and energetic feel underfoot—perfect for runners who want a forgiving, bouncy ride that's smooth and fun. In contrast, the Boston 13 is a super trainer that brings a firmer, more controlled experience to the table. Its dual-density midsole combines Lightstrike Pro with a stabilizing Lightstrike carrier foam. The full-length ENERGYRODS on the Boston add noticeable stiffness and snap, giving it the kind of firm, quick turnover that suits structured speed sessions or marathon-pace efforts for runners who like a classic responsive feel that's also very stable.

0 

Variants

  • Adizero Evo SL (Carbon/Lucid Red/Solar Slime - (Men - US 9))
  • Adizero Evo SL (Cloud White/Core Black/Cloud White - (Men - US 9))
  • Adizero Boston 13 (Black/Cloud White/Grey - (Men - US 9))
  • Adizero Boston 13 (Chalk White/Gold Metallic/Orange Tint - (Women - US 7))
Read more

Main Differences for
Half/Full Marathon Racing

Threshold 

0.10

Half/Full Marathon Racing 
 

7.6
6.9

Weight  

7.5
6.3

Forefoot Long Run Cushioning 
 

7.6
5.9

Forefoot Bending Stiffness 
 

6.4
8.5

Heel Stack Height 
 

36.9 mm
35.9 mm

Full Comparison

Design

Weight  

7.5
6.3

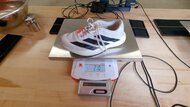
Right Shoe Weight Photo 
 

Compare High-Res
adidas Adizero Evo SL Right Shoe Weight Photo
Compare High-Res
adidas Adizero Boston 13 Right Shoe Weight Photo

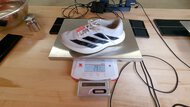
Left Shoe Weight Photo 
 

Compare High-Res
adidas Adizero Evo SL Left Shoe Weight Photo
Compare High-Res
adidas Adizero Boston 13 Left Shoe Weight Photo

Weight 
 

220.0 g (7.76 oz)
252.2 g (8.90 oz)

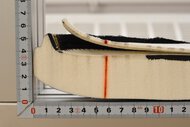
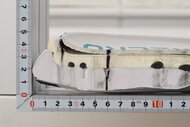
Stack Heights 
 

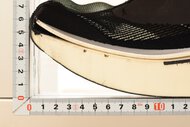
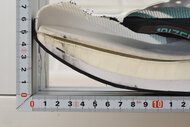
Stack Height Photo 
 

Compare High-Res
adidas Adizero Evo SL Stack Height Photo
Compare High-Res
adidas Adizero Boston 13 Stack Height Photo

Heel Stack Height 
 

36.9 mm
35.9 mm

Forefoot Stack Height 
 

30.2 mm
29.1 mm

Heel-To-Toe Drop 
 

6.7 mm
6.8 mm

Advertised Heel-To-Toe Drop 
 

6.0 mm
6.0 mm

External Shape 
 

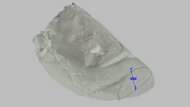
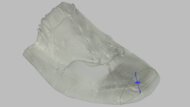
3D Model Full Shoe  

Preview 3D
adidas Adizero Evo SL 3D Model Full Shoe
Preview 3D
adidas Adizero Boston 13 3D Model Full Shoe

Outsole Heel Width 
 

84 mm (3.3")
83 mm (3.3")

Outsole Arch Width 
 

64 mm (2.5")
62 mm (2.4")

Outsole Forefoot Width 
 

114 mm (4.5")
122 mm (4.8")

Heel Width-To-Stack Ratio 
 

2.27
2.31

Forefoot Width-To-Stack Ratio 
 

3.77
4.19

Internal Shape 
 

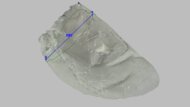
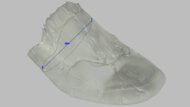
3D Model Internal  

Preview 3D
adidas Adizero Evo SL 3D Model Internal
Preview 3D
adidas Adizero Boston 13 3D Model Internal

Internal Length 
 

276 mm (10.8")
277 mm (10.9")

Internal Heel Width 
 

61 mm (2.4")
63 mm (2.5")

Internal Forefoot Width 
 

94 mm (3.7")
97 mm (3.8")

Wide Sizing Available 
 

No
No

Forefoot Fit: Width 
 

7.6
8.9

Forefoot Width Photo 
 

Compare High-Res
adidas Adizero Evo SL Forefoot Width Photo
Compare High-Res
adidas Adizero Boston 13 Forefoot Width Photo

Ball-Of-Foot TTS Deviation 
 

-2.2 mm (-0.085")
3.1 mm (0.122")

Toe TTS Deviation 
 

-6.4 mm (-0.253")
-2.6 mm (-0.104")

Forefoot Fit: Height 
 

8.5
8.1

Forefoot Height Photo 
 

Compare High-Res
adidas Adizero Evo SL Forefoot Height Photo
Compare High-Res
adidas Adizero Boston 13 Forefoot Height Photo

Toe TTS Deviation 
 

-2.1 mm (-0.081")
-2.4 mm (-0.095")

Arch Fit: Width 
 

8.5
7.5

Arch Fit Photo 
 

Compare High-Res
adidas Adizero Evo SL Arch Fit Photo
Compare High-Res
adidas Adizero Boston 13 Arch Fit Photo

Arch Width TTS Deviation 
 

-2.6 mm (-0.103")
-4.0 mm (-0.156")

Length Fit 
 

10
10

Toe Clearance Photo 
 

Compare High-Res
adidas Adizero Evo SL Toe Clearance Photo
Compare High-Res
adidas Adizero Boston 13 Toe Clearance Photo

Heel Rocker Geometry 
 

7.4
5.2

Heel Rocker Photo 
 

Compare High-Res
adidas Adizero Evo SL Heel Rocker Photo
Compare High-Res
adidas Adizero Boston 13 Heel Rocker Photo

Heel Spring 
 

21 mm (0.8")
13 mm (0.5")

Heel Apex Position 
 

20.3%
20.8%

Heel Rocker Angle 
 

19.3°
12.0°

Forefoot Rocker Geometry 
 

7.2
6.6

Forefoot Rocker Photo 
 

Compare High-Res
adidas Adizero Evo SL Forefoot Rocker Photo
Compare High-Res
adidas Adizero Boston 13 Forefoot Rocker Photo

Toe Spring 
 

49 mm (1.9")
45 mm (1.8")

Toe Apex Position 
 

62.7%
62.5%

Forefoot Rocker Angle 
 

24.0°
22.2°

Foam 
 

Primary Foam Picture  

adidas Adizero Evo SL Primary Foam Picture

Secondary Foam Picture  

adidas Adizero Evo SL Secondary Foam Picture

Primary Foam Name 
 

Lightstrike Pro

Primary Foam Type 
 

TPEE

Secondary Foam Name 
 

N/A

Secondary Foam Type 
 

N/A

Laces 
 

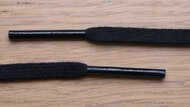
Laces Picture  

adidas Adizero Evo SL Laces Picture

Lace Type 
 

Flat

Width 
 

5.0 mm (0.2")

Thickness 
 

1.1 mm (0.0")

Stretch 
 

6.0%

Other Features  

Other Features Photo 
 

Compare High-Res
adidas Adizero Evo SL Other Features Photo
Compare High-Res
adidas Adizero Boston 13 Other Features Photo

Tongue Gusset Type 
 

Non-gusseted
Semi-gusseted

Plate 
 

Plastic Shank
Fiberglass Rods
Performance

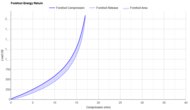
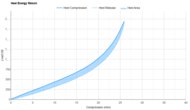
Heel Compression Energy Return 
 

8.1
6.7

Heel Compression Video  

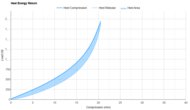
Heel Energy Return  
 Preview Graph
adidas Adizero Boston 13 Heel Energy Return

Heel Energy Return 
 

81.4%
75.1%

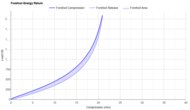
Forefoot Compression Energy Return 
 

8.4
8.0

Forefoot Compression Video  

Forefoot Energy Return  
 Preview Graph
adidas Adizero Boston 13 Forefoot Energy Return

Forefoot Energy Return 
 

83.3%
80.8%

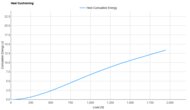
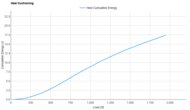
Heel Cushioning 
 

8.0
5.9

Heel Cushioning Picture 
 

Compare High-Res
adidas Adizero Evo SL Heel Cushioning Picture
Compare High-Res
adidas Adizero Boston 13 Heel Cushioning Picture

Heel Cushioning  
 Preview Graph
adidas Adizero Boston 13 Heel Cushioning

Energy Absorbed At 550N 
 

3.46 J
2.76 J

Energy Absorbed At 1100N 
 

10.03 J
7.59 J

Energy Absorbed At 1900N 
 

17.07 J
13.09 J

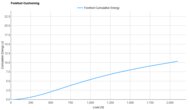
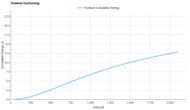
Forefoot Cushioning 
 

8.1
6.6

Forefoot Cushioning Picture 
 

Compare High-Res
adidas Adizero Evo SL Forefoot Cushioning Picture
Compare High-Res
adidas Adizero Boston 13 Forefoot Cushioning Picture

Forefoot Cushioning  
 Preview Graph
adidas Adizero Boston 13 Forefoot Cushioning

Energy Absorbed At 800N 
 

5.16 J
4.14 J

Energy Absorbed At 1300N 
 

8.87 J
7.08 J

Energy Absorbed At 2050N 
 

12.68 J
10.17 J

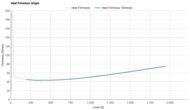
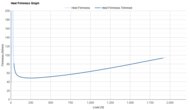
Heel Firmness 
 

7.7
9.0

Heel Firmness Graph  

 Preview Graph
adidas Adizero Evo SL Heel Firmness Graph
 Preview Graph
adidas Adizero Boston 13 Heel Firmness Graph

Firmness At 550N 
 

44.0 N/mm
52.5 N/mm

Firmness At 1100N 
 

52.8 N/mm
66.4 N/mm

Firmness At 1900N 
 

73.9 N/mm
93.2 N/mm

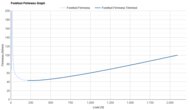
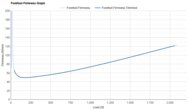
Forefoot Firmness 
 

7.5
9.0

Forefoot Firmness Graph  

 Preview Graph
adidas Adizero Evo SL Forefoot Firmness Graph
 Preview Graph
adidas Adizero Boston 13 Forefoot Firmness Graph

Firmness At 800N 
 

53.9 N/mm
65.9 N/mm

Firmness At 1300N 
 

70.3 N/mm
86.5 N/mm

Firmness At 2050N 
 

98 N/mm
121 N/mm

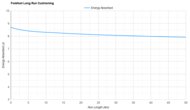
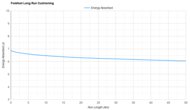
Forefoot Long Run Cushioning 
 

7.6
5.9

Forefoot Long Run Cushioning  

 Preview Graph
adidas Adizero Evo SL Forefoot Long Run Cushioning
 Preview Graph
adidas Adizero Boston 13 Forefoot Long Run Cushioning

Energy Absorbed At 10km 
 

8.31 J
6.47 J

Energy Absorbed At 20km 
 

8.17 J
6.30 J

Energy Absorbed At 30km 
 

8.07 J
6.21 J

Energy Absorbed At 40km 
 

7.99 J
6.12 J

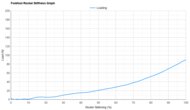
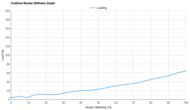
Rocker Stiffness 
 

6.1
7.2

Forefoot Rocker Stiffness Video  

Forefoot Rocker Stiffness Graph  
 Preview Graph
adidas Adizero Evo SL Forefoot Rocker Stiffness Graph
 Preview Graph
adidas Adizero Boston 13 Forefoot Rocker Stiffness Graph

Force To Flatten The Rocker 
 

63 N
90 N

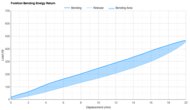
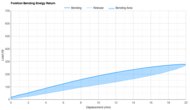
Forefoot Bending Energy Return 
 

7.7
8.3

Forefoot Bending Video  

Forefoot Bending Energy Return  
 Preview Graph
adidas Adizero Evo SL Forefoot Bending Energy Return
 Preview Graph
adidas Adizero Boston 13 Forefoot Bending Energy Return

Forefoot Bending Energy Return 
 

69.4%
74.1%

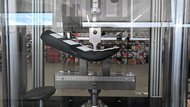
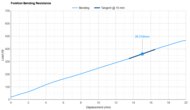
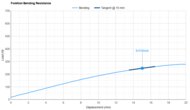
Forefoot Bending Stiffness 
 

6.4
8.5

Forefoot Bending Resistance Picture 
 

Compare High-Res
adidas Adizero Evo SL Forefoot Bending Resistance Picture
Compare High-Res
adidas Adizero Boston 13 Forefoot Bending Resistance Picture

Forefoot Bending Resistance  
 Preview Graph
adidas Adizero Evo SL Forefoot Bending Resistance
 Preview Graph
adidas Adizero Boston 13 Forefoot Bending Resistance

Forefoot Bending Stiffness 
 

9.4 N/mm
24.3 N/mm

Forefoot Bending Force 
 

247 N
359 N

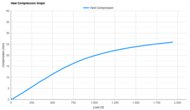
Heel Compression Depth 
 

6.0

Heel Compression Graph  

 Preview Graph
adidas Adizero Evo SL Heel Compression Graph

Heel Compression At 550N 
 

12.5 mm

Heel Compression At 1100N 
 

20.8 mm

Heel Compression At 1900N 
 

25.7 mm

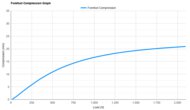
Forefoot Compression Depth 
 

6.3

Forefoot Compression Graph  

 Preview Graph
adidas Adizero Evo SL Forefoot Compression Graph

Forefoot Compression At 800N 
 

14.8 mm

Forefoot Compression At 1300N 
 

18.5 mm

Forefoot Compression At 2050N 
 

20.8 mm

adidas Adizero Evo SL

adidas Adizero Boston 13

Comments

  1. Comparison

adidas Adizero Evo SL vs adidas Adizero Boston 13: Main Discussion

What do you think of these products? Let us know below.


Looking for a personalized buying advice from the RTINGS.com experts? Members have direct access to buying advice on our member forum.

PreviewBack to editorFormat guide
No comments yet, refresh to see new ones