ASICS METASPEED SKY TOKYO vs Saucony Endorphin Elite 3

Which Running Shoe Is Better?

Products

ASICS METASPEED SKY TOKYO
Saucony Endorphin Elite 3

Tested using Methodology v0.15

Updated Jul 16, 2026 02:46 PM

SEE PRICE
Amazon

Tested using Methodology v0.15

Updated Jul 29, 2026 04:47 PM

SEE PRICE
Saucony
ASICS METASPEED SKY TOKYO Picture

Track

Saucony Endorphin Elite 3 Picture

Track

  1. Recommended in 1 article:
  2. Running Shoes
  1. Recommended in 1 article:
  2. Saucony

Our Verdict

ASICS METASPEED SKY TOKYO

Saucony Endorphin Elite 3

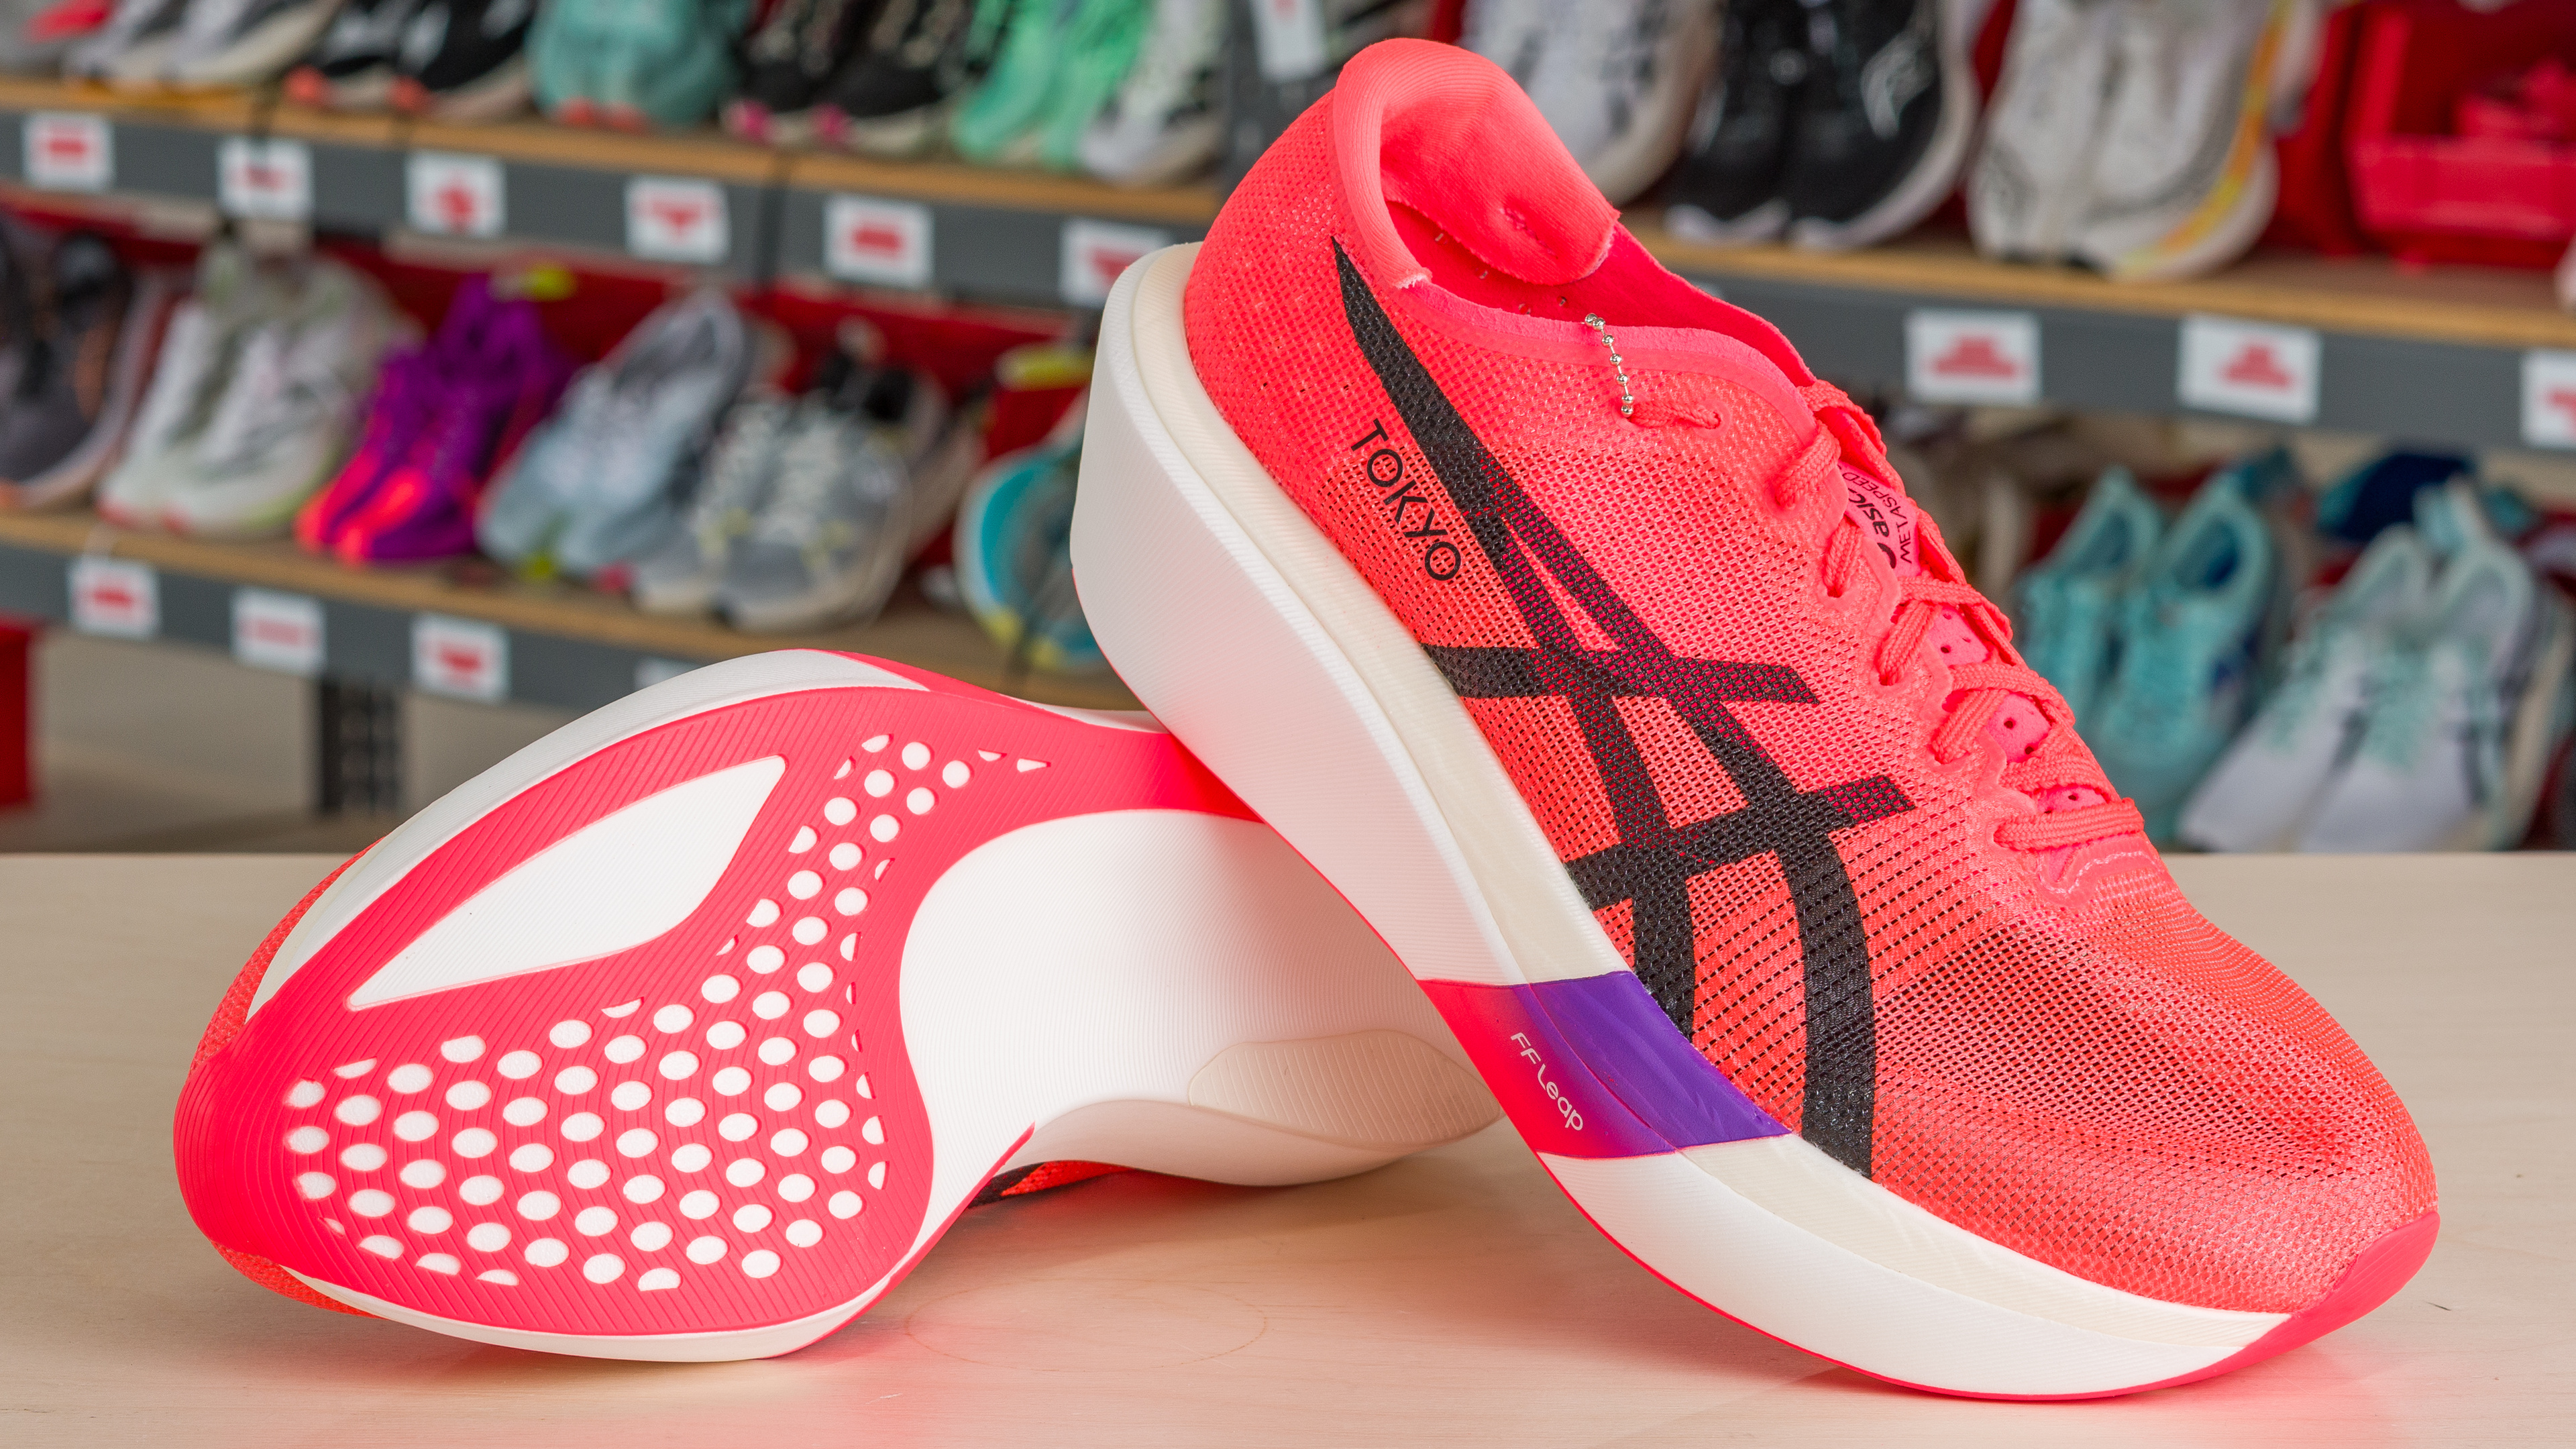
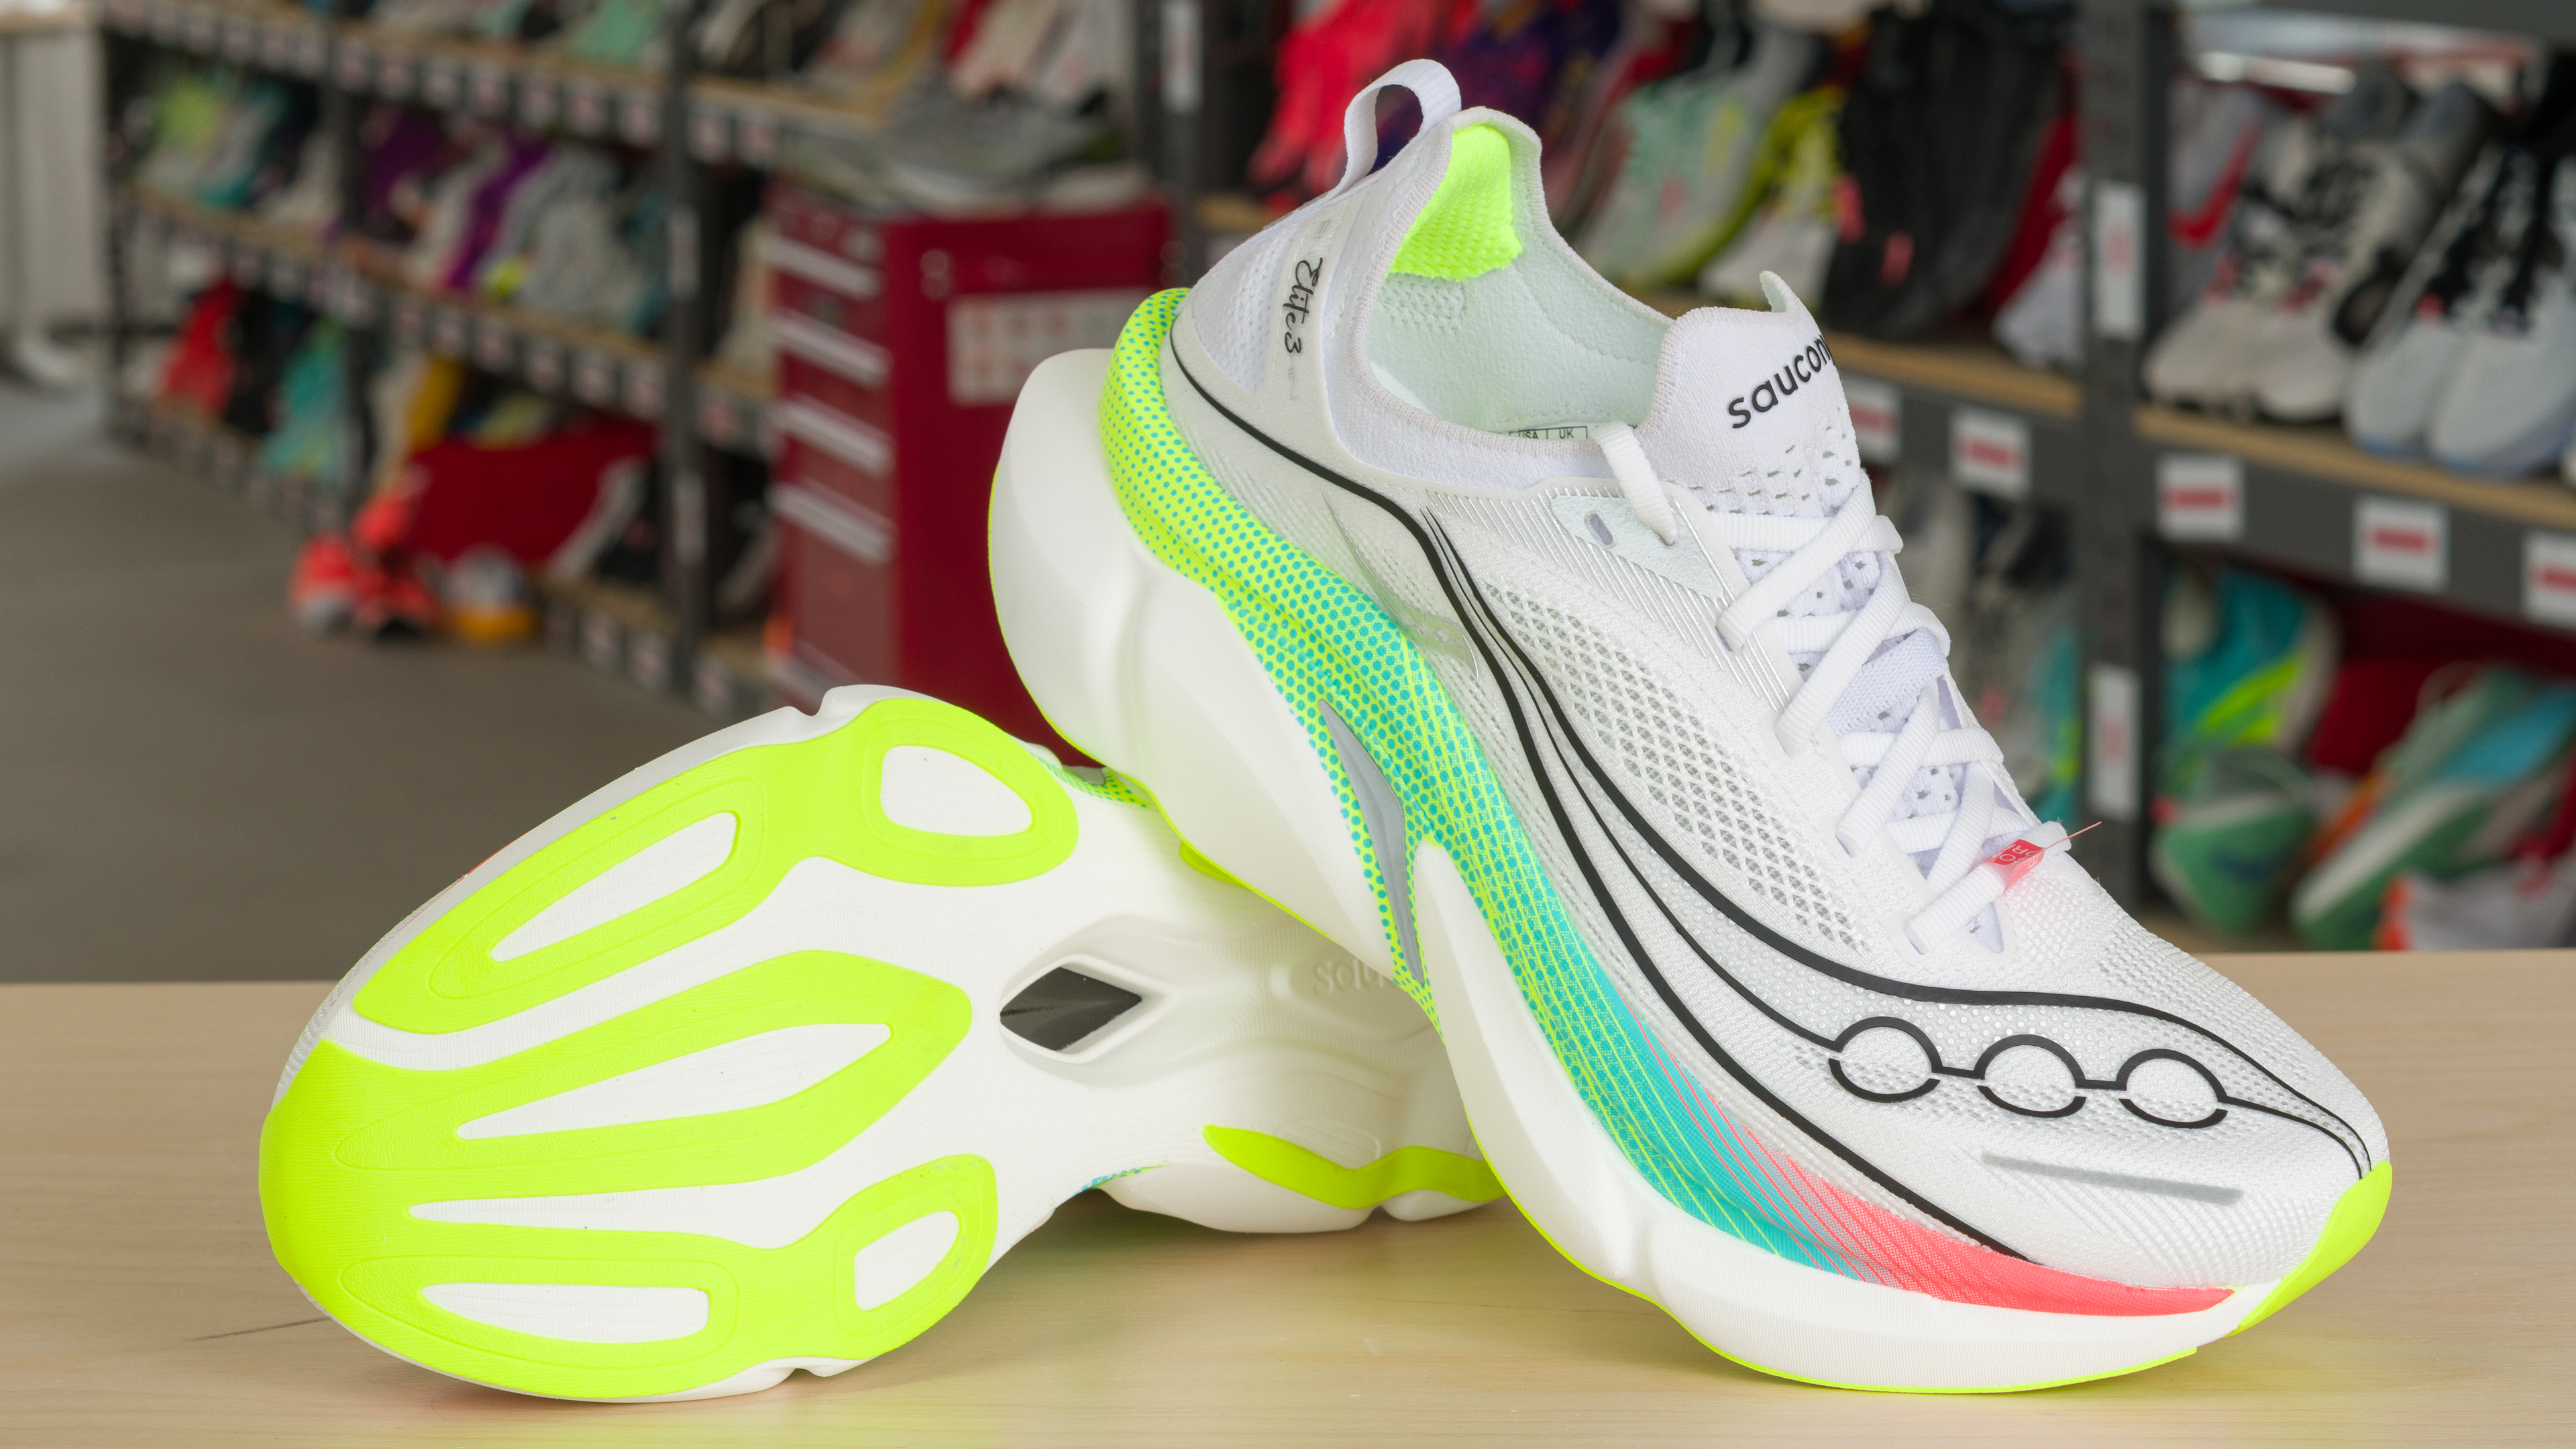
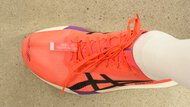
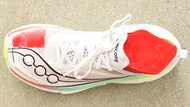
The ASICS METASPEED SKY TOKYO and Saucony Endorphin Elite 3 are two carbon-plated racers that deliver different rides that will appeal to different runners. The ASICS shoe has a much lower heel-to-toe drop and a narrower platform that favors forefoot strikers who can maintain good form throughout the race. The Saucony shoe has a more rockered rearfoot and a bigger heel drop that is more accommodating of heel strikers. Its wider platform also makes the shoe generally more stable, although it is also significantly heavier. The SKY TOKYO is the shoe for hyper-optimized running efficiency, while the Endorphin Elite 3 is a super shoe with a bit more of a safety net in case your form breaks down.

0 

Variants

  • METASPEED SKY TOKYO (Flash Red/Black - (Men - US 9))
  • METASPEED SKY TOKYO (Flash Red/Black - (Women - US 7))
  • Endorphin Elite 3 (White/Black - (Women - US 7))
  • Endorphin Elite 3 (White/Multi - (Men - US 9))

Main Differences for
Half/Full Marathon Racing

Threshold 

0.10

Half/Full Marathon Racing 
 

8.5
8.3

Weight  

9.2
7.7

Full Comparison

Design

Weight  

9.2
7.7

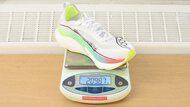
Right Shoe Weight Photo 
 

Compare High-Res
ASICS METASPEED SKY TOKYO Right Shoe Weight Photo
Compare High-Res
Saucony Endorphin Elite 3 Right Shoe Weight Photo

Left Shoe Weight Photo 
 

Compare High-Res
ASICS METASPEED SKY TOKYO Left Shoe Weight Photo
Compare High-Res
Saucony Endorphin Elite 3 Left Shoe Weight Photo

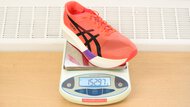
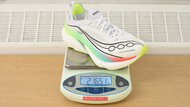
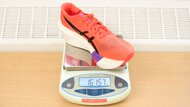
Weight 
 

157.3 g (5.55 oz)
213.2 g (7.52 oz)

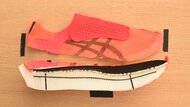
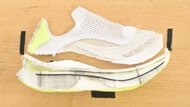
Stack Heights 
 

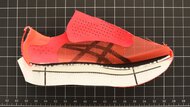
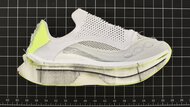
Stack Height Photo 
 

Compare High-Res
ASICS METASPEED SKY TOKYO Stack Height Photo
Compare High-Res
Saucony Endorphin Elite 3 Stack Height Photo

Heel Stack Height 
 

39.5 mm
40.2 mm

Forefoot Stack Height 
 

34.8 mm
32.2 mm

Heel-To-Toe Drop 
 

4.7 mm
8.0 mm

Advertised Heel-To-Toe Drop 
 

5.0 mm
8.0 mm

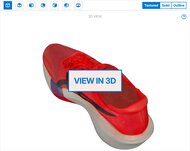
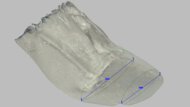
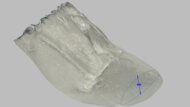
External Shape 
 

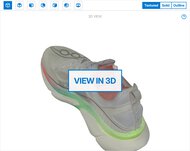
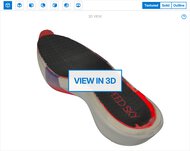
3D Model Full Shoe  

Preview 3D
ASICS METASPEED SKY TOKYO 3D Model Full Shoe
Preview 3D
Saucony Endorphin Elite 3 3D Model Full Shoe

Outsole Heel Width 
 

75 mm (3.0")
95 mm (3.8")

Outsole Arch Width 
 

72 mm (2.8")
74 mm (2.9")

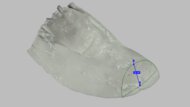
Outsole Forefoot Width 
 

106 mm (4.2")
116 mm (4.6")

Heel Width-To-Stack Ratio 
 

1.90
2.36

Forefoot Width-To-Stack Ratio 
 

3.05
3.60

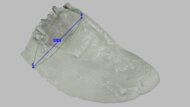
Internal Shape 
 

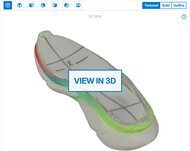
3D Model Internal  

Preview 3D
ASICS METASPEED SKY TOKYO 3D Model Internal
Preview 3D
Saucony Endorphin Elite 3 3D Model Internal

Internal Length 
 

266 mm (10.5")
278 mm (10.9")

Internal Heel Width 
 

56 mm (2.2")
57 mm (2.2")

Internal Forefoot Width 
 

90 mm (3.5")
89 mm (3.5")

Wide Sizing Available 
 

No
No

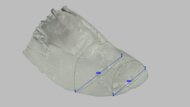
Forefoot Fit: Width 
 

7.4
9.7

Forefoot Width Photo 
 

Compare High-Res
ASICS METASPEED SKY TOKYO Forefoot Width Photo
Compare High-Res
Saucony Endorphin Elite 3 Forefoot Width Photo

Ball-Of-Foot TTS Deviation 
 

-3.2 mm (-0.126")
1.8 mm (0.071")

Toe TTS Deviation 
 

-5.2 mm (-0.204")
1.9 mm (0.074")

Forefoot Fit: Height 
 

10
6.7

Forefoot Height Photo 
 

Compare High-Res
ASICS METASPEED SKY TOKYO Forefoot Height Photo
Compare High-Res
Saucony Endorphin Elite 3 Forefoot Height Photo

Toe TTS Deviation 
 

3.4 mm (0.135")
-4.0 mm (-0.157")

Arch Fit: Width 
 

7.2
8.4

Arch Fit Photo 
 

Compare High-Res
ASICS METASPEED SKY TOKYO Arch Fit Photo
Compare High-Res
Saucony Endorphin Elite 3 Arch Fit Photo

Arch Width TTS Deviation 
 

-4.4 mm (-0.171")
-2.8 mm (-0.109")

Length Fit 
 

7.0
7.0

Toe Clearance Photo 
 

Compare High-Res
ASICS METASPEED SKY TOKYO Toe Clearance Photo
Compare High-Res
Saucony Endorphin Elite 3 Toe Clearance Photo

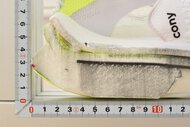
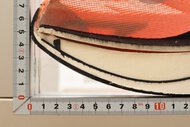
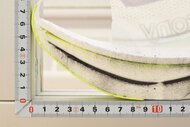
Heel Rocker Geometry 
 

3.9
8.3

Heel Rocker Photo 
 

Compare High-Res
ASICS METASPEED SKY TOKYO Heel Rocker Photo
Compare High-Res
Saucony Endorphin Elite 3 Heel Rocker Photo

Heel Spring 
 

10 mm (0.4")
28 mm (1.1")

Heel Apex Position 
 

11.4%
20.0%

Heel Rocker Angle 
 

17.9°
26.2°

Forefoot Rocker Geometry 
 

7.5
8.2

Forefoot Rocker Photo 
 

Compare High-Res
ASICS METASPEED SKY TOKYO Forefoot Rocker Photo
Compare High-Res
Saucony Endorphin Elite 3 Forefoot Rocker Photo

Toe Spring 
 

52 mm (2.0")
60 mm (2.4")

Toe Apex Position 
 

69.4%
66.7%

Forefoot Rocker Angle 
 

32.1°
32.3°

Foam 
 

Primary Foam Picture 
 

Compare High-Res
ASICS METASPEED SKY TOKYO Primary Foam Picture
Compare High-Res
Saucony Endorphin Elite 3 Primary Foam Picture

Secondary Foam Picture 

 

Compare High-Res
ASICS METASPEED SKY TOKYO Secondary Foam Picture
Compare High-Res
Saucony Endorphin Elite 3 Secondary Foam Picture

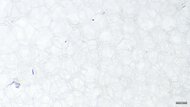
Primary Foam Name 
 

FF LEAP
IncrediRUN

Primary Foam Type 
 

A-TPU
TPEE

Secondary Foam Name 
 

FF TURBO PLUS
N/A

Secondary Foam Type 
 

PEBA
N/A

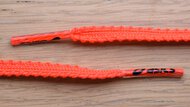
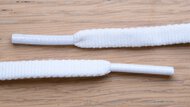
Laces 
 

Laces Picture 
 

Compare High-Res
ASICS METASPEED SKY TOKYO Laces Picture
Compare High-Res
Saucony Endorphin Elite 3 Laces Picture

Lace Type 
 

Sawtooth
Flat

Width 
 

4.0 mm (0.2")
6.0 mm (0.2")

Thickness 
 

1.1 mm (0.0")
2.1 mm (0.1")

Stretch 
 

5.0%
10.0%

Other Features  

Other Features Photo 
 

Compare High-Res
ASICS METASPEED SKY TOKYO Other Features Photo
Compare High-Res
Saucony Endorphin Elite 3 Other Features Photo

Tongue Gusset Type 
 

Non-gusseted
Semi-gusseted

Plate 
 

Carbon Fiber
Carbon Fiber
Performance

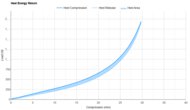
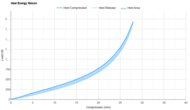
Heel Compression Energy Return 
 

8.9
8.9

Heel Compression Video  

Heel Energy Return  
 Preview Graph
ASICS METASPEED SKY TOKYO Heel Energy Return
 Preview Graph
Saucony Endorphin Elite 3 Heel Energy Return

Heel Energy Return 
 

86.7%
87.4%

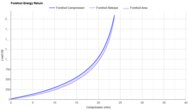
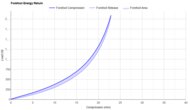
Forefoot Compression Energy Return 
 

9.0
8.9

Forefoot Compression Video  

Forefoot Energy Return  
 Preview Graph
ASICS METASPEED SKY TOKYO Forefoot Energy Return
 Preview Graph
Saucony Endorphin Elite 3 Forefoot Energy Return

Forefoot Energy Return 
 

87.9%
87.4%

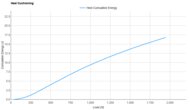
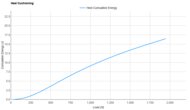
Heel Cushioning 
 

8.3
8.5

Heel Cushioning Picture 
 

Compare High-Res
ASICS METASPEED SKY TOKYO Heel Cushioning Picture
Compare High-Res
Saucony Endorphin Elite 3 Heel Cushioning Picture

Heel Cushioning  
 Preview Graph
ASICS METASPEED SKY TOKYO Heel Cushioning
 Preview Graph
Saucony Endorphin Elite 3 Heel Cushioning

Energy Absorbed At 550N 
 

4.19 J
4.57 J

Energy Absorbed At 1100N 
 

10.06 J
10.32 J

Energy Absorbed At 1900N 
 

16.15 J
16.50 J

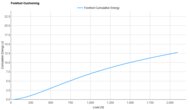
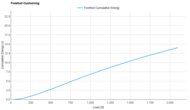
Forefoot Cushioning 
 

8.4
8.2

Forefoot Cushioning Picture 
 

Compare High-Res
ASICS METASPEED SKY TOKYO Forefoot Cushioning Picture
Compare High-Res
Saucony Endorphin Elite 3 Forefoot Cushioning Picture

Forefoot Cushioning  
 Preview Graph
ASICS METASPEED SKY TOKYO Forefoot Cushioning
 Preview Graph
Saucony Endorphin Elite 3 Forefoot Cushioning

Energy Absorbed At 800N 
 

5.26 J
5.50 J

Energy Absorbed At 1300N 
 

9.05 J
8.92 J

Energy Absorbed At 2050N 
 

13.77 J
12.56 J

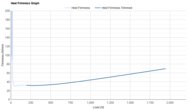
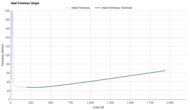
Heel Firmness 
 

6.0
5.2

Heel Firmness Graph  

 Preview Graph
ASICS METASPEED SKY TOKYO Heel Firmness Graph
 Preview Graph
Saucony Endorphin Elite 3 Heel Firmness Graph

Firmness At 550N 
 

34.3 N/mm
30.6 N/mm

Firmness At 1100N 
 

46.7 N/mm
43.4 N/mm

Firmness At 1900N 
 

68.4 N/mm
64.2 N/mm

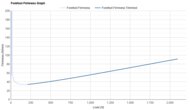
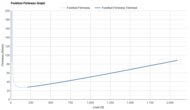
Forefoot Firmness 
 

6.1
5.1

Forefoot Firmness Graph  

 Preview Graph
ASICS METASPEED SKY TOKYO Forefoot Firmness Graph
 Preview Graph
Saucony Endorphin Elite 3 Forefoot Firmness Graph

Firmness At 800N 
 

49.5 N/mm
44.5 N/mm

Firmness At 1300N 
 

65.4 N/mm
60.9 N/mm

Firmness At 2050N 
 

90 N/mm
87 N/mm

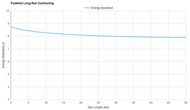
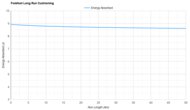
Forefoot Long Run Cushioning 
 

7.6
8.1

Forefoot Long Run Cushioning  

 Preview Graph
ASICS METASPEED SKY TOKYO Forefoot Long Run Cushioning
 Preview Graph
Saucony Endorphin Elite 3 Forefoot Long Run Cushioning

Energy Absorbed At 10km 
 

8.28 J
8.79 J

Energy Absorbed At 20km 
 

8.10 J
8.73 J

Energy Absorbed At 30km 
 

7.99 J
8.68 J

Energy Absorbed At 40km 
 

7.93 J
8.65 J

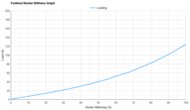
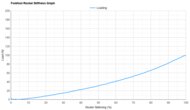
Rocker Stiffness 
 

7.5
8.1

Forefoot Rocker Stiffness Video  

Forefoot Rocker Stiffness Graph  
 Preview Graph
ASICS METASPEED SKY TOKYO Forefoot Rocker Stiffness Graph
 Preview Graph
Saucony Endorphin Elite 3 Forefoot Rocker Stiffness Graph

Force To Flatten The Rocker 
 

99 N
123 N

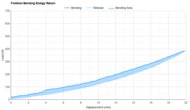
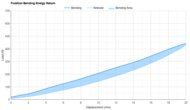
Forefoot Bending Energy Return 
 

8.7
9.1

Forefoot Bending Video  

Forefoot Bending Energy Return  
 Preview Graph
ASICS METASPEED SKY TOKYO Forefoot Bending Energy Return
 Preview Graph
Saucony Endorphin Elite 3 Forefoot Bending Energy Return

Forefoot Bending Energy Return 
 

77.7%
83.0%

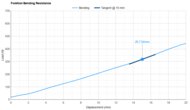
Forefoot Bending Stiffness 
 

8.4
7.9

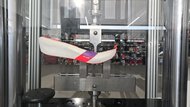
Forefoot Bending Resistance Picture 
 

Compare High-Res
ASICS METASPEED SKY TOKYO Forefoot Bending Resistance Picture
Compare High-Res
Saucony Endorphin Elite 3 Forefoot Bending Resistance Picture

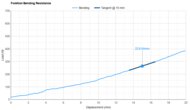
Forefoot Bending Resistance  
 Preview Graph
ASICS METASPEED SKY TOKYO Forefoot Bending Resistance
 Preview Graph
Saucony Endorphin Elite 3 Forefoot Bending Resistance

Forefoot Bending Stiffness 
 

25.7 N/mm
22.6 N/mm

Forefoot Bending Force 
 

317 N
263 N

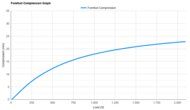
Heel Compression Depth 
 

7.1
7.7

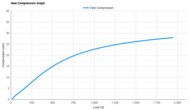
Heel Compression Graph  

 Preview Graph
ASICS METASPEED SKY TOKYO Heel Compression Graph
 Preview Graph
Saucony Endorphin Elite 3 Heel Compression Graph

Heel Compression At 550N 
 

16.1 mm
18.0 mm

Heel Compression At 1100N 
 

23.6 mm
25.3 mm

Heel Compression At 1900N 
 

27.8 mm
29.6 mm

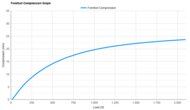
Forefoot Compression Depth 
 

6.8
7.3

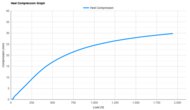
Forefoot Compression Graph  

 Preview Graph
ASICS METASPEED SKY TOKYO Forefoot Compression Graph
 Preview Graph
Saucony Endorphin Elite 3 Forefoot Compression Graph

Forefoot Compression At 800N 
 

16.2 mm
18.0 mm

Forefoot Compression At 1300N 
 

19.9 mm
21.3 mm

Forefoot Compression At 2050N 
 

22.8 mm
23.6 mm

ASICS METASPEED SKY TOKYO

Saucony Endorphin Elite 3

Comments

  1. Comparison

ASICS METASPEED SKY TOKYO vs Saucony Endorphin Elite 3: Main Discussion

What do you think of these products? Let us know below.


Looking for a personalized buying advice from the RTINGS.com experts? Members have direct access to buying advice on our member forum.

PreviewBack to editorFormat guide
No comments yet, refresh to see new ones