Products
Tested using Methodology v1.0
Updated Oct 27, 2026 06:29 PM
SEE PRICE
Amazon
Tested using Methodology v0.15
Updated Oct 23, 2026 02:51 PM
SEE PRICE
Amazon
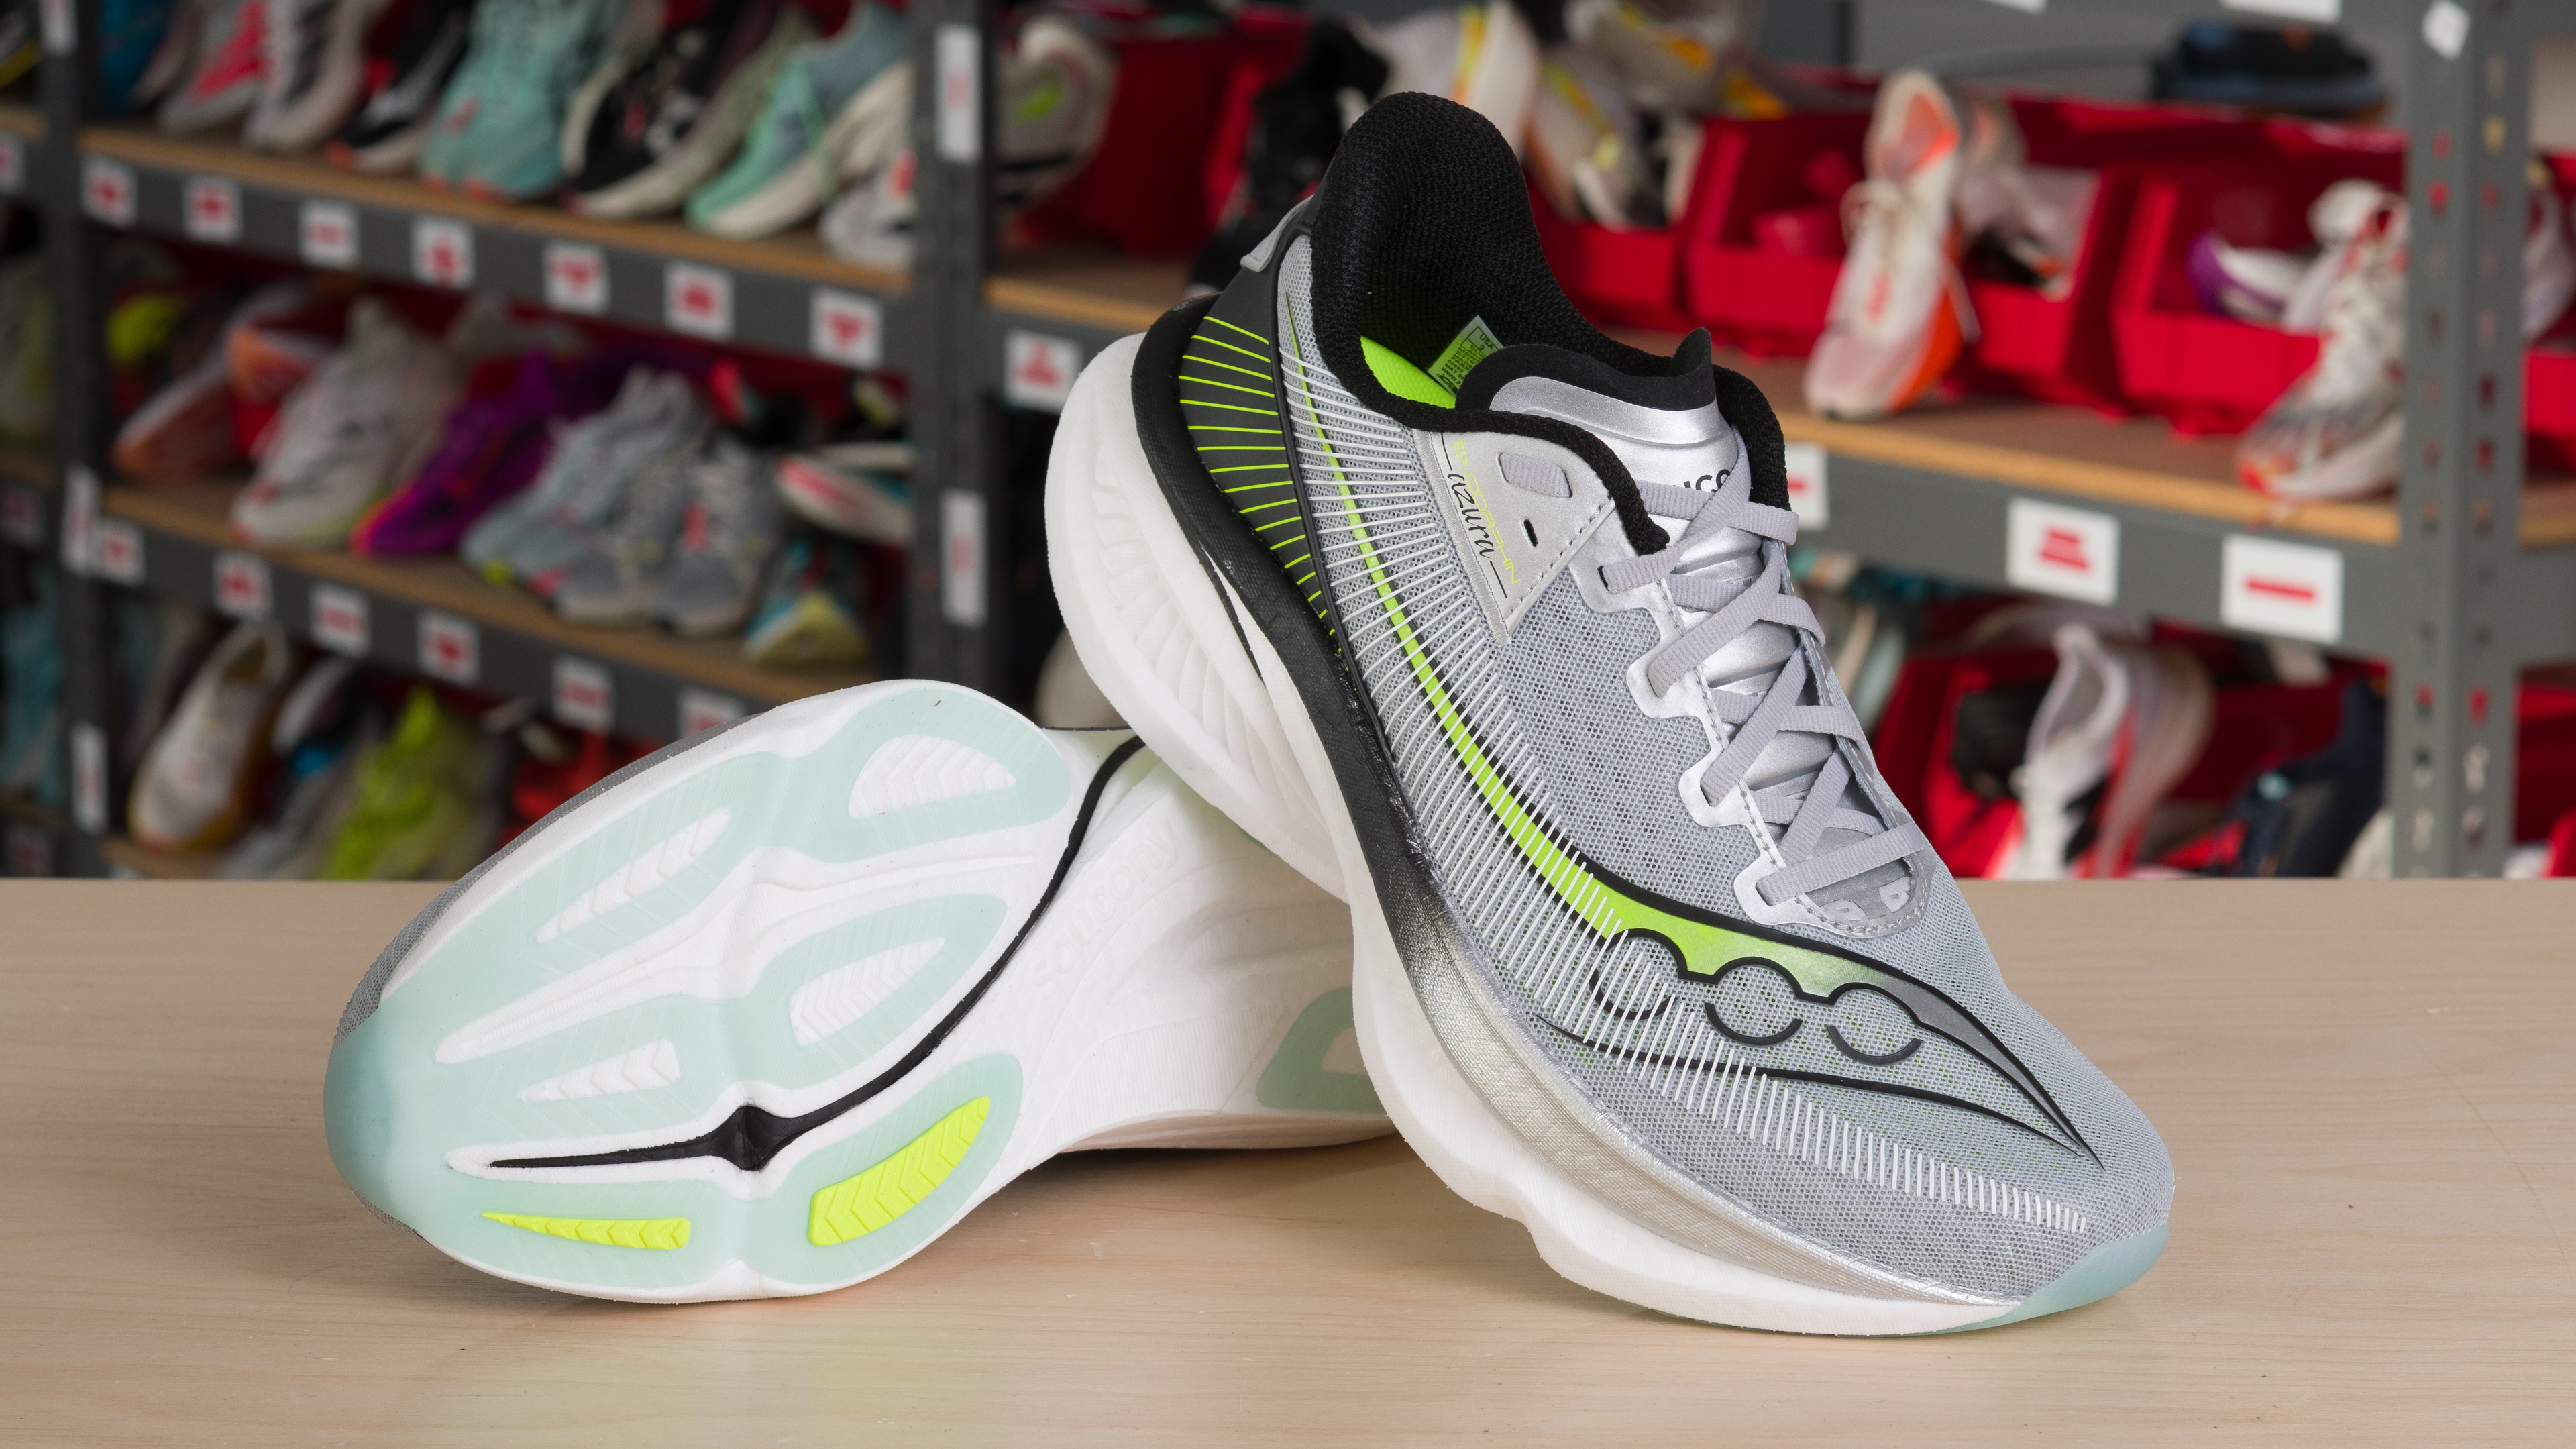

Heel Stack Height
40.2 mm
Weight
242.0 g (8.54 oz)
Heel-To-Toe Drop
7.3 mm
Plate
None
Heel Stack Height
42.3 mm
Weight
240.9 g (8.50 oz)
Heel-To-Toe Drop
9.7 mm
Plate
None
Our Verdict
Saucony Endorphin Azura
Saucony Triumph 24
The Saucony Endorphin Azura is a better choice for runners who want a firmer, steadier daily shoe than the Saucony Triumph 24. It provides more stability, and its forefoot cushioning holds up better on longer runs, making it a better choice for runners who need a bit more confidence for their daily miles. The Triumph is better if you prefer a softer, bouncier feel. It offers stronger heel cushioning and comes in wide sizes, making it worth considering for runners who want a bit of extra room.
Variants
- Endorphin Azura (Black/Aqua - (Women - US 7))
- Endorphin Azura (Black/White - (Men - US 9))
- Triumph 24 (Black/Black/Black - (Men - US 9))
- Triumph 24 (Black/Black/Black - (Women - US 7))
Main Differences for
Half/Full Marathon Racing
Half/Full Marathon Racing
Threshold
Half/Full Marathon Racing
7.9
7.8
Full Comparison
Design
Weight
6.7
6.8
Right Shoe Weight Photo
Compare High-Res
Compare High-Res

Left Shoe Weight Photo
Compare High-Res
Compare High-Res

Weight
242.0 g (8.54 oz)
240.9 g (8.50 oz)
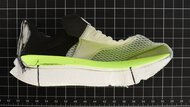
Stack Heights
Stack Height Photo
Compare High-Res
Compare High-Res

Heel Stack Height
40.2 mm
42.3 mm
Forefoot Stack Height
32.9 mm
32.5 mm
Heel-To-Toe Drop
7.3 mm
9.7 mm
Advertised Heel-To-Toe Drop
8.0 mm
10.0 mm
External Shape
3D Model Full Shoe
Preview 3D
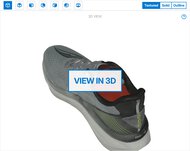
Preview 3D

Outsole Heel Width
94 mm (3.7")
99 mm (3.9")
Outsole Arch Width
70 mm (2.8")
78 mm (3.1")
Outsole Forefoot Width
116 mm (4.6")
121 mm (4.8")
Heel Width-To-Stack Ratio
2.34
2.34
Forefoot Width-To-Stack Ratio
3.53
3.73
Internal Shape
3D Model Internal
Preview 3D
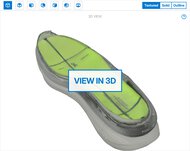
Preview 3D

Internal Length
278 mm (10.9")
281 mm (11.1")
Internal Heel Width
65 mm (2.6")
67 mm (2.6")
Internal Forefoot Width
93 mm (3.7")
94 mm (3.7")
Wide Sizing Available
No
Yes
Forefoot Fit: Width
9.4
10
Forefoot Width Photo
Compare High-Res
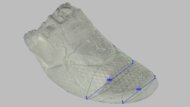
Compare High-Res

Ball-Of-Foot TTS Deviation
0.2 mm (0.007")
-0.2 mm (-0.006")
Toe TTS Deviation
-2.7 mm (-0.104")
-0.1 mm (-0.006")
Forefoot Fit: Height
10
5.5
Forefoot Height Photo
Compare High-Res
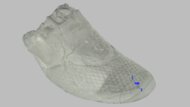
Compare High-Res

Toe TTS Deviation
1.0 mm (0.040")
-5.3 mm (-0.210")
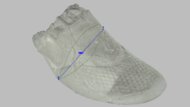
Arch Fit: Width
9.7
9.0
Arch Fit Photo
Compare High-Res
Compare High-Res

Arch Width TTS Deviation
2.8 mm (0.108")
-1.8 mm (-0.072")
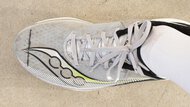
Length Fit
10
10
Toe Clearance Photo
Compare High-Res
Compare High-Res

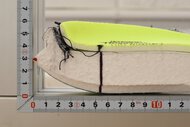
Heel Rocker Geometry
8.3
8.2
Heel Rocker Photo
Compare High-Res
Compare High-Res

Heel Spring
29 mm (1.1")
28 mm (1.1")
Heel Apex Position
19.9%
19.5%
Heel Rocker Angle
25.8°
25.8°
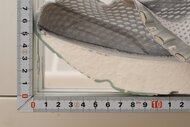
Forefoot Rocker Geometry
6.6
7.0
Forefoot Rocker Photo
Compare High-Res
Compare High-Res

Toe Spring
47 mm (1.9")
49 mm (1.9")
Toe Apex Position
70.8%
69.7%
Forefoot Rocker Angle
28.1°
28.6°
Foam
Primary Foam Picture
Compare High-Res

Compare High-Res

Secondary Foam Picture
Compare High-Res

Compare High-Res
Primary Foam Name
PWRRUN PB
incrediLUX
Primary Foam Type
PEBA
A-TPU
Secondary Foam Name
No Secondary Foam
No Secondary Foam
Secondary Foam Type
No Secondary Foam
No Secondary Foam
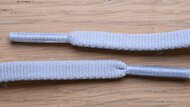
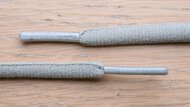
Laces
Laces Picture
Compare High-Res
Compare High-Res
Lace Type
Flat
Round
Width
6.0 mm (0.2")
6.0 mm (0.2")
Thickness
1.9 mm (0.1")
3.0 mm (0.1")
Stretch
27.5%
17.5%
Breathability
7.5
Breathability Video
Upper Breathability
Upper Microscope Photo

Time-To-Dry
5.7
Time-To-Dry Timelapse
Time-To-Dry Graph
Preview Graph
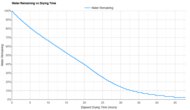
Time To 30% Dry
8.8 hrs
Time To 70% Dry
23.3 hrs
Time To Dry
33.4 hrs
Water Absorption
8.0
Dry Weight Photo
Wet Weight Photo
Water Absorbed
38.8%
Other Features
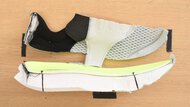
Other Features Photo
Compare High-Res
Compare High-Res

Tongue Gusset Type
Semi-gusseted
Fully-gusseted
Plate
None
None
Performance
Heel Compression Energy Return
8.0
8.0
Heel Compression Video
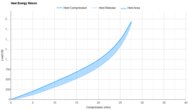
Heel Energy Return
Preview Graph
Preview Graph
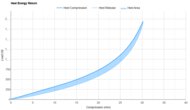
Heel Energy Return
80.9%
81.0%
Forefoot Compression Energy Return
8.3
8.6
Forefoot Compression Video
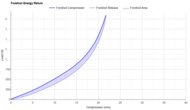
Forefoot Energy Return
Preview Graph
Preview Graph
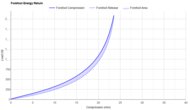
Forefoot Energy Return
82.8%
84.7%
Heel Cushioning
8.3
9.0
Heel Cushioning Picture
Compare High-Res

Compare High-Res

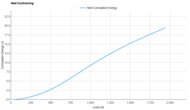
Heel Cushioning
Preview Graph
Preview Graph
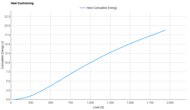
Energy Absorbed At 550N
3.26 J
4.35 J
Energy Absorbed At 1100N
10.55 J
11.15 J
Energy Absorbed At 1900N
19.04 J
18.43 J
Forefoot Cushioning
8.6
8.4
Forefoot Cushioning Picture
Compare High-Res

Compare High-Res

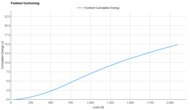
Forefoot Cushioning
Preview Graph
Preview Graph
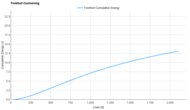
Energy Absorbed At 800N
5.09 J
5.60 J
Energy Absorbed At 1300N
9.59 J
9.15 J
Energy Absorbed At 2050N
14.61 J
12.88 J
Heel Firmness
7.3
5.4
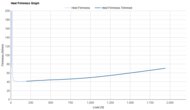
Heel Firmness Graph
Preview Graph
Preview Graph
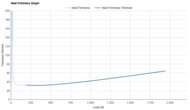
Firmness At 550N
44.7 N/mm
33.7 N/mm
Firmness At 1100N
51.3 N/mm
44.1 N/mm
Firmness At 1900N
69.5 N/mm
63.3 N/mm
Forefoot Firmness
7.5
5.3
Forefoot Firmness Graph
Preview Graph
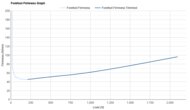
Preview Graph
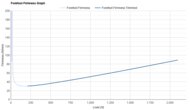
Firmness At 800N
56.7 N/mm
45.3 N/mm
Firmness At 1300N
70.2 N/mm
61.4 N/mm
Firmness At 2050N
95 N/mm
87 N/mm
Forefoot Long Run Cushioning
8.1
7.7
Forefoot Long Run Cushioning
Preview Graph
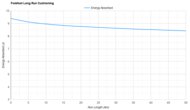
Preview Graph

Energy Absorbed At 10km
8.97 J
8.57 J
Energy Absorbed At 20km
8.77 J
8.32 J
Energy Absorbed At 30km
8.63 J
8.15 J
Energy Absorbed At 40km
8.53 J
8.01 J
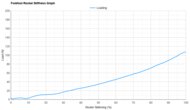
Rocker Stiffness
7.7
7.5
Forefoot Rocker Stiffness Video
Forefoot Rocker Stiffness Graph
Preview Graph
Preview Graph

Force To Flatten The Rocker
107 N
100 N
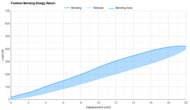
Forefoot Bending Energy Return
7.8
8.4
Forefoot Bending Video
Forefoot Bending Energy Return
Preview Graph
Preview Graph

Forefoot Bending Energy Return
69.9%
75.3%
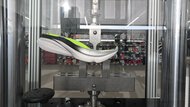
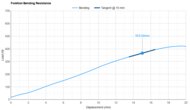
Forefoot Bending Stiffness
8.3
6.2
Forefoot Bending Resistance Picture
Compare High-Res
Compare High-Res

Forefoot Bending Resistance
Preview Graph
Preview Graph

Forefoot Bending Stiffness
19.5 N/mm
12.6 N/mm
Forefoot Bending Force
366 N
209 N
Forefoot Compression Depth
6.3
7.2
Forefoot Compression Graph
Preview Graph
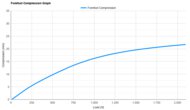
Preview Graph
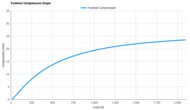
Forefoot Compression At 800N
14.1 mm
17.7 mm
Forefoot Compression At 1300N
18.5 mm
21.2 mm
Forefoot Compression At 2050N
21.6 mm
23.5 mm
Heel Compression Depth
6.2
7.5
Heel Compression Graph
Preview Graph
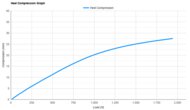
Preview Graph
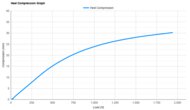
Heel Compression At 550N
12.3 mm
16.3 mm
Heel Compression At 1100N
21.4 mm
25.0 mm
Heel Compression At 1900N
27.3 mm
30.0 mm
Dry Concrete Grip
7.9
Dry Concrete Forefoot Video
Dry Concrete Forefoot Graph
Preview Graph
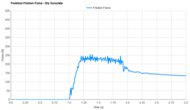
Sliding Force
220.1 N (49.5 lbf)
Coefficient Of Friction
0.86
Wet Concrete Grip
7.2
Wet Concrete Forefoot Video
Wet Concrete Forefoot Graph
Preview Graph
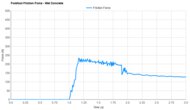
Sliding Force
200.8 N (45.1 lbf)
Coefficient Of Friction
0.78
Wet Aluminum Grip
6.0
Wet Aluminum Forefoot Video
Wet Aluminum Forefoot Graph
Preview Graph
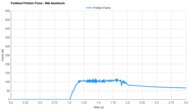
Sliding Force
103.6 N (23.3 lbf)
Coefficient Of Friction
0.63
Gravel Grip
3.3
Gravel Forefoot Video
Gravel Forefoot Graph
Preview Graph
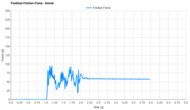
Sliding Force
54.6 N (12.3 lbf)
Coefficient Of Friction
0.33
Mud Grip
5.9
Mud Forefoot Video
Mud Forefoot Graph
Preview Graph
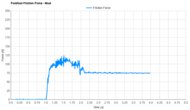
Sliding Force
102.5 N (23.0 lbf)
Coefficient Of Friction
0.62
Exposed Foam
6.0
Outsole Photo
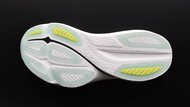
Heel Exposed Foam
6.0
Forefoot Exposed Foam
6.0
Outsole Abrasion Wear
6.0
Outsole Durability Video
Outsole Durability Photo
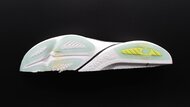
Heel Abrasion Wear
6.0
Forefoot Abrasion Wear
6.0
Become a member
$2.65/month, billed yearly
Saucony Endorphin Azura
Saucony Triumph 24
Comments
Saucony Endorphin Azura vs Saucony Triumph 24: Main Discussion
What do you think of these products? Let us know below.
Looking for a personalized buying advice from the RTINGS.com experts? Members have direct access to buying advice on our member forum.