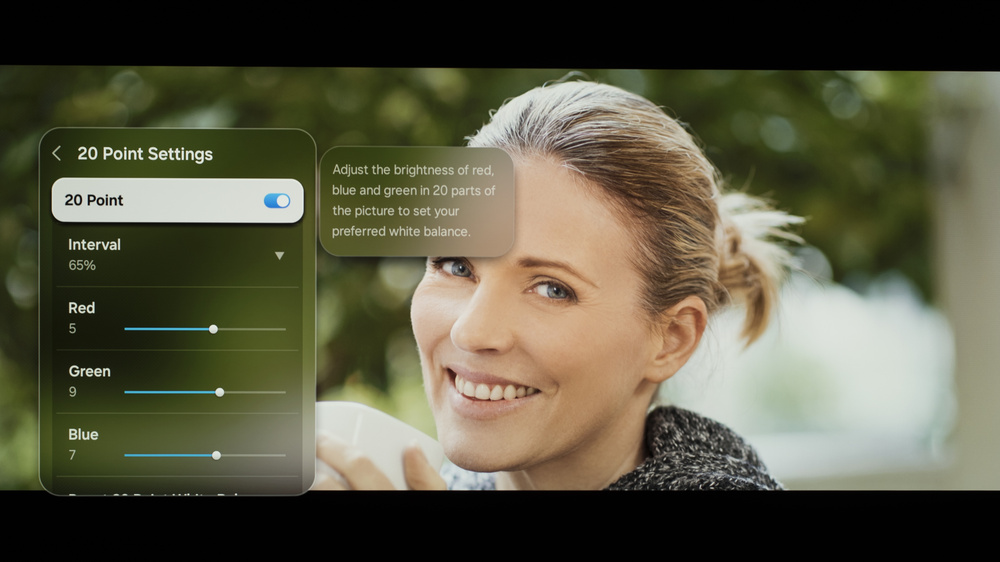
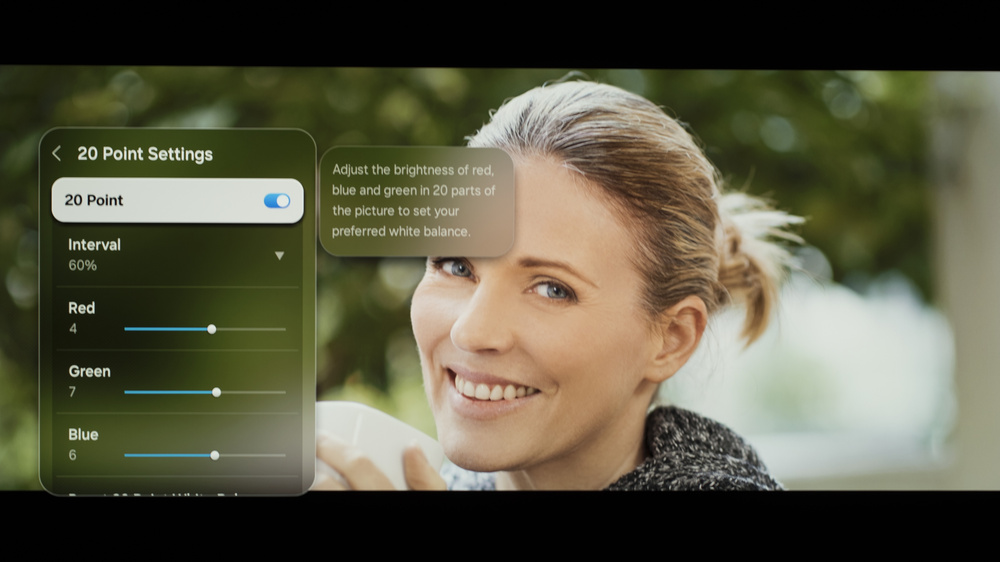
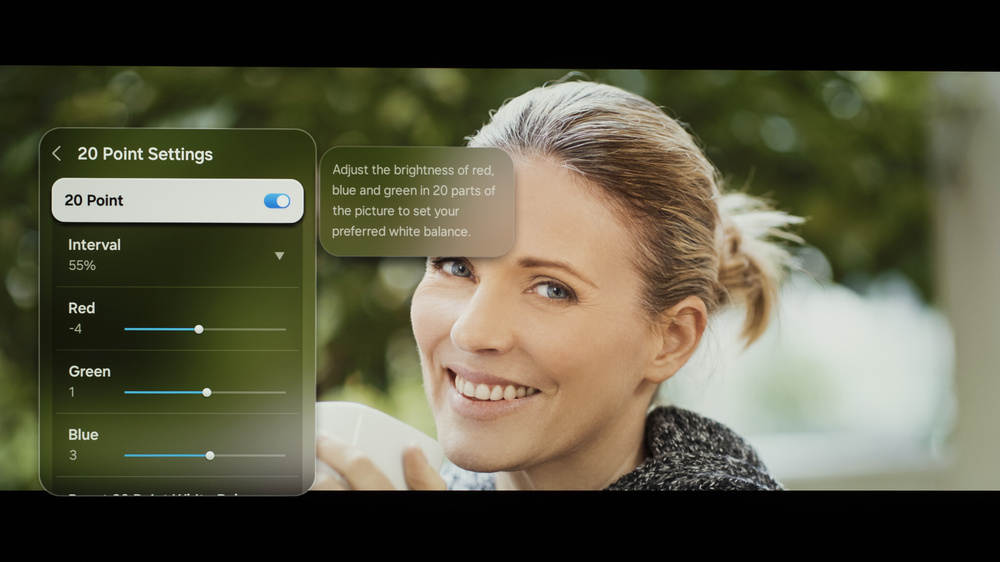
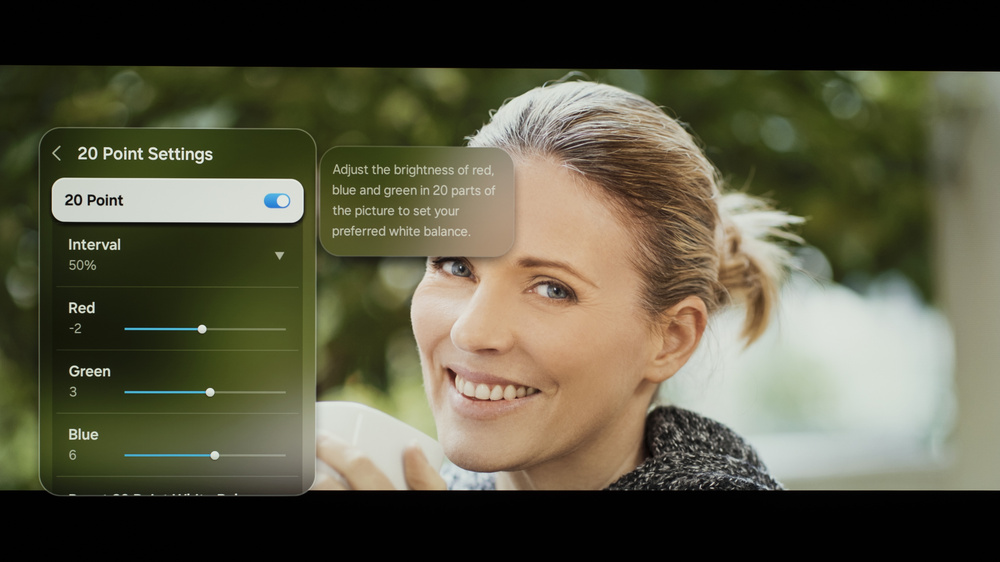
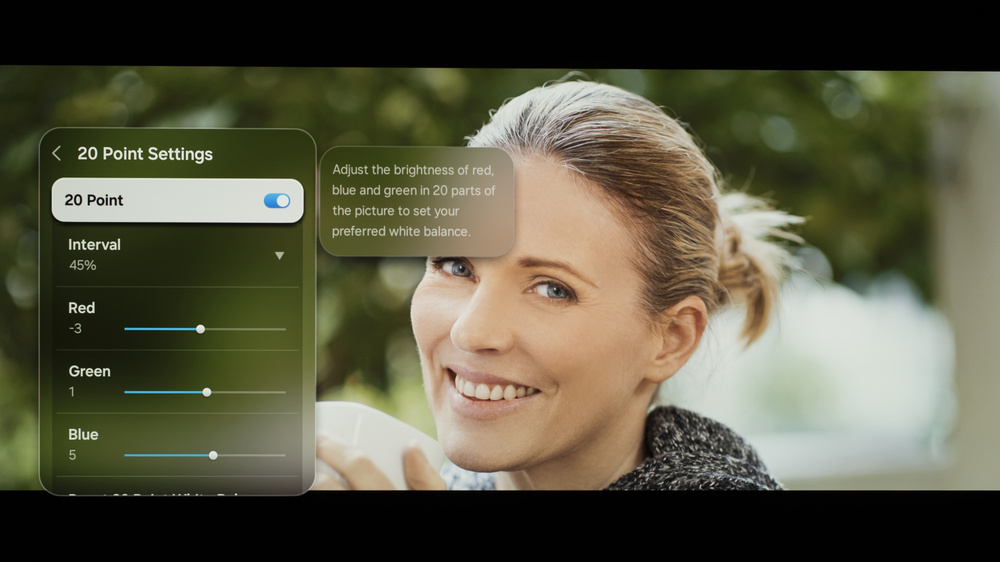
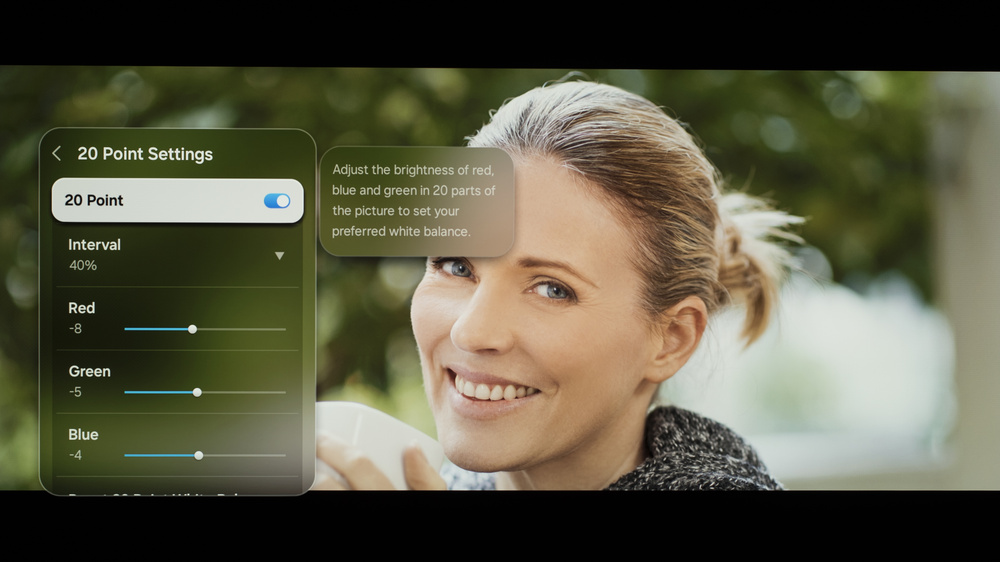
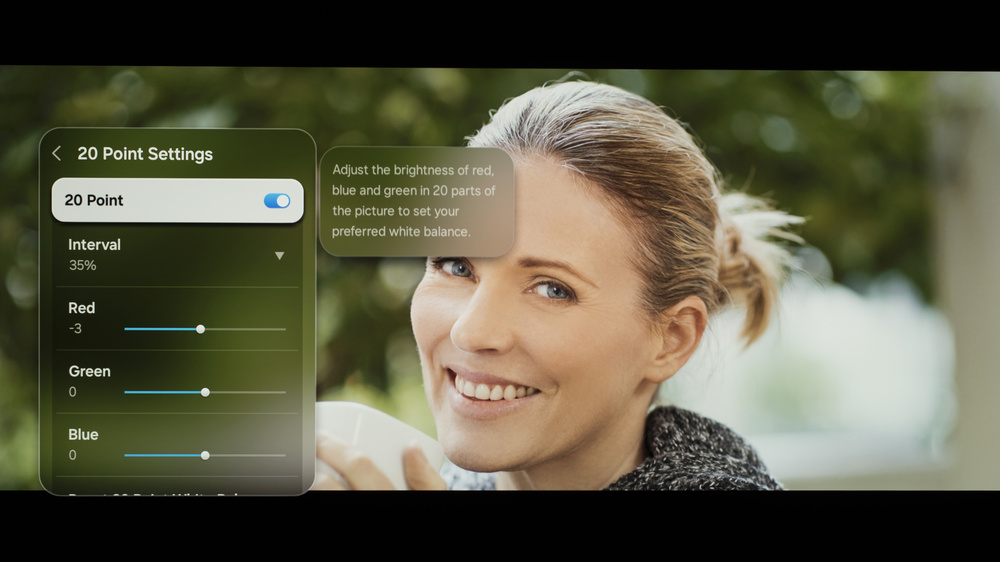
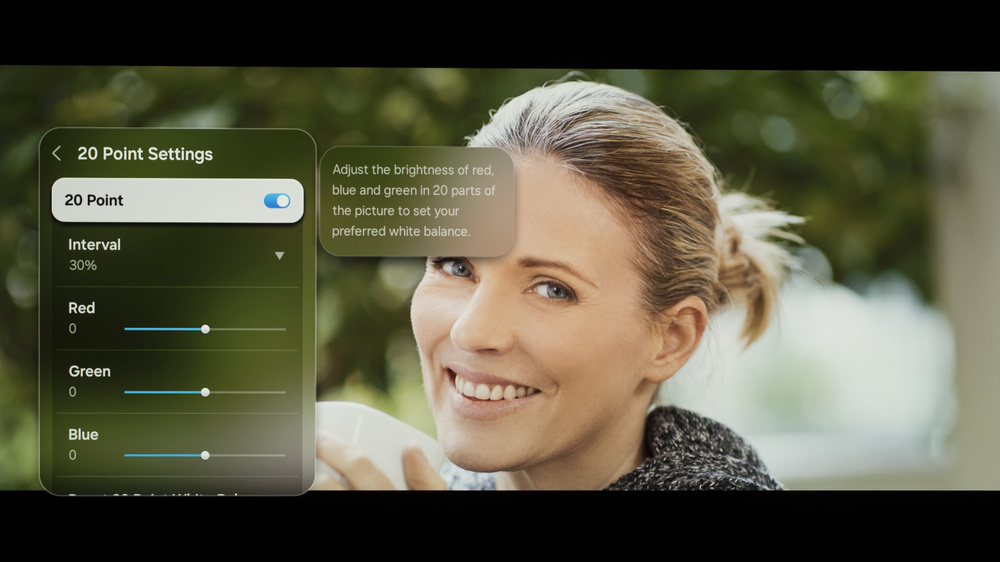
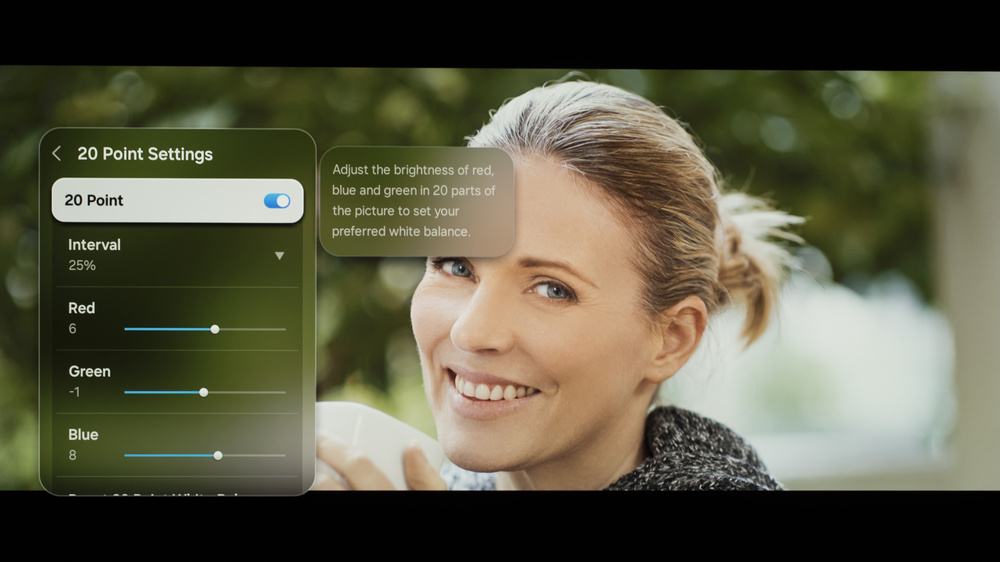
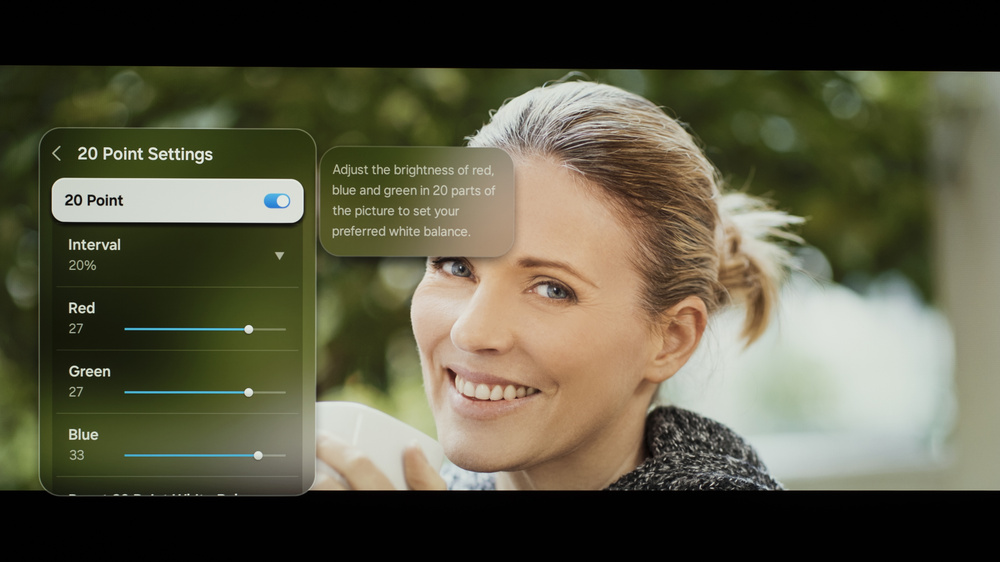
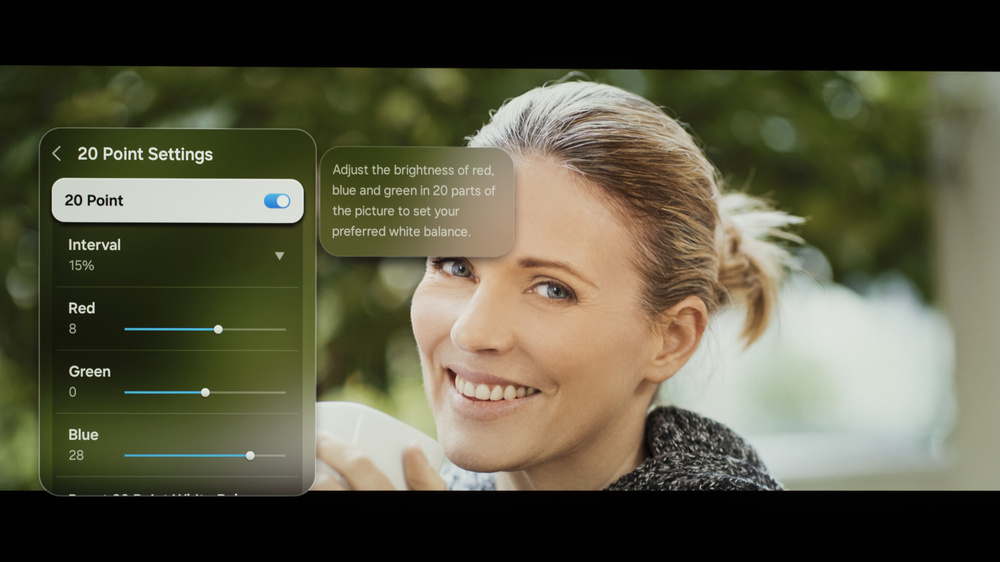
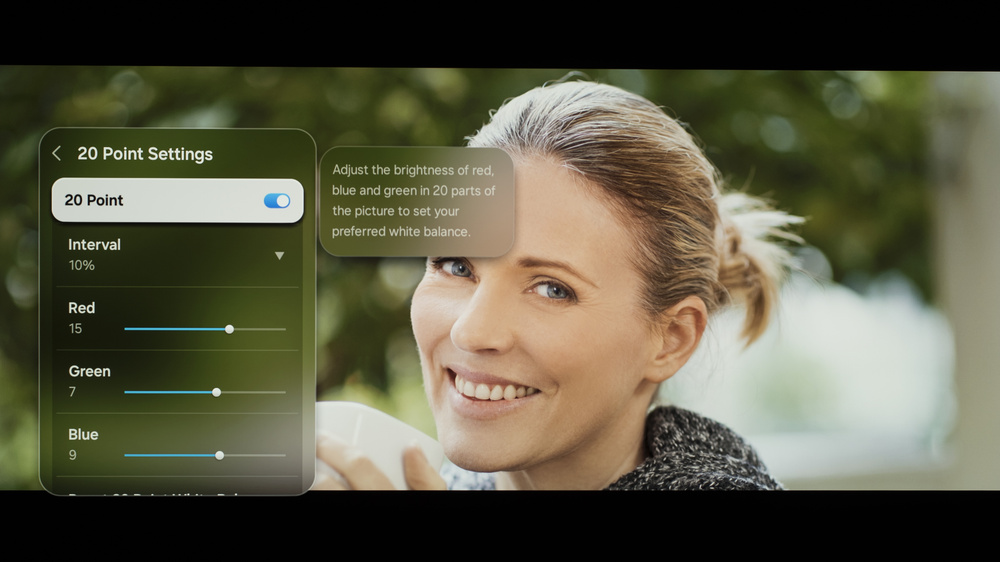
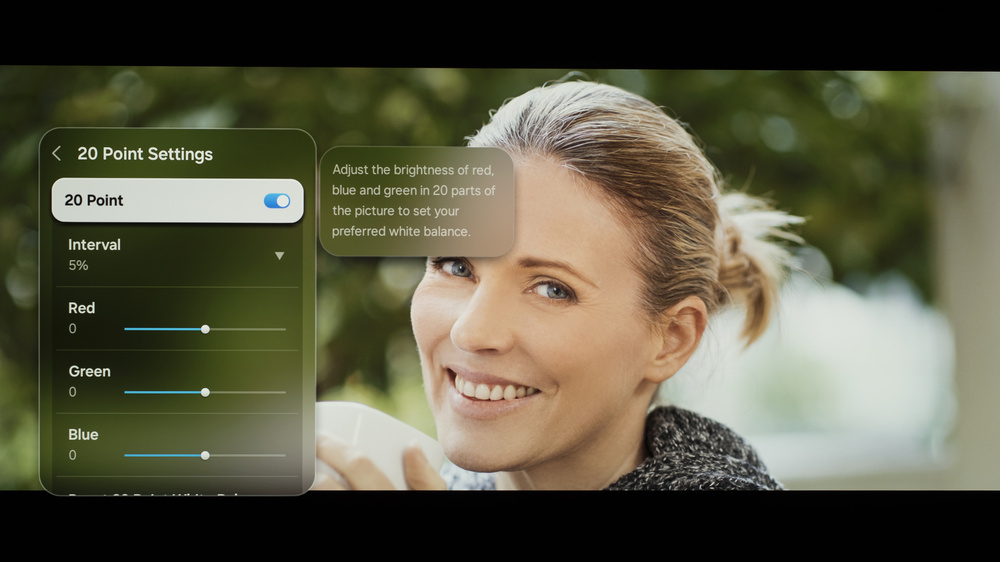
We used the following calibration settings to test the 77-inch Samsung S90H OLED, but they're also valid for the 42, 48, 55, and 83-inch models. We have a separate settings guide for the 65-inch model specifically. These settings are meant to provide a starting point; they're not meant to be copied 1:1. They provide the most accurate image in a moderately lit room, but you should adjust them to match your personal preferences and viewing conditions.
SDR
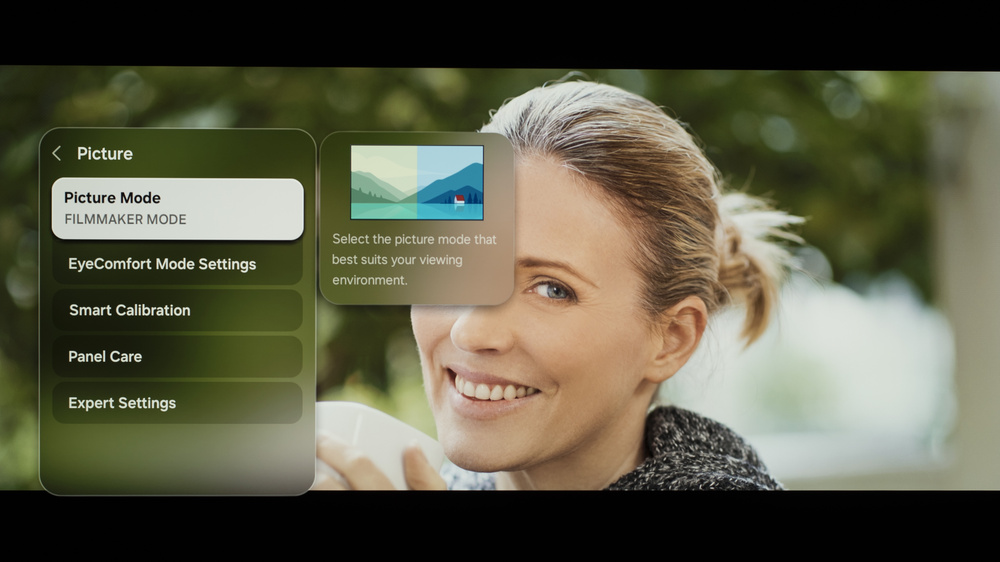
Below are the settings we used to calibrate the Samsung 77S90H in SDR. We chose the Filmmaker Mode picture preset, as it delivers the most accurate image out of the box. All other picture quality settings were left at their defaults.
- Picture Mode: FILMMAKER
- Contrast: 45
- Color: 25
- Color Space: Auto
- Gamma: 2.2
- Color Tone: Warm 2
Brightness - Accuracy Preferred
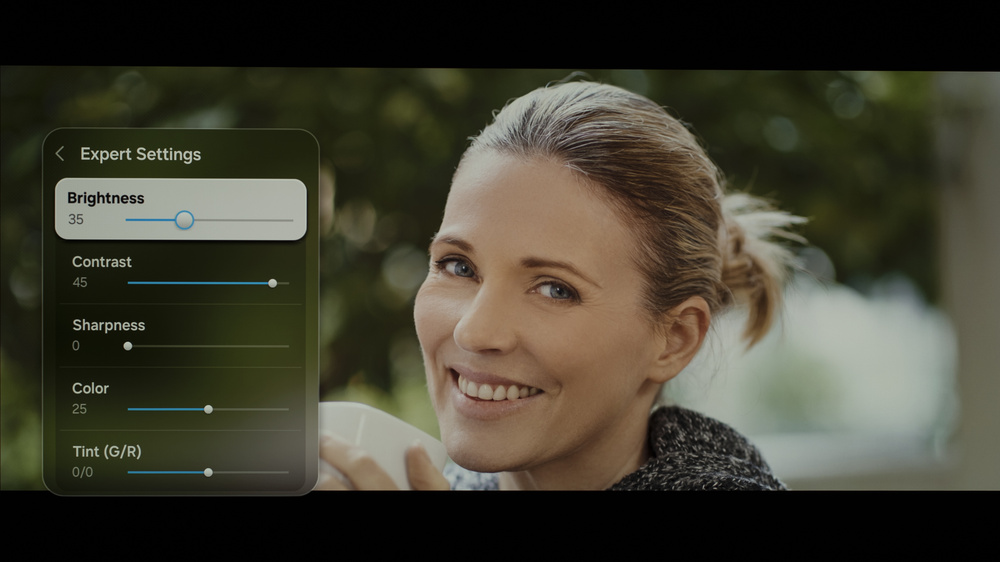
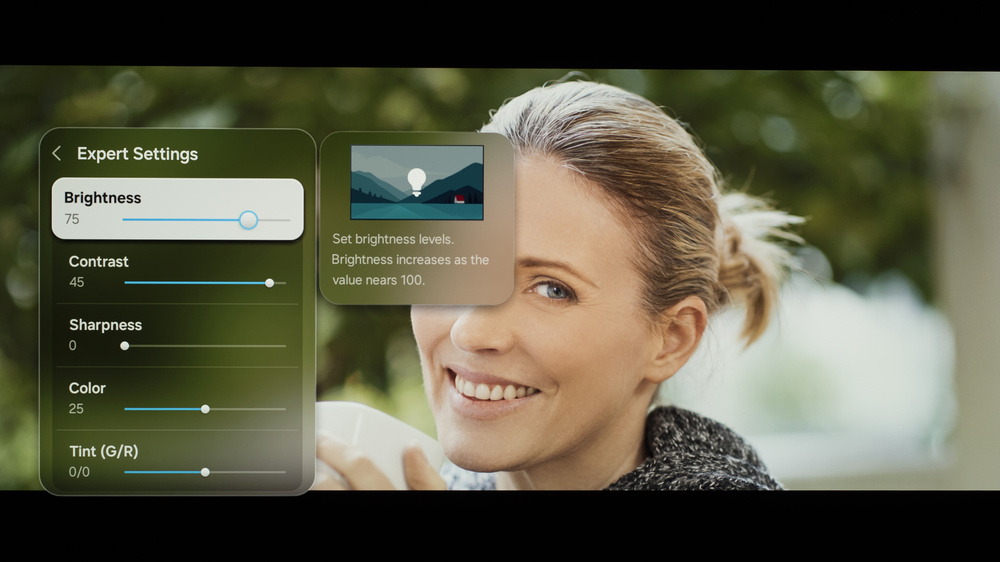
The settings that control the backlight should be adjusted in SDR depending on your viewing conditions. These settings deliver the most accurate image in a completely dark room.
- Brightness: 35 (100 nits)
- Brightness: 75 (200 nits)
- Peak Brightness: Off
Brightness - Brightness Preferred
If you prefer a brighter image, set Peak Brightness to 'High', and adjust the Brightness setting as needed.
- Brightness: 100 (adjust as needed)
- Peak Brightness: High
HDR
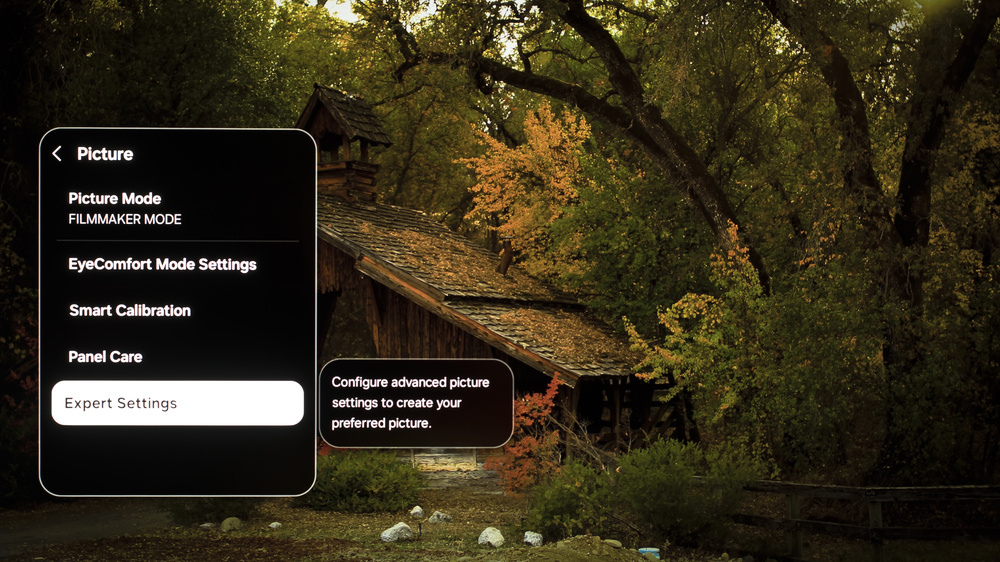
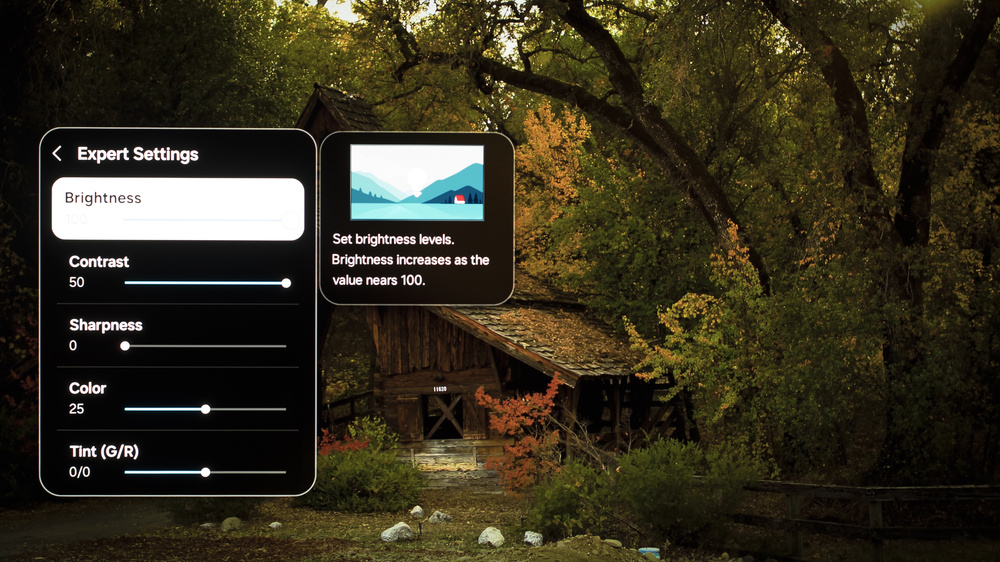
HDR is automatically enabled for native apps. Once you start playing HDR content, some of the settings change automatically. All other picture quality settings were left at their defaults.
- Picture Mode: FILMMAKER
- Contrast: 50
- Color: 25
- HDR Tone Mapping: Static
- Color Space: Auto
- Color Tone: Warm 2
Brightness - Accuracy Preferred
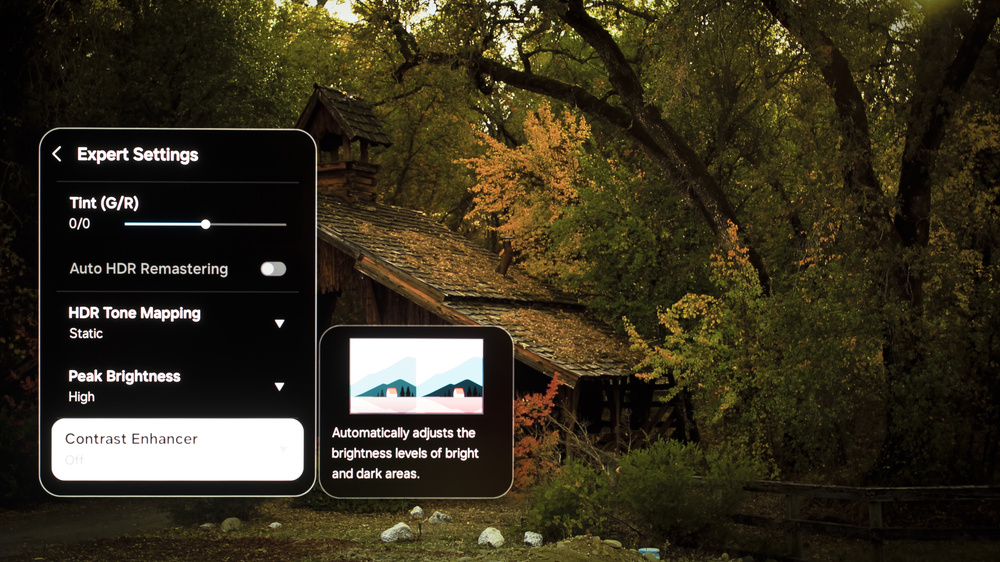
Below are the settings we used for HDR10 in a dark room. These settings deliver the most accurate image, but also limit how bright the TV can get.
- Brightness: 100
- Peak Brightness: High
- HDR Tone Mapping: Static
Brightness - Brightness Preferred
If you prefer a brighter image, you can enable HDR Tone Mapping setting. This doesn't increase the actual peak brightness of the TV, it's a processing setting that prioritizes brightness when displaying HDR content, so some scenes are brighter.
- Brightness: 100
- Peak Brightness: High
- HDR Tone Mapping: Active
HDR White Balance
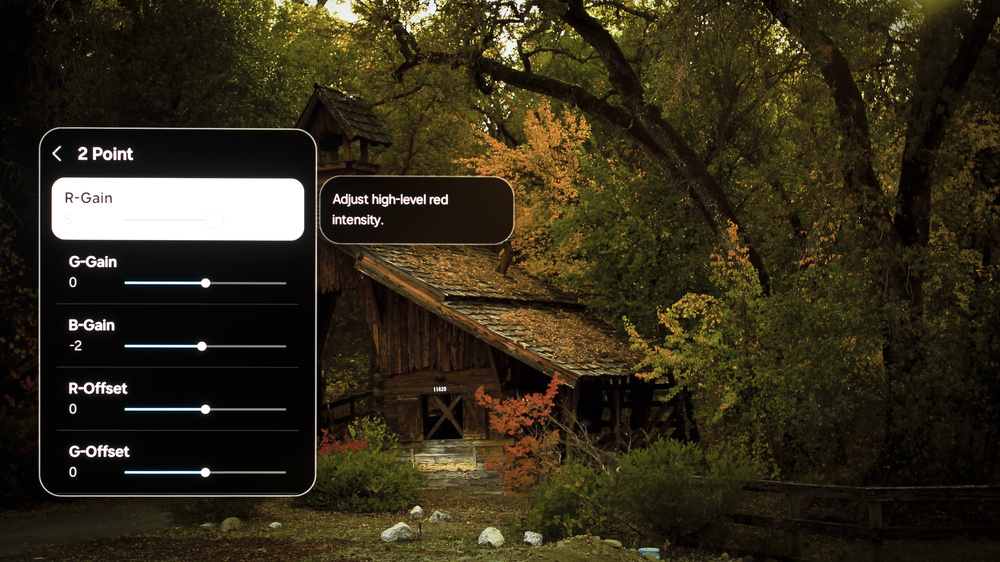
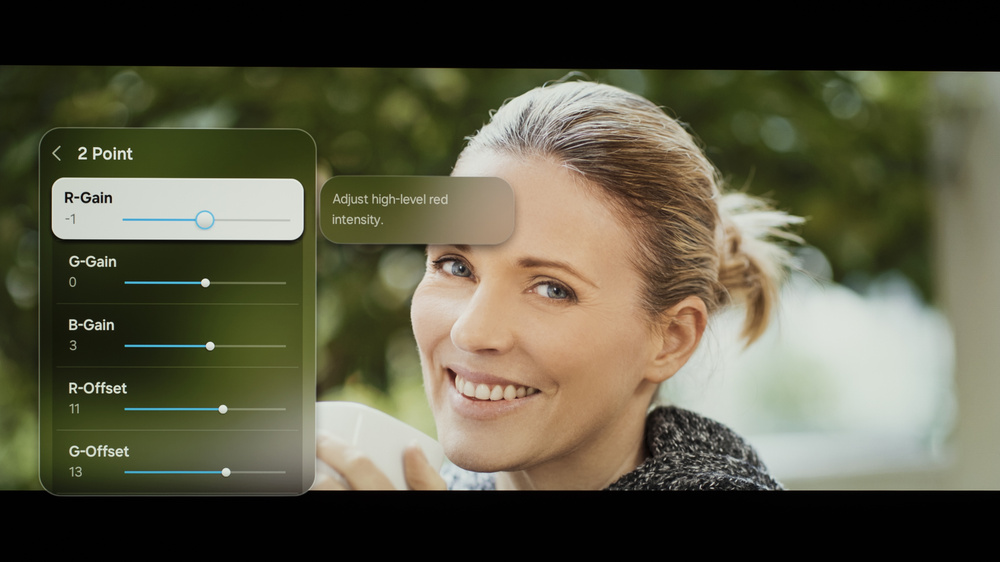
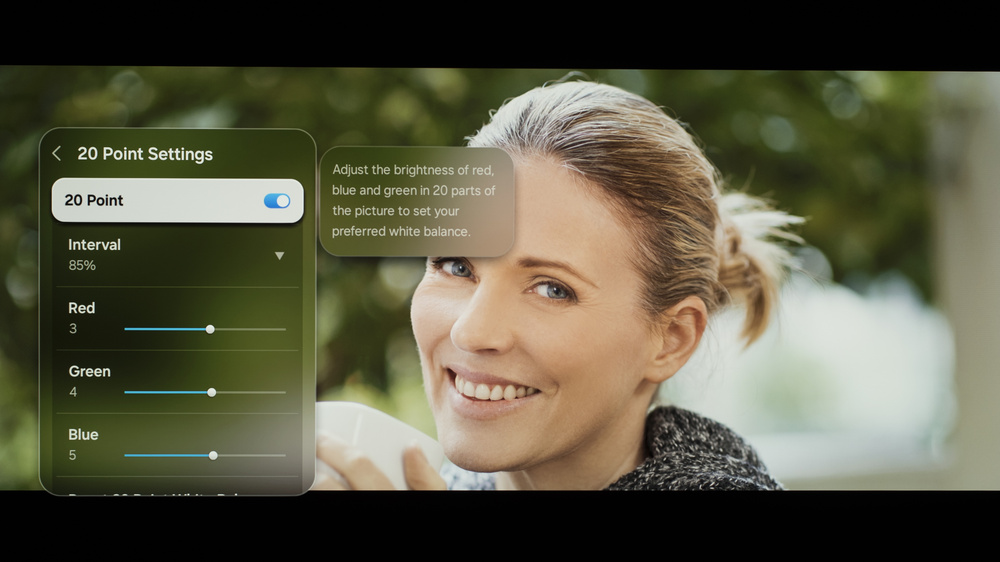
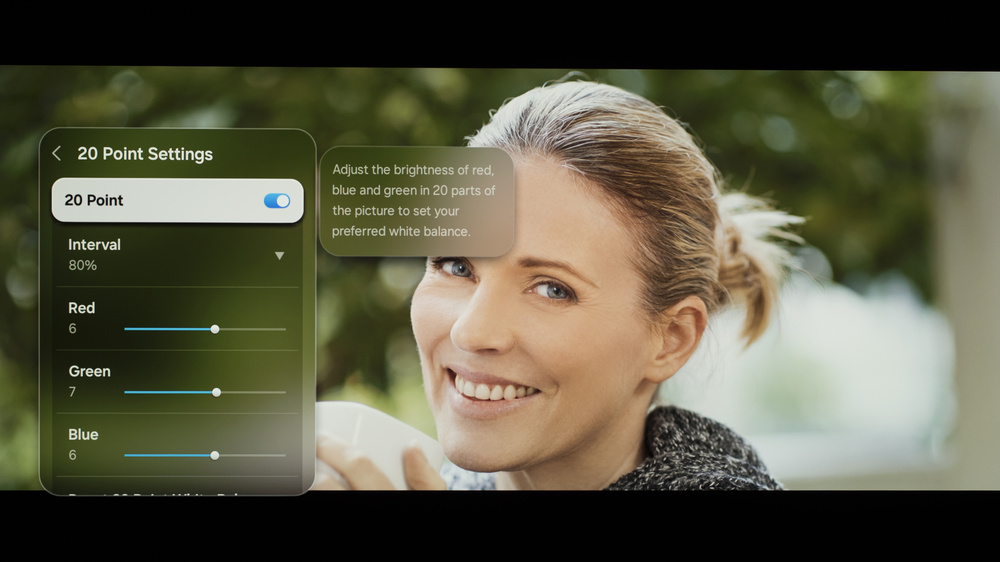
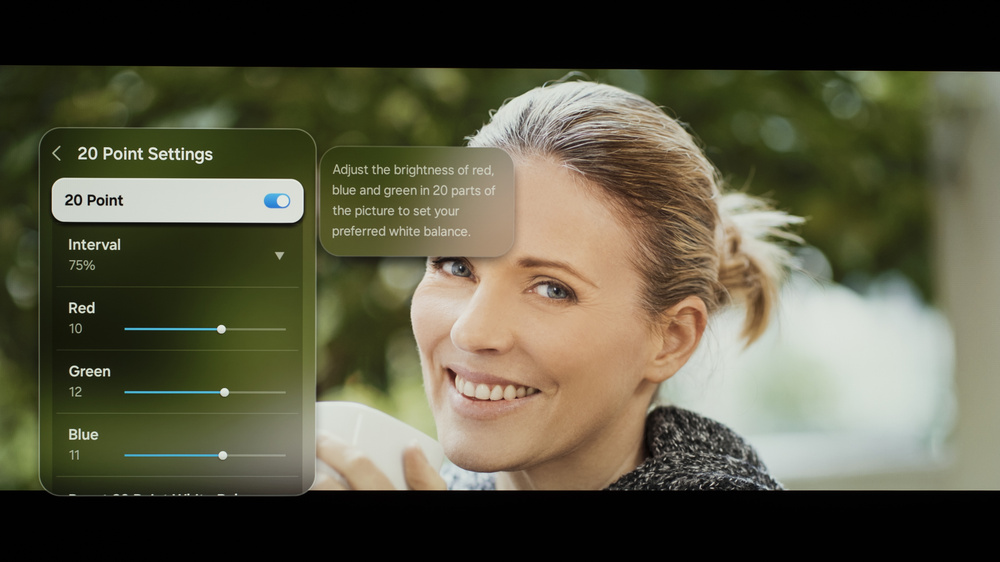
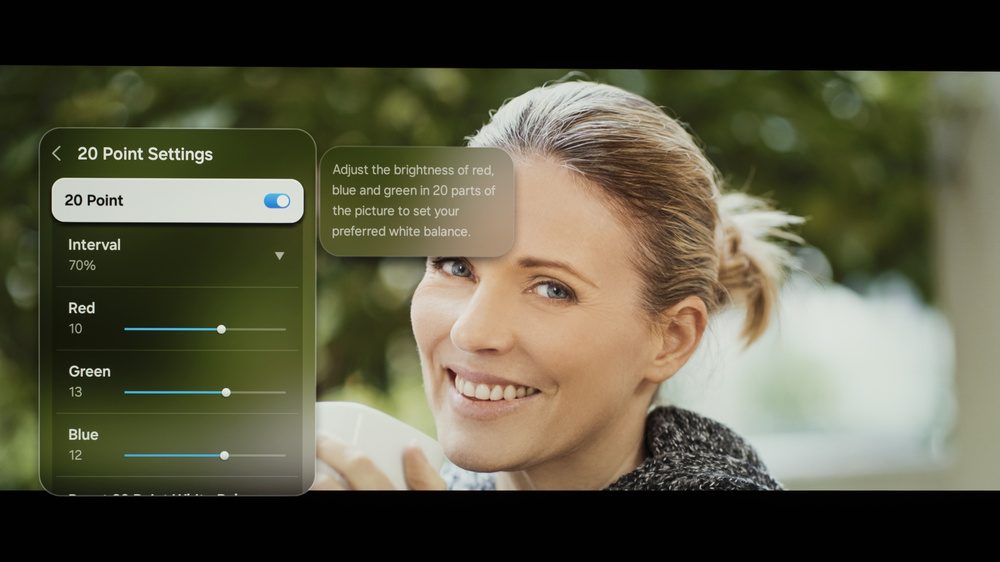
The following are the results of calibrating the white balance of our unit to 6500K in HDR using the 2-point method. These settings are provided for reference only and shouldn't be copied as the calibration values vary per individual unit. If you want to try them, you'll need to enter all values shown, as all of them are active at the same time. If you have worse picture quality, simply reset them to the default values.
Gaming
When you start gaming, you can switch to the Game Mode to get the lowest input lag and enable advanced gaming features. No other changes to picture quality settings are needed. With ALLM enabled, the TV will automatically switch to Game Mode when you start playing a game.
Motion & Processing
Below are the settings we used for most of our motion and processing tests. Motion and processing can be subjective, so you should adjust these settings to your personal preferences. You might also need to adjust these settings depending on the source and specific content.
Judder
The TV automatically removes judder from 24p and 25p content.
Stutter Reduction Via Interpolation
Setting Judder Reduction to '3' outputs a framerate equivalent to 30fps, which helps to reduce stutter in 24fps content.
White Balance Settings
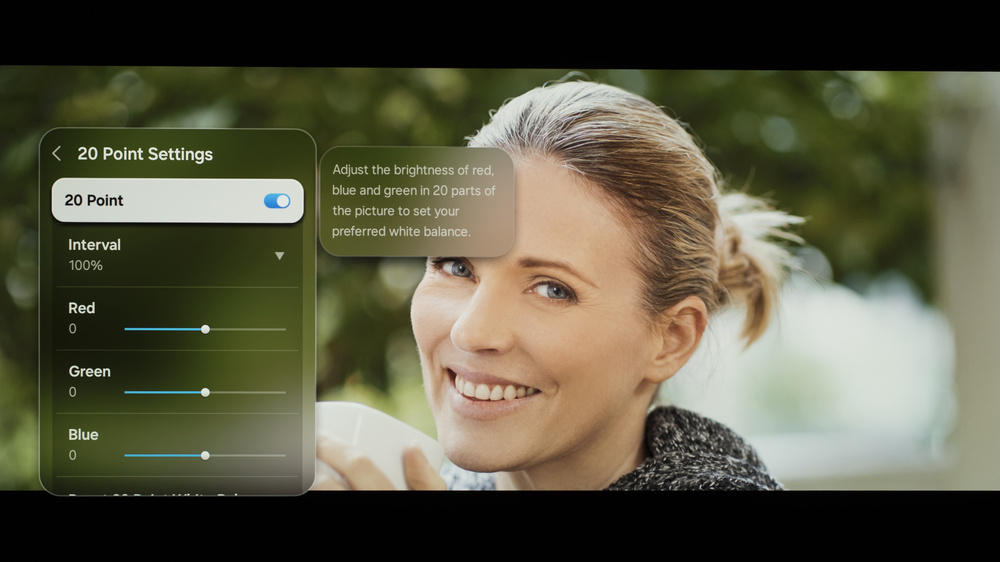
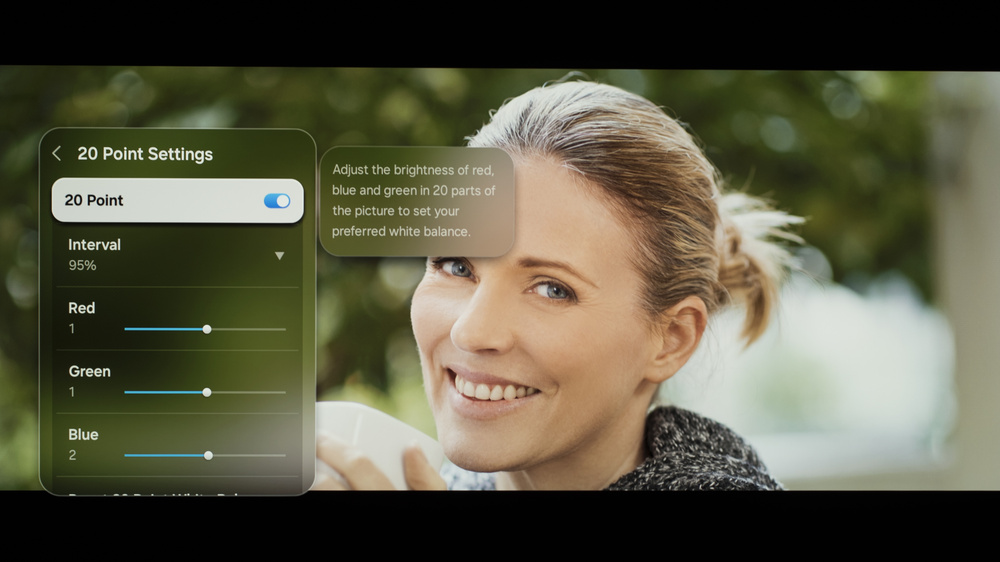
The following are the results of the white balance and colorspace calibration in SDR on our unit. They are provided for reference and should not be copied, as the calibration values vary per individual unit, even for the same model and size as the TV we reviewed, due to manufacturing tolerances. If you want to try them, you will need to enter all the values shown, as all of them are active at the same time. If you end up with worse picture quality, simply reset them to the default values.