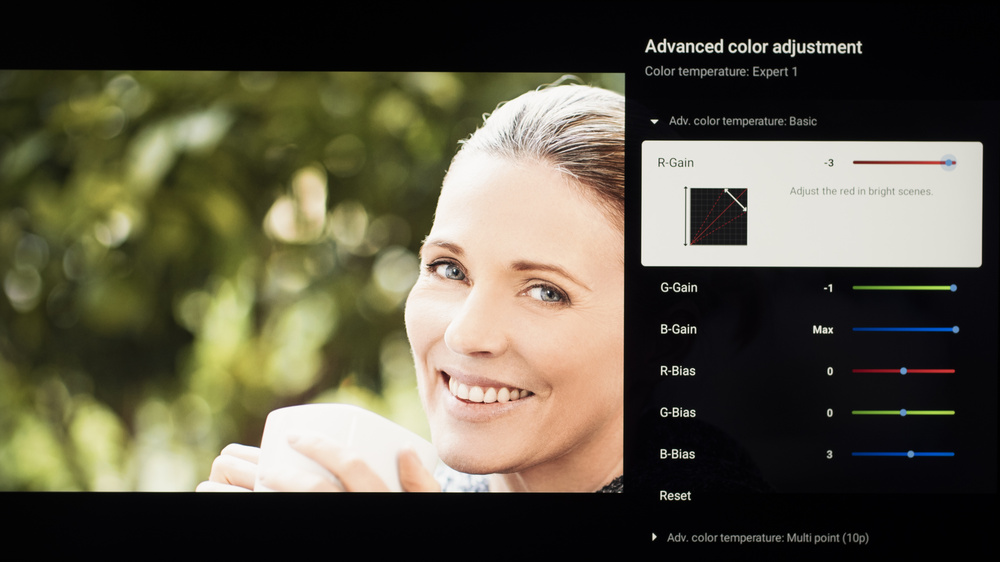
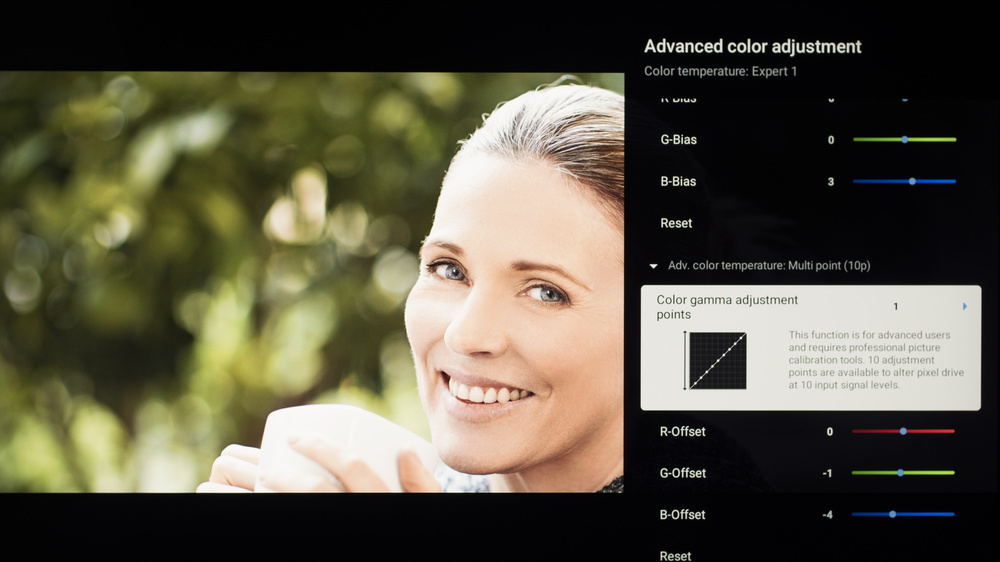
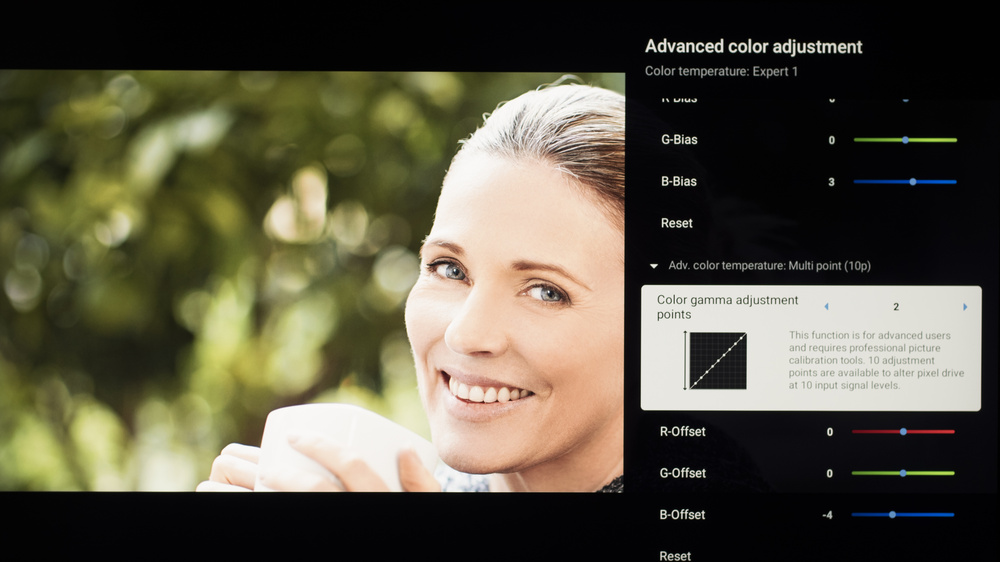
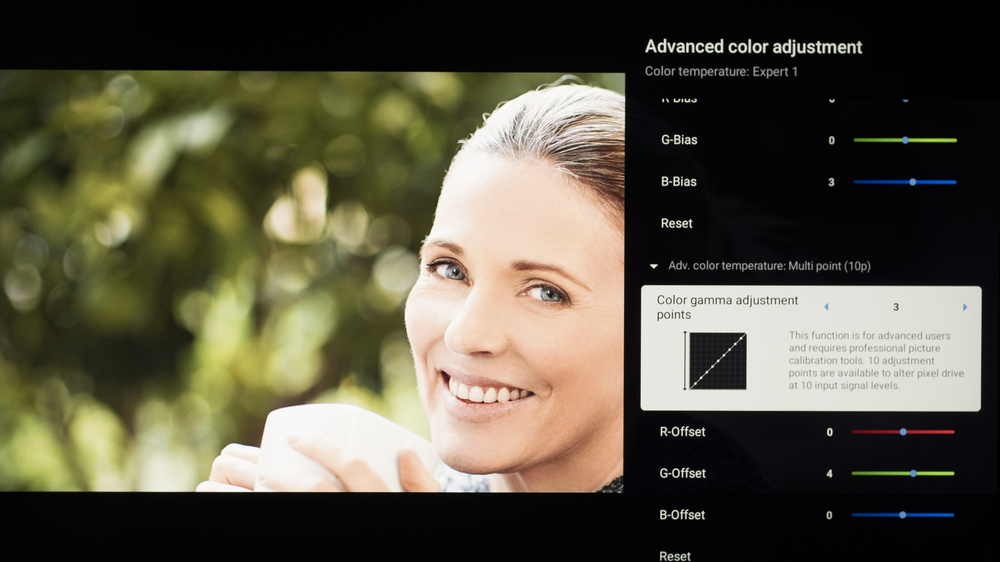
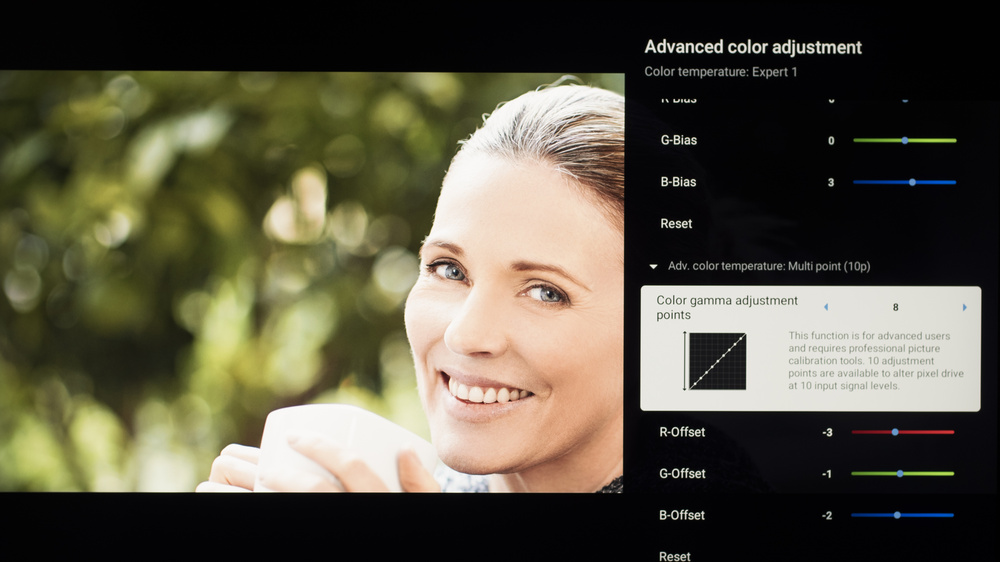
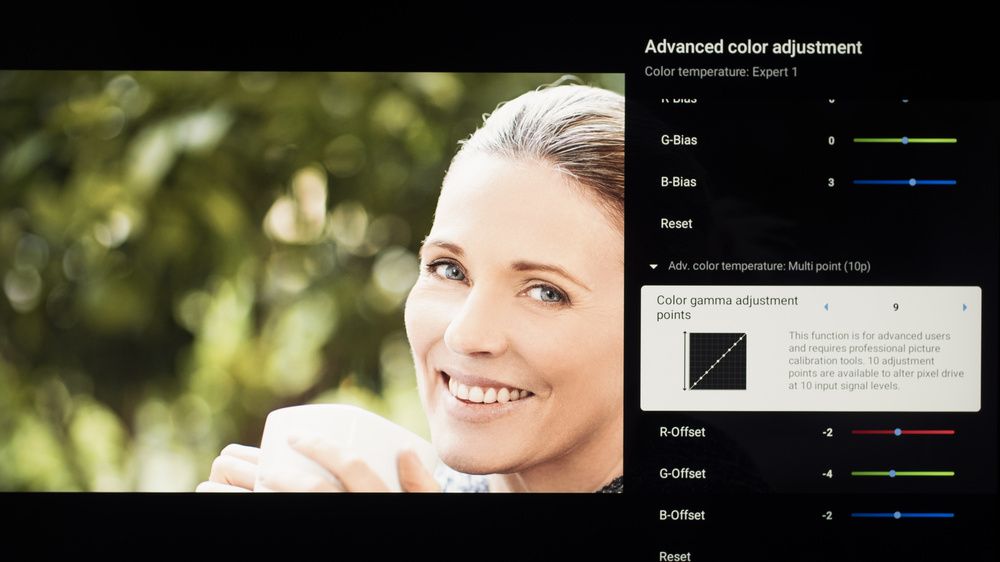
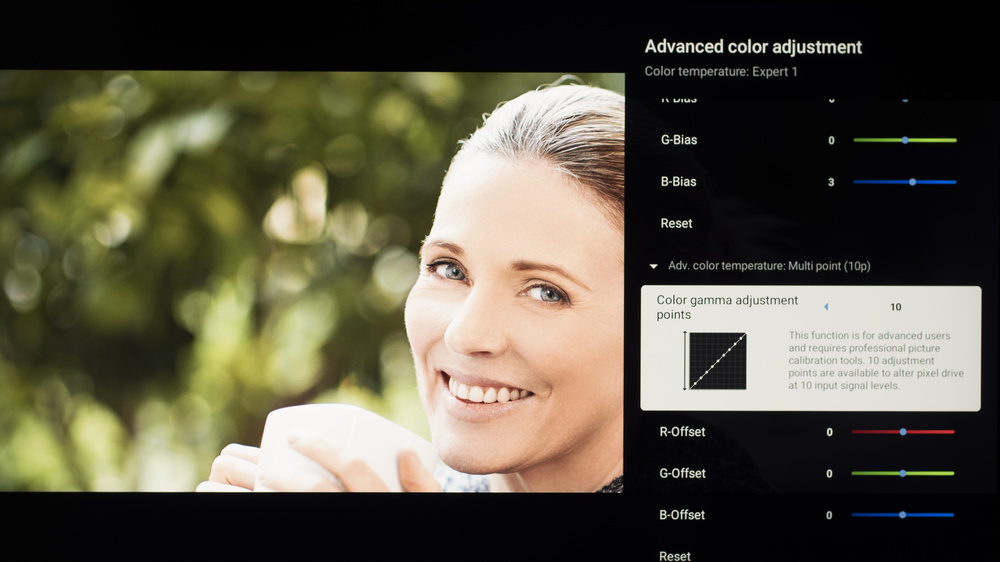
We used the following calibration settings to test the 65-inch Sony BRAVIA 7 II, but they're also valid for the 50-, 55-, 75-, 85-, and 98-inch models. These settings apply to most types of content, except for gaming.
These settings are meant to provide a starting point; they're not meant to be copied 1:1. They provide the most accurate image in a moderately lit room, but you should adjust them to match your personal preferences and viewing conditions.
Local Dimming
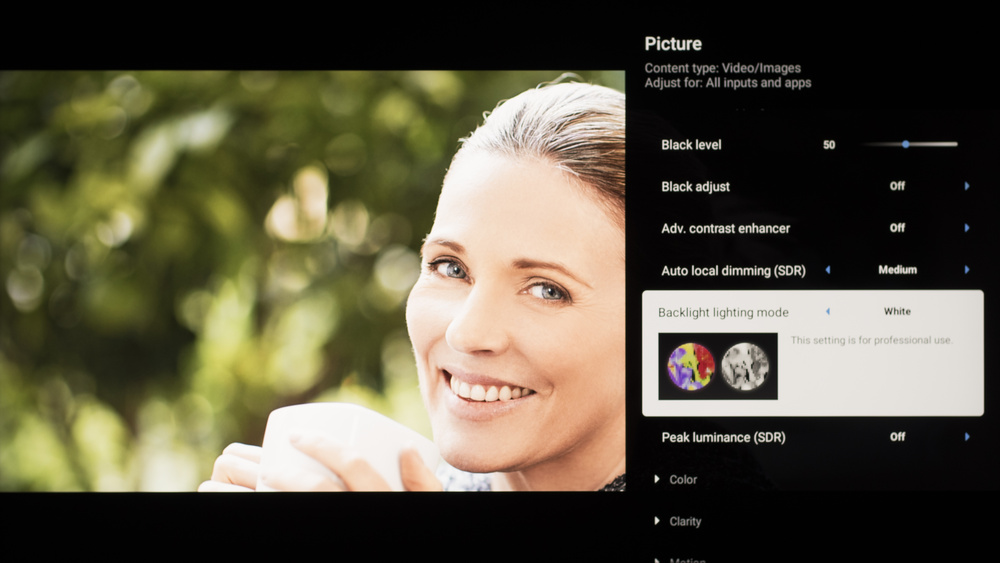
Before we get into our regular SDR and HDR picture settings, let's explore the different local dimming settings and how they perform on this TV. Due to the new RGB Mini LED backlight on this TV, the local dimming feature can have a significant impact on your viewing experience.
There are two main settings that control the local dimming feature on this TV. Auto Local Dimming controls the overall feature, and Backlight Lighting Mode toggles the backlight between white and RGB. For best results, set Auto Local Dimming to 'Medium' with Backlight Lighting Mode set to 'Color'. With this configuration, the TV will use the separate red, green, and blue LEDs in the backlight when it makes sense to do so, and when doing so is least likely to cause any unwanted color cross-talk. With most real content in complex scenes, though, the backlight will fall back to pure white most of the time, so you get the best of both worlds.
Setting Auto Local Dimming to 'High' instead results in the TV staying in the RGB mode most of the time. This can cause noticeable color leaking, especially when very saturated colors are close to white elements. You can see the impact of this in this test video filmed on the TV. The same clip with Auto Local Dimming set to 'Medium' shows almost no color cross-talk. If you disable Auto Local Dimming, the backlight will always be pure white.
If the color cross-talk bothers you, you can disable it entirely by changing the Backlight Lighting Mode setting to 'White'. This setting is only available from the 'Professional' Picture Mode. If you're in any other mode, including Game Mode, this setting is unavailable and the TV is always in 'Color' mode.
SDR Picture Settings
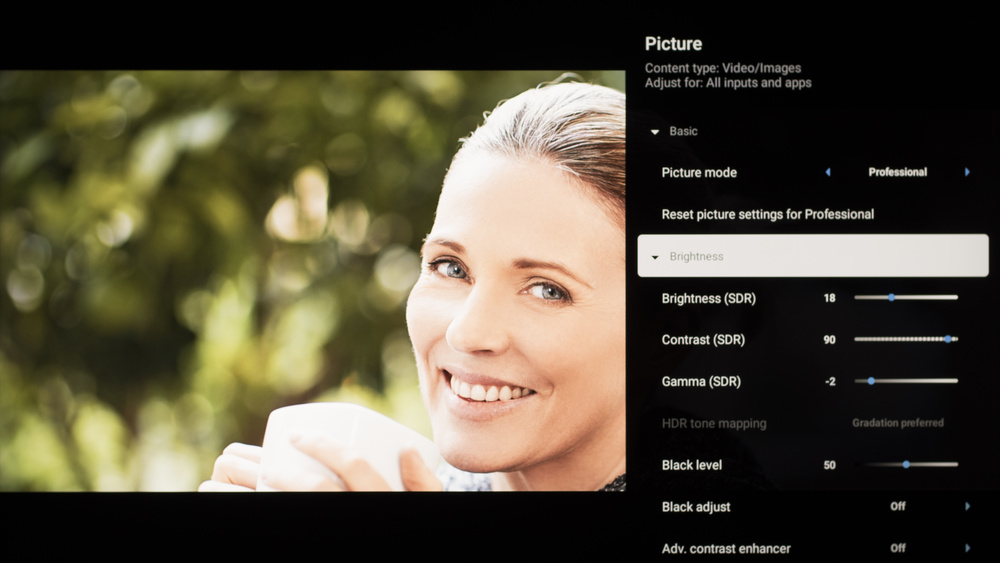
Below are the settings we used to calibrate this TV in SDR. We chose the Professional picture preset, as it delivers the most accurate image out of the box and allows us to adjust all settings. All other picture quality settings were left at their defaults. A Gamma (SDR) setting of '0' tracks closest to 2.2, but '-2' is closer to 2.4 for a dark room.
- Picture Mode: Professional
- Color temperature: Expert 1
- Auto local dimming: Medium
- Backlight lighting mode: Color
- Gamma (SDR): 0
- Contrast (SDR): 90
- Peak luminance (SDR): High
Brightness - Accuracy Preferred
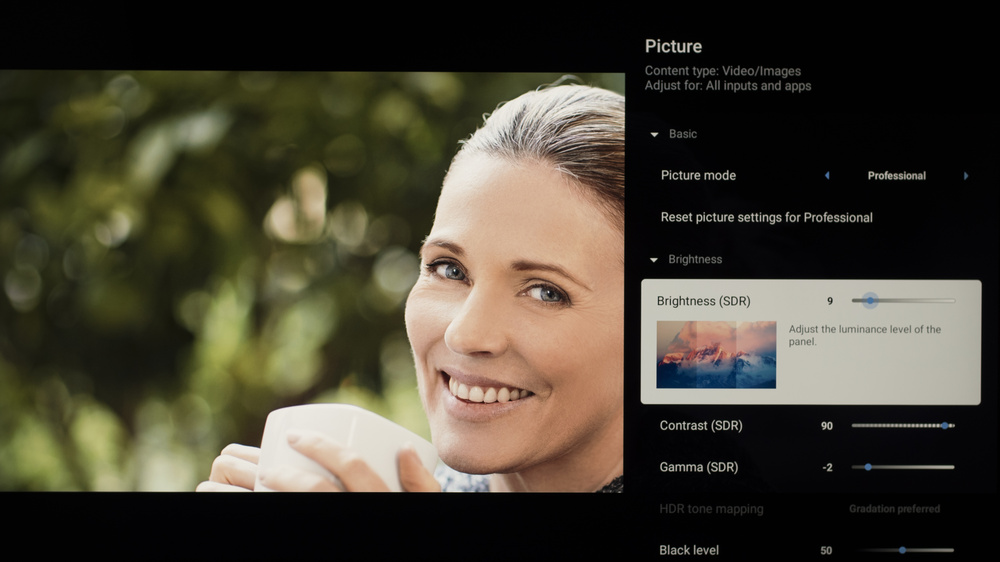
The settings that control the backlight should be adjusted in SDR depending on your viewing conditions. These settings deliver the most accurate image in a completely dark room.
- Brightness (SDR): 9 (100 nits)
- Brightness (SDR): 18 (200 nits)
Brightness - Brightness Preferred
If you prefer a brighter image, set Peak luminance to 'High,' and adjust the Brightness (SDR) setting as needed.
- Brightness (SDR): 100 (adjust as needed)
HDR
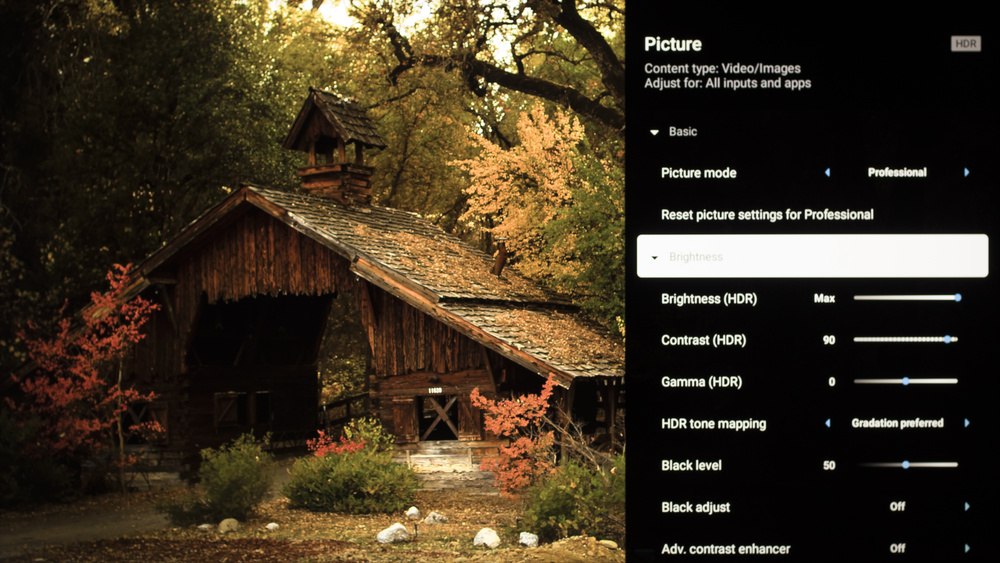
HDR is automatically enabled for native apps. Once you start playing HDR content, some of the settings change automatically. All other picture quality settings were left at their defaults.
- Picture Mode: Professional
- Color temperature: Expert 1
- Contrast (HDR): 90
- Auto local dimming (HDR): Medium
- Backlight lighting mode: Color
Brightness - Accuracy Preferred
Below are the most accurate settings for HDR10 in a dark room. These settings deliver the most accurate image, but also limit how bright the TV can get.
- Brightness (HDR): Max
- HDR tone mapping: Gradation preferred
- Peak luminance: High
Brightness - Brightness Preferred
If you prefer a brighter image, you can try adjusting the HDR tone mapping setting. This increases the peak brightness of the TV by boosting highlights brighter than they should be. There are multiple options available for this setting; you may need to try them all out to see what looks best to you.
- Brightness (HDR): Max
- HDR tone mapping: Brightness preferred
- Peak luminance: High
HDR White Balance
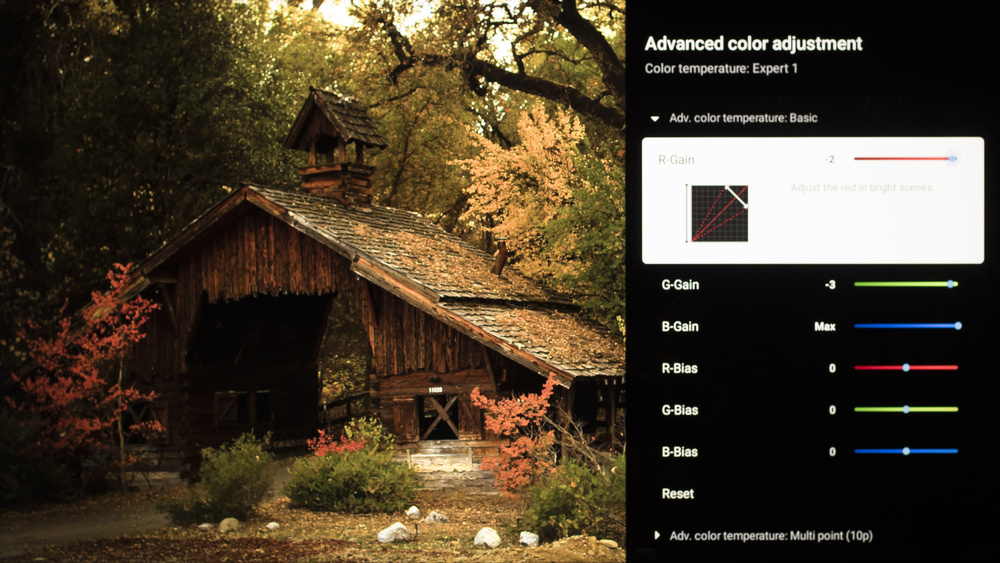
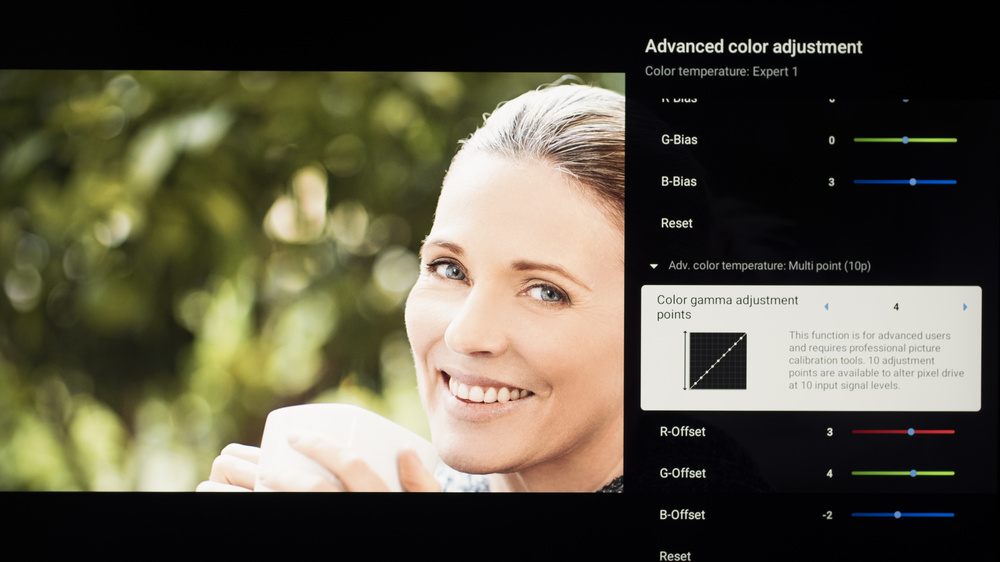
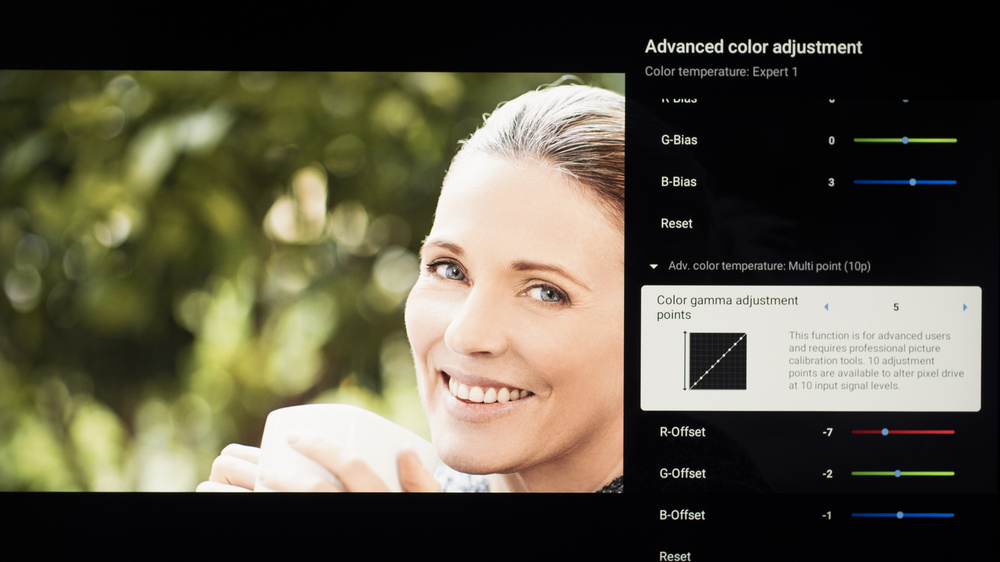
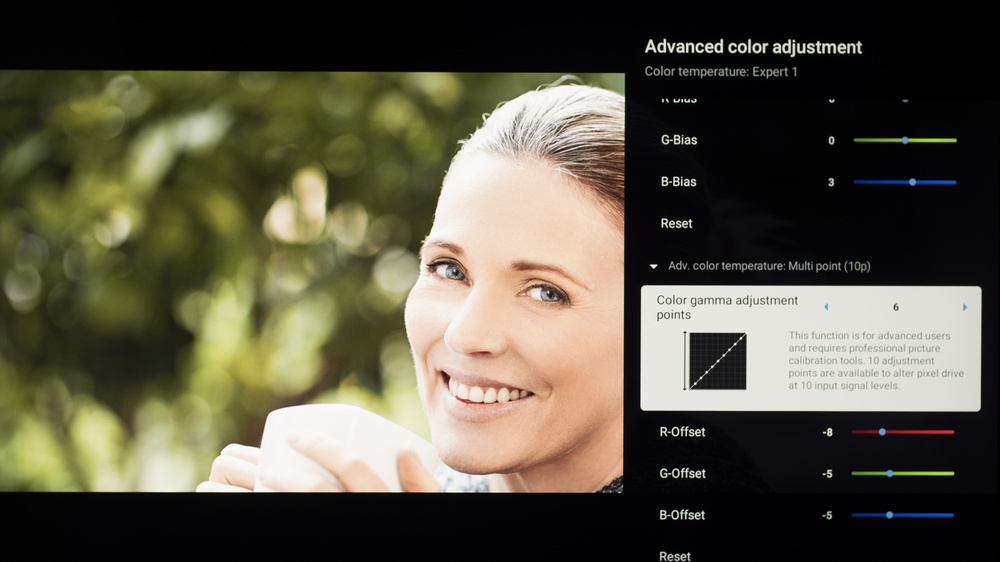
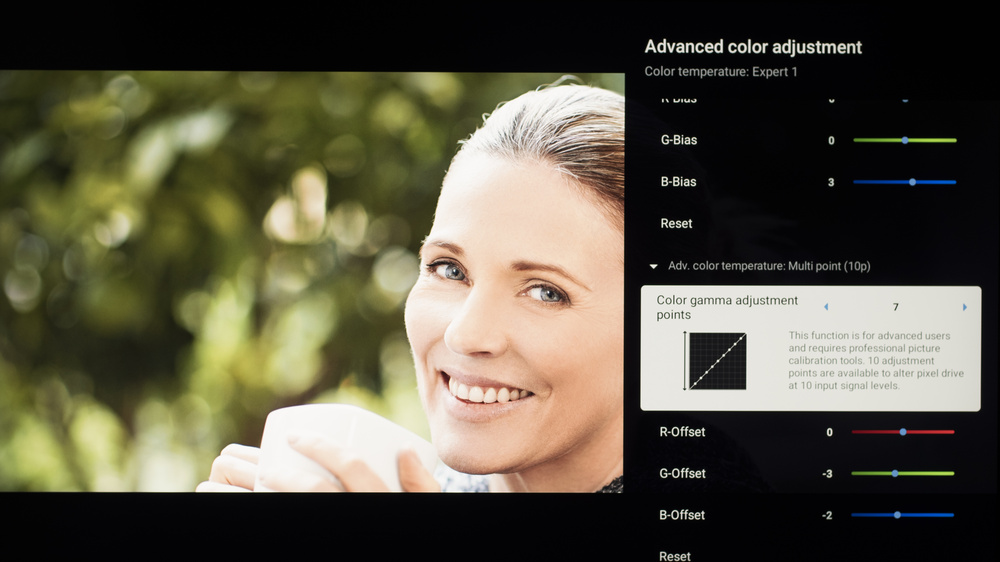
The following are the results of calibrating the white balance of our unit to 6500K in HDR using the 2-point method. These settings are provided for reference only and shouldn't be copied as the calibration values vary per individual unit. If you want to try them, you'll need to enter all values shown, as all of them are active at the same time. If you have worse picture quality, simply reset them to the default values.
Gaming
When you start gaming, you can switch to Game Mode to get the lowest input lag and enable advanced gaming features. No other changes to picture quality settings are needed. With ALLM enabled, the TV will automatically switch to Game Mode mode when you start playing a game.
Motion & Processing
Below are the settings we used for most of our motion and processing tests. Motion and processing can be subjective, so you should adjust these settings to your personal preferences. You might also need to adjust these settings depending on the source and specific content.
Judder
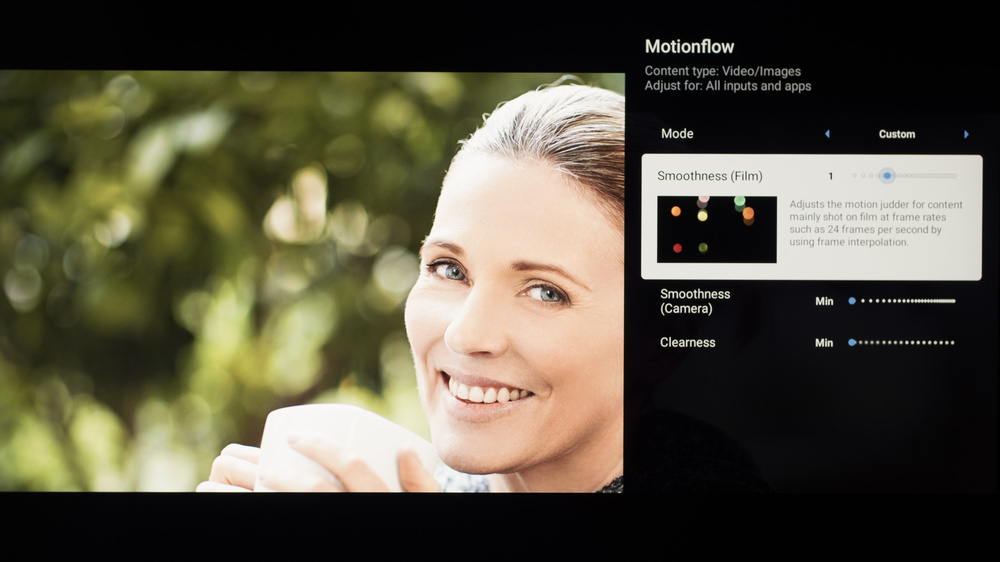
This TV automatically removes judder from 24p content. For 60p/i content and the native apps, you need to set Motionflow to 'Custom', with Smoothness (Film), Smoothness (Camera), and Clearness set to 'Min'.
Stutter Reduction Via Interpolation
Setting Smoothness (Film) to '1' outputs a frame rate equivalent to 30 fps, which helps to reduce stutter in 24 fps content.
White Balance Settings
The following are the results of the white balance and colorspace calibration in SDR on our unit. They are provided for reference and should not be copied, as the calibration values vary per individual unit, even for the same model and size as the TV we reviewed, due to manufacturing tolerances. If you want to try them, you will need to enter all the values shown, as all of them are active at the same time. If you end up with worse picture quality, simply reset them to the default values.