Products
Tested using Methodology v1.2
Updated Sep 25, 2026 04:37 PM
SEE PRICE
Tuft and Needle
Tested using Methodology v1.2
Updated Sep 25, 2026 05:00 PM
SEE PRICE
Tuft and Needle
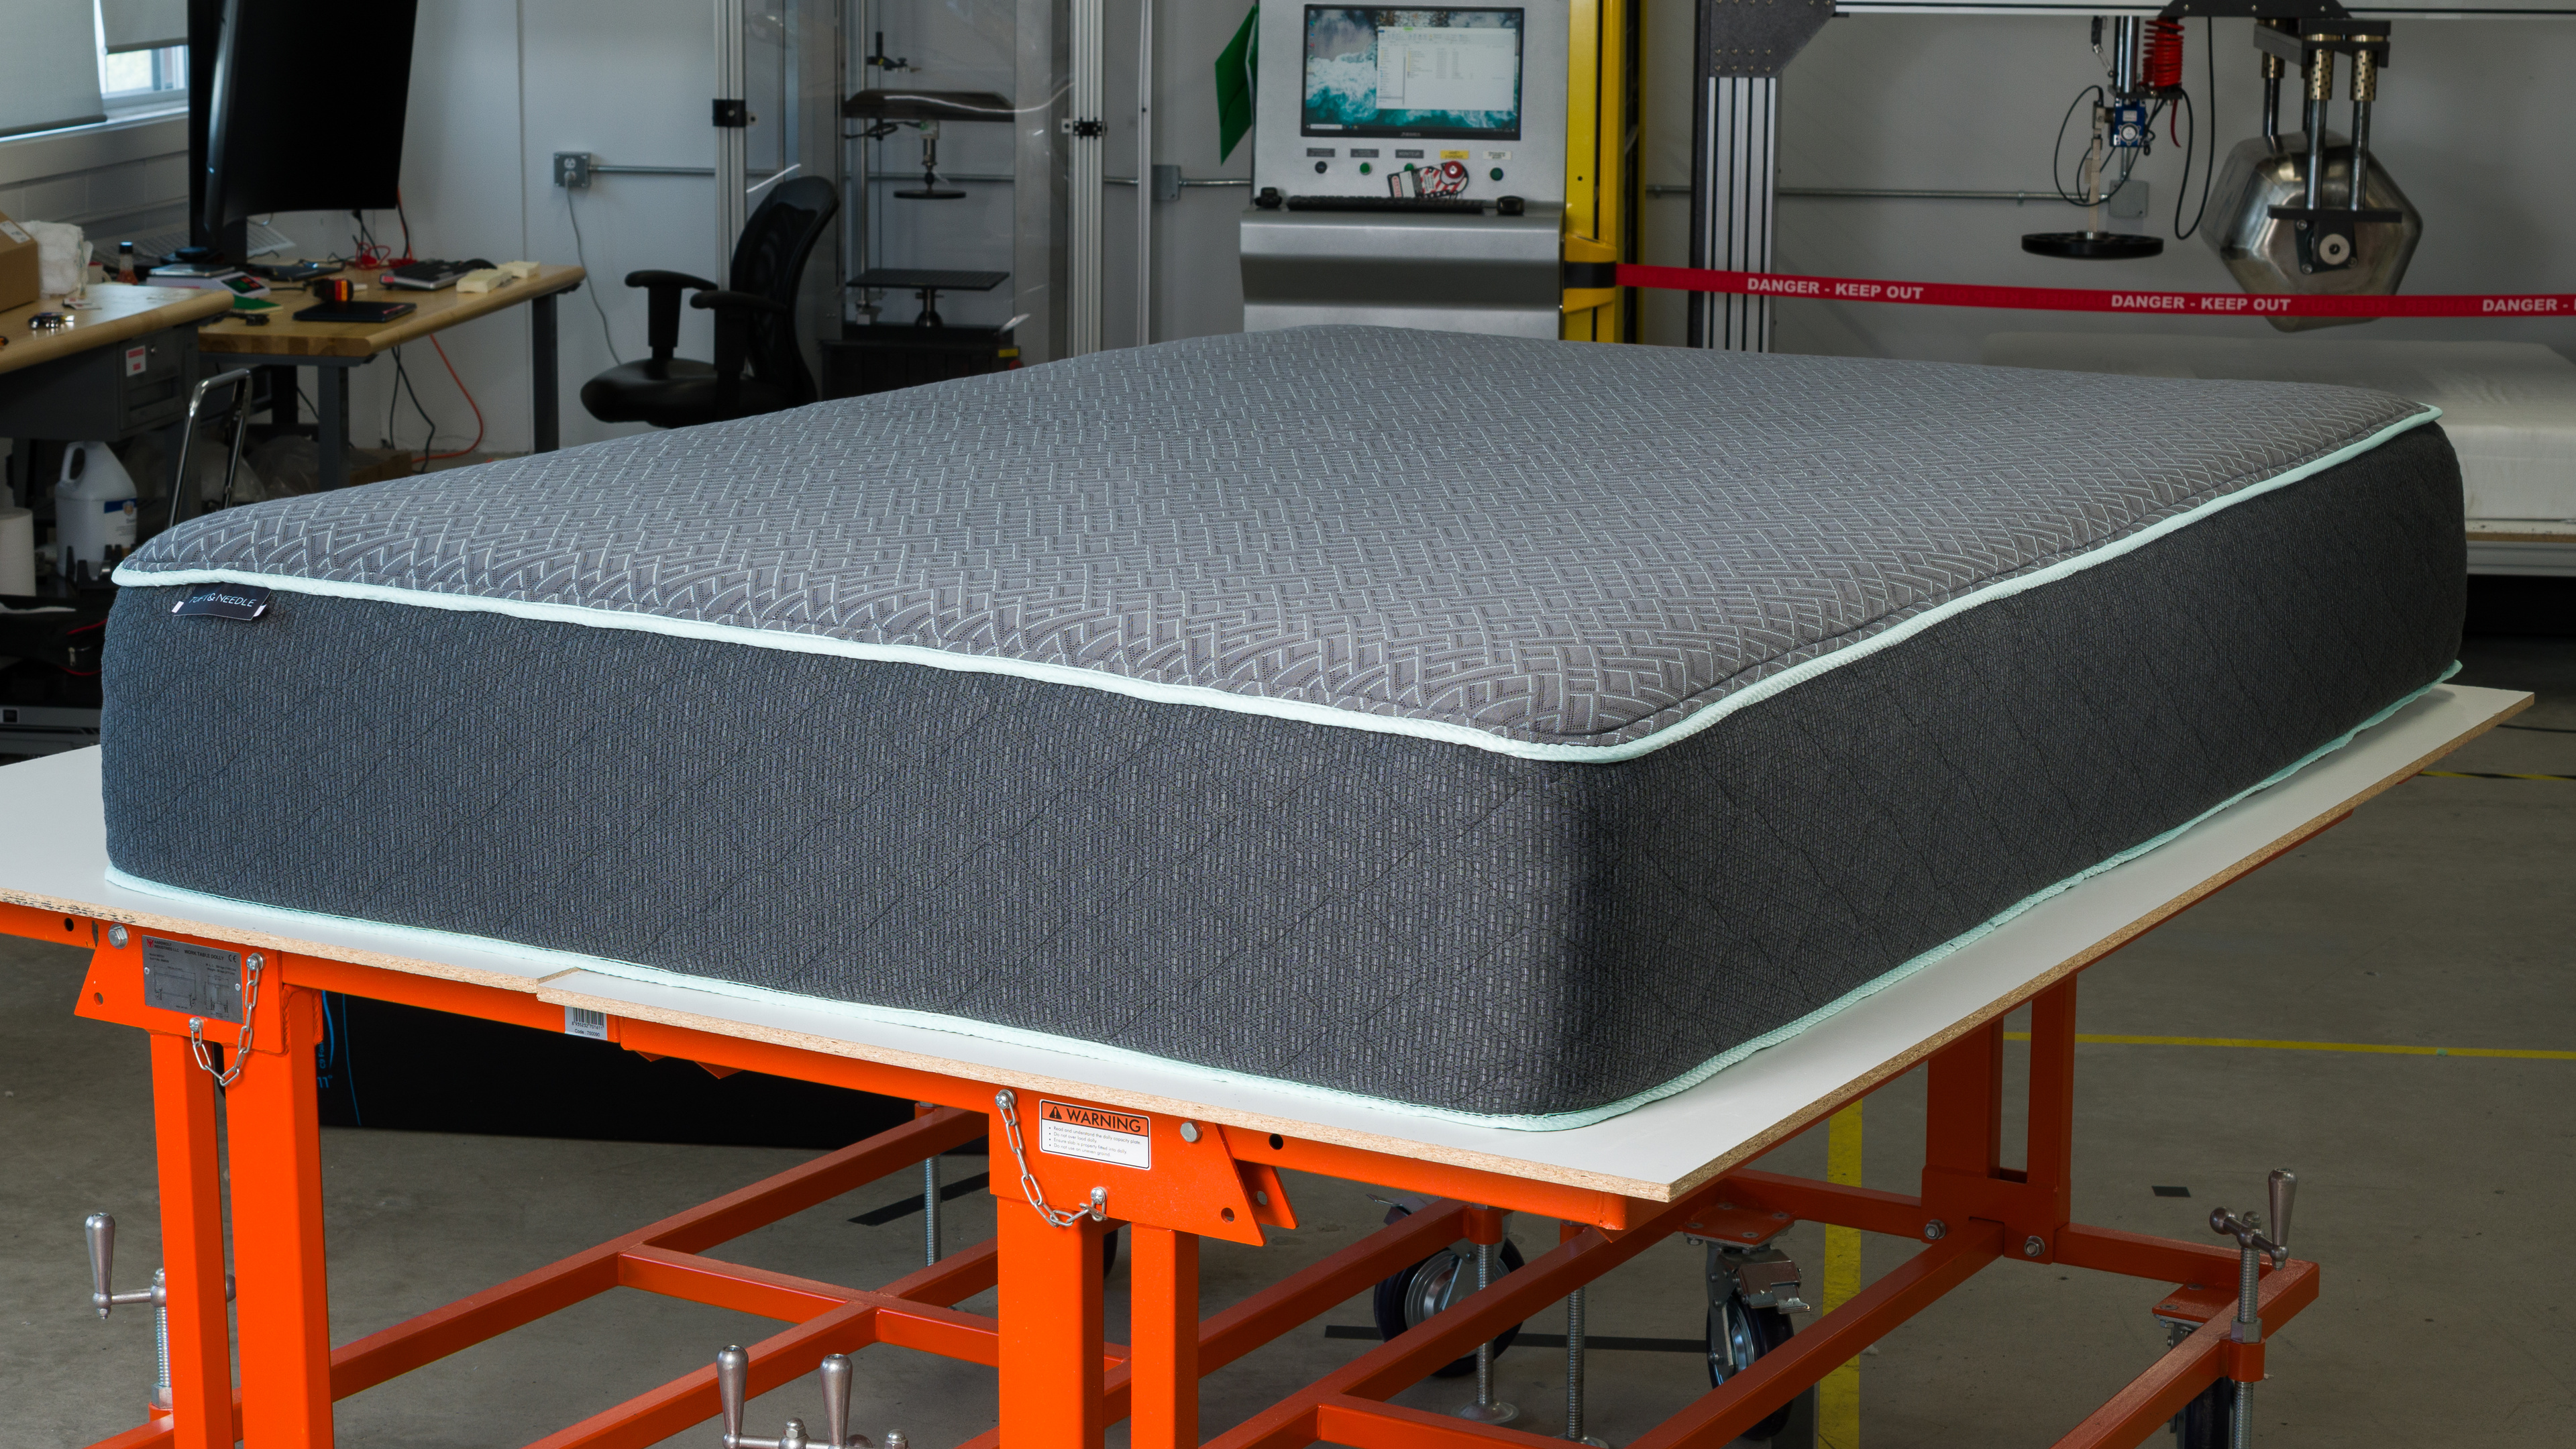
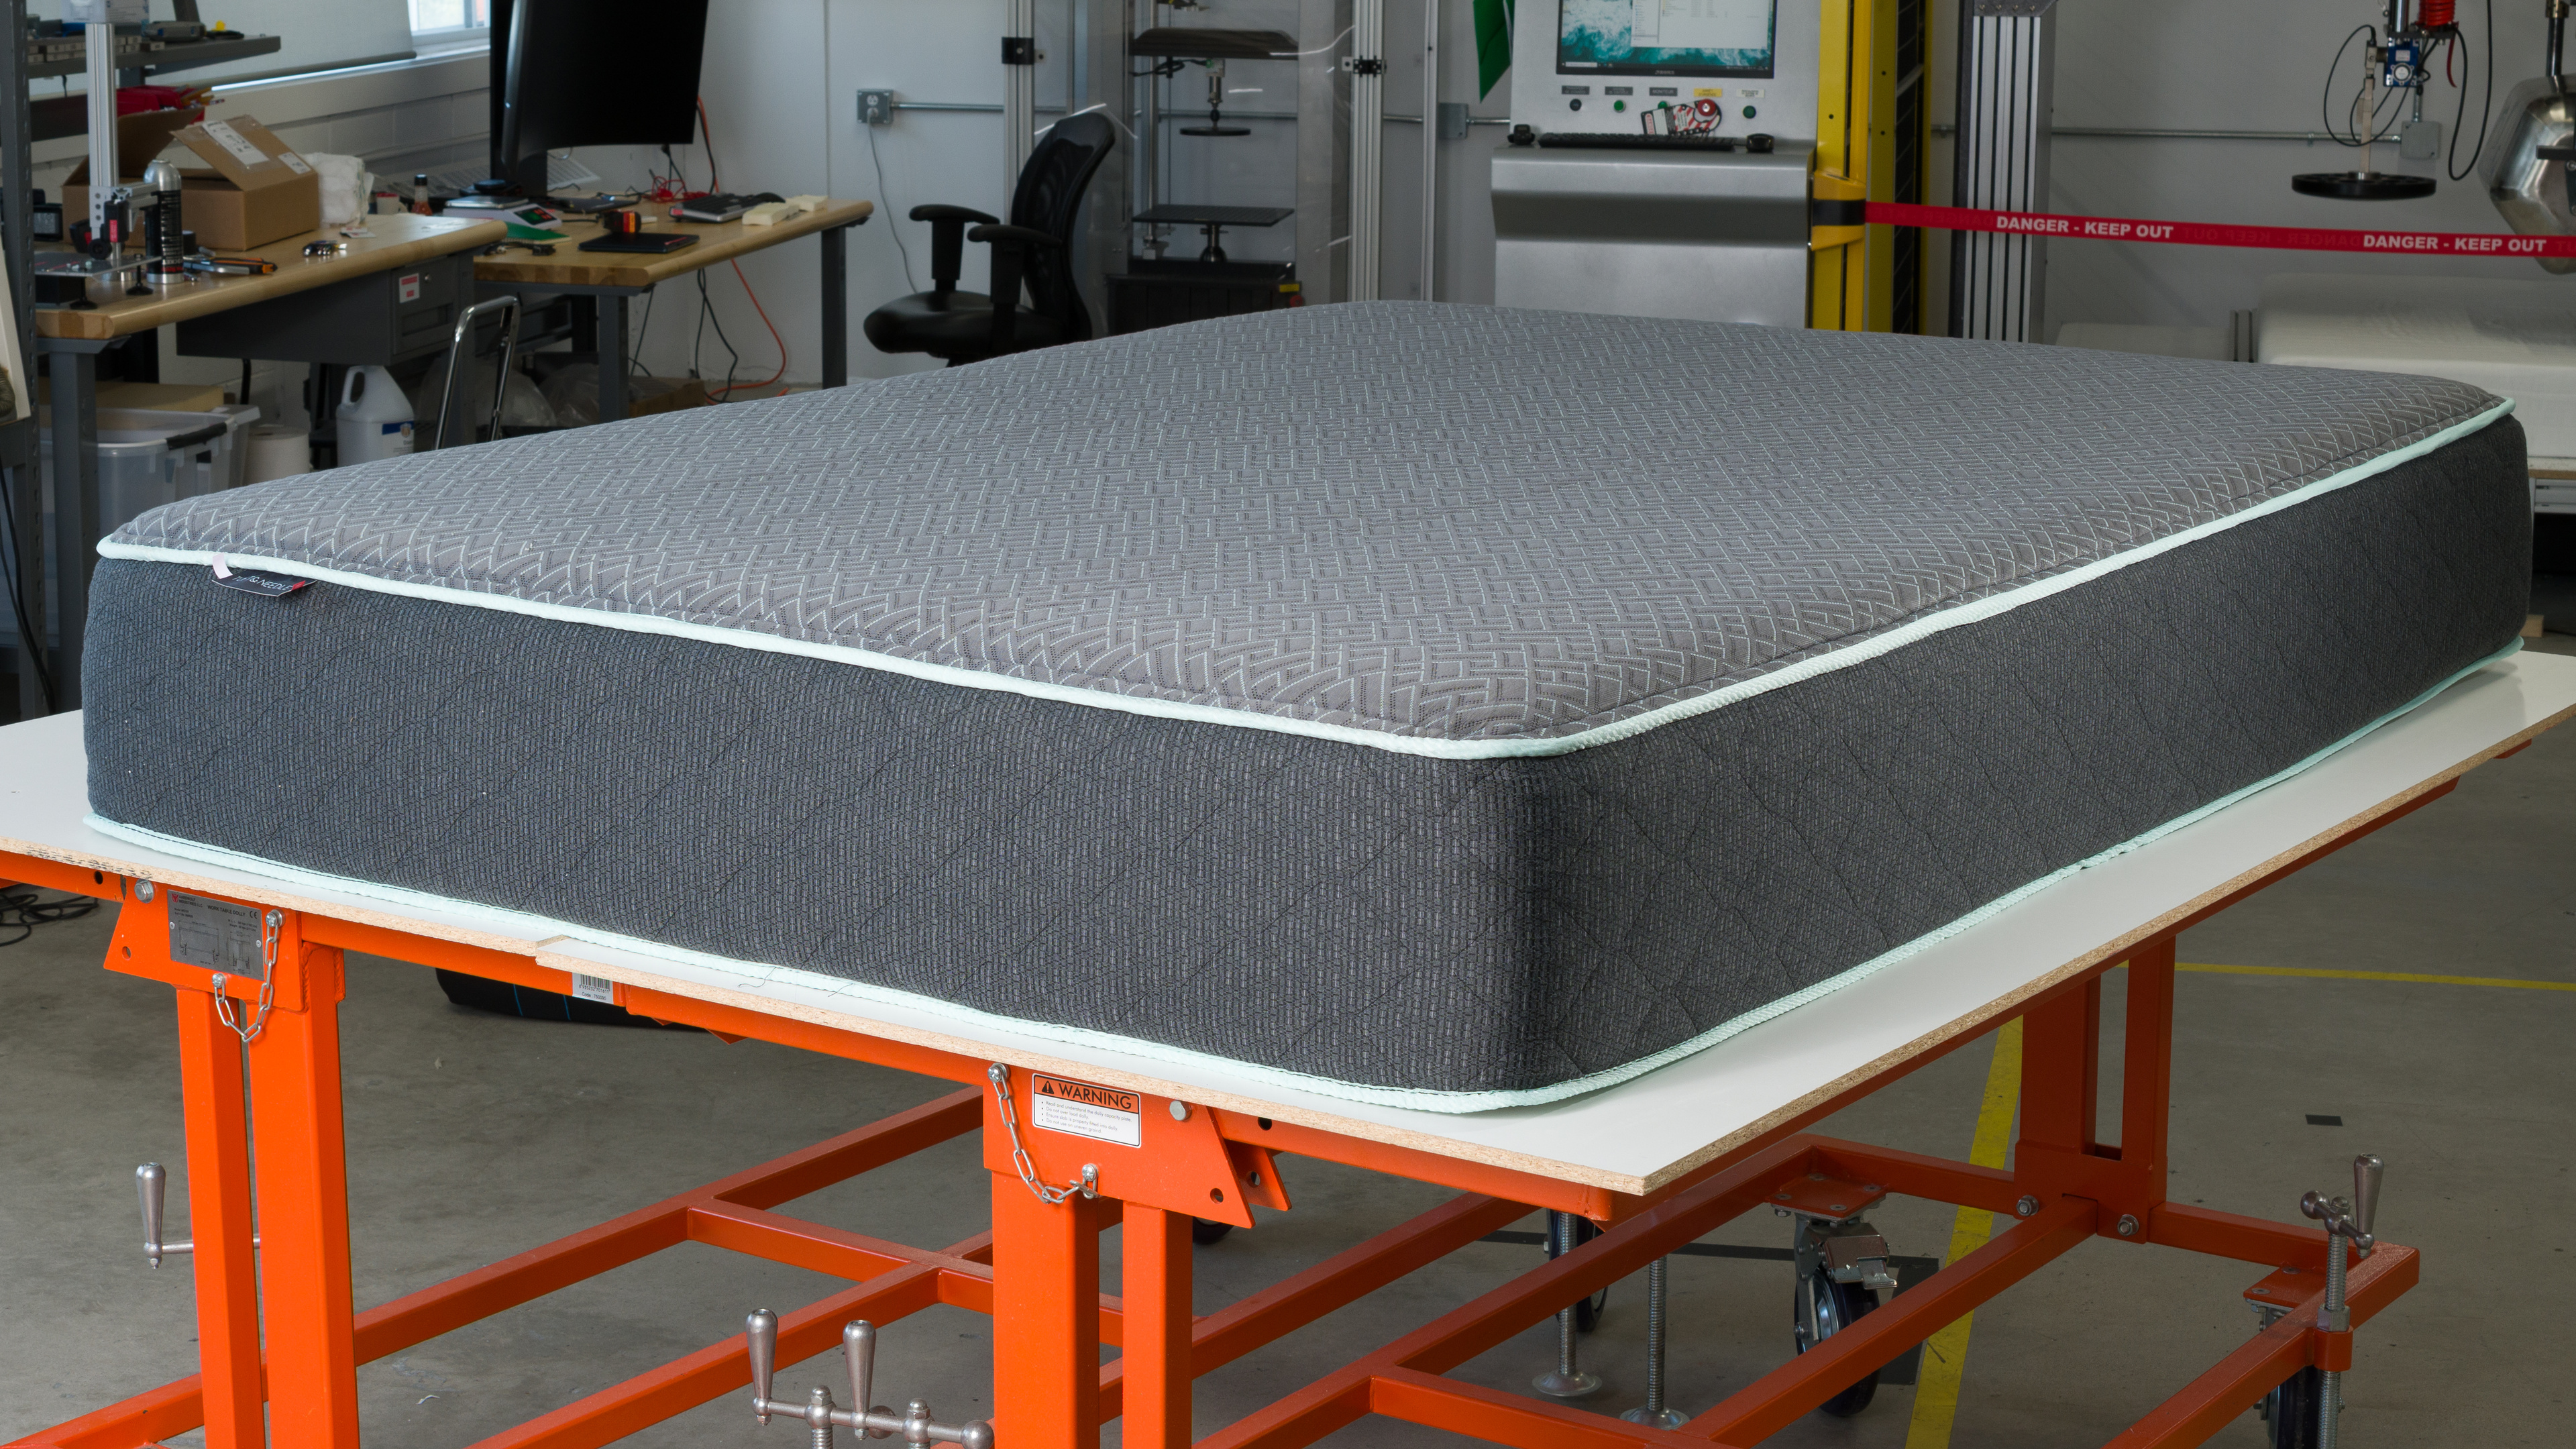
Mattress Type
Foam
Bed-In-A-Box
Yes
Upper Comfort Foam @ LumbarPolyfoam
Firmness Level
Medium-Firm (53 Pa/mm)
Mattress Type
Foam
Bed-In-A-Box
Yes
Upper Comfort Foam @ LumbarPolyfoam
Firmness Level
Medium-Firm (51 Pa/mm)
Our Verdict
Tuft and Needle Mint II
Tuft and Needle Original II
The Tuft and Needle Mint II and Tuft and Needle Original II have different strengths. The Mint II offers significantly better support for average-weight and heavier people, making it a better option for combination sleepers in those weight categories. On the other hand, the Original II is a significantly better option for hot sleepers.
Variants
- Mint II (California King)
- Mint II (Full)
- Original II (California King)
- Original II (Full)
Check Price
California King
Mint II
SEE PRICE
Tuft and Needle
California King
Original II
SEE PRICE
Tuft and Needle
Full
Mint II
SEE PRICE
Tuft and Needle
Full
Original II
SEE PRICE
Tuft and Needle
King
Mint II
SEE PRICE
Tuft and Needle
King
Original II
SEE PRICE
Tuft and Needle
Queen
Mint II
SEE PRICE
Tuft and Needle
Queen
Original II
SEE PRICE
Tuft and Needle
Twin
Mint II
SEE PRICE
Tuft and Needle
Twin
Original II
SEE PRICE
Tuft and Needle
Twin XL
Mint II
SEE PRICE
Tuft and Needle
Twin XL
Original II
SEE PRICE
Tuft and Needle
Main Differences for
Side Sleeping
Side Sleeping
Threshold
Side Sleeping
6.9
6.5
Full Comparison
Design
Style
Style Picture
Compare High-Res
Compare High-Res
Mattress Type
Foam
Foam
Bed-In-A-Box
Yes
Yes
Quilted Top Layer
Yes
Yes
Grab Handles
No
No
Thickness
34.3 cm (13.5")
30.3 cm (11.9")
Performance
Firmness
Head/Feet Firmness
Preview Graph
Preview Graph
Lumbar Firmness
Preview Graph
Preview Graph
Firmness Video
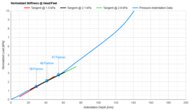
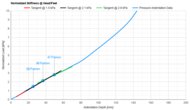
Normalized Stiffness @ Head/Feet
51 Pa/mm
54 Pa/mm
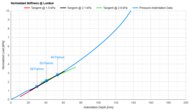
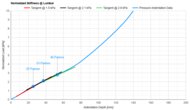
Normalized Stiffness @ Lumbar
53 Pa/mm
51 Pa/mm
Firmness Level
Medium-Firm (53 Pa/mm)
Medium-Firm (51 Pa/mm)
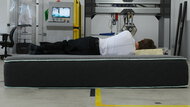
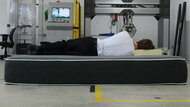
Body Conformity
6.6
6.4
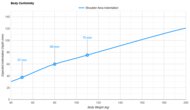
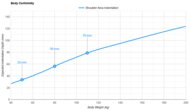
Shoulder Indentation vs. Body Weight
Preview Graph
Preview Graph
Body Conformity Picture 1
Compare High-Res
Compare High-Res
Body Conformity Picture 2
Compare High-Res
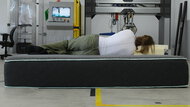
Compare High-Res
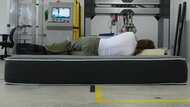
Indent @ 50 kg (110 lb)
37 mm (1.5")
33 mm (1.3")
Indent @ 80 kg (176 lb)
60 mm (2.4")
56 mm (2.2")
Indent @ 110 kg (242 lb)
75 mm (3.0")
79 mm (3.1")
Support
7.3
6.8
Pelvis Indentation vs. Body Weight
Preview Graph
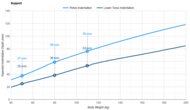
Preview Graph
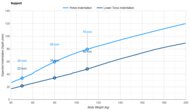
Indent Difference @ 50 kg (110 lb)
12 mm (0.5")
12 mm (0.5")
Indent Difference @ 80 kg (176 lb)
21 mm (0.8")
25 mm (1.0")
Indent Difference @ 110 kg (242 lb)
23 mm (0.9")
31 mm (1.2")
Bounciness
7.9
7.9
Bounciness Video
Maximum Rebound Height
19.5 cm (7.7")
19.5 cm (7.7")
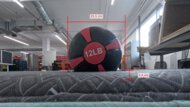
Comfort Layers Envelopment
8.0
7.1
Sinking & Contouring Picture
Compare High-Res
Compare High-Res
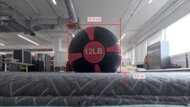
Sinking Depth
4.6 cm (1.8")
3.8 cm (1.5")
Diameter Of Distortion
25.1 cm (9.9")
22.9 cm (9.0")
Responsiveness
8.3
9.8
Responsiveness Video
Response Time
0.8 s
0.1 s
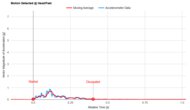
Motion Isolation
7.7
7.5
Motion Isolation Video
Head/Feet Motion Isolation
Preview Graph
Preview Graph
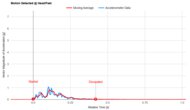
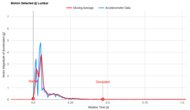
Lumbar Motion Isolation
Preview Graph
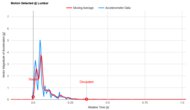
Preview Graph
Peak Acceleration @ Head/Feet
0.87 g
1.06 g
Dissipation Time @ Head/Feet
0.40 s
0.42 s
Peak Acceleration @ Lumbar
5.05 g
4.82 g
Dissipation Time @ Lumbar
0.36 s
0.47 s
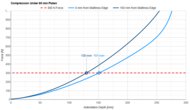
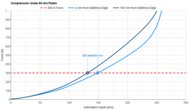
Edge Support
7.9
8.4
Naturalistic Loading Pad Video
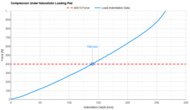
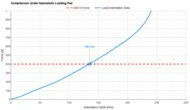
Naturalistic Loading Pad
Preview Graph
Preview Graph
Small Platen
Preview Graph
Preview Graph
Naturalistic Loading Pad Indentation
140 mm
135 mm
Small Platen Indentation @ 0 mm From Edge
151 mm
149 mm
Small Platen Indentation @ 150 mm From Edge
130 mm
131 mm
Increased Indentation @ Mattress Edge
22 mm
17 mm
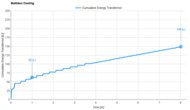
Cooling
7.5
8.3
Cooling Graph
Preview Graph
Preview Graph
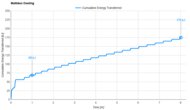
Energy Transferred Over 1st Hour
62 kJ
69 kJ
Energy Transferred Over 8 Hours
149 kJ
175 kJ
Components
Cover
Cover Picture
Compare High-Res
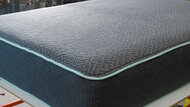
Compare High-Res
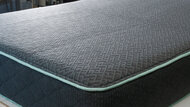
Sleeping Surface Material
Polyester
Polyester
Removable
No
No
Machine Washable
No
No
Edge Construction
Edge Support Picture
Compare High-Res
Compare High-Res
Edge Component
None
None
Foam Layer Material
Foam Layer Material Picture
Compare High-Res
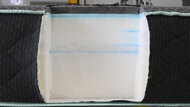
Compare High-Res
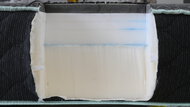
Quilted Top Fill
Memory Foam
Memory Foam
Upper Comfort Foam @ Head/Feet
Memory Foam
Polyfoam
Upper Comfort Foam @ Lumbar
Polyfoam
Polyfoam
Lower Comfort Foam @ Head/Feet
Polyfoam
Polyfoam
Lower Comfort Foam @ Lumbar
Polyfoam
Polyfoam
Transition Foam
Polyfoam
Polyfoam
Support Foam
Polyfoam
Polyfoam
Foam Layer Mass Density
6.0
6.7
Quilted Top Fill
45 kg/m³ (2.8 lb/cu.ft.)
45 kg/m³ (2.8 lb/cu.ft.)
Quilted Top Fill Foam Density vs. Reference
0.7
0.7
Upper Comfort Foam @ Head/Feet
33 kg/m³ (2.1 lb/cu.ft.)
30 kg/m³ (1.9 lb/cu.ft.)
Upper Comfort Foam @ Head/Feet Density vs. Reference
0.5
1.0
Upper Comfort Foam @ Lumbar
33 kg/m³ (2.1 lb/cu.ft.)
30 kg/m³ (1.9 lb/cu.ft.)
Upper Comfort Foam @ Lumbar Density vs. Reference
0.5
1.0
Lower Comfort Foam @ Head/Feet
31 kg/m³ (1.9 lb/cu.ft.)
30 kg/m³ (1.9 lb/cu.ft.)
Lower Comfort Foam @ Head/Feet Density vs. Reference
1.0
1.0
Lower Comfort Foam @ Lumbar
31 kg/m³ (1.9 lb/cu.ft.)
30 kg/m³ (1.9 lb/cu.ft.)
Lower Comfort Foam @ Lumbar Density vs. Reference
1.0
1.0
Transition Foam
25 kg/m³ (1.6 lb/cu.ft.)
30 kg/m³ (1.9 lb/cu.ft.)
Transition Foam Density vs. Reference
0.7
1.0
Support Foam
26 kg/m³ (1.6 lb/cu.ft.)
29 kg/m³ (1.8 lb/cu.ft.)
Support Foam Density vs Reference
0.8
0.9
Foam Layer Thickness
Foam Layer Thickness Picture
Compare High-Res
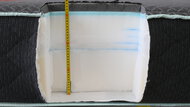
Compare High-Res
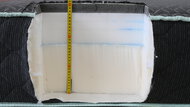
Quilted Top
2.5 cm (1.0")
2.5 cm (1.0")
Upper Comfort Foam @ Head/Feet
1.3 cm (0.5")
2.5 cm (1.0")
Upper Comfort Foam @ Lumbar
1.3 cm (0.5")
2.5 cm (1.0")
Lower Comfort Foam @ Head/Feet
7.5 cm (3.0")
2.5 cm (1.0")
Lower Comfort Foam @ Lumbar
7.5 cm (3.0")
2.5 cm (1.0")
Transition Foam
4.7 cm (1.9")
4.7 cm (1.9")
Support Foam
17.0 cm (6.7")
17.0 cm (6.7")
Spring Layer Dimensions
Spring Layer Height Picture
Compare High-Res

Compare High-Res
Spring Layer Density Picture
Compare High-Res
Compare High-Res
Comfort Layer Height
N/A
N/A
Comfort Layer Coil Density
Comfort Layer Coil Gauge
N/A
N/A
Support Layer Height
N/A
N/A
Support Layer Coil Density
Support Layer Coil Gauge @ Head/Feet
N/A
N/A
Support Layer Coil Gauge @ Lumbar
N/A
N/A
Foam Layer Firmness
Comfort Layer IPD
Transition & Support Layer IPD
Quilted Top Fill 25% IPD
Upper Comfort Foam @ Head/Feet 25% IPD
Upper Comfort Foam @ Lumbar 25% IPD
Lower Comfort Foam @ Head/Feet 25% IPD
Lower Comfort Foam @ Lumbar 25% IPD
Transition Foam 25% IPD
Support Foam 25% IPD
Spring Layer Firmness
Comfort Layer Firmness
Support Layer Firmness
Spring Layer Firmness
Normalized Comfort Layer Stiffness @ Head/Feet
Normalized Comfort Layer Stiffness @ Lumbar
Normalized Support Layer Stiffness @ Head/Feet
Normalized Support Layer Stiffness @ Lumbar
Foam Layer Resilience
Foam Layer Resilience Video
Quilted Top Fill
21%
18%
Upper Comfort Foam @ Head/Feet
16%
41%
Upper Comfort Foam @ Lumbar
16%
41%
Lower Comfort Foam @ Head/Feet
44%
45%
Lower Comfort Foam @ Lumbar
44%
45%
Transition Foam
45%
45%
Support Foam
43%
35%
Spring Layer Bounciness
Comfort Spring Layer Bounciness Video
Support Spring Layer Bounciness Video
Comfort Spring Layer Maximum Rebound Height
Support Spring Layer Maximum Rebound Height
Check Price
California King
Mint II
SEE PRICE
Tuft and Needle
California King
Original II
SEE PRICE
Tuft and Needle
Full
Mint II
SEE PRICE
Tuft and Needle
Full
Original II
SEE PRICE
Tuft and Needle
King
Mint II
SEE PRICE
Tuft and Needle
King
Original II
SEE PRICE
Tuft and Needle
Queen
Mint II
SEE PRICE
Tuft and Needle
Queen
Original II
SEE PRICE
Tuft and Needle
Twin
Mint II
SEE PRICE
Tuft and Needle
Twin
Original II
SEE PRICE
Tuft and Needle
Twin XL
Mint II
SEE PRICE
Tuft and Needle
Twin XL
Original II
SEE PRICE
Tuft and Needle
To access
Become a member
unlimited full product reviews,
product prices, and
other exclusive site features
Tuft and Needle Mint II
Tuft and Needle Original II
Comments
Tuft and Needle Mint II vs Tuft and Needle Original II: Main Discussion
What do you think of these products? Let us know below.
Looking for a personalized buying advice from the RTINGS.com experts? Members have direct access to buying advice on our member forum.