Products
Tested using Methodology v0.8.2
Updated Jun 12, 2026 04:23 PM
SEE PRICE
Diadora
Tested using Methodology v0.12
Updated Sep 10, 2026 12:54 PM
SEE PRICE
Diadora
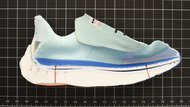
Heel Stack Height
42.6 mm
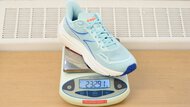
Weight
234.4 g (8.27 oz)
Heel-To-Toe Drop
12.1 mm
Plate
None
Heel Stack Height
35.5 mm
Weight
199.9 g (7.05 oz)
Heel-To-Toe Drop
3.6 mm
Plate
Carbon Fiber
Our Verdict
Diadora Frequenza 2
Diadora Gara Carbon 3
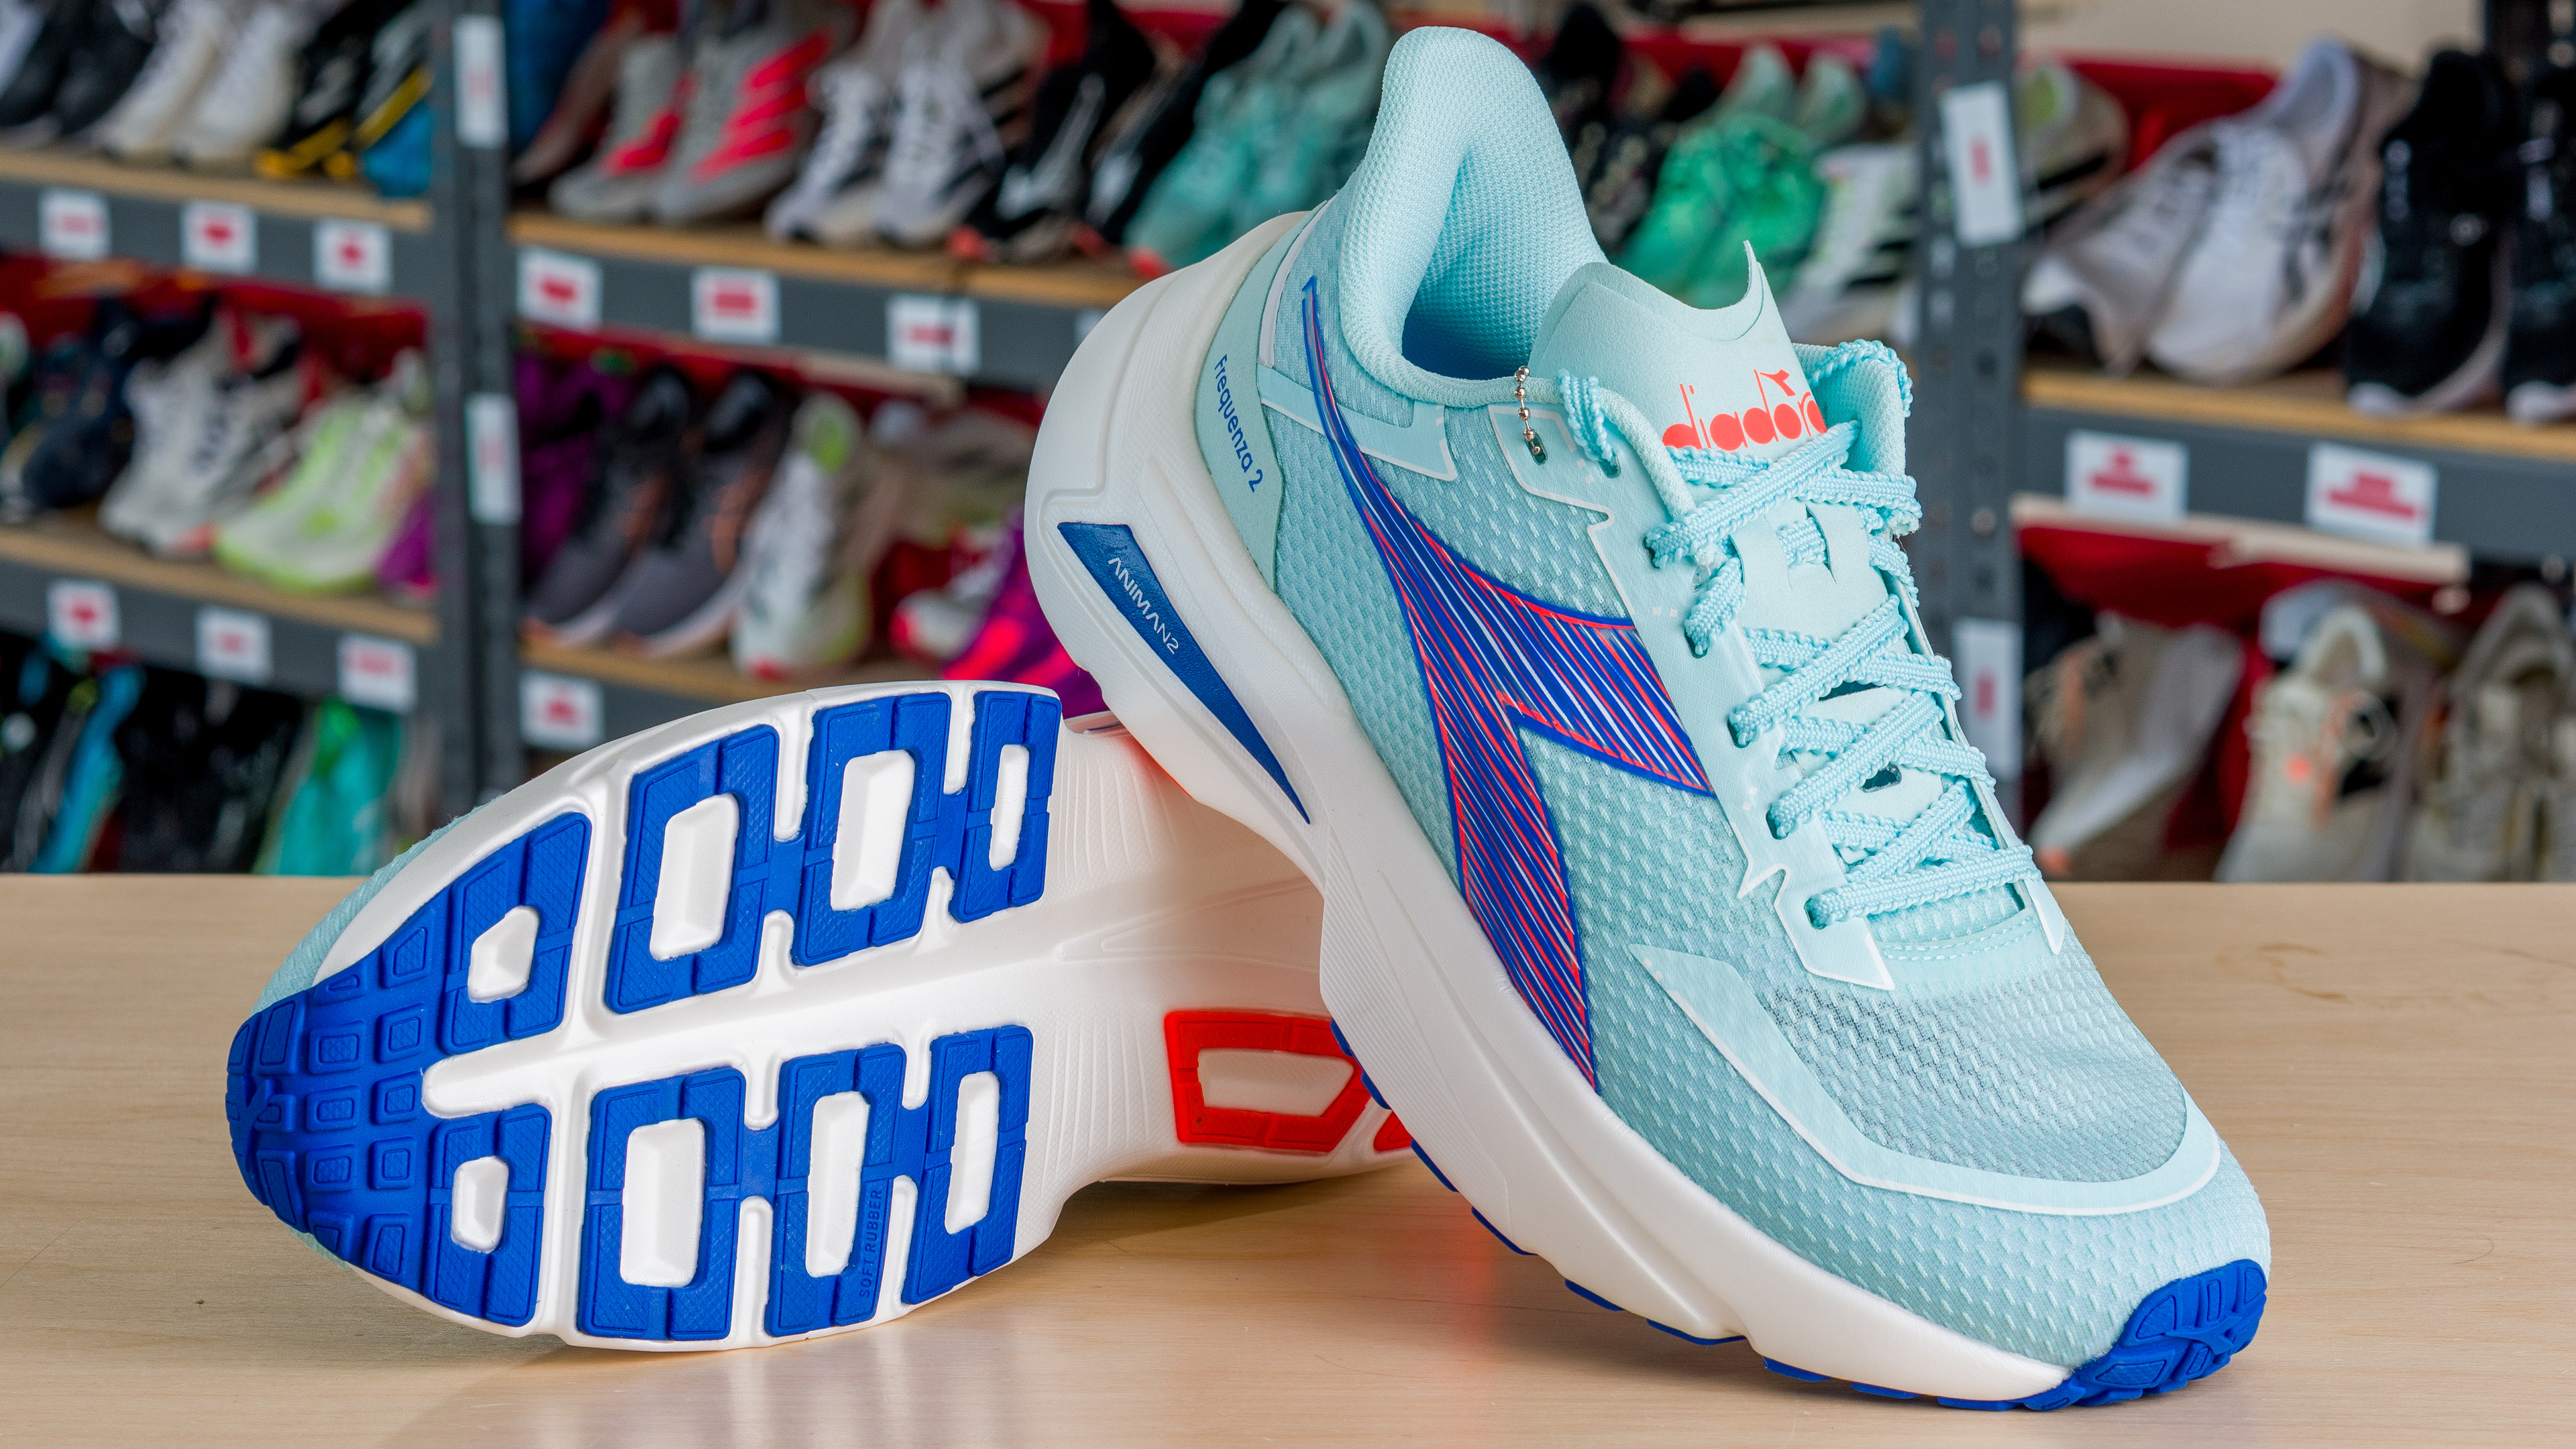
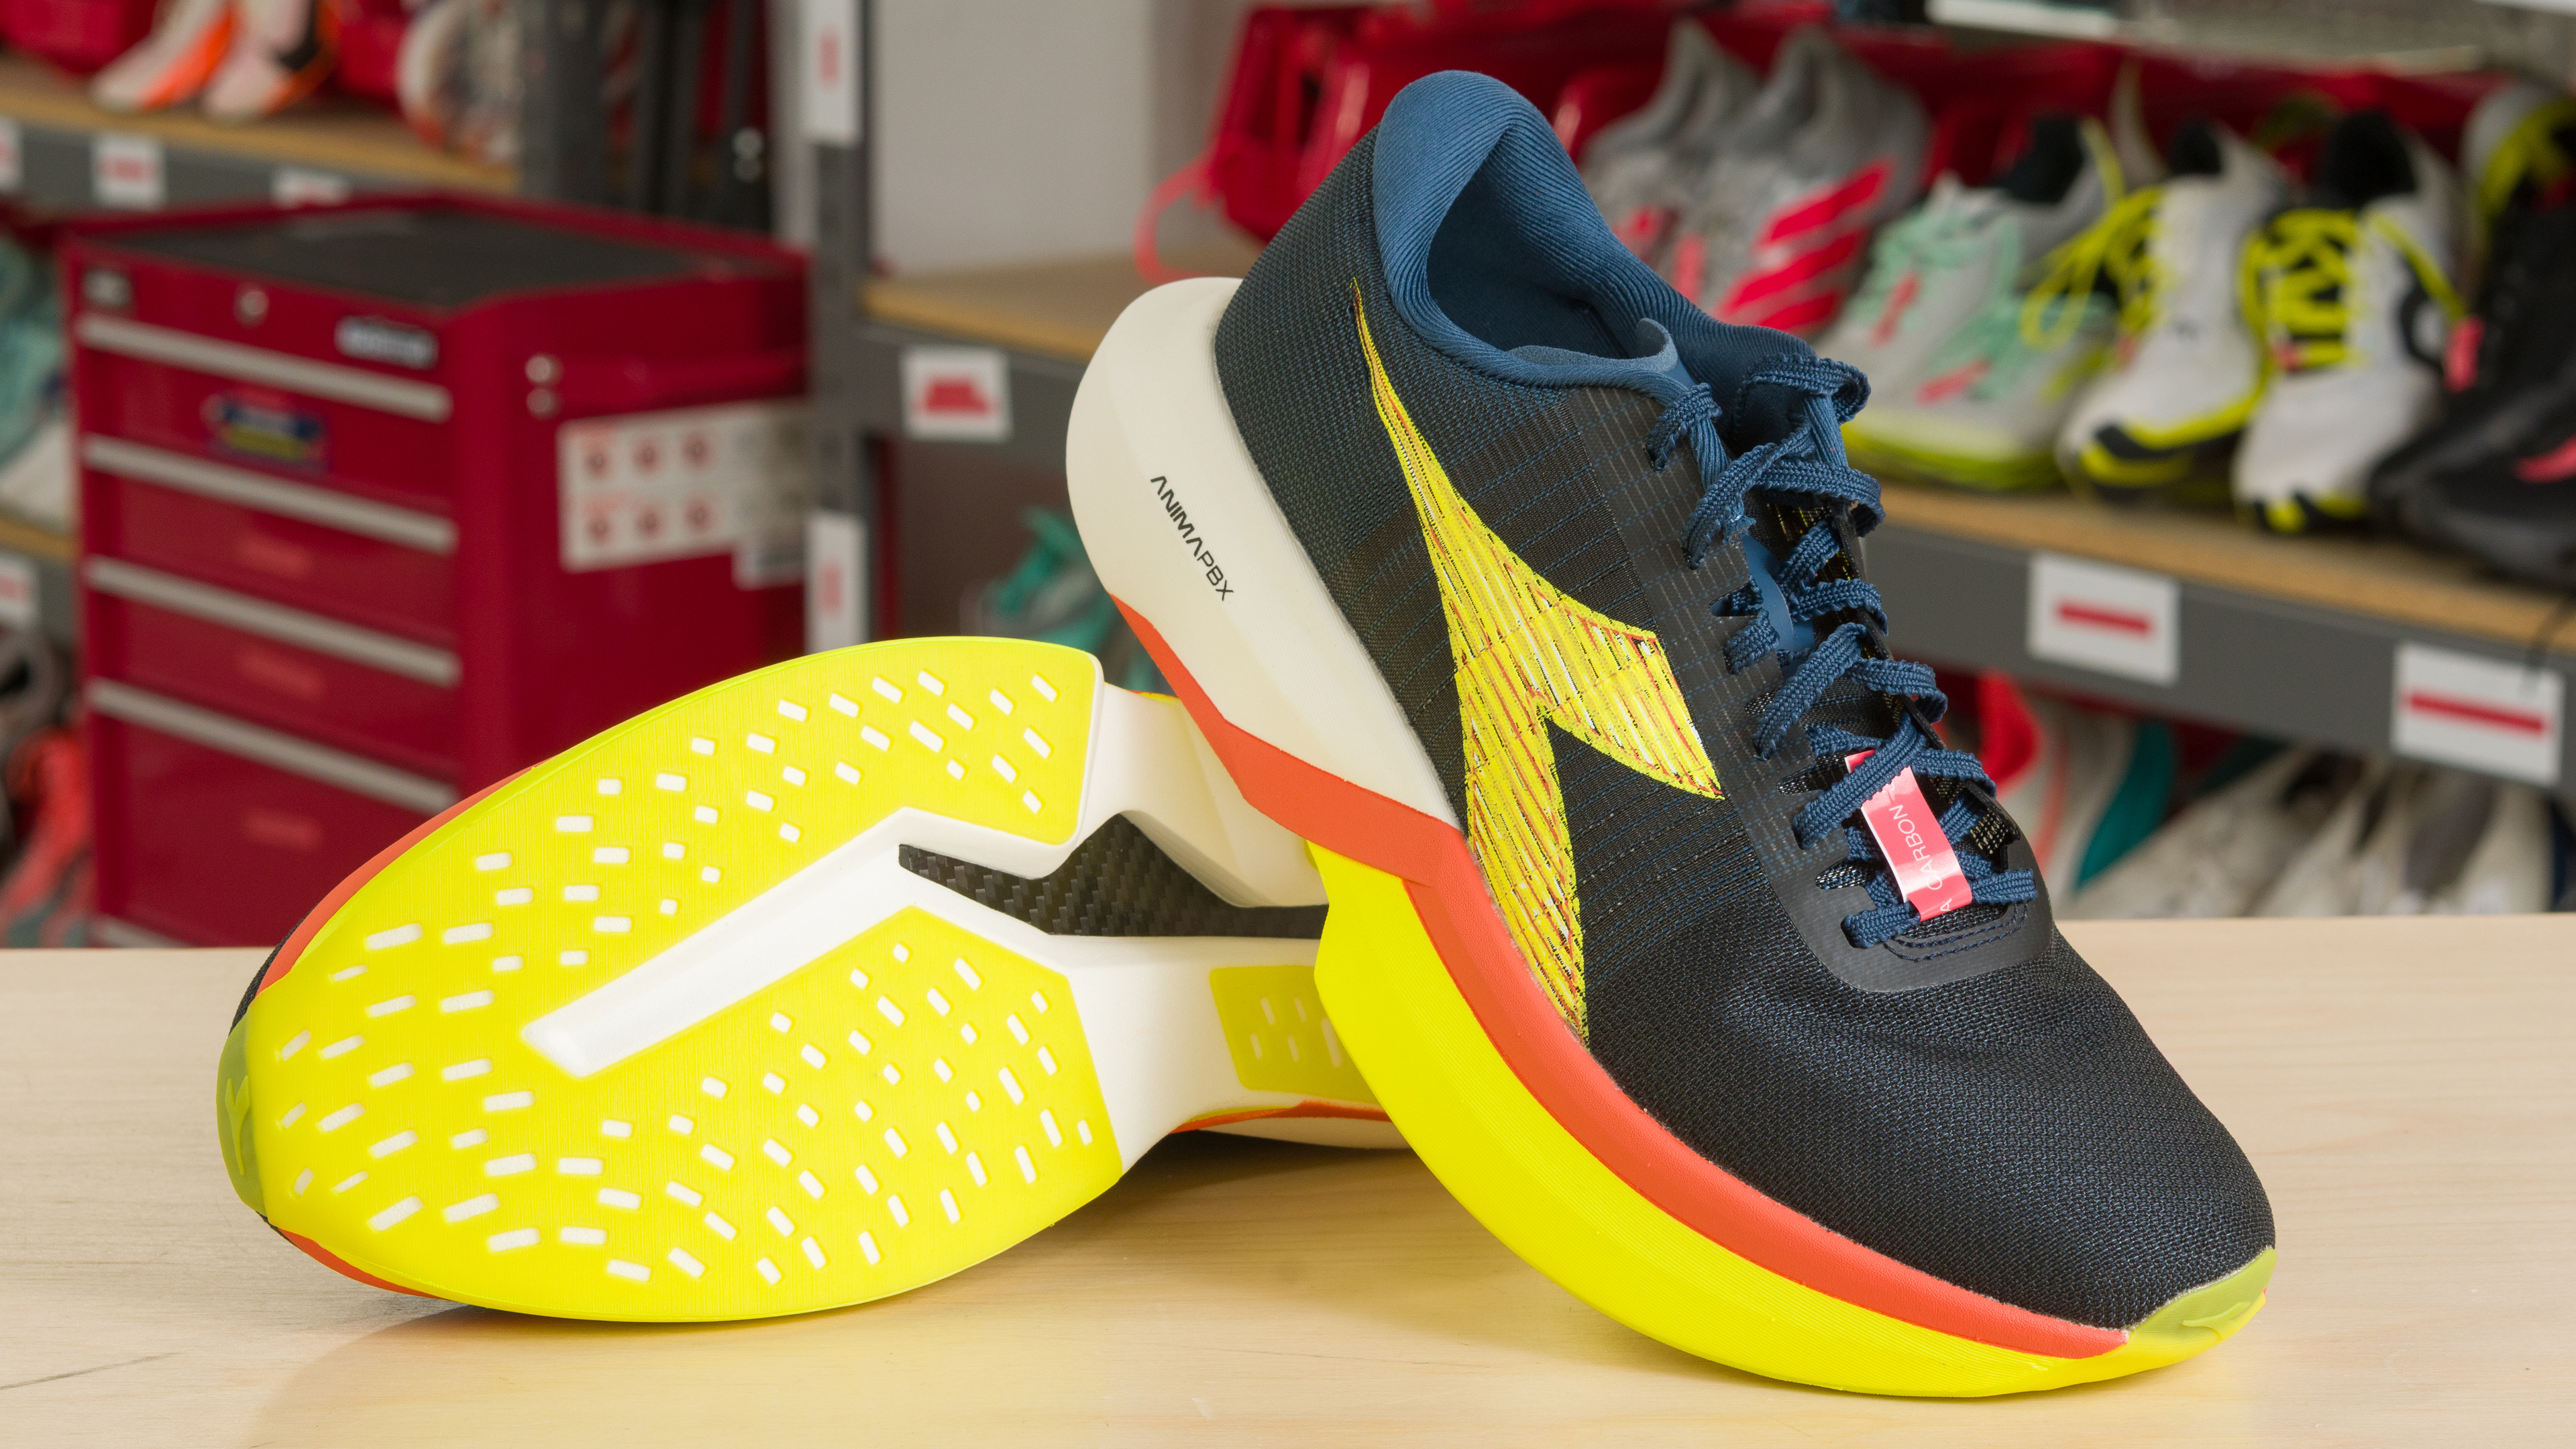
The Diadora Frequenza 2 and Diadora Gara Carbon 3 are two shoes from the same brand, but they’re built for different parts of a rotation. The Frequenza 2 is the more flexible and training-friendly option, with a lightweight build, plush cushioning, and enough versatility for daily miles and some uptempo work. The Gara Carbon 3 is the race-focused model, using a carbon plate, a firmer and more structured platform, and a lighter build to feel more aggressive and efficient at faster paces.
Variants
- Frequenza 2 (Scallop Shell/Winery - (Men - US 9))
- Frequenza 2 (Scallop Shell/Winery - (Women - US 7))
- Gara Carbon 3 (Light Blue/Lapis Blue - (Men - US 9))
- Gara Carbon 3 (Light Blue/Lapis Blue - (Women - US 7))
Main Differences for
Half/Full Marathon Racing
Half/Full Marathon Racing
Threshold
Half/Full Marathon Racing
7.4
7.9
Heel Stack Height
42.6 mm
35.5 mm
Weight
7.0
8.2
Forefoot Energy Return
7.1
8.3
Heel Energy Return
6.4
8.5
Full Comparison
Design
Weight
7.0
8.2
Right Shoe Weight Photo
Compare High-Res
Compare High-Res
Left Shoe Weight Photo
Compare High-Res
Compare High-Res
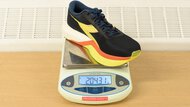
Weight
234.4 g (8.27 oz)
199.9 g (7.05 oz)
Stack Heights
Stack Height Photo
Compare High-Res
Compare High-Res
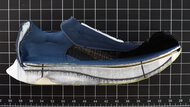
Heel Stack Height
42.6 mm
35.5 mm
Forefoot Stack Height
30.5 mm
31.9 mm
Heel-To-Toe Drop
12.1 mm
3.6 mm
Advertised Heel-To-Toe Drop
8.0 mm
5.0 mm
External Shape
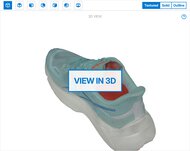
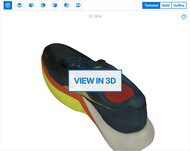
3D Model Full Shoe
Preview 3D
Preview 3D
Outsole Heel Width
88 mm (3.5")
80 mm (3.2")
Outsole Arch Width
78 mm (3.1")
74 mm (2.9")
Outsole Forefoot Width
113 mm (4.4")
112 mm (4.4")
Heel Width-To-Stack Ratio
2.07
2.25
Forefoot Width-To-Stack Ratio
3.70
3.51
Internal Shape
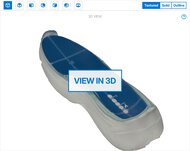
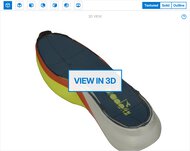
3D Model Internal
Preview 3D
Preview 3D
Internal Length
275 mm (10.8")
268 mm (10.6")
Internal Heel Width
66 mm (2.6")
58 mm (2.3")
Internal Forefoot Width
90 mm (3.5")
89 mm (3.5")
Wide Sizing Available
No
No
Forefoot Fit: Width
7.9
Forefoot Width Photo
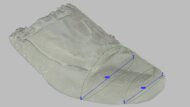
Ball-Of-Foot TTS Deviation
-3.4 mm (-0.132")
Toe TTS Deviation
-3.1 mm (-0.123")
Forefoot Fit: Height
7.4
Forefoot Height Photo
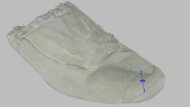
Toe TTS Deviation
-3.1 mm (-0.124")
Arch Fit: Width
8.1
Arch Fit Photo
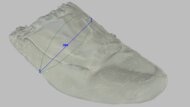
Arch Width TTS Deviation
-3.2 mm (-0.125")
Length Fit
6.0
Toe Clearance Photo
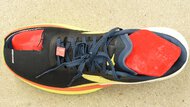
Heel Rocker Geometry
7.9
Heel Rocker Photo
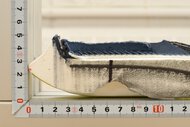
Heel Spring
24 mm (0.9")
Heel Apex Position
20.5%
Heel Rocker Angle
21.8°
Forefoot Rocker Geometry
8.2
Forefoot Rocker Photo
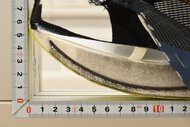
Toe Spring
61 mm (2.4")
Toe Apex Position
64.2%
Forefoot Rocker Angle
30.2°
Other Features
Other Features Photo
Compare High-Res
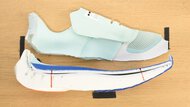
Compare High-Res
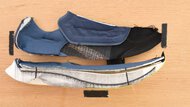
Tongue Gusset Type
Fully-gusseted
Non-gusseted
Plate
None
Carbon Fiber
Performance
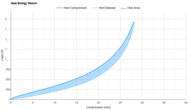
Heel Compression Energy Return
6.4
8.5
Heel Compression Video
Heel Energy Return
Preview Graph
Preview Graph
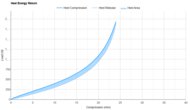
Heel Energy Return
74.2%
83.9%
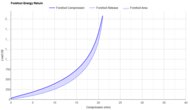
Forefoot Compression Energy Return
7.1
8.3
Forefoot Compression Video
Forefoot Energy Return
Preview Graph
Preview Graph
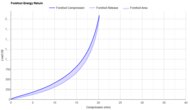
Forefoot Energy Return
76.5%
82.3%
Heel Cushioning
8.6
7.3
Heel Cushioning Picture
Compare High-Res

Compare High-Res
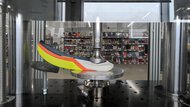
Heel Cushioning
Preview Graph
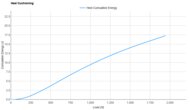
Preview Graph
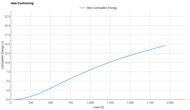
Energy Absorbed At 550N
4.29 J
3.60 J
Energy Absorbed At 1100N
10.46 J
8.95 J
Energy Absorbed At 1900N
16.96 J
14.40 J
Forefoot Cushioning
7.8
7.4
Forefoot Cushioning Picture
Compare High-Res

Compare High-Res
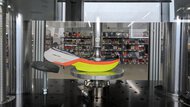
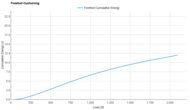
Forefoot Cushioning
Preview Graph
Preview Graph
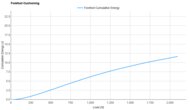
Energy Absorbed At 800N
5.18 J
4.77 J
Energy Absorbed At 1300N
8.44 J
7.99 J
Energy Absorbed At 2050N
11.82 J
11.47 J
Heel Firmness
5.2
7.9
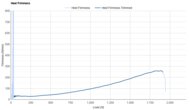
Heel Firmness
Preview Graph
Heel Firmness Graph
Preview Graph
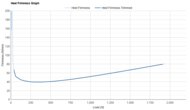
Firmness At 550N
45.4 N/mm
41.4 N/mm
Firmness At 1100N
110.9 N/mm
54.7 N/mm
Firmness At 1900N
256.6 N/mm
79.5 N/mm
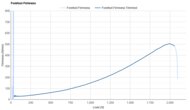
Forefoot Firmness
8.3
7.8
Forefoot Firmness
Preview Graph
Forefoot Firmness Graph
Preview Graph
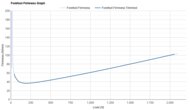
Firmness At 800N
106.7 N/mm
54.0 N/mm
Firmness At 1300N
234.4 N/mm
72.3 N/mm
Firmness At 2050N
487.9 N/mm
102 N/mm
Forefoot Long Run Cushioning
7.0
Forefoot Long Run Cushioning
Preview Graph
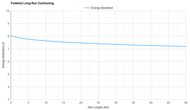
Energy Absorbed At 10km
7.64 J
Energy Absorbed At 20km
7.47 J
Energy Absorbed At 30km
7.36 J
Energy Absorbed At 40km
7.27 J
Rocker Stiffness
8.1
Forefoot Rocker Stiffness Video
Forefoot Rocker Stiffness Graph
Preview Graph
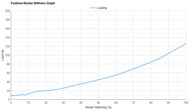
Force To Flatten The Rocker
125 N
Forefoot Bending Energy Return
9.0
Forefoot Bending Video
Forefoot Bending Energy Return
Preview Graph
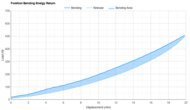
Forefoot Bending Energy Return
80.8%
Forefoot Bending Stiffness
8.7
Forefoot Bending Resistance Picture
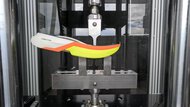
Forefoot Bending Resistance
Preview Graph
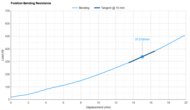
Forefoot Bending Stiffness
31.0 N/mm
Forefoot Bending Force
336 N
Diadora Frequenza 2
Diadora Gara Carbon 3
Comments
Diadora Frequenza 2 vs Diadora Gara Carbon 3: Main Discussion
What do you think of these products? Let us know below.
Looking for a personalized buying advice from the RTINGS.com experts? Members have direct access to buying advice on our member forum.