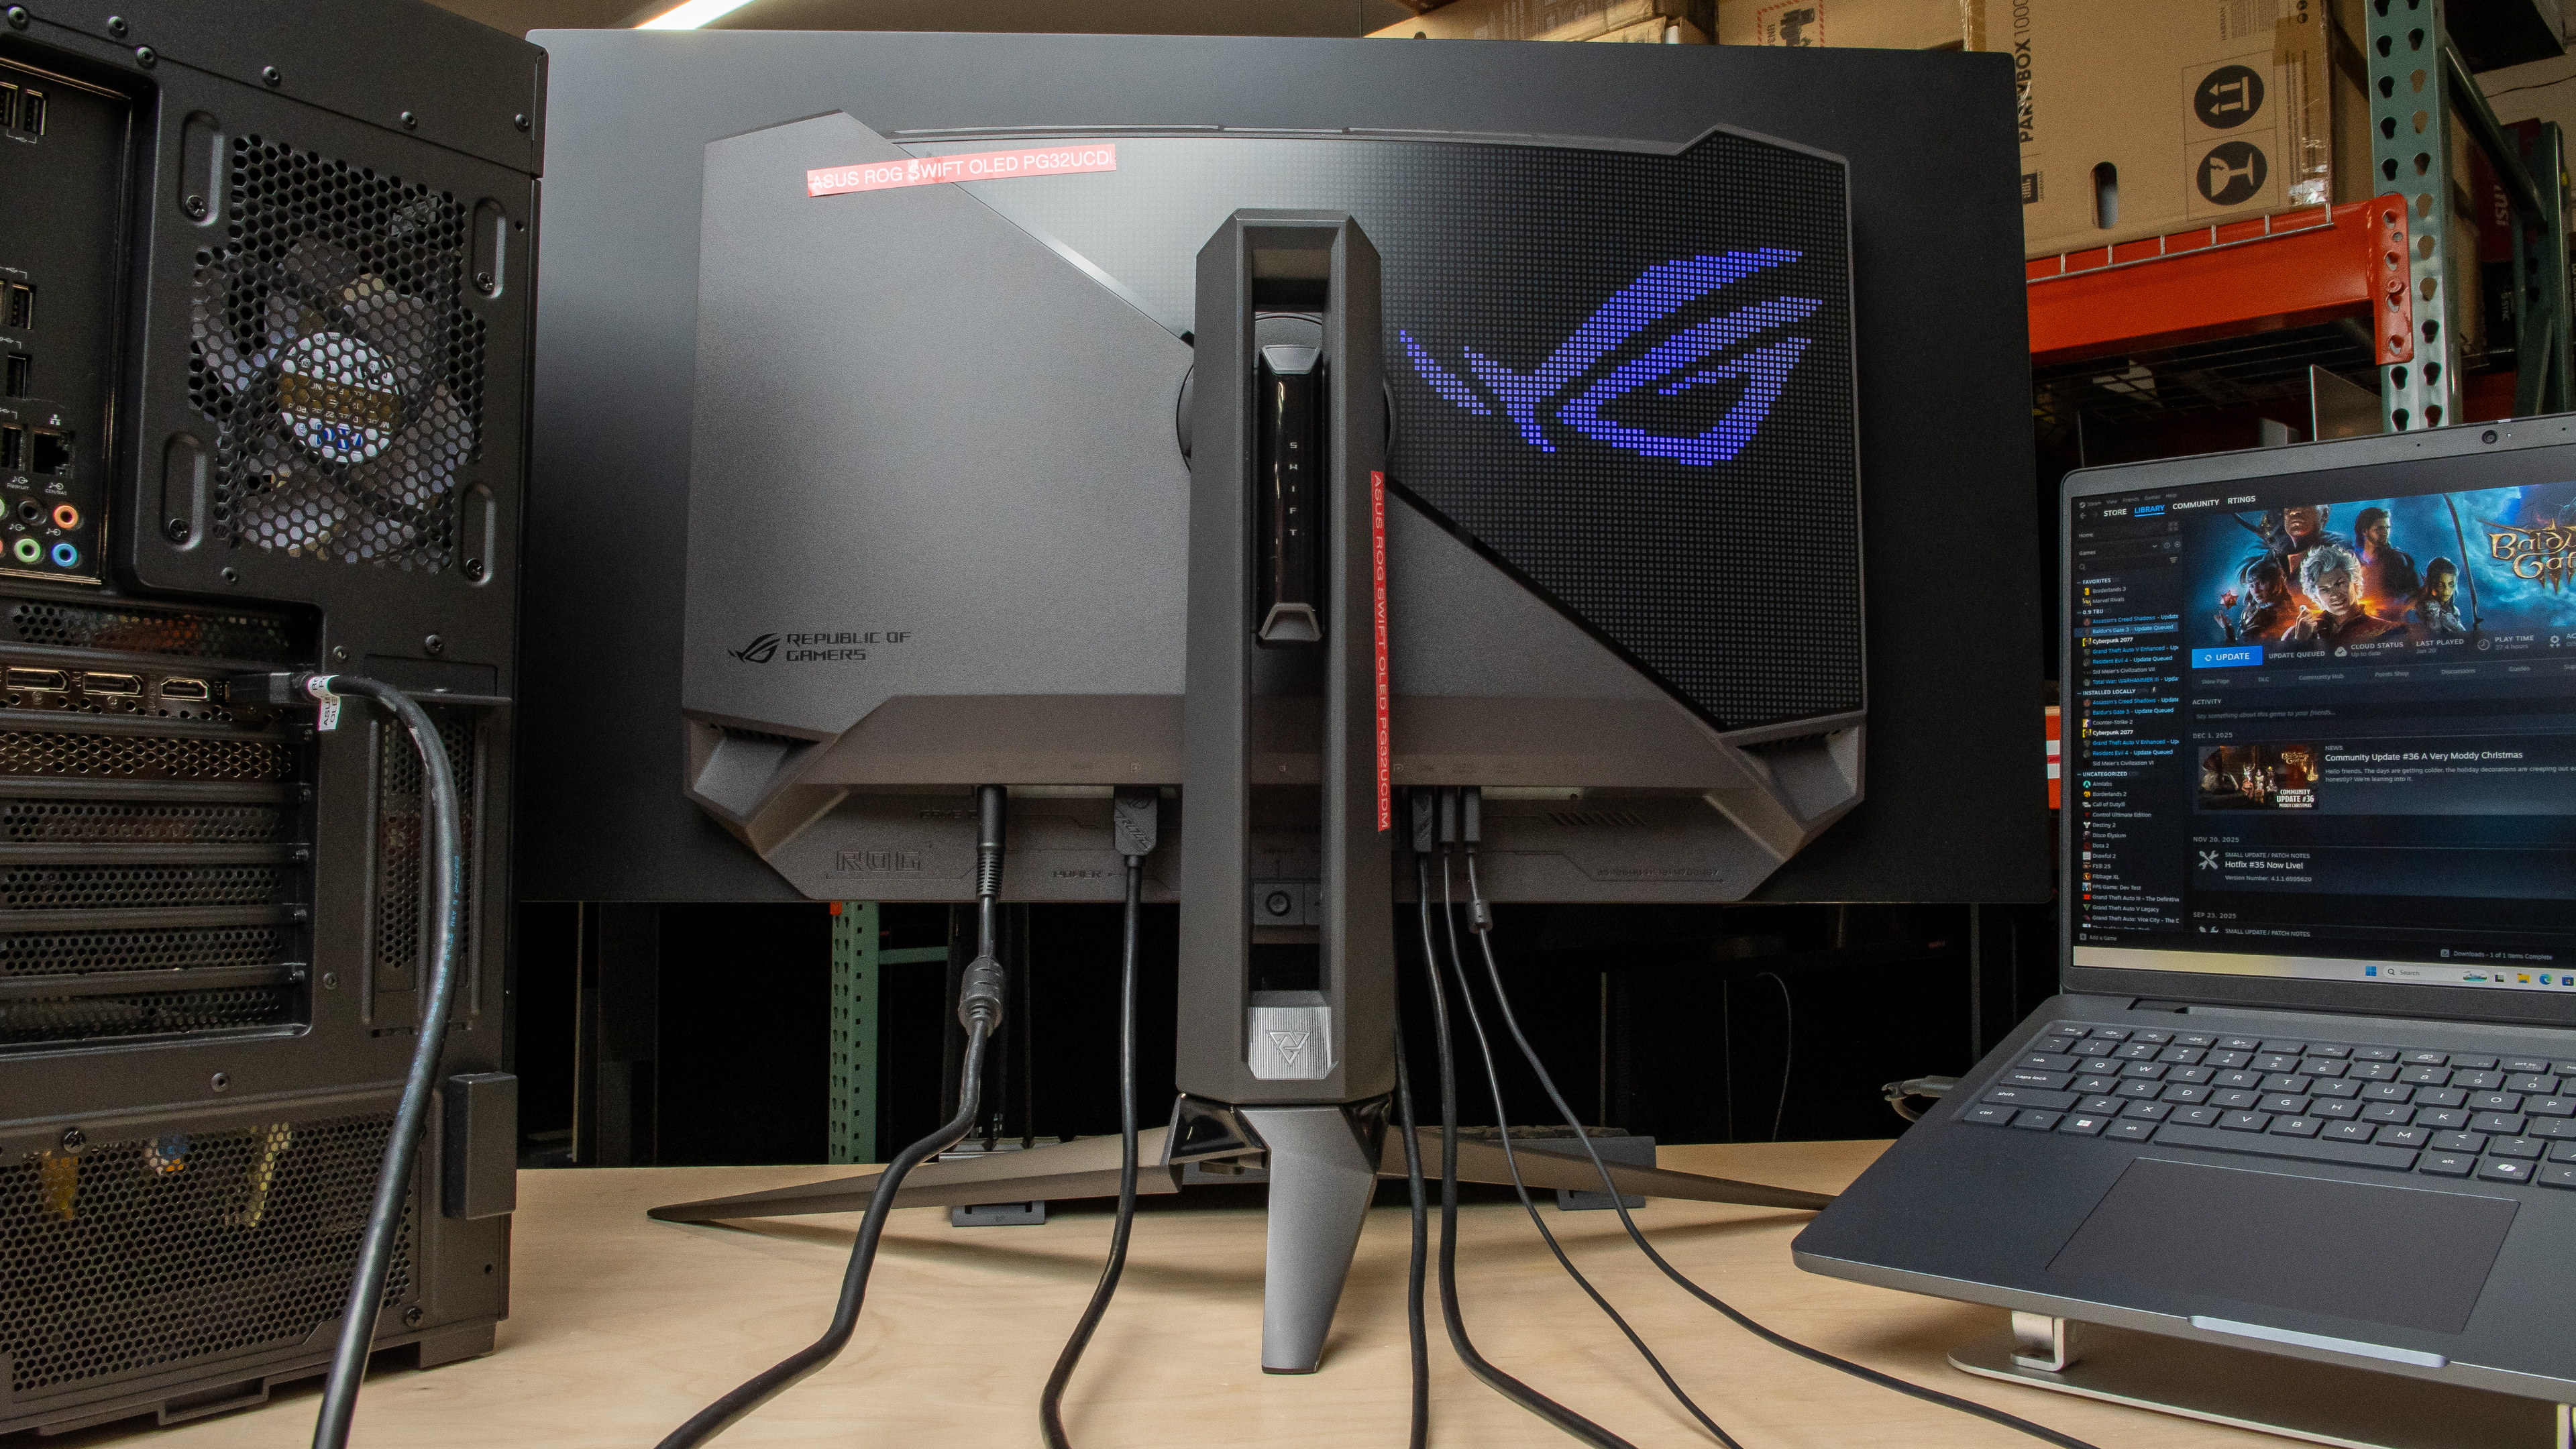
Keyboard Video Mouse (KVM) switches are great tools to use for multitasking and productivity. A KVM switch lets you use the same devices connected to your monitor via USB with different sources. This helps if you want to keep two or more computers connected to your monitor and don't want to unplug and replug them every time you switch sources.
While you can buy external KVM switches, they can get costly. As an alternative, many productivity monitors include built-in KVM switches. For a KVM switch to work, the monitor needs a few components: two or more USB upstream and video ports, and additional USB downstream ports to connect your devices.
Learn more about USB ports on monitors.
Test results
What Is A KVM Switch On A Monitor?
A built-in KVM switch on a monitor allows you to keep your sources connected to the display and use the same USB-connected devices even when you change sources. For example, you can connect your mouse and keyboard to the monitor's USB ports and use them with your work and personal laptops without having to unplug and replug anything. It helps keep your setup organized and hassle-free.
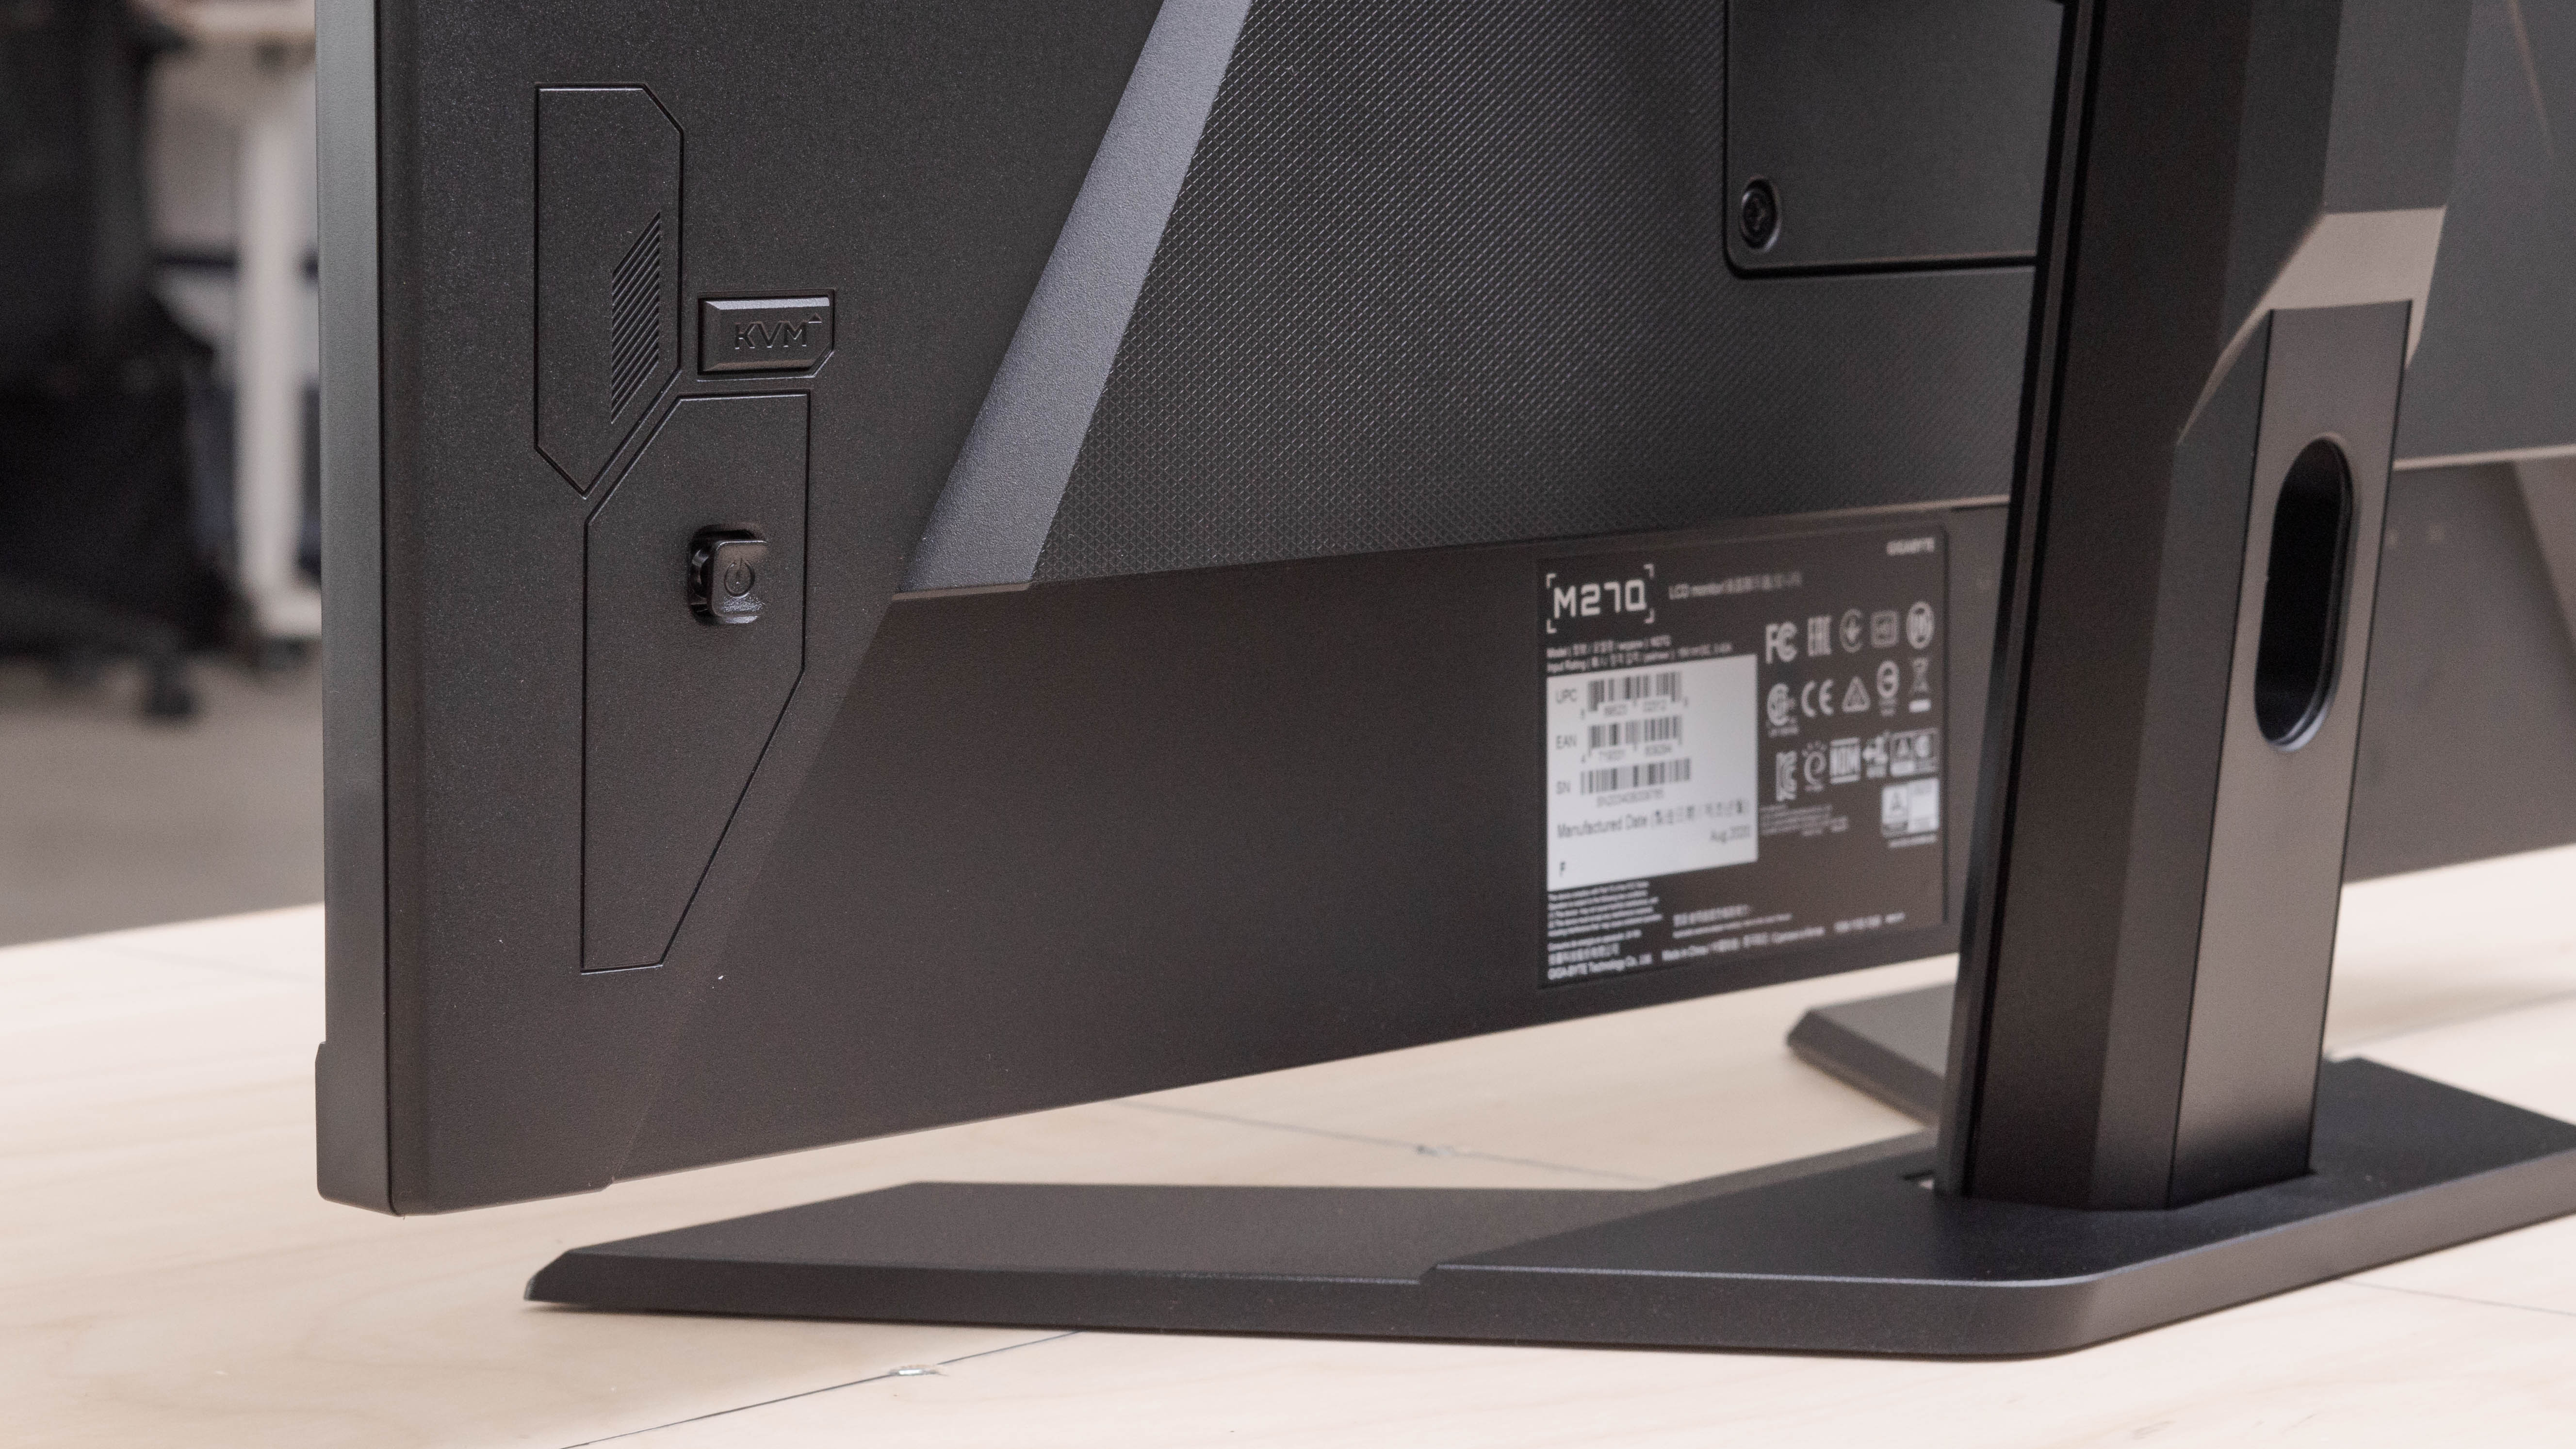
Most monitors with KVM switches support two computers, but a handful support more. Some monitors have a physical KVM switch button that you need to press when you change sources, while others will do it automatically.
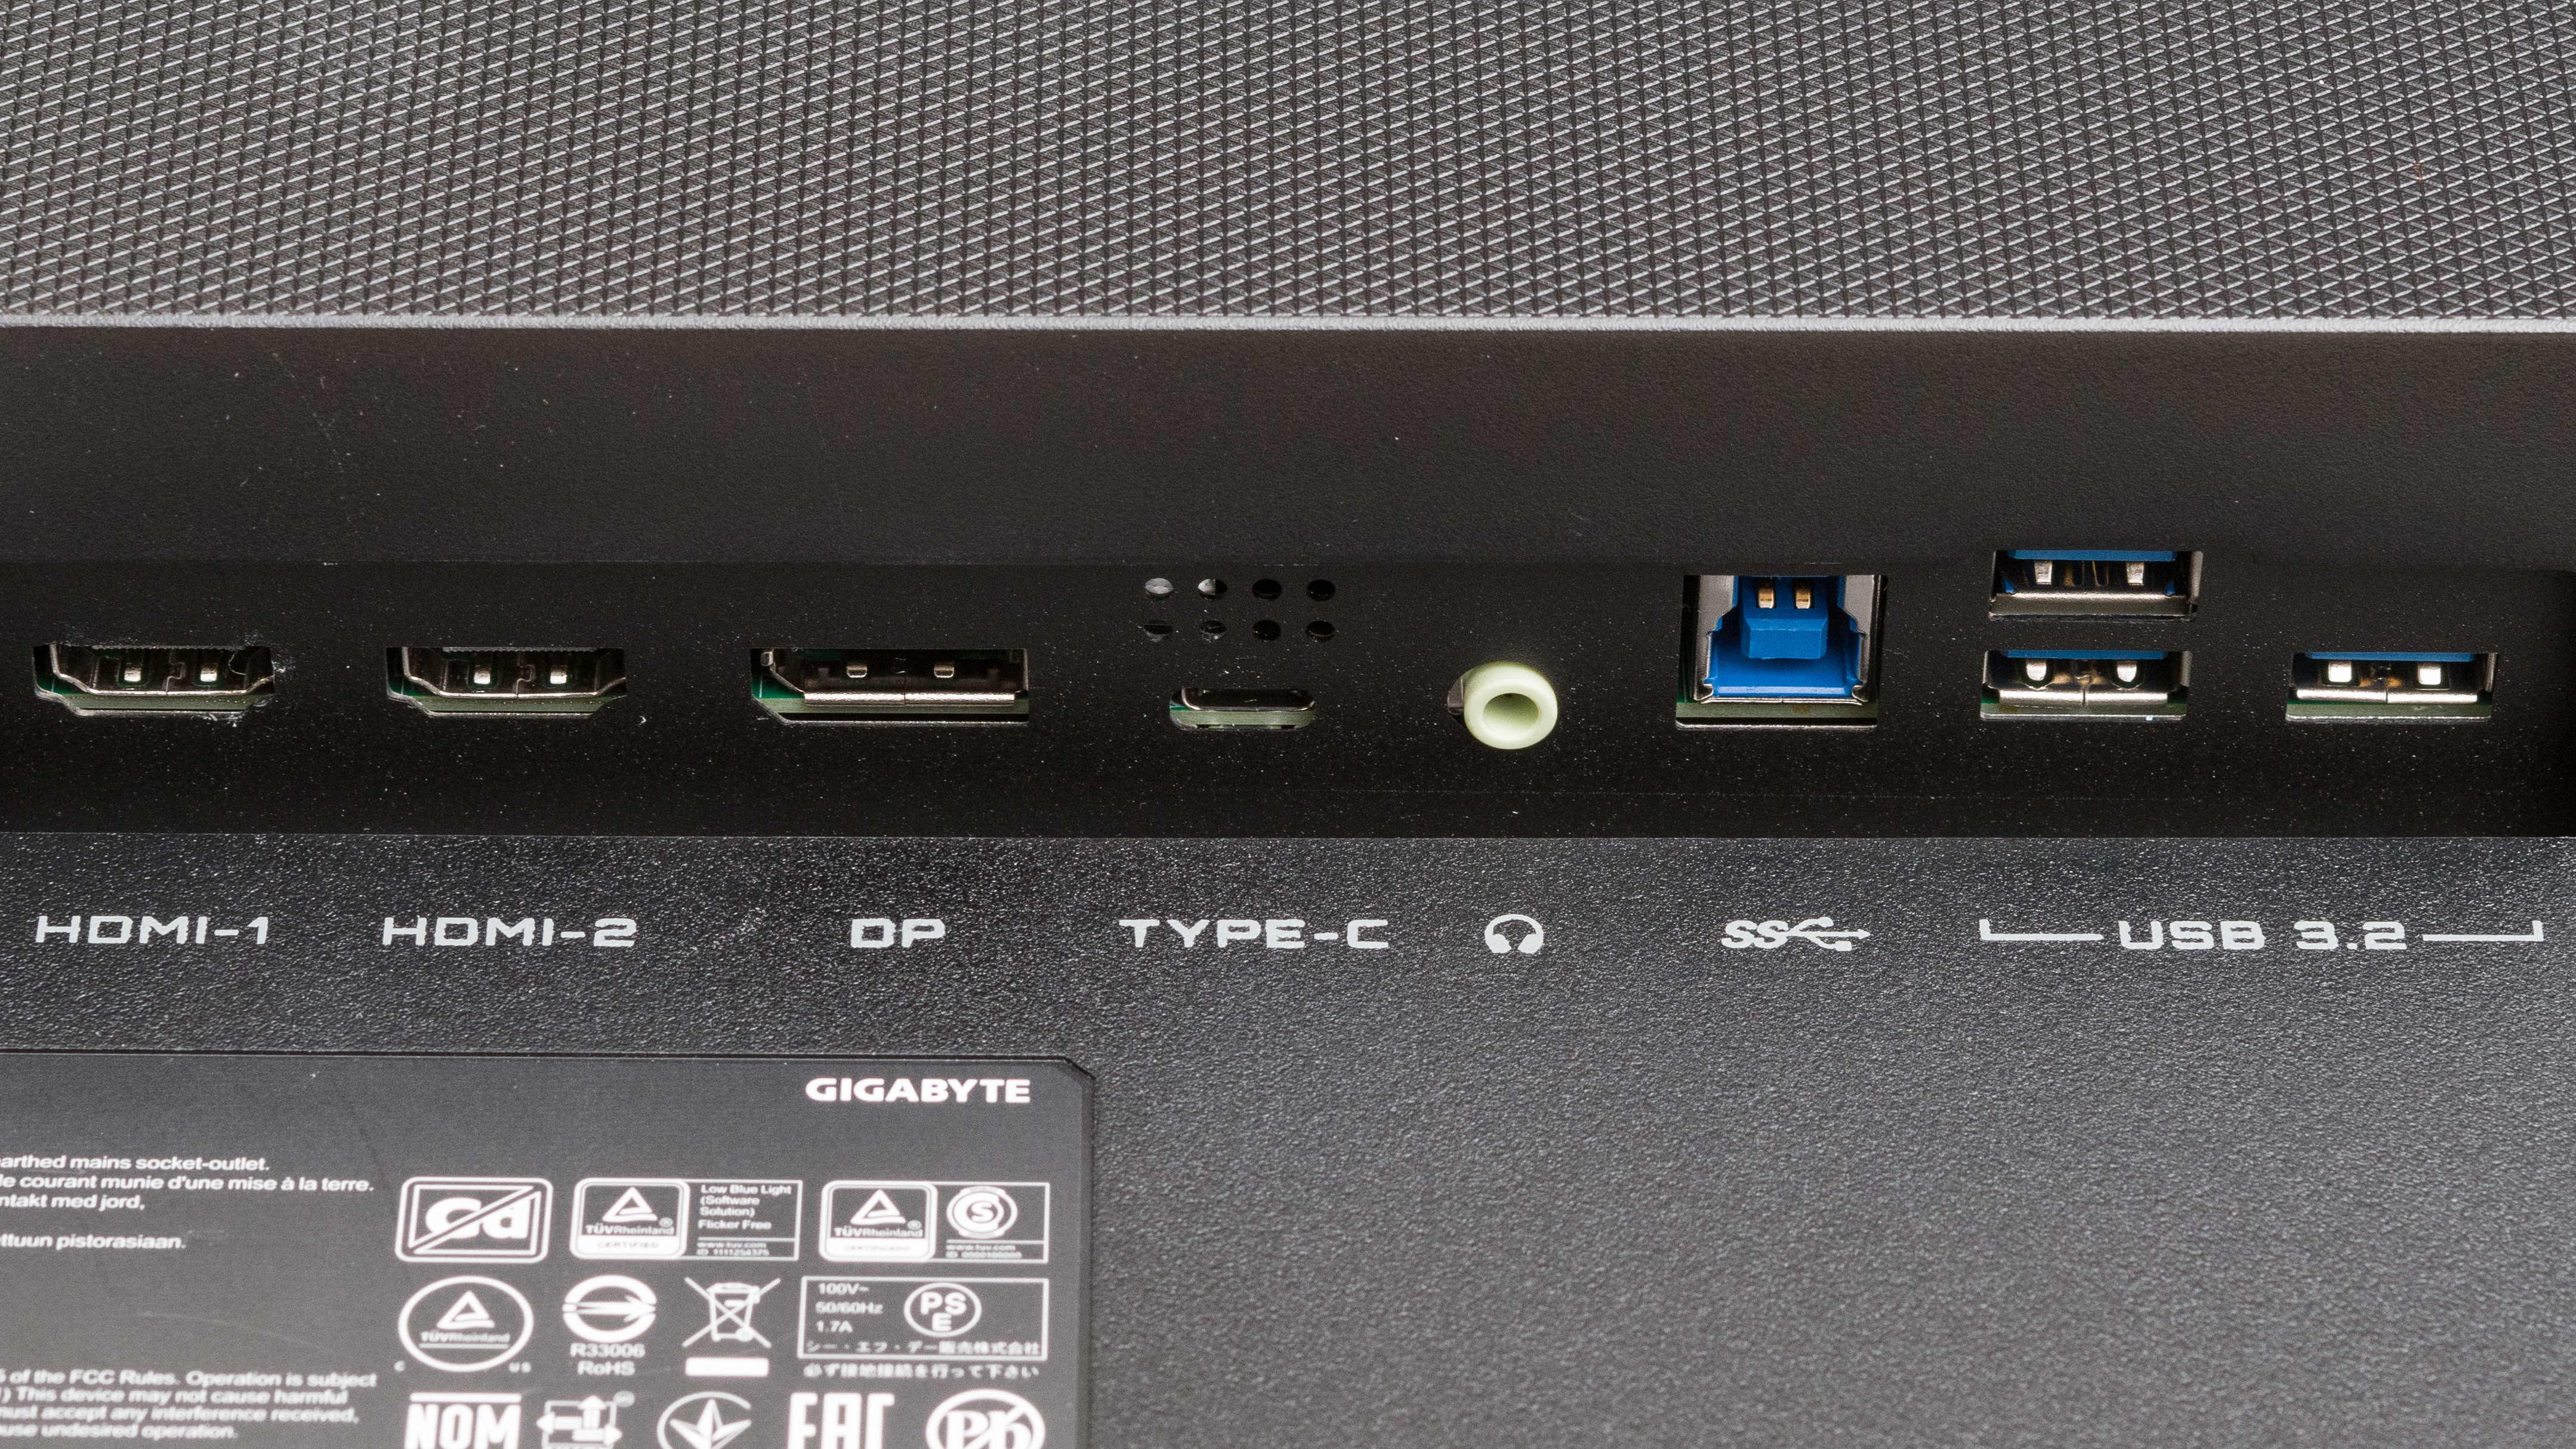
For a monitor to support a KVM switch, it needs video inputs and USB upstream ports for each supported device. Most of the time, the monitor has a USB-C port with either DisplayPort Alt Mode or Thunderbolt. This means it supports video input and USB upstream, so you only need to connect one cable to your source. Without USB-C with video support, the monitor would need to use a separate USB upstream port instead, which means you would need two cables to your PC. Additionally, the monitor needs USB downstream ports to connect devices, such as a keyboard or mouse.
Below is an example of this with the Gigabyte M27U. The USB-C port (center) serves as a video input and a USB upstream port, while the USB-A ports (far right) let you connect your devices. The USB-B port towards the right (labelled with the SS symbol) is the upstream port.
Difference Between A Built-In KVM and An External One
An advantage of getting a monitor with a built-in KVM switch over buying an external one is that you won't have extra costs once you buy your monitor. It also streamlines your setup as you have everything connected to your monitor. Using an external KVM switch or hub may also limit the video bandwidth you can use. For example, if you have HDMI 2.1-compatible PCs, but your KVM switch is limited to HDMI 2.0 bandwidth, you would get a lower resolution or refresh rate.
There are a few advantages to using an external KVM switch, though, especially if you have multiple computers. There are KVM switches that support multiple video inputs and have a ton of USB ports, so you may prefer these if you have a big setup. These may cost a lot, though, so it's something to keep in mind. A cheaper alternative to buying an external KVM switch would be getting a USB switch instead. Unlike a full KVM, these are meant for changing the USB devices as they don't handle video signals. These are also useful if you have two computers connected to your monitor but don't have enough USB ports for your devices.
Why You Need A KVM Switch
Having a KVM switch is convenient because you can connect everything to your monitor and not have to worry about unplugging and replugging devices when switching sources. Without a KVM switch, you'd either have to change the input cable every time you switch computers or unplug the monitor's USB upstream cable from the old computer and replug it into the new one.
However, you only need a KVM switch if you want to connect two computers to your monitor at all times. If you don't mind changing cables or if you only have one computer connected, it's not an issue.
For specific recommendations, check out the best USB-C monitors, as most of those monitors also have KVM switches.
How To Set Up A KVM Switch
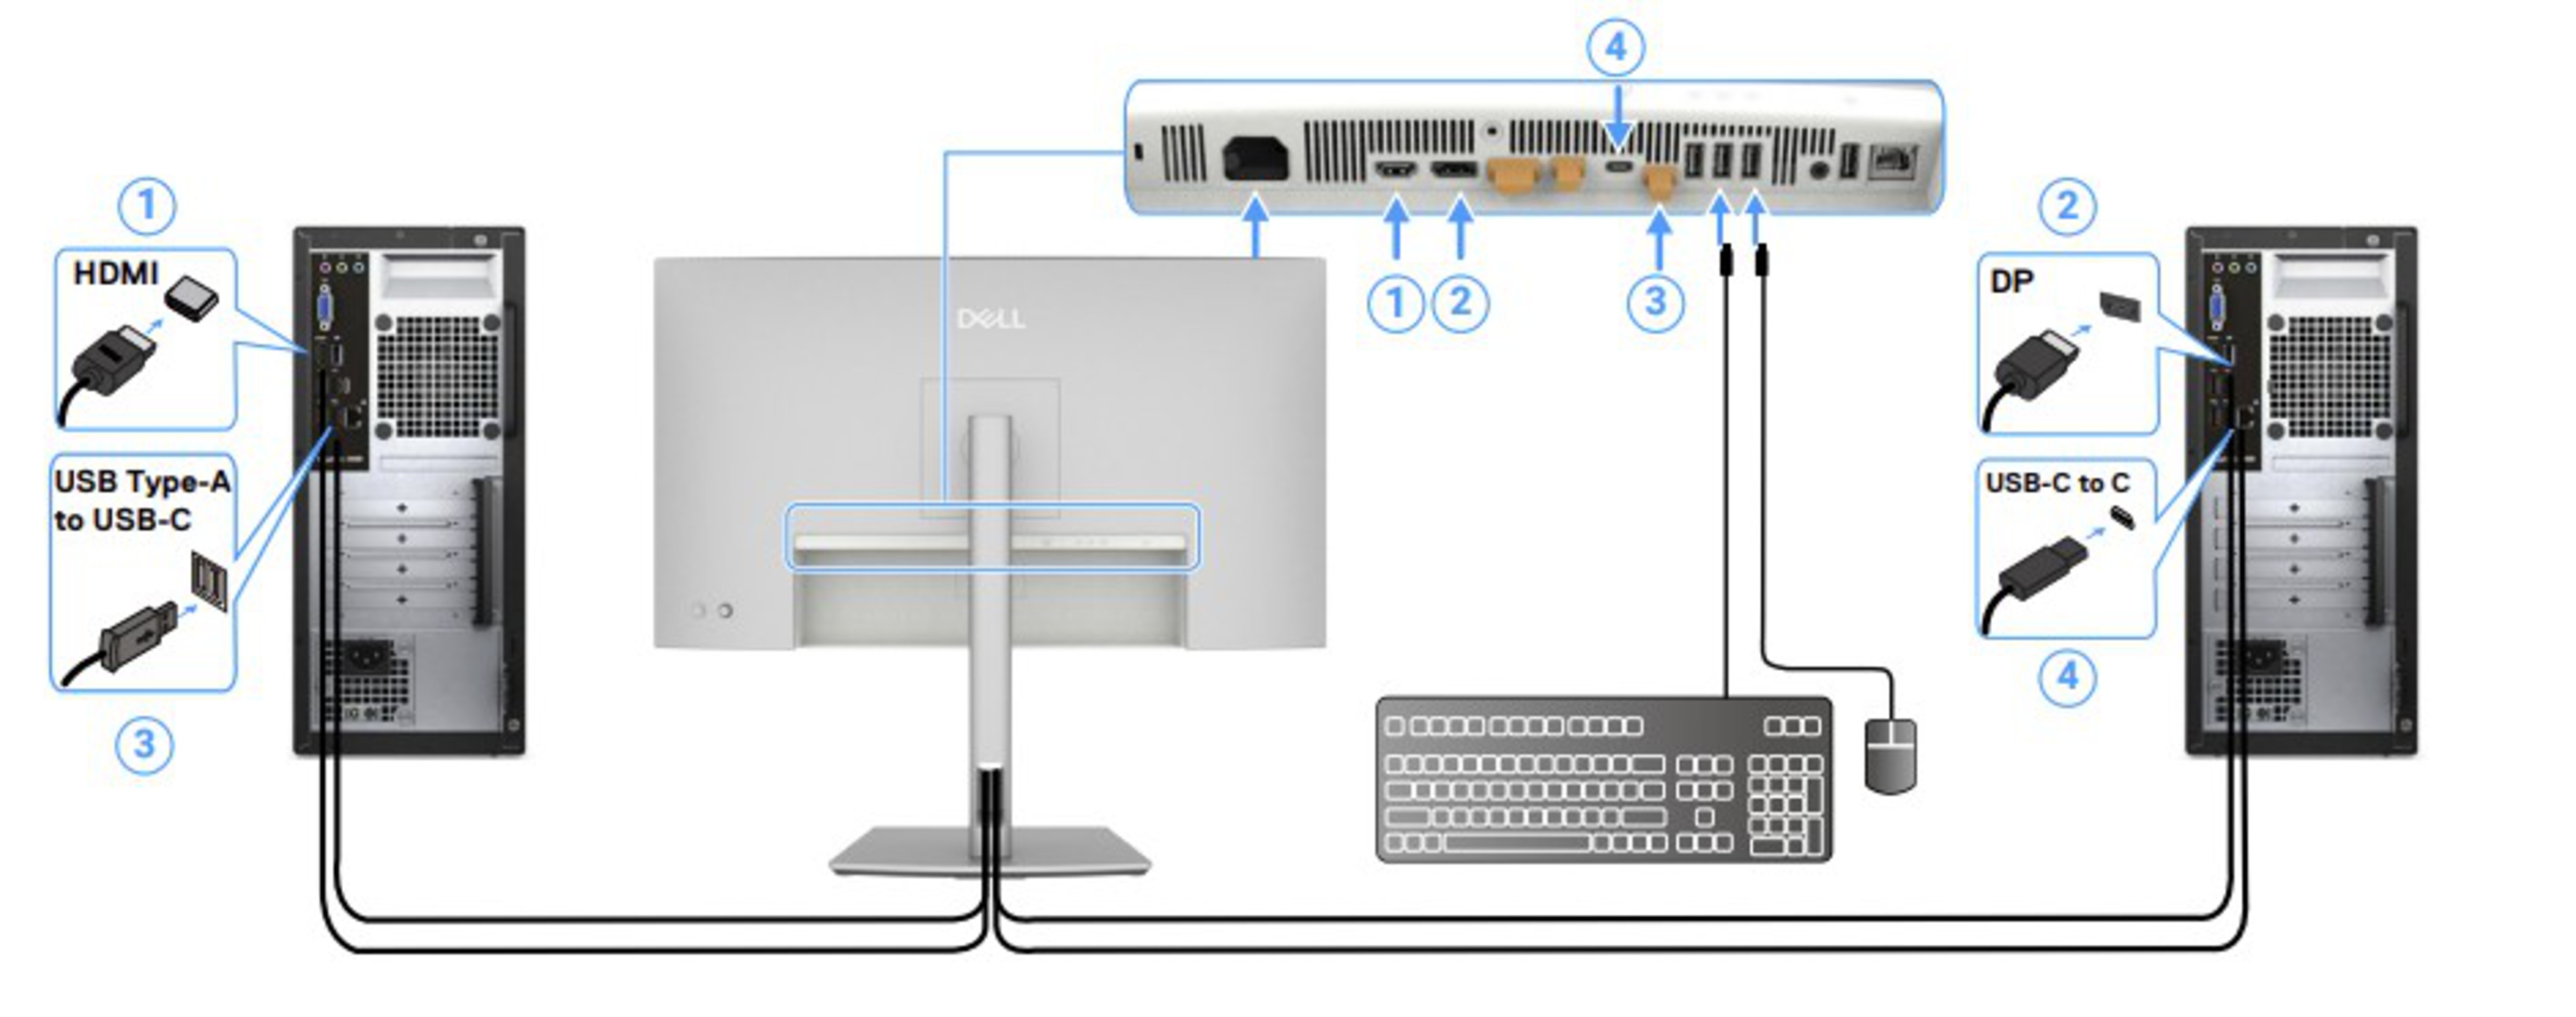
Setting up a KVM switch is relatively easy, but it's important to understand what each port does. Most of the time, you can connect a laptop via USB-C, DisplayPort Alt Mode, or Thunderbolt to get video and data transfer. For the second computer, you need to connect to either HDMI or DisplayPort for a video connection. Then, you need to use a USB cable to connect to your computer for data transfer from the monitor's upstream port. Depending on the type of the upstream port and the ports available on your computer, you may have to use a USB-B to USB-A, USB-B to USB-C, USB-C to USB-A, or USB-C to USB-C cable.

Source: Dell
If the monitor or your computer doesn't support DisplayPort Alt Mode or Thunderbolt over USB-C, you need a separate USB upstream port and a video connection for each computer. Depending on the monitor, it may offer upstream over USB-B or USB-C. In the example below, the monitor has two USB-C upstream ports.
Source: Dell
Once you have the computers connected, it's best to consult your monitor's user manual to understand any settings you need to enable for the KVM switch to work properly.
Conclusion
Monitors with built-in KVM switches are useful if you want to connect two or more computers to the monitor and use the same devices on each. It saves you the hassle of having to unplug and replug your devices each time you change sources. While you can buy external KVM switches, getting a monitor with a built-in one helps you avoid extra costs. Connecting your devices to a monitor with a KVM switch is relatively easy, but you need to understand what each port does to ensure everything works properly.