Calibrating your monitor results in the most accurate colors. However, you also need the proper equipment and computer programs to perform a full calibration, which are usually costly. On top of that, every monitor requires unique calibration values, even if they're different units of the same model, so you shouldn't copy calibration files from others.
If you can't afford a full calibration, the next best thing is to adjust the picture settings to your liking. Unless you're a content creator, remember that choosing the best settings for your needs is personal, as what you prefer may differ from someone else's ideal.
This article covers the most common settings found on monitors and explains how each affects the image. This isn't a recommendation on which settings to choose, but rather a guide to understand what to do when you want to adjust your picture quality. You can also reference each of our reviews to understand which settings we use during testing, but unless mentioned, we leave most settings at their default. This is because we calibrate our monitors using professional equipment, so any color adjustments are done by our calibration program, as we make minimal adjustments to the monitor settings.
You can also watch our video about adjusting monitor settings, and if you're curious about more monitor maintenance, learn how to properly clean your monitor.
Picture Mode
Typically Accurate Setting: User, Custom, or Game (name varies)
| Acer | ASUS | Dell | Gigabyte | LG | MSI | Samsung |
|---|---|---|---|---|---|---|
| Color Modes | GameVisual | Preset Modes | Picture Mode | Game Mode | Game Mode | Picture Mode |
When it comes to color calibration, the best place to start adjusting settings is the picture mode. These are the setting presets the monitor comes packaged with, and they usually alter most of the settings. There's no perfect picture mode, as some people may prefer one over another, but during testing, we tend to use the same modes across monitors from the same brand, which are listed above. Some modes, like 'Vivid,' aim for a brighter screen with more color saturation at the cost of image accuracy.
Certain modes also limit certain settings. For example, some monitors come with an sRGB picture mode, which clamps colors to the sRGB color space but doesn't allow you to change other settings. This is mainly beneficial if you're a content creator and work in that color space, as you don't want colors to look oversaturated.
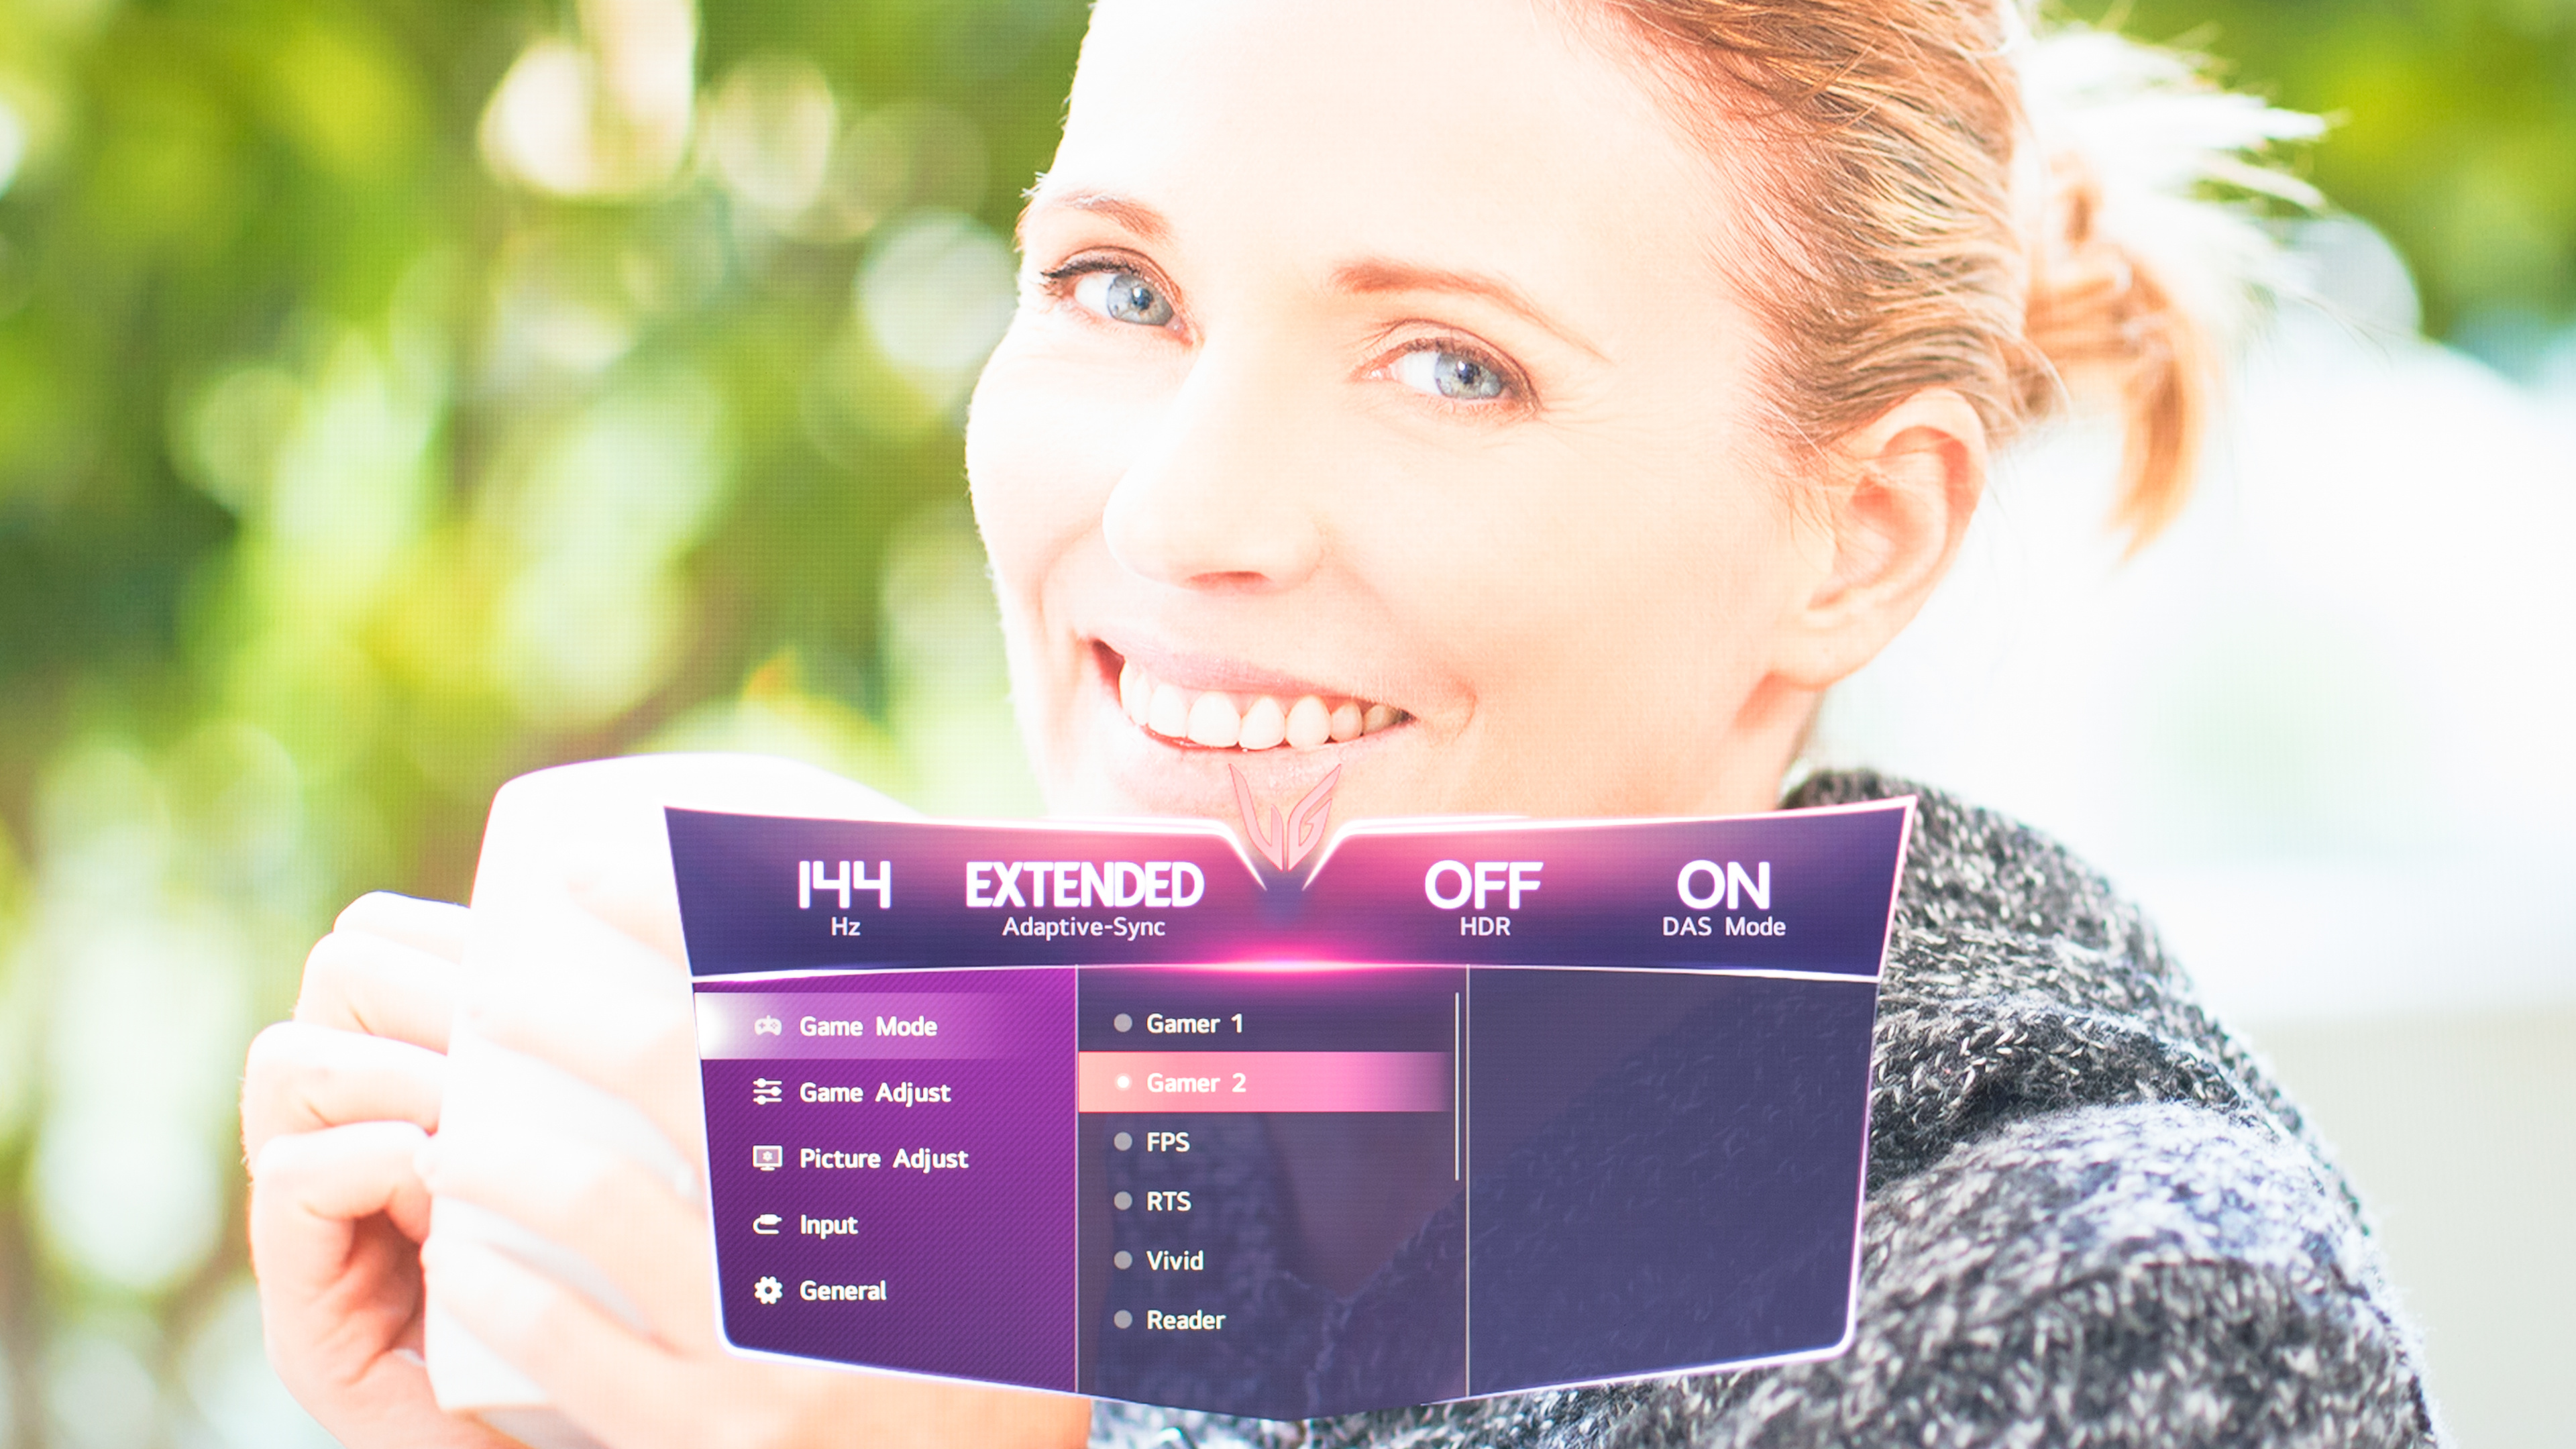
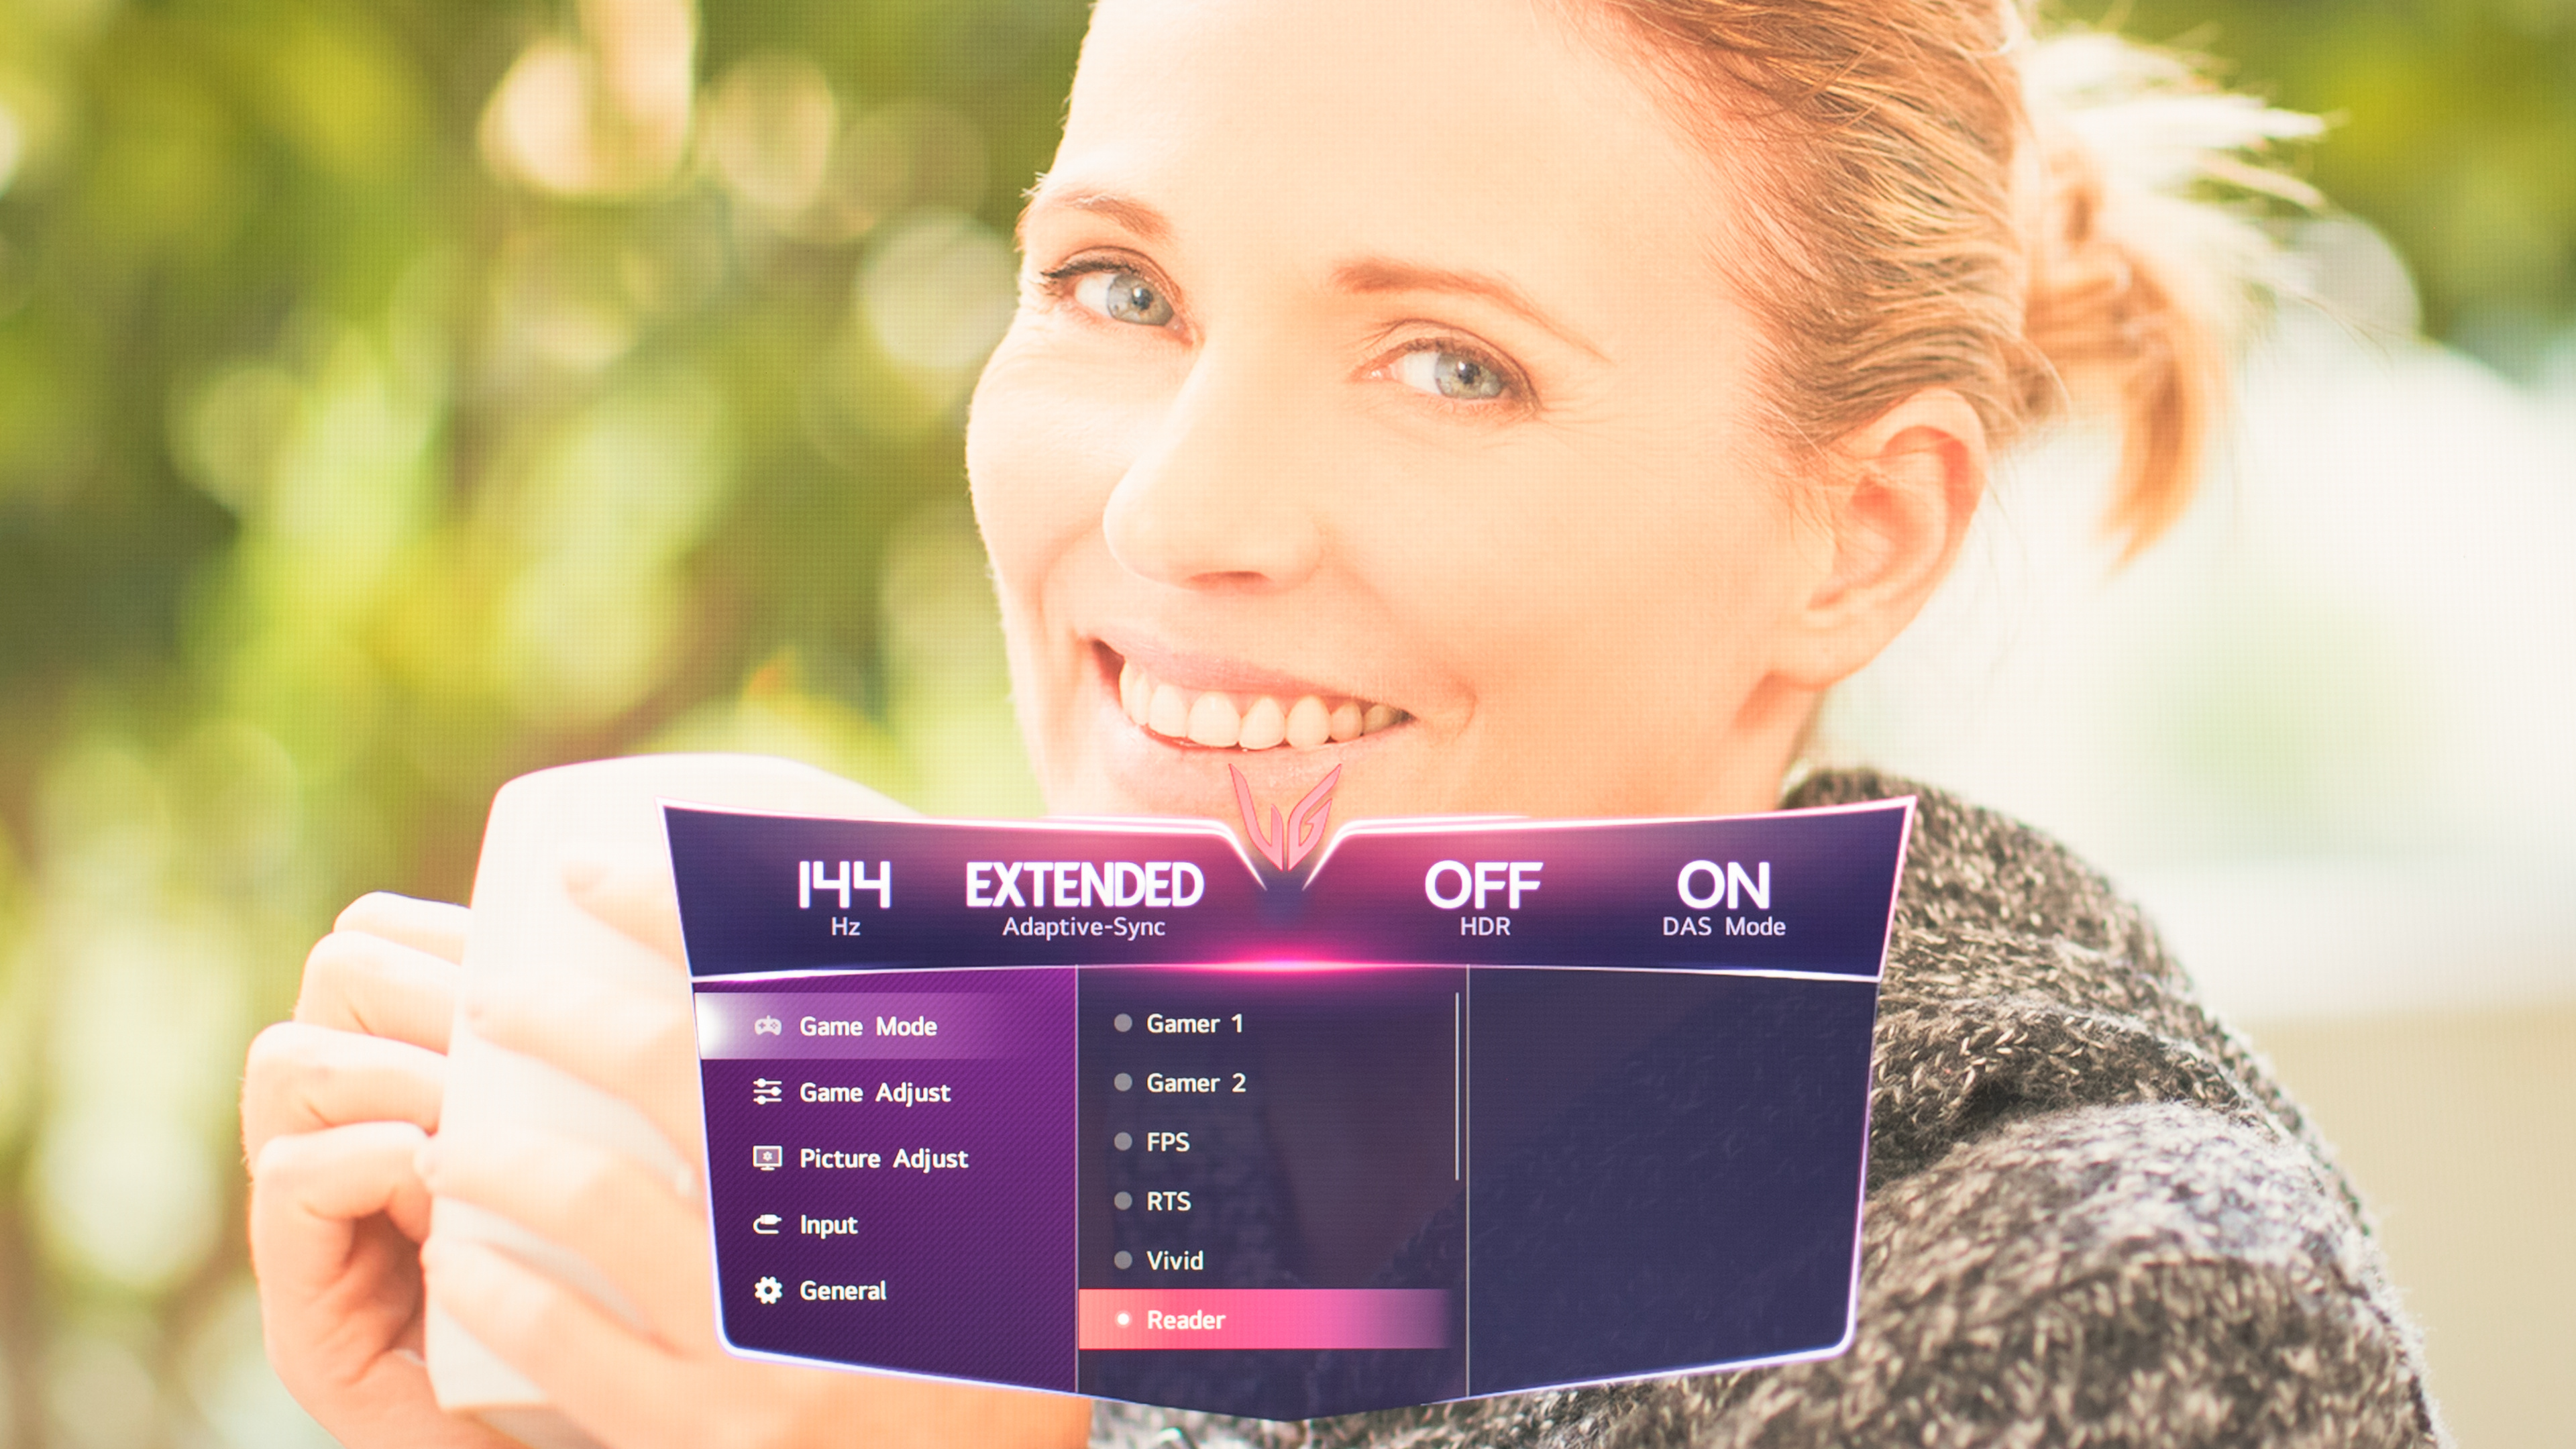
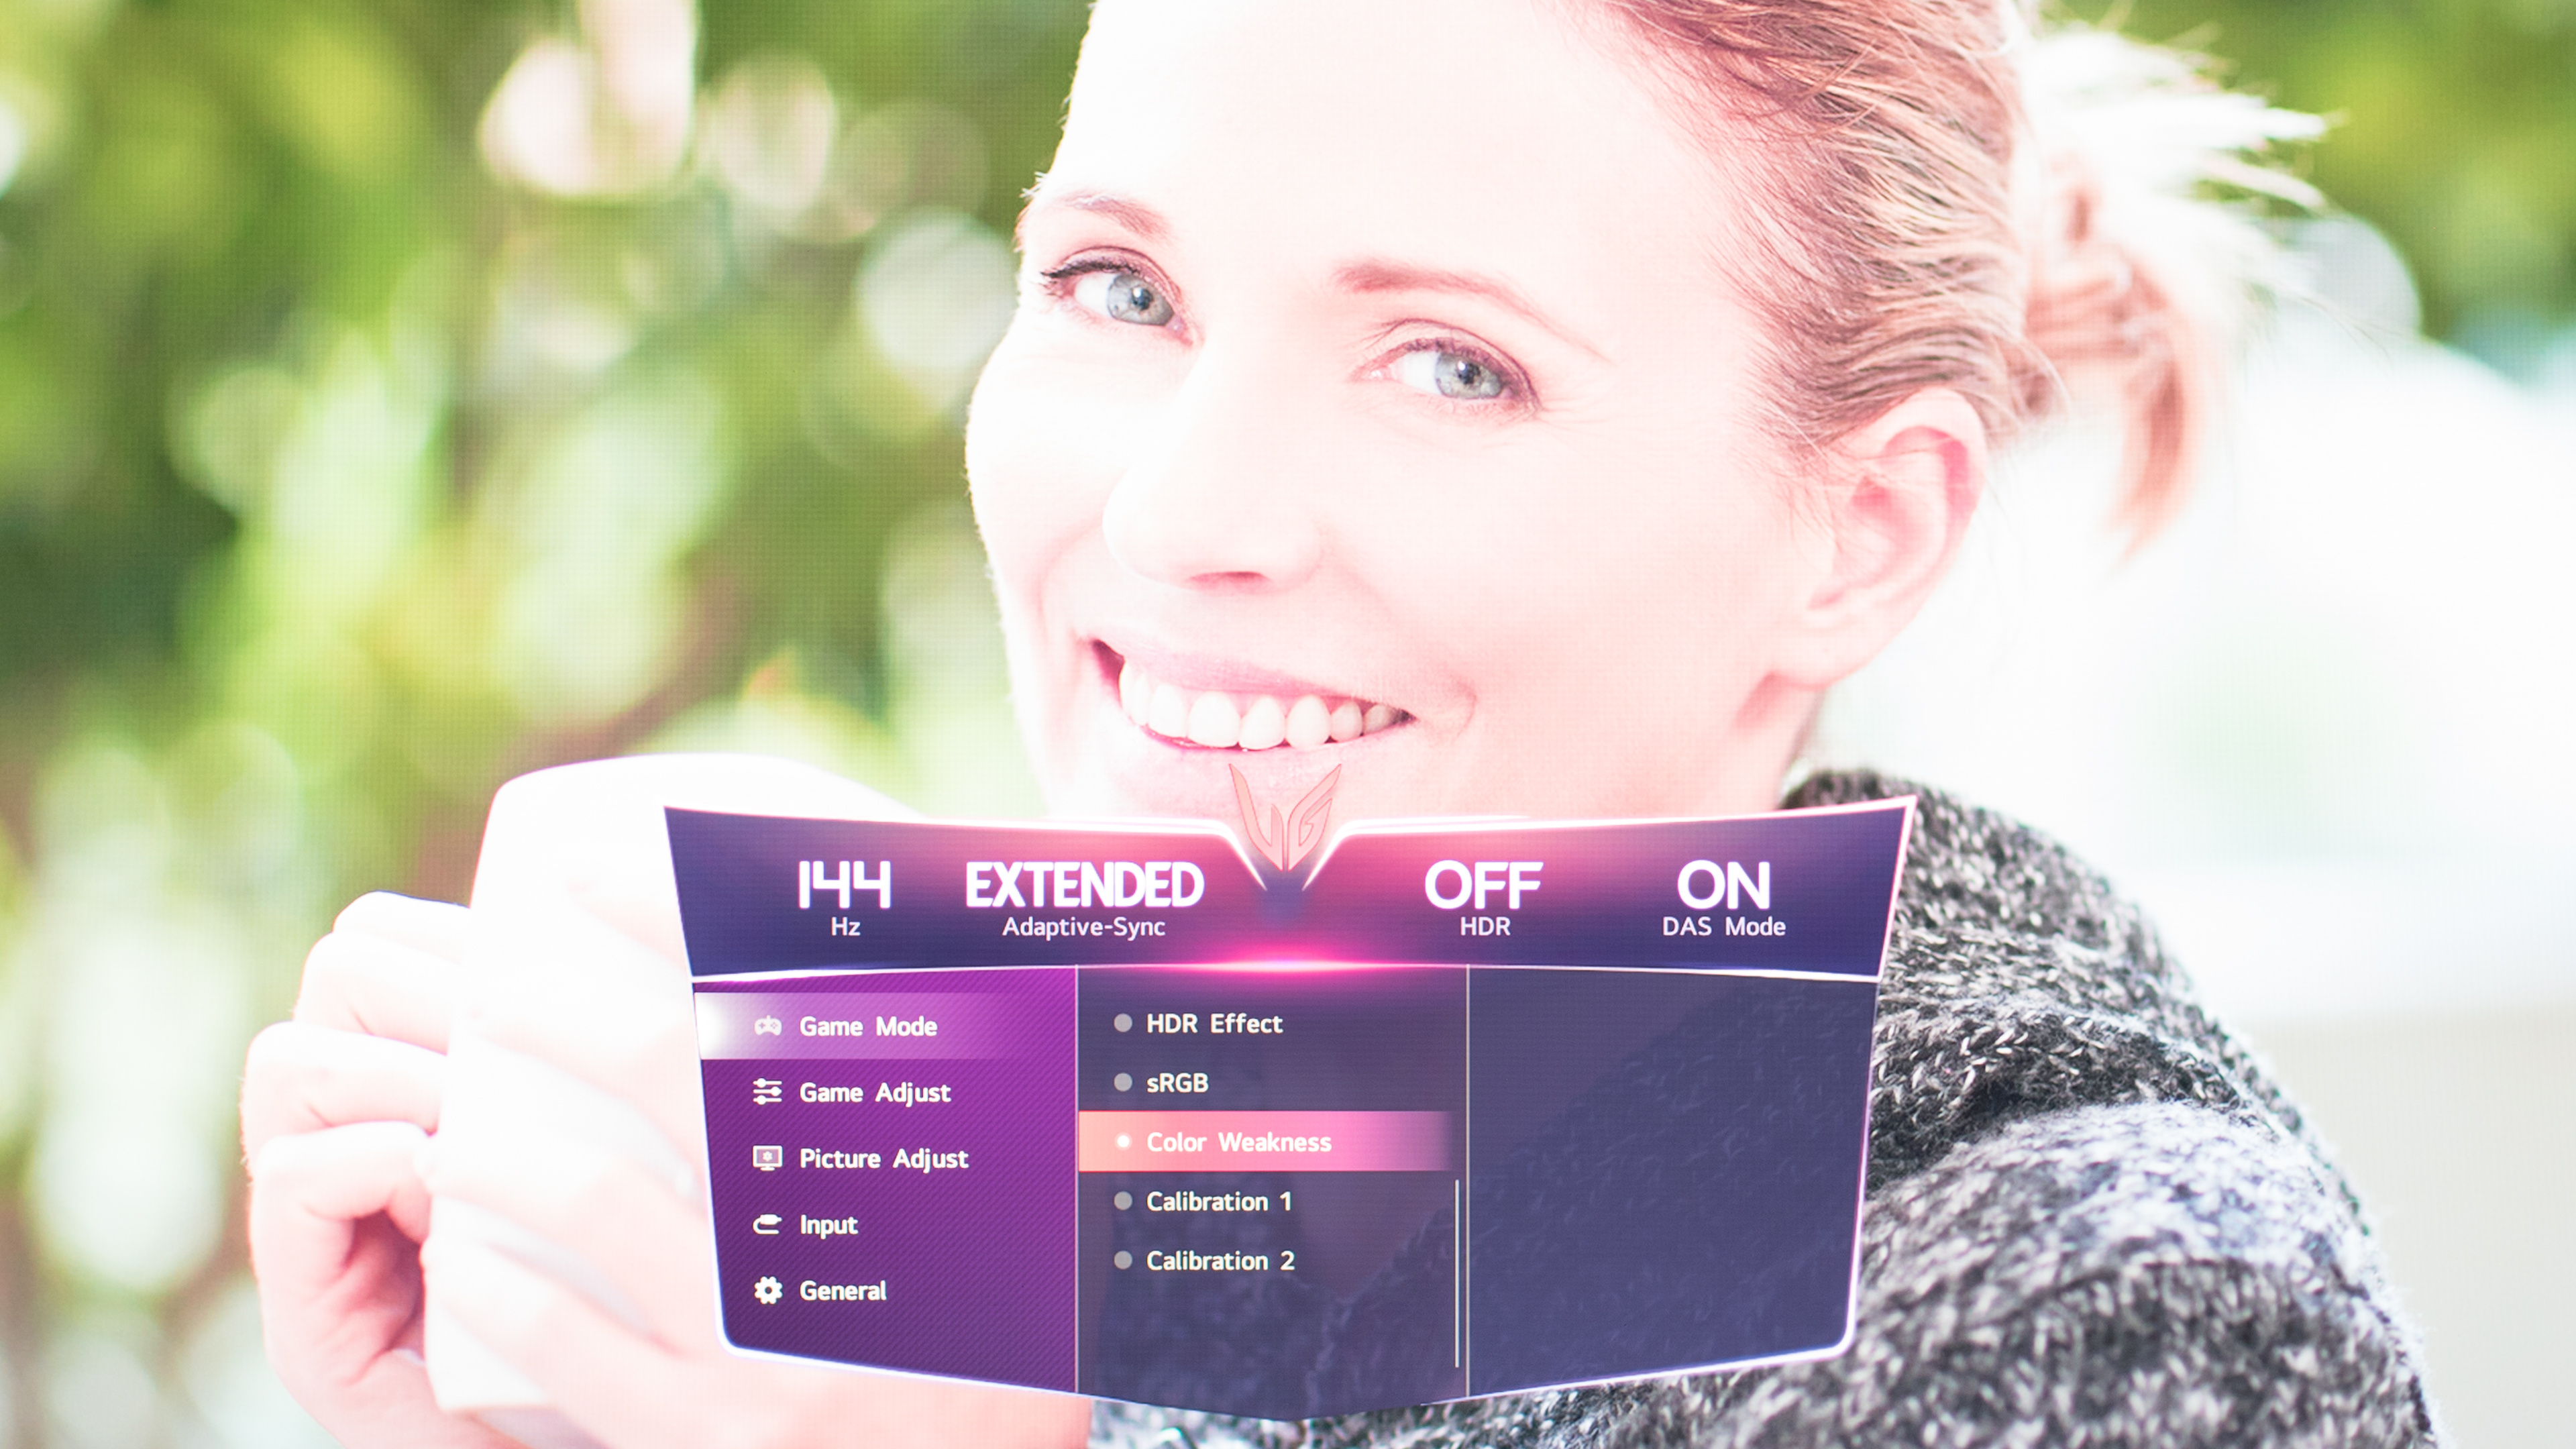
You can see four separate picture modes from the LG 27GR95UM-B to see how each looks different.
| Gamer 1 | Gamer 2 | Reader | Color Weakness |
|---|---|---|---|
 |
 |
 |
 |
Brightness
One of the first settings you may want to adjust is the brightness. Unlike on TVs, the brightness setting controls the backlight intensity and doesn't affect image accuracy. Some brands may call the setting backlight, but most still call it brightness. You can adjust it to your liking, as it doesn't change colors or anything else. You may want to increase it to its max if you have it in a bright room. Inversely, you may want to use it at its minimum level if you're in a dark room and are sensitive to bright lights.
 |
 |
Black Level And Contrast
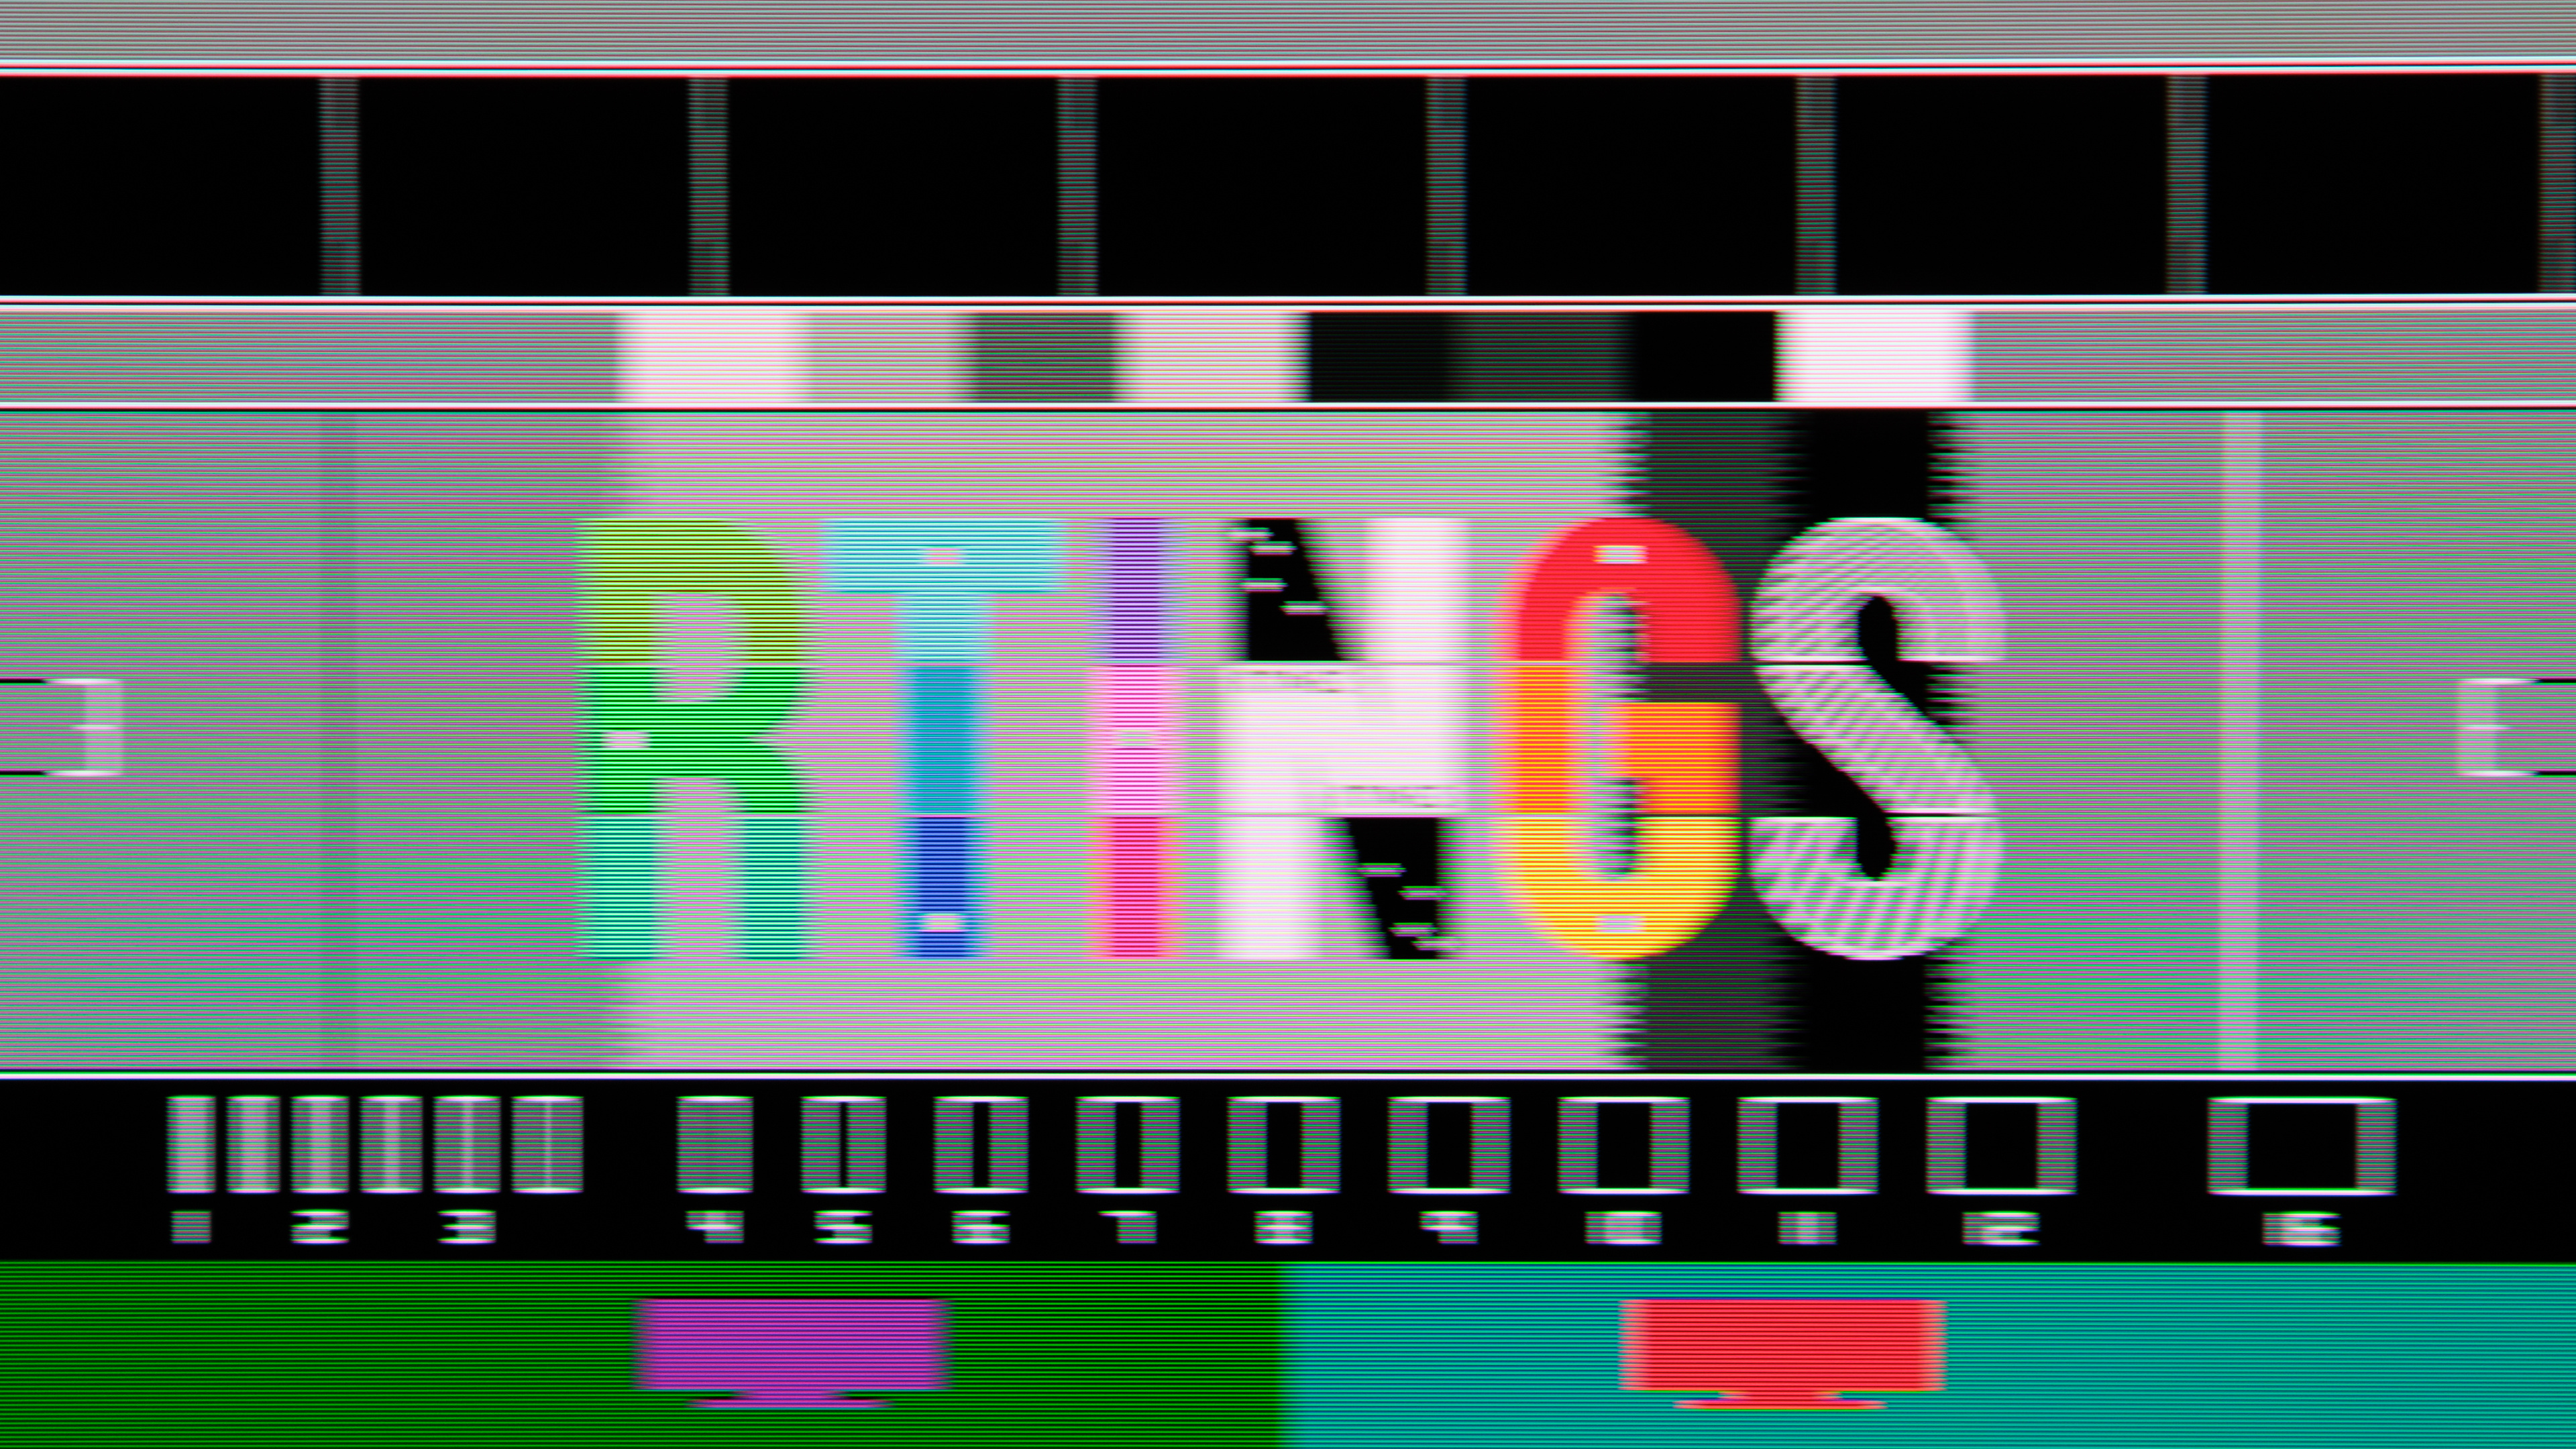
The black level and contrast settings change the way the screen displays tones of black and white. These are easy options to adjust when calibrating your screen without a dedicated calibration tool, as you can use simple testing patterns.
Black Level
Typically Accurate Setting: Default
| Acer | ASUS | Dell | Gigabyte | LG | Samsung |
|---|---|---|---|---|---|
| Black Boost | Shadow Boost | Dark Stabilizer | Black Equalizer | Black Stabilizer Black Level |
Shadow Detail |
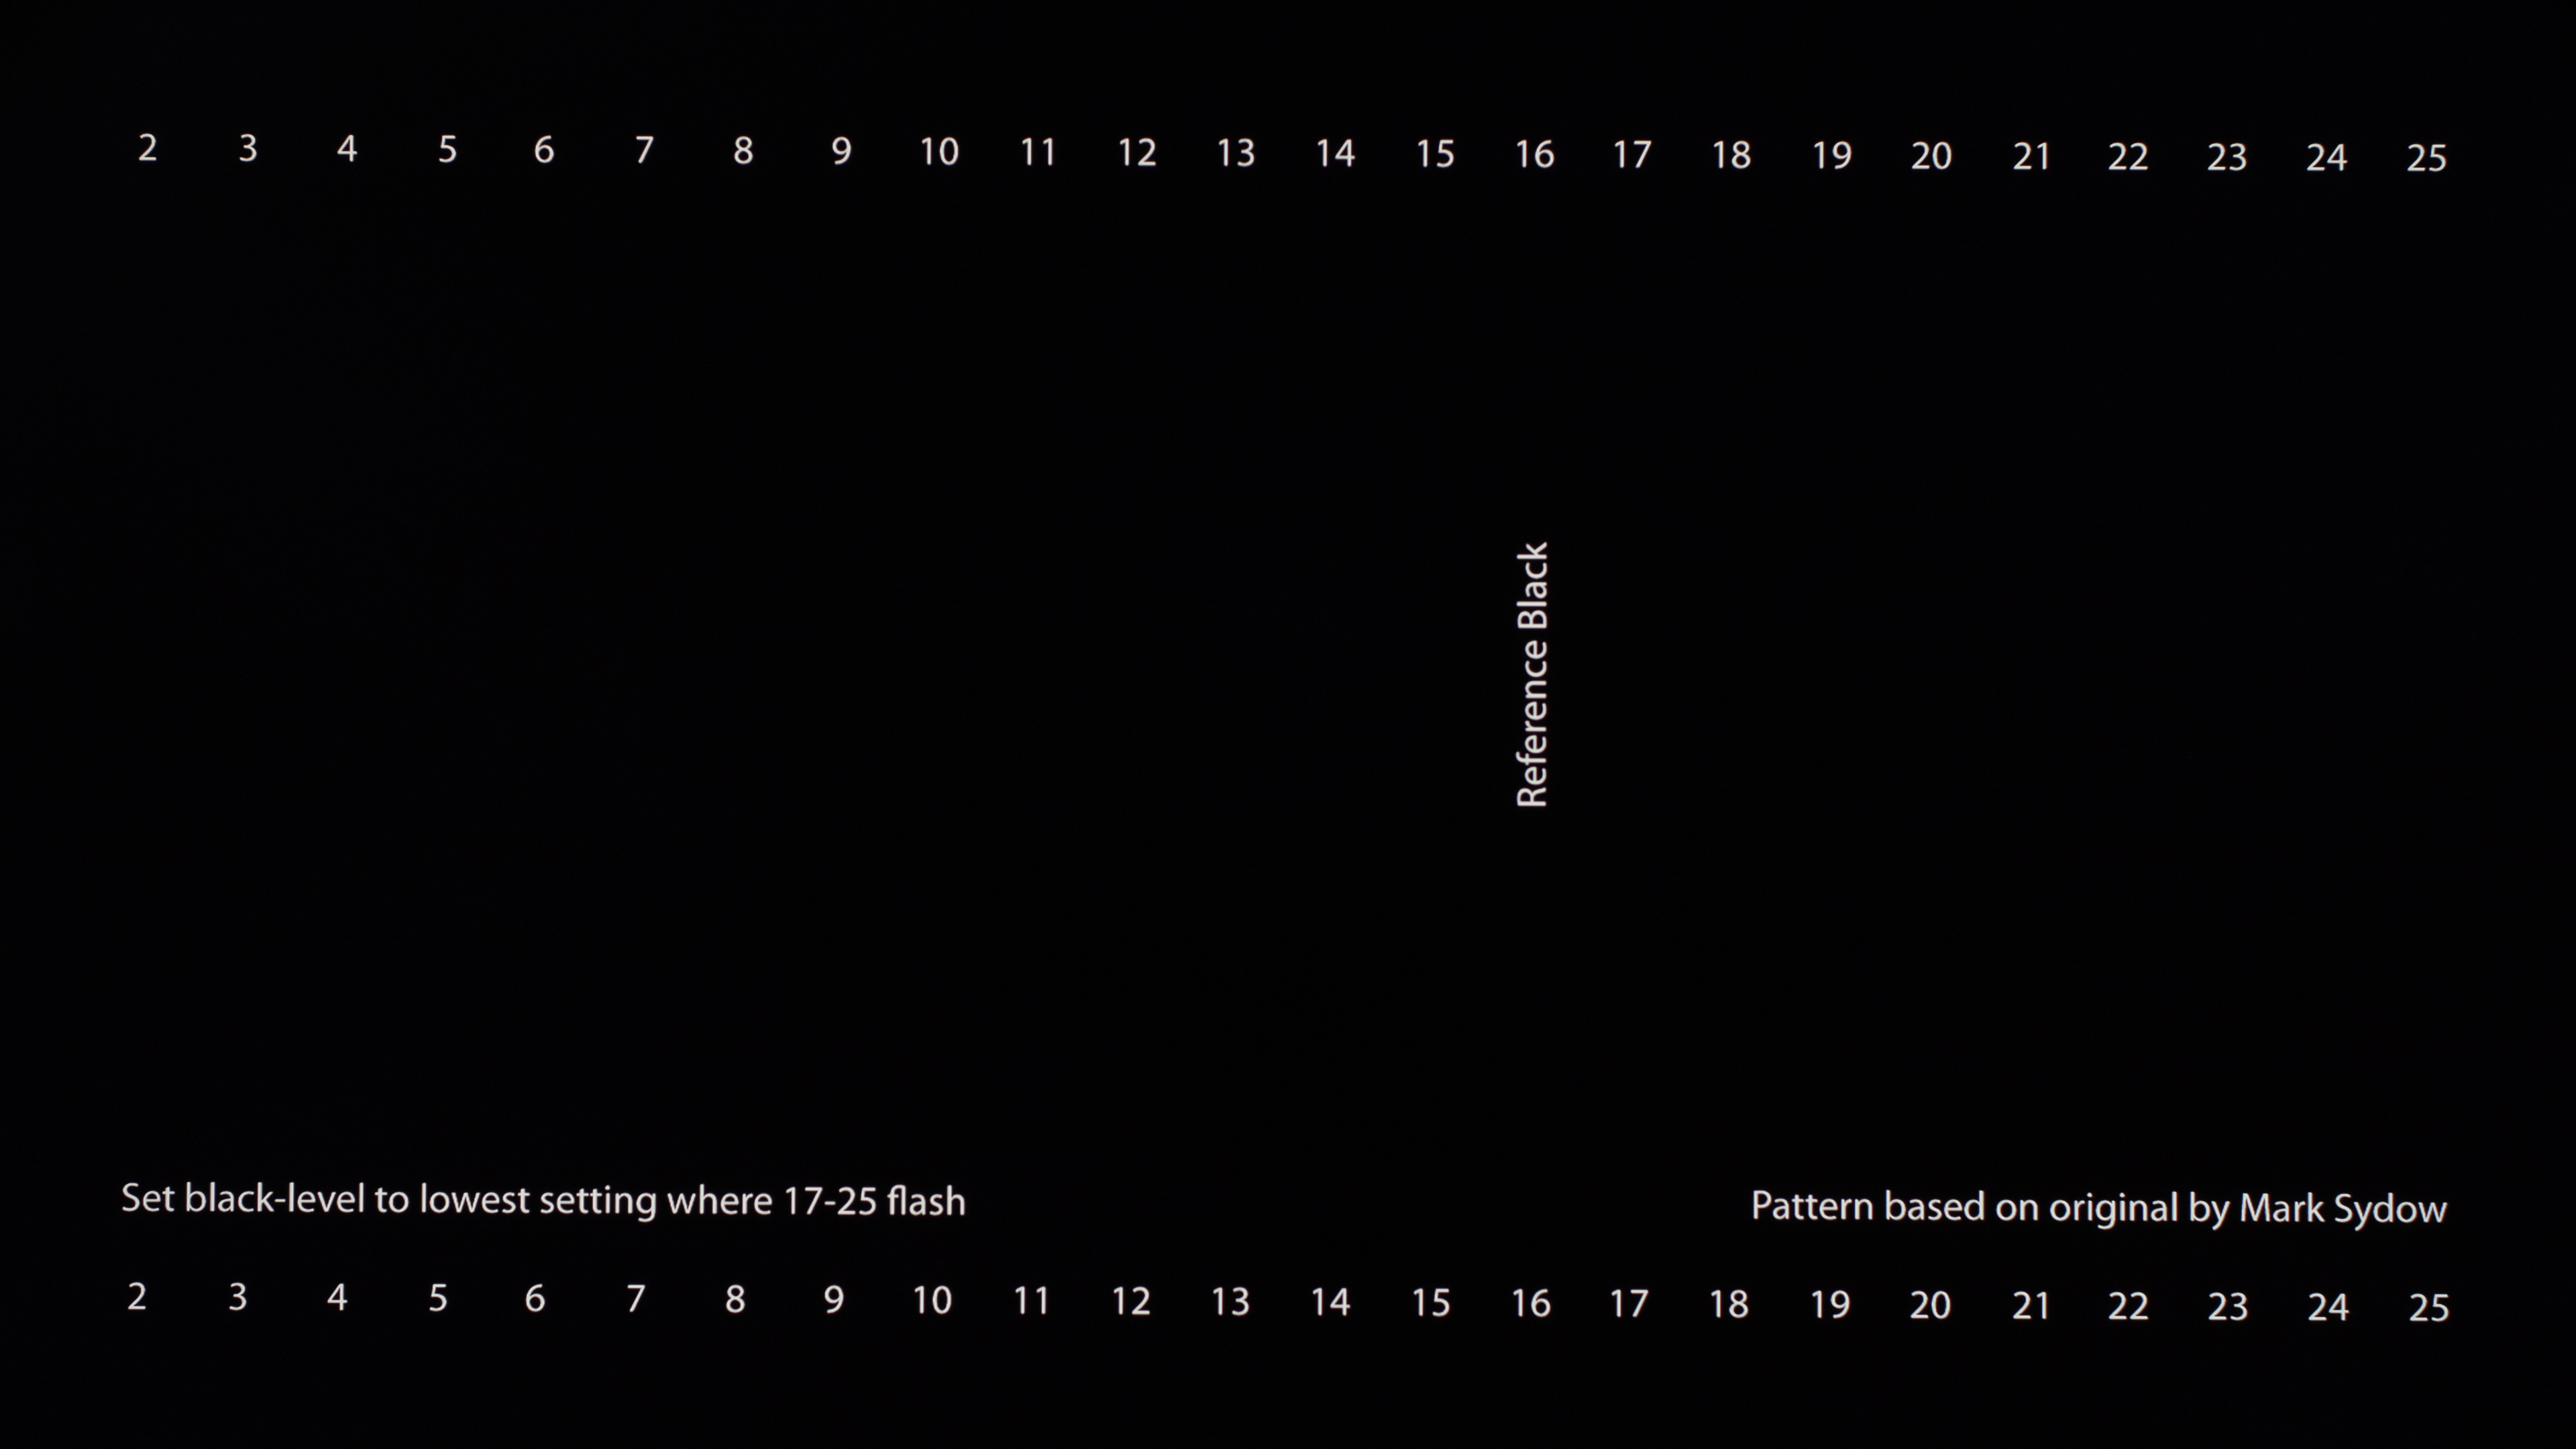
The black level setting affects the way the monitor handles blacks. If set too high, blacks look gray, and the image has lower contrast. There can be some advantages to this, though, as it helps you see opponents better in dark scenes of games. If it's set too low, blacks get crushed. This means you lose details in dark scenes, even if blacks look deeper.
When calibrating your monitor, the best way to adjust the black level is by using a near-black gradient test pattern like the one linked below. Raise or lower your black level setting until you see all the bars, but the ones on the left should be barely visible.
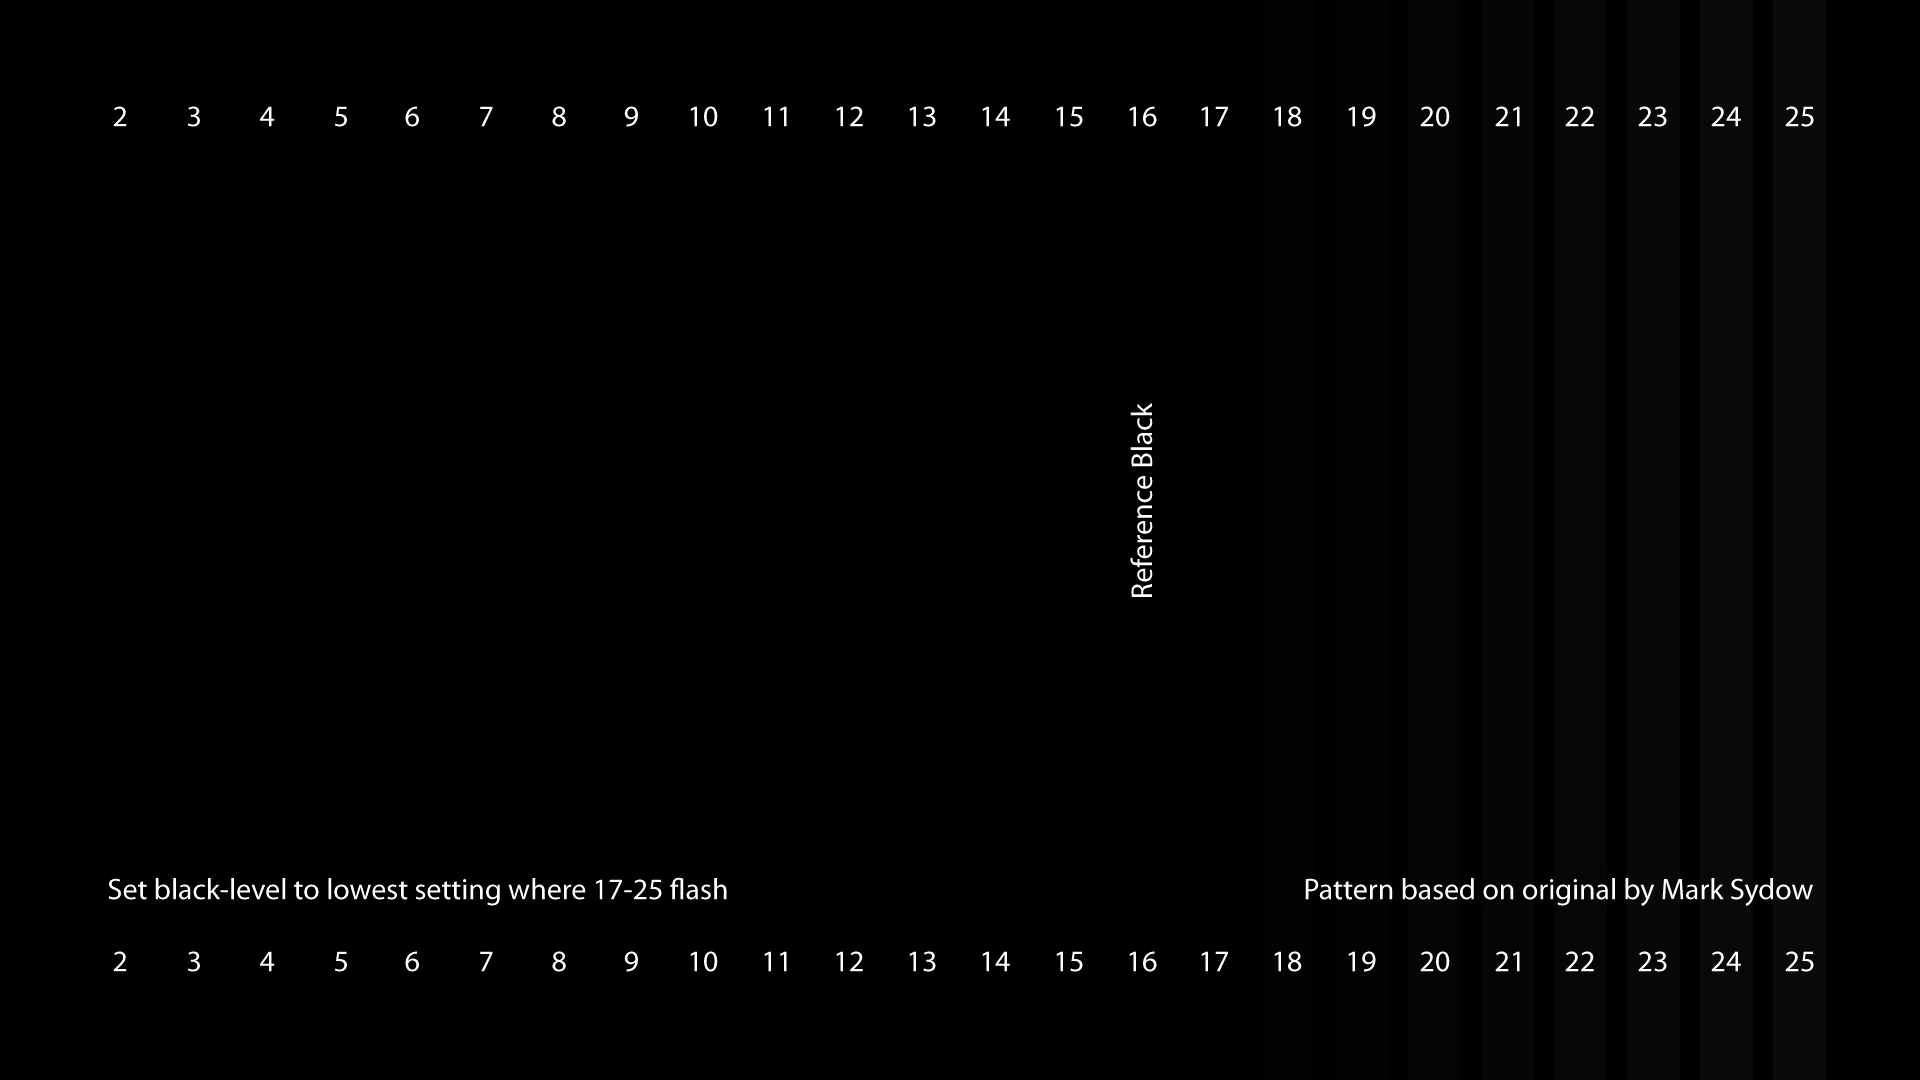
 |
 |
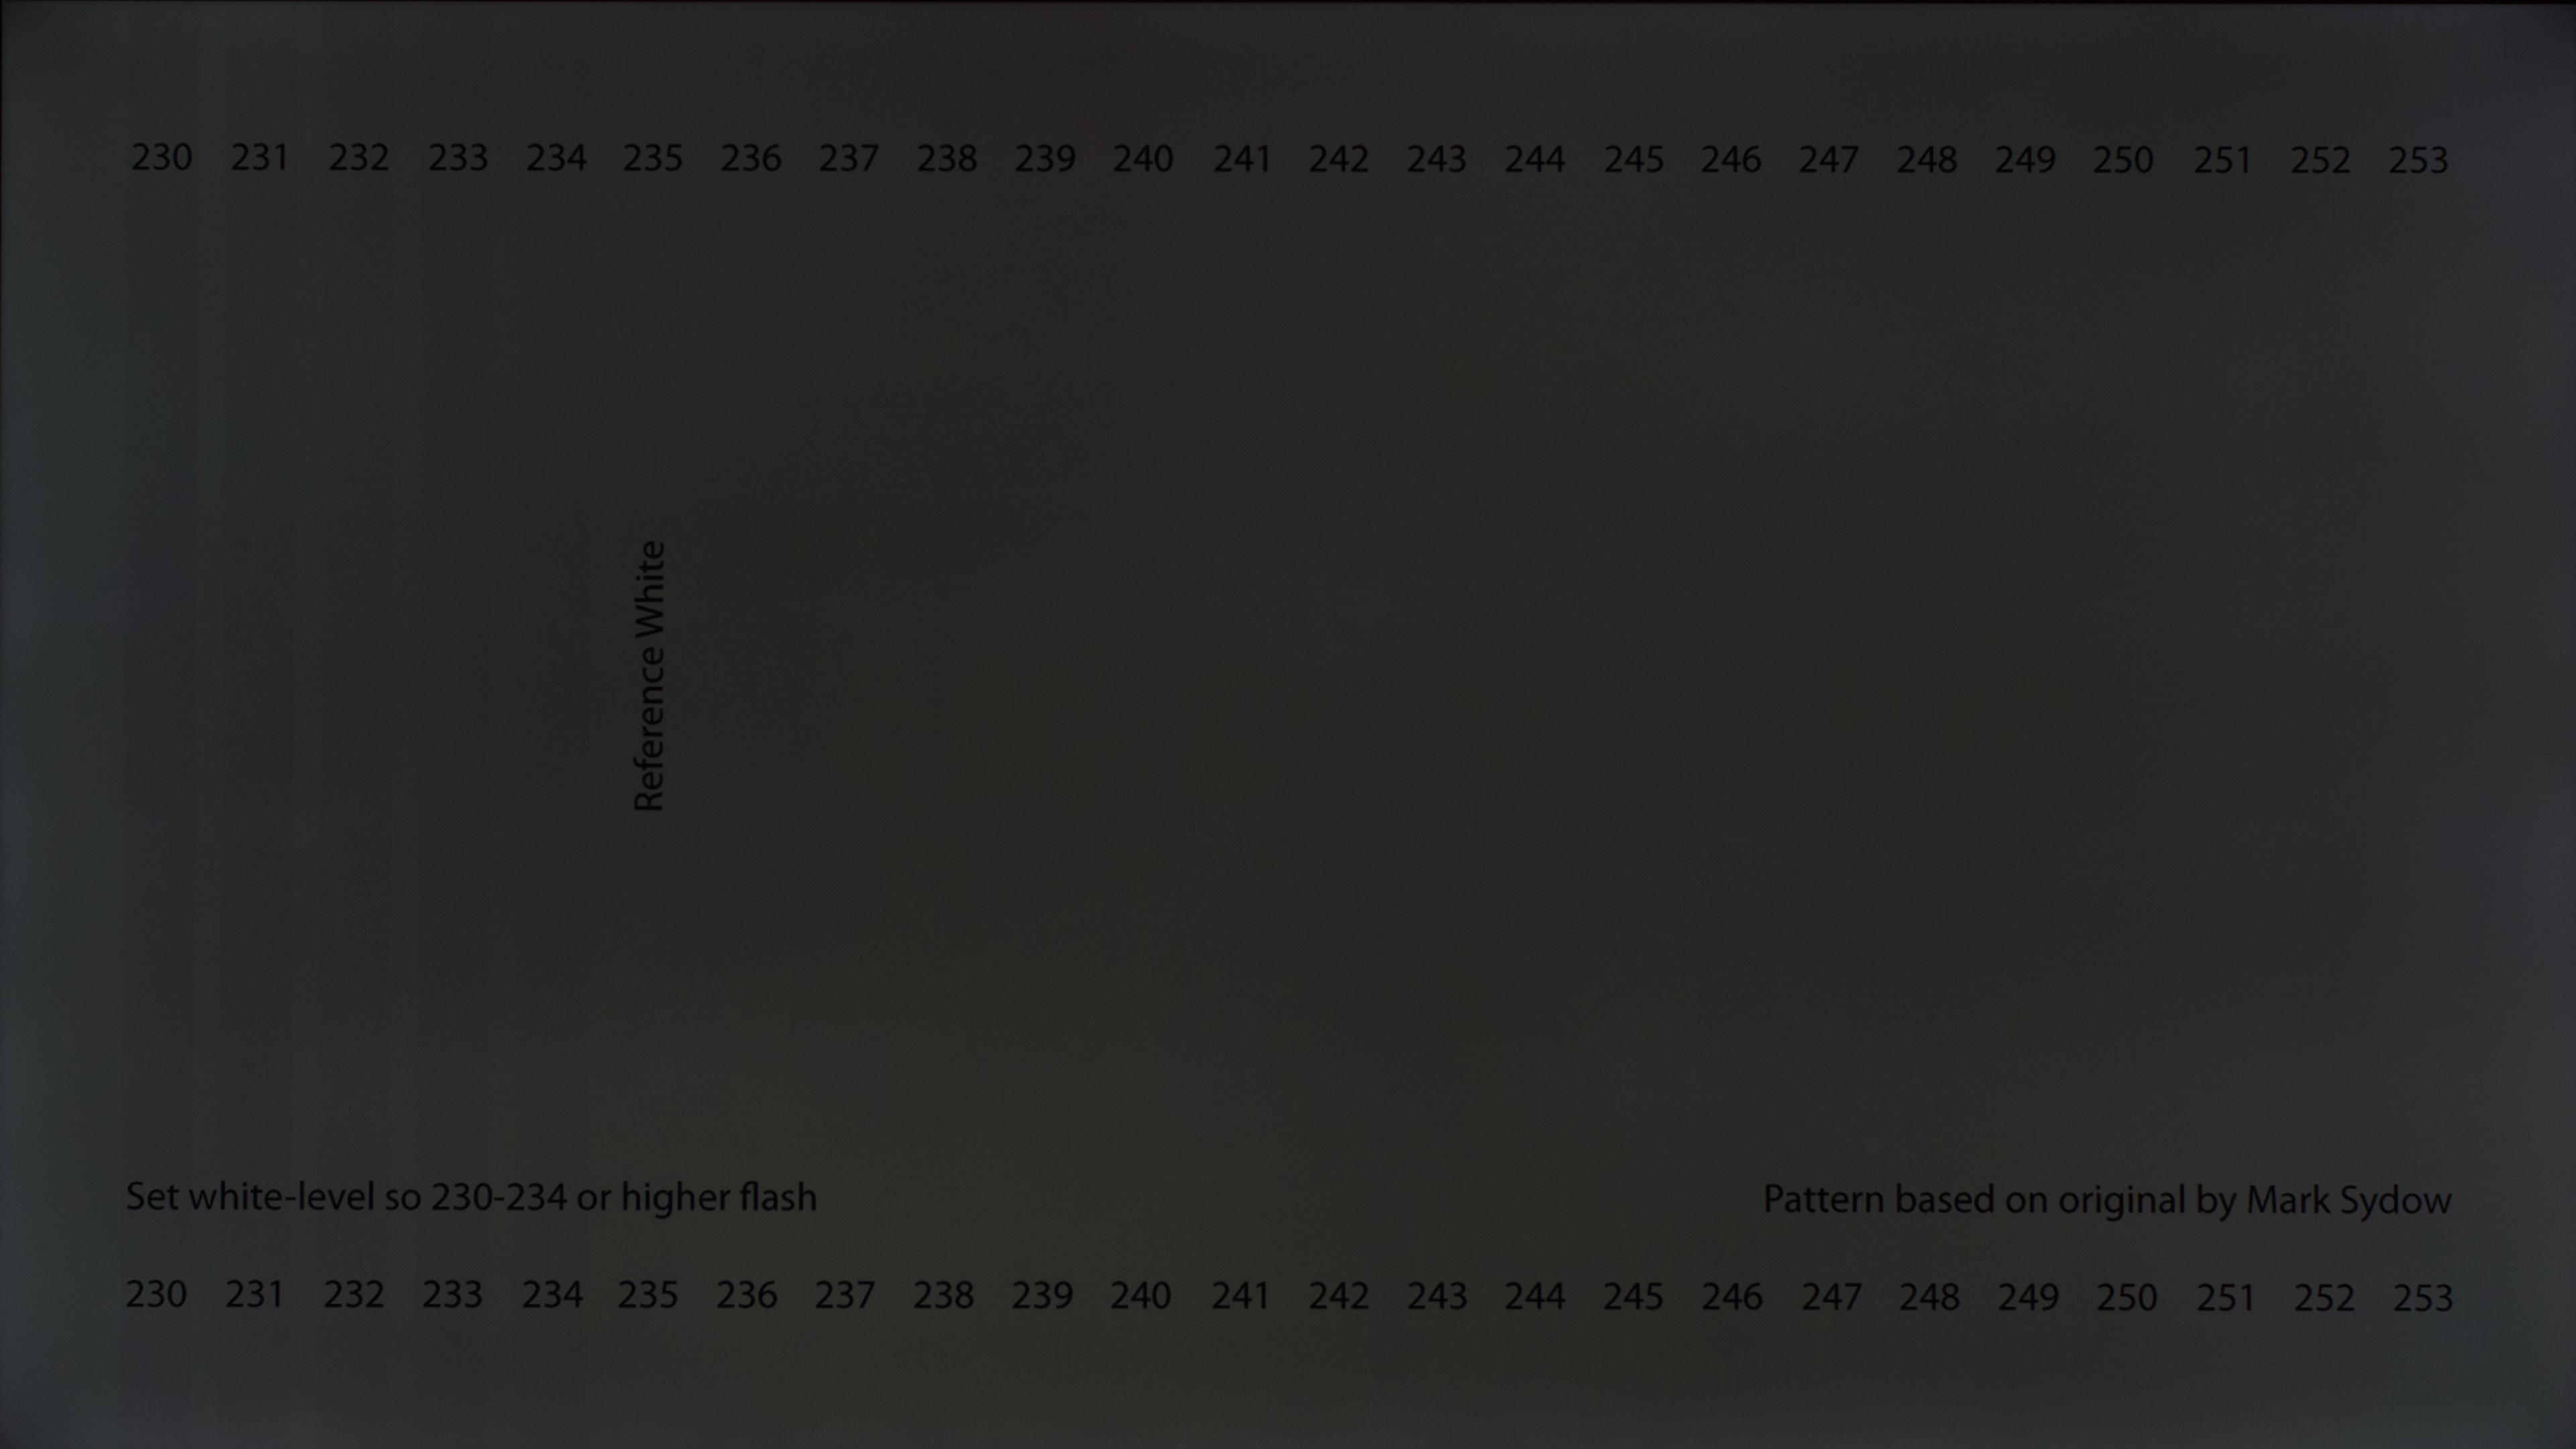
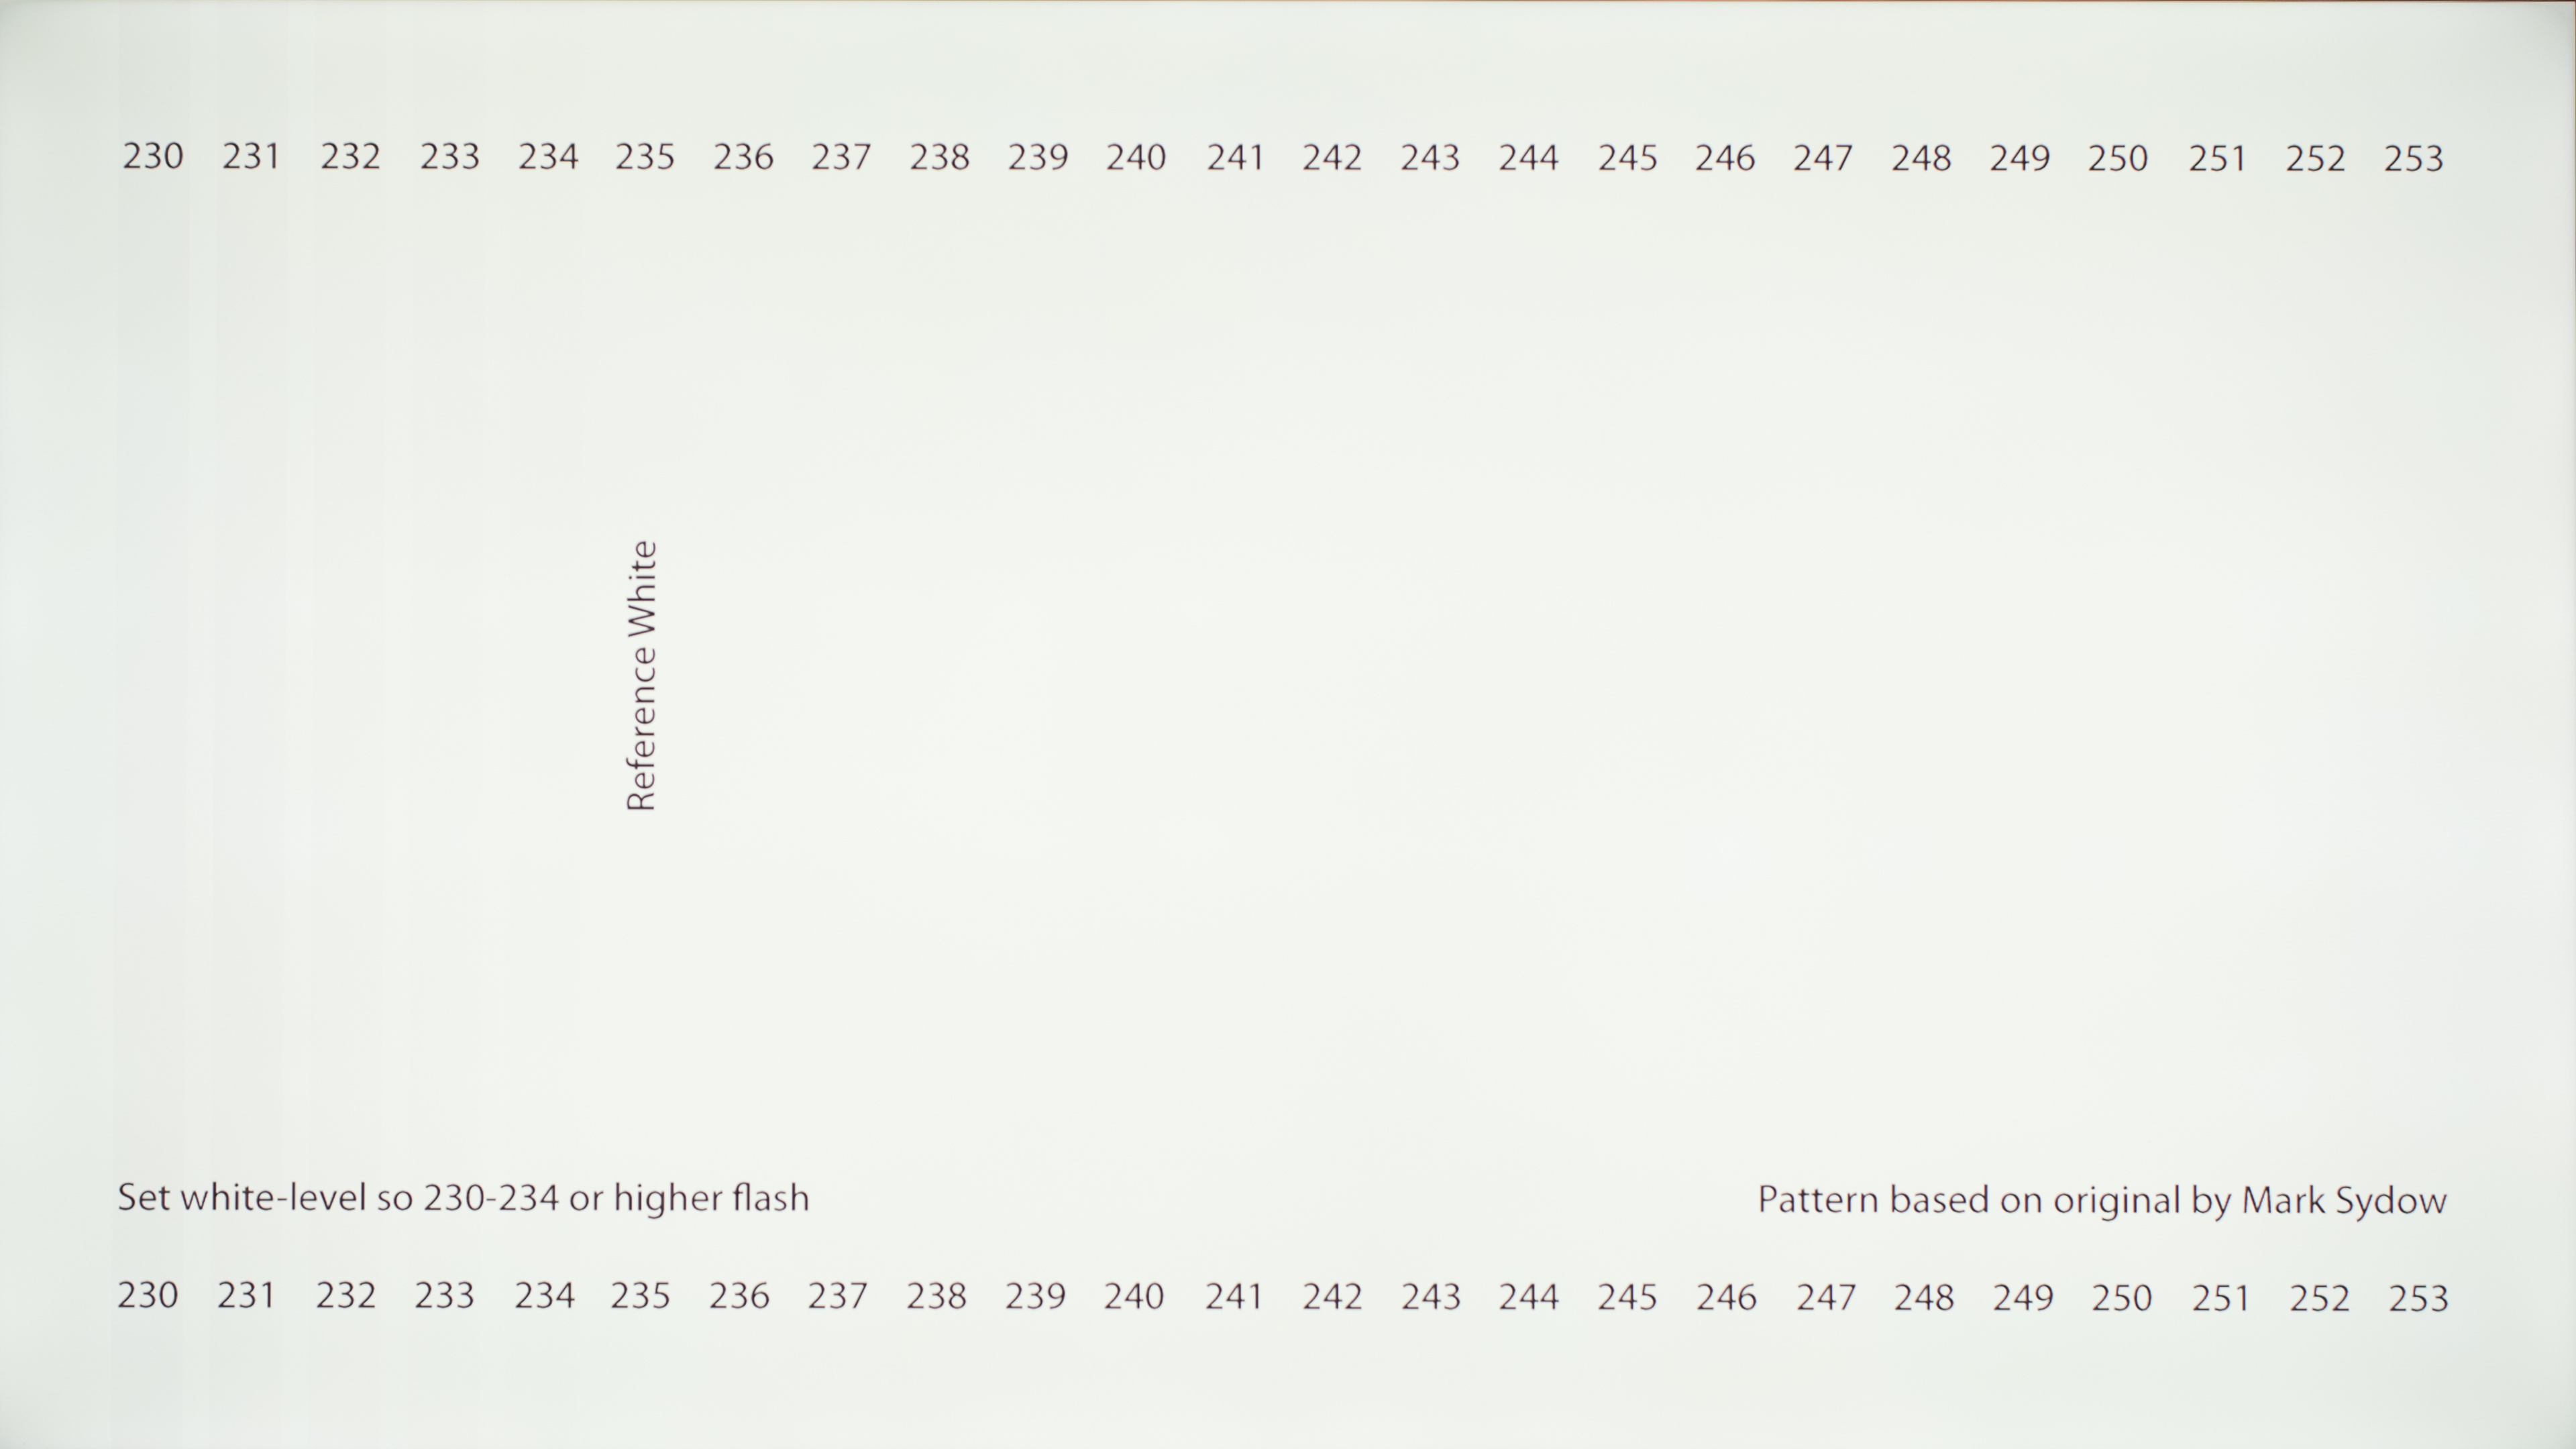
Contrast
Typically Accurate Setting: Default
The contrast setting is very similar to the black level setting, but it affects the white levels instead of the black levels. Unlike with the black level setting, brands call it the contrast setting, and there's no variation in naming here. Setting it too high causes images to clip, resulting in a loss of details, and setting it too low darkens the image and reduces the contrast ratio.
Just like when calibrating for the black level, adjust the contrast until you see all the vertical bars. The last few steps should be very faint, so it might take some trial and error.
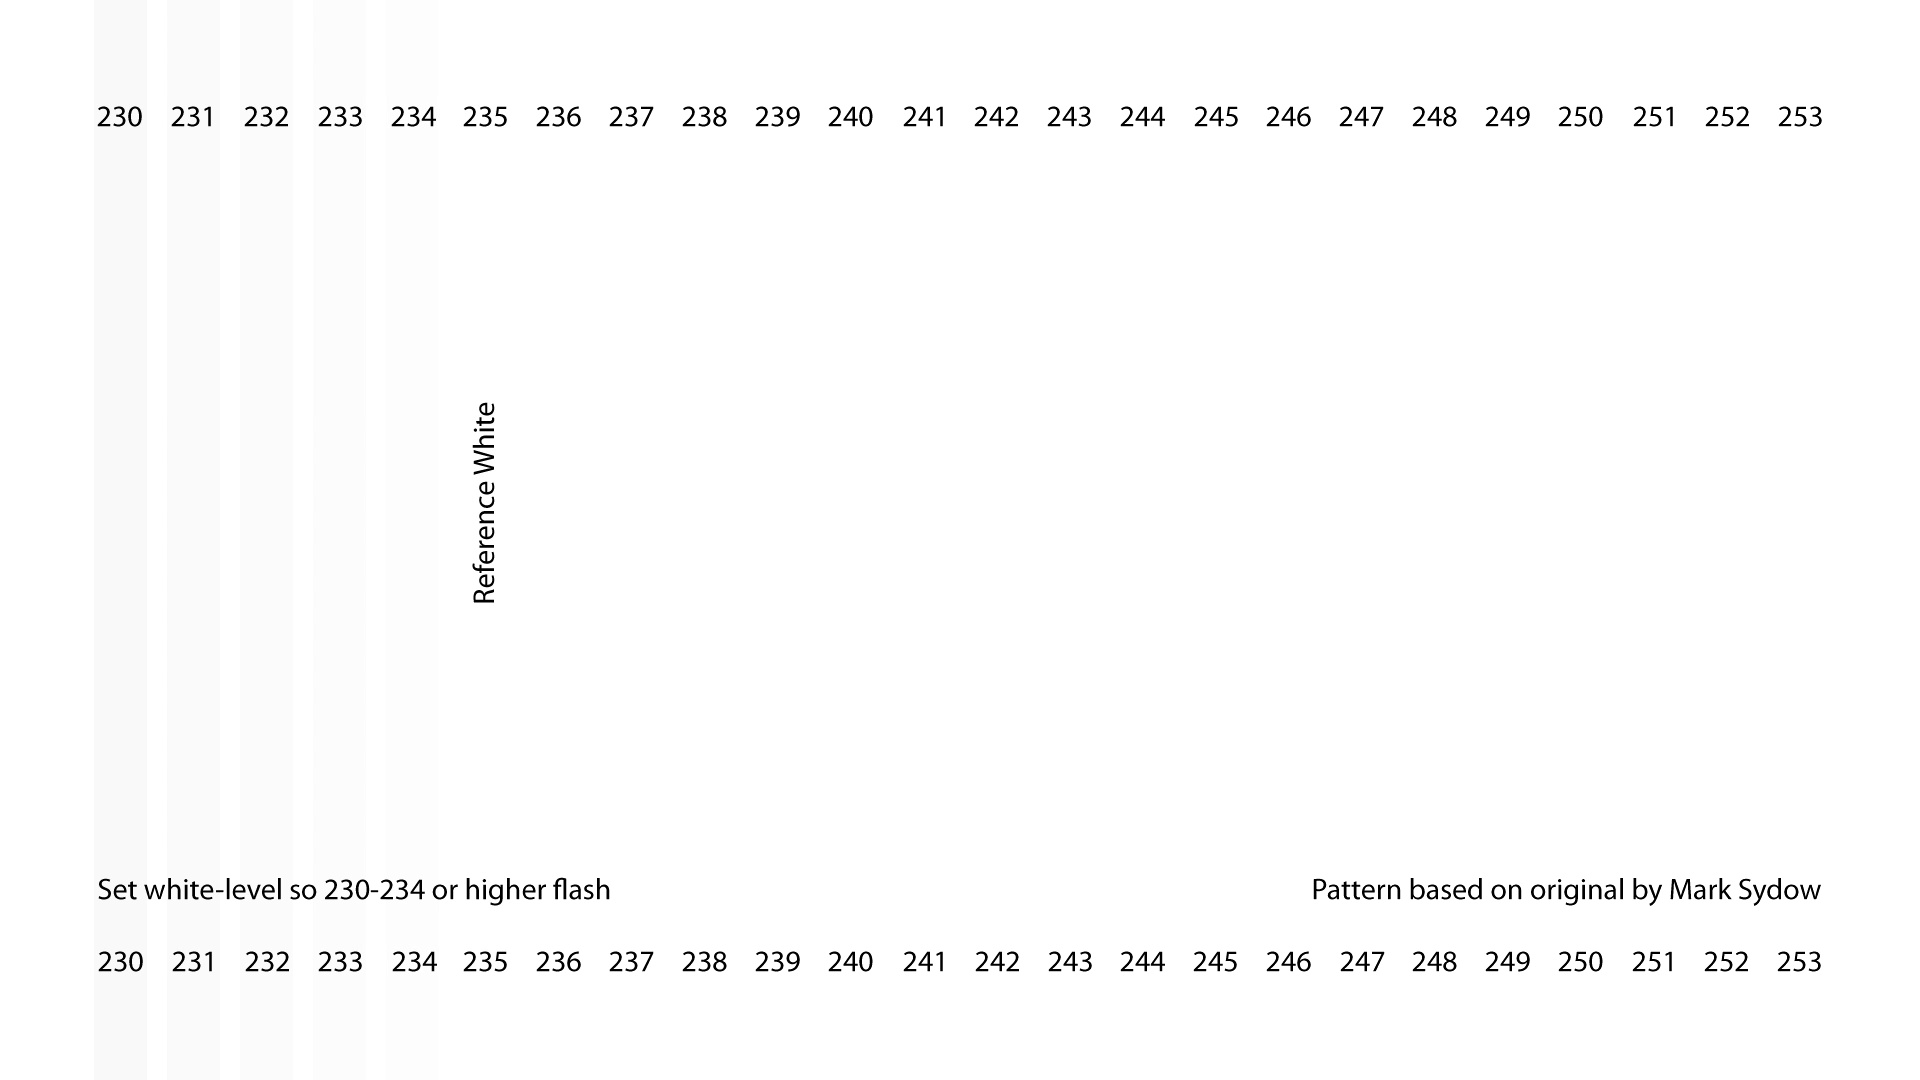
 |
 |
Gamma
Typically Accurate Setting: 2.2, or default.
Unlike the black level and contrast settings, the gamma setting changes the brightness of the entire image but doesn't adjust the backlight. While adjusting the gamma setting is a personal preference, doing so can make it easier to see opponents in dark scenes.
Most monitors have a default gamma setting of 2.2. You can lower the setting for a brighter image and raise it for a darker image. Changing it affects the contrast between dark and bright areas of the screen, as raising it results in a bigger contrast between them, making the image look darker. On the other hand, lowering the gamma makes the entire image look brighter. You can see some examples from the Acer Nitro XZ322QU V3bmiiphx below.
| 1.8 | 2.0 | 2.2 | 2.4 | 2.6 |
|---|---|---|---|---|
 |
 |
 |
 |
 |
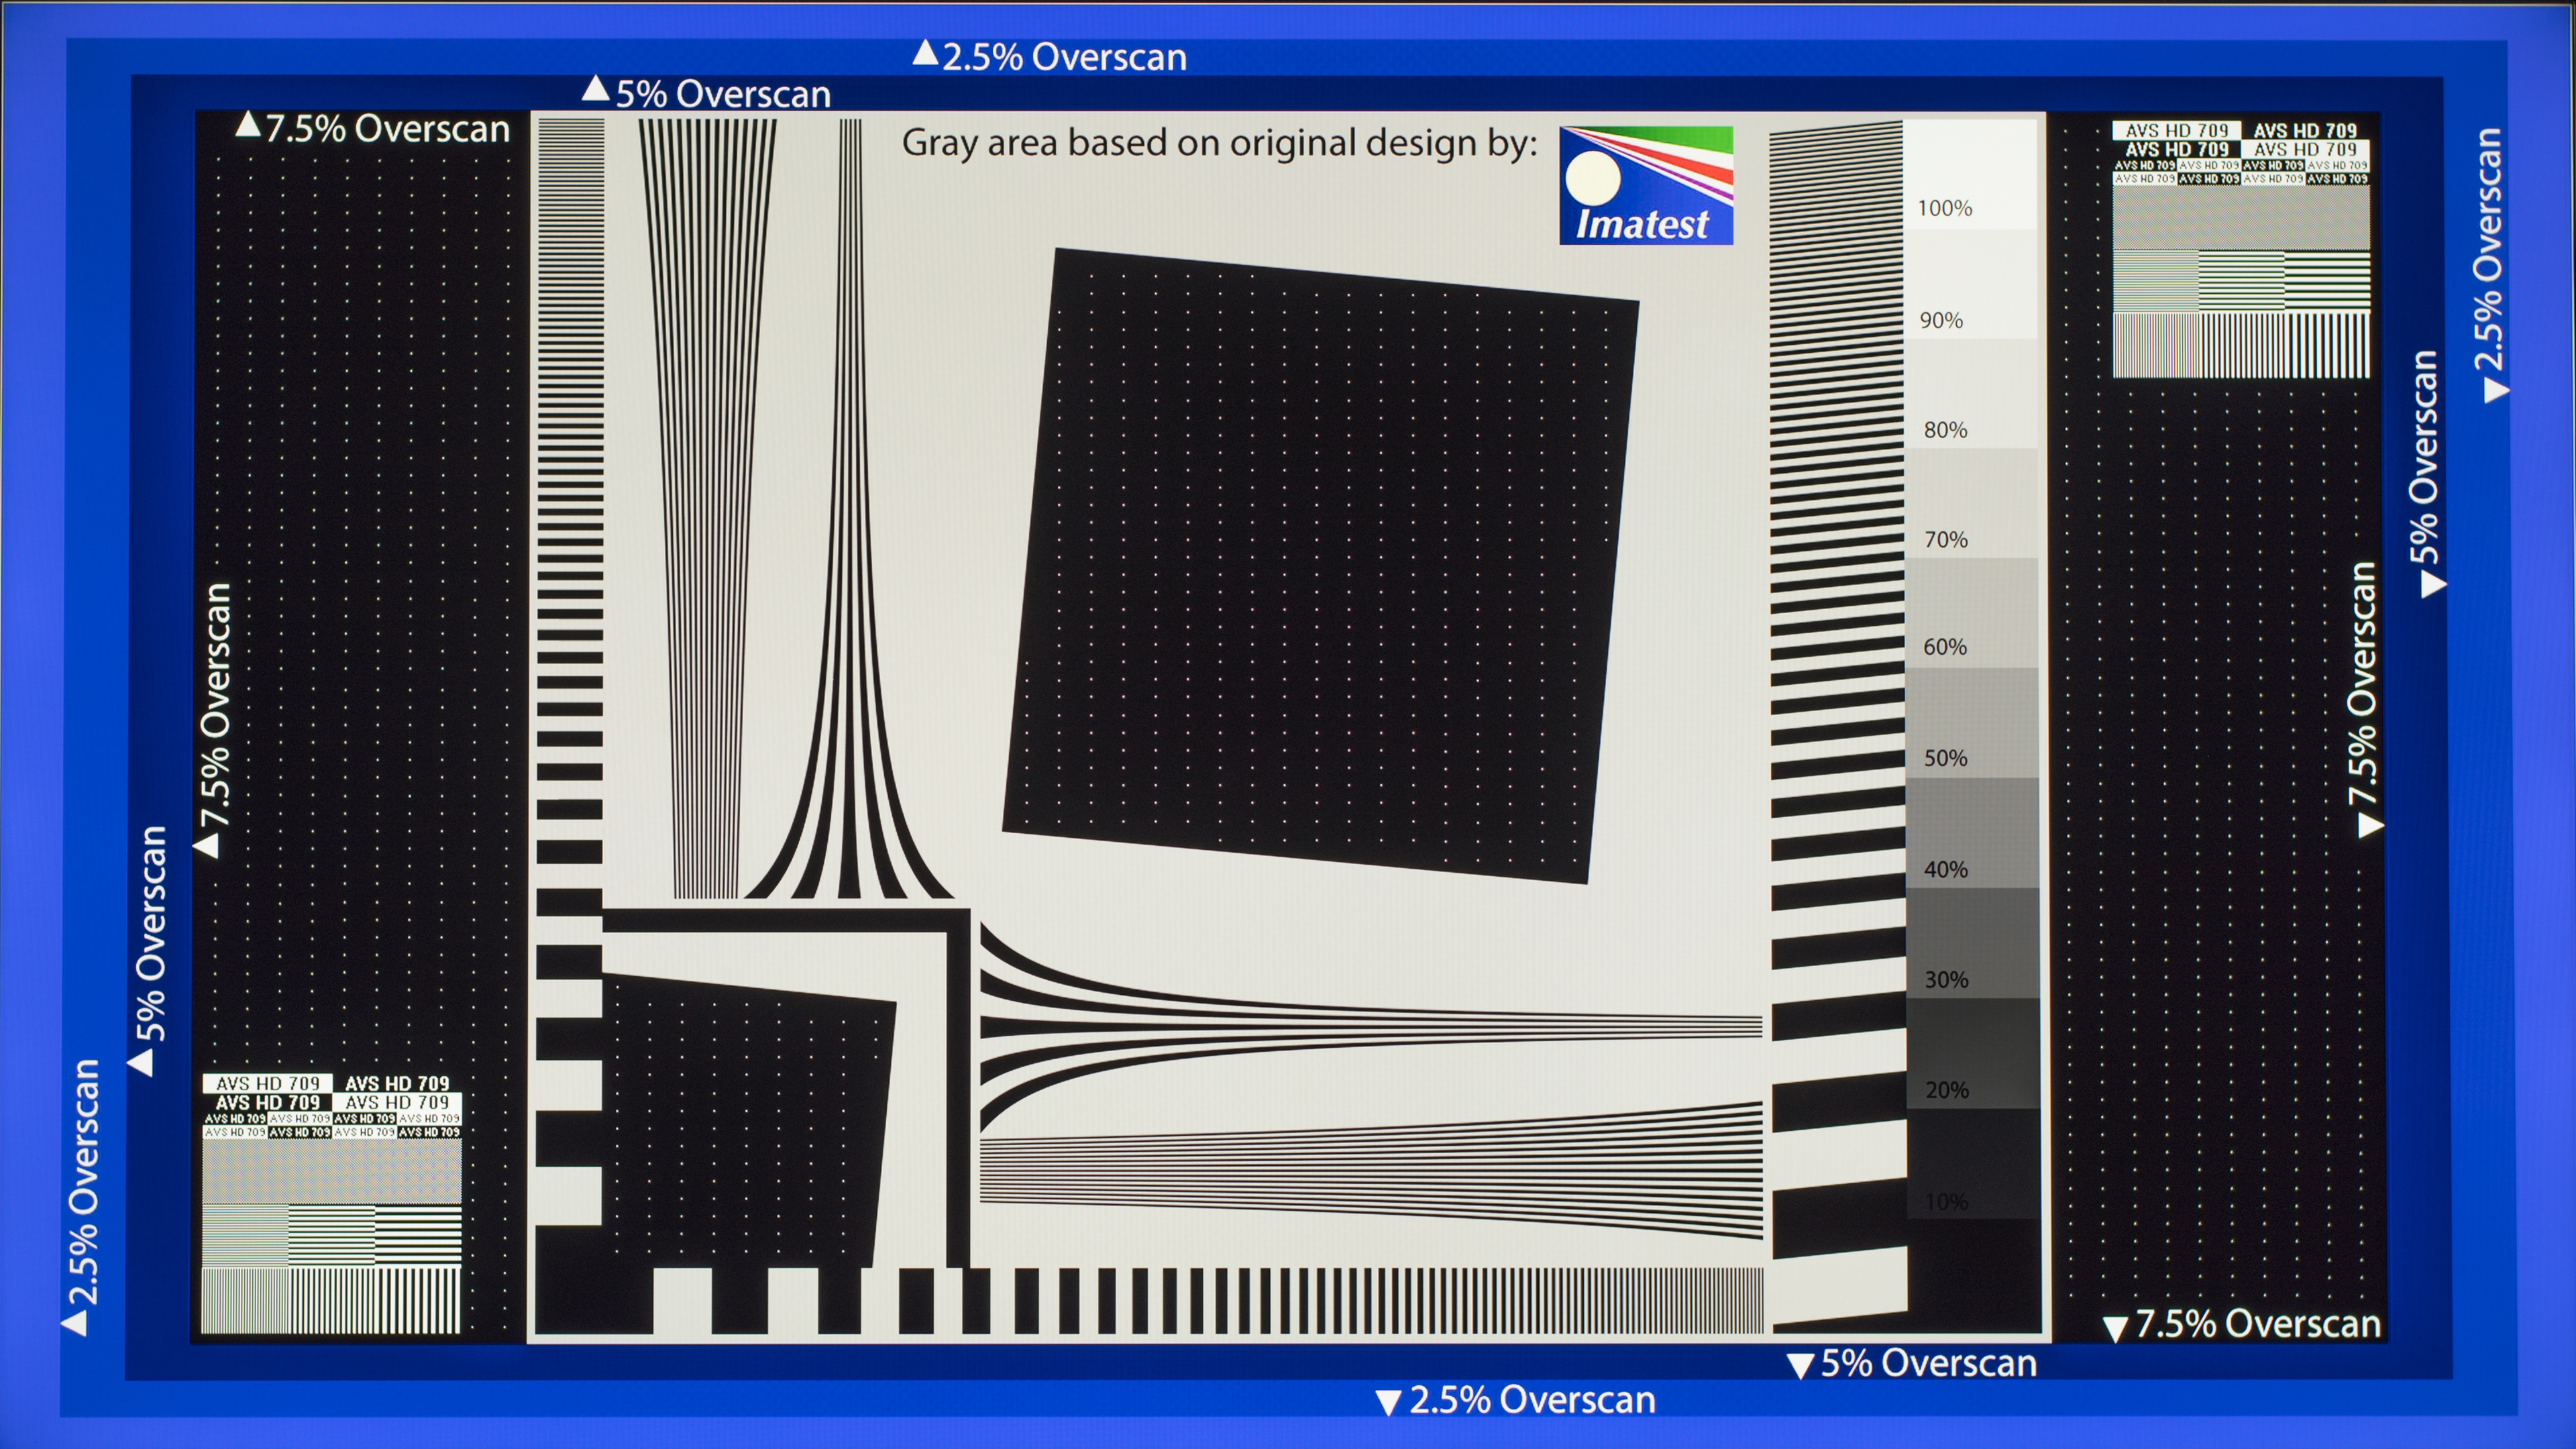
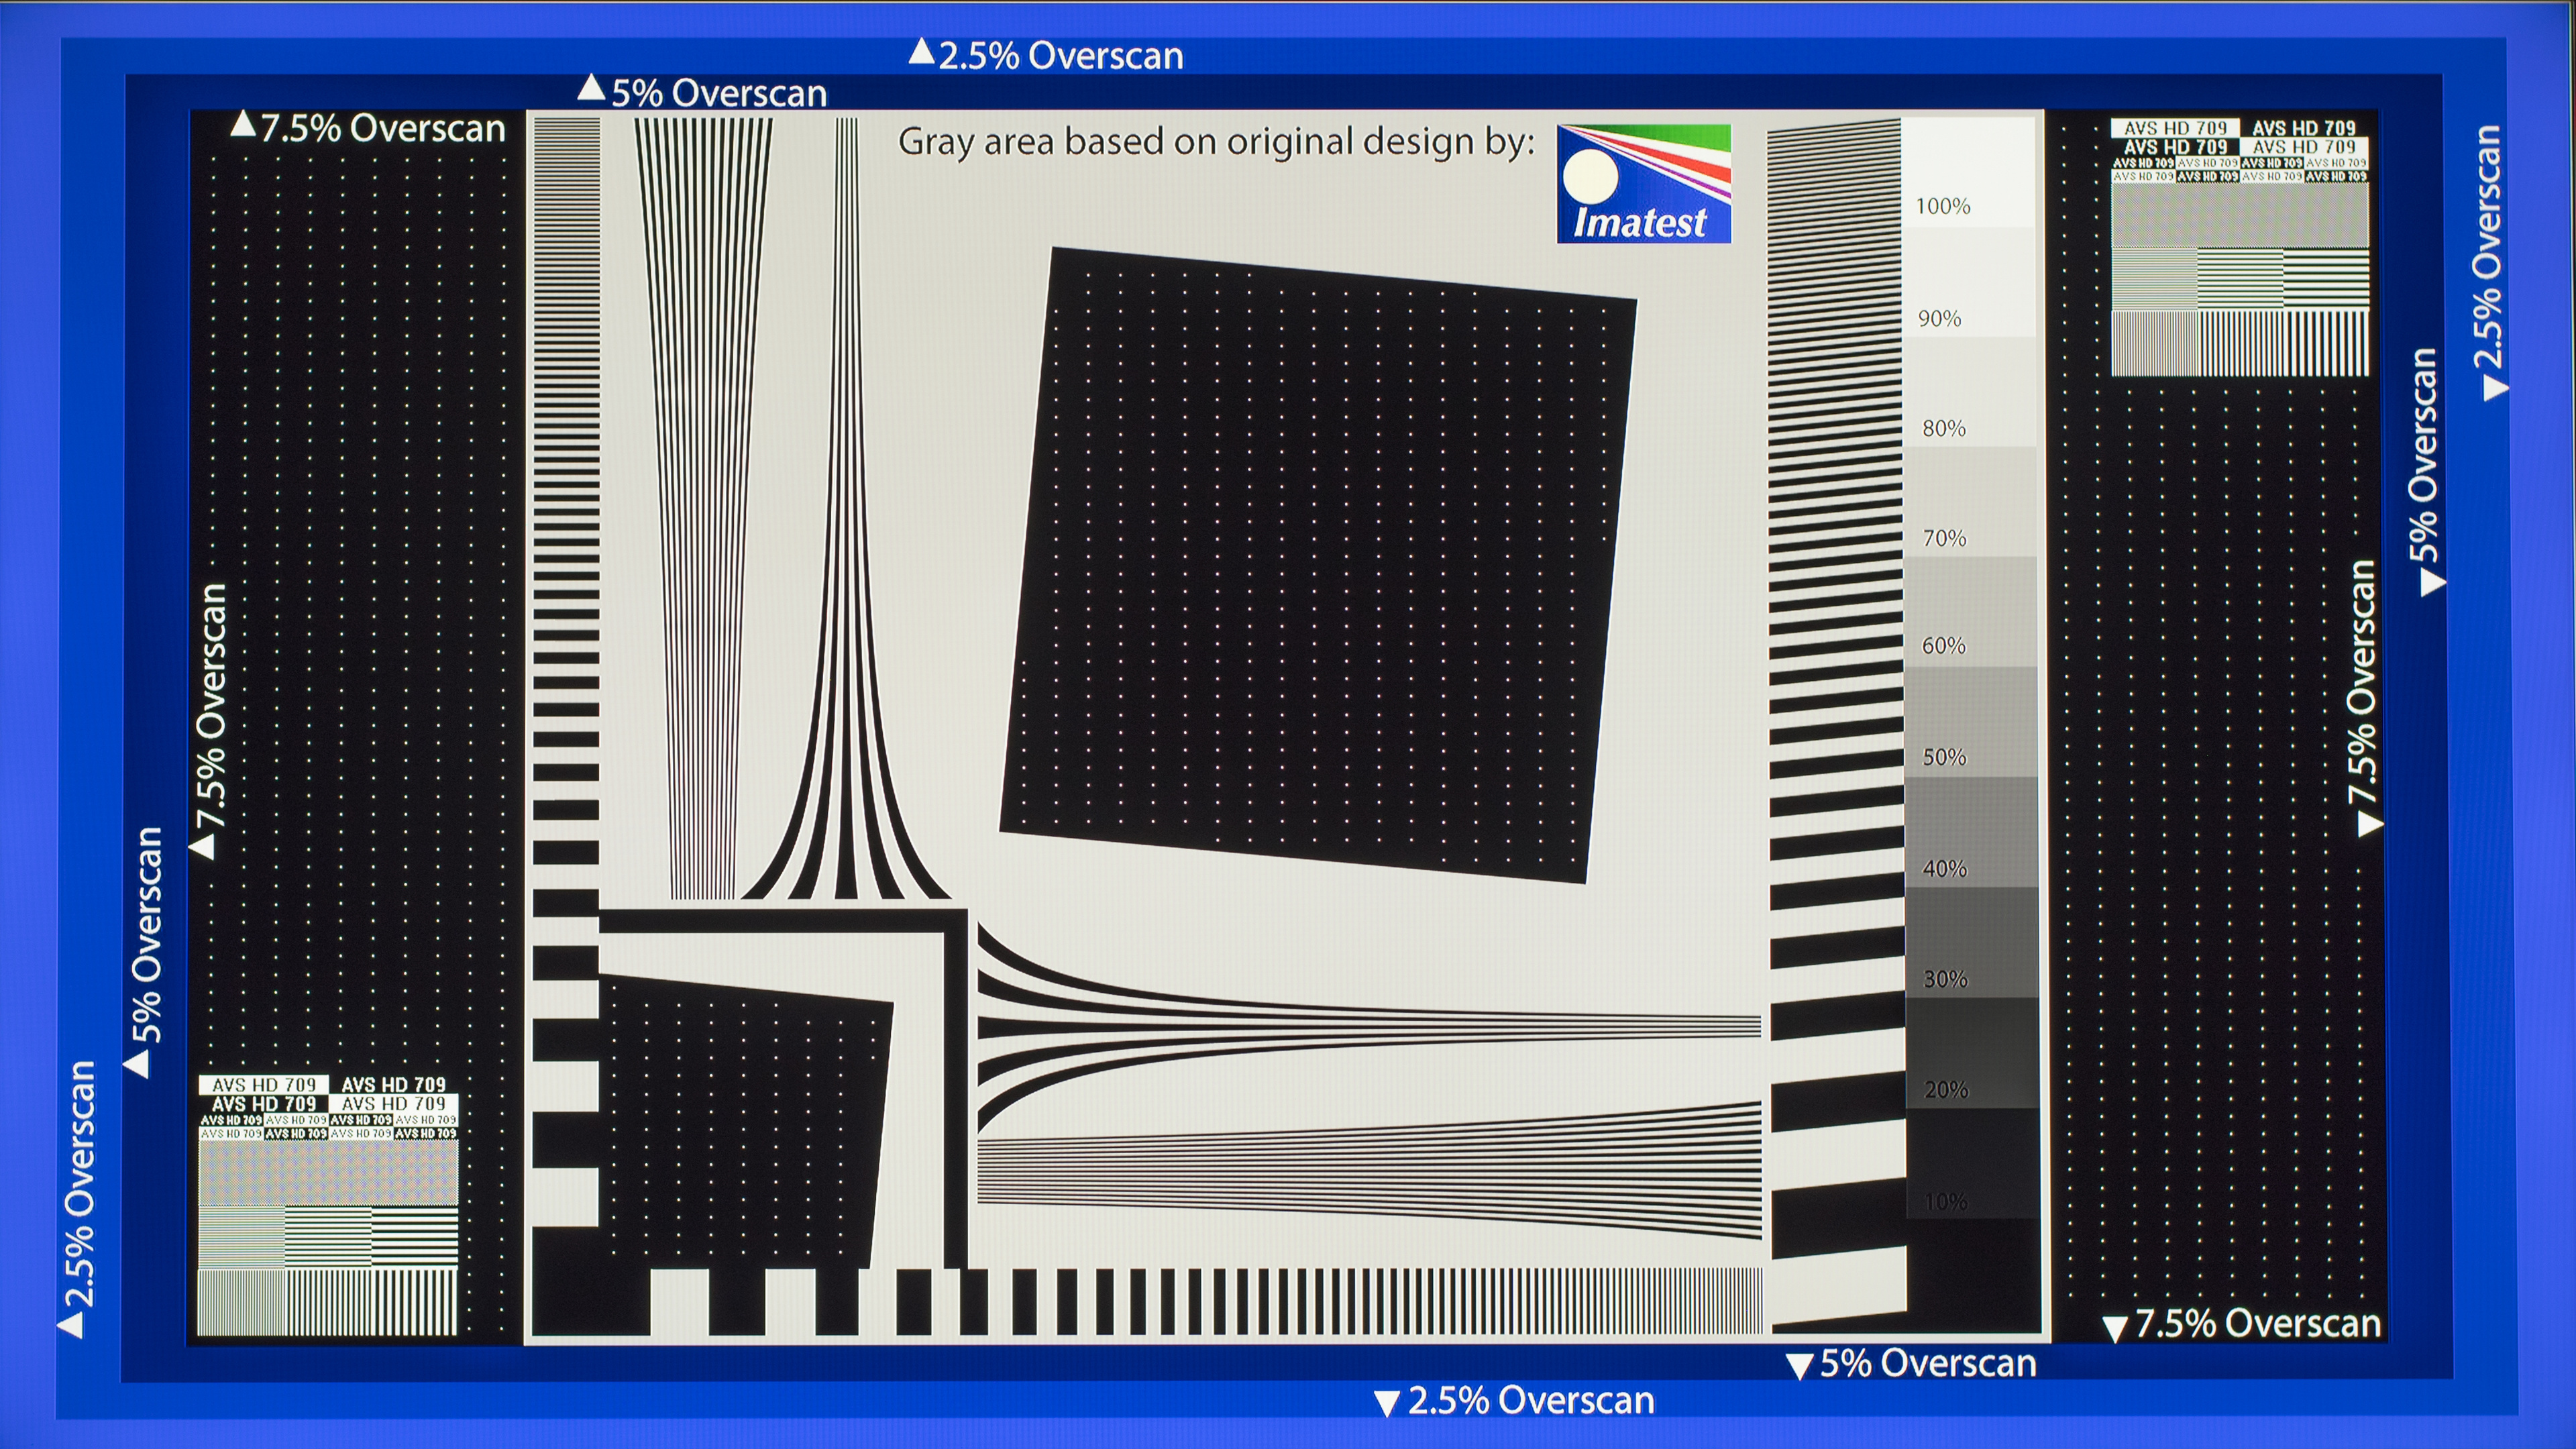
Sharpness
Typically Accurate Setting: Default
The sharpness setting, which is named as such on most monitors, adjusts the sharpness of the edges of shapes and text. Most of the time, it's best to leave it at its default, as adjusting it too high can introduce artifacts, and having it too low causes the image to look blurry. That said, this is a personal preference, and you should adjust it how you like.
The simplest way to calibrate this if you aren't pleased with the default is to set it at max, then lower it until no strange pattern forms between the lines and shapes of the test image.
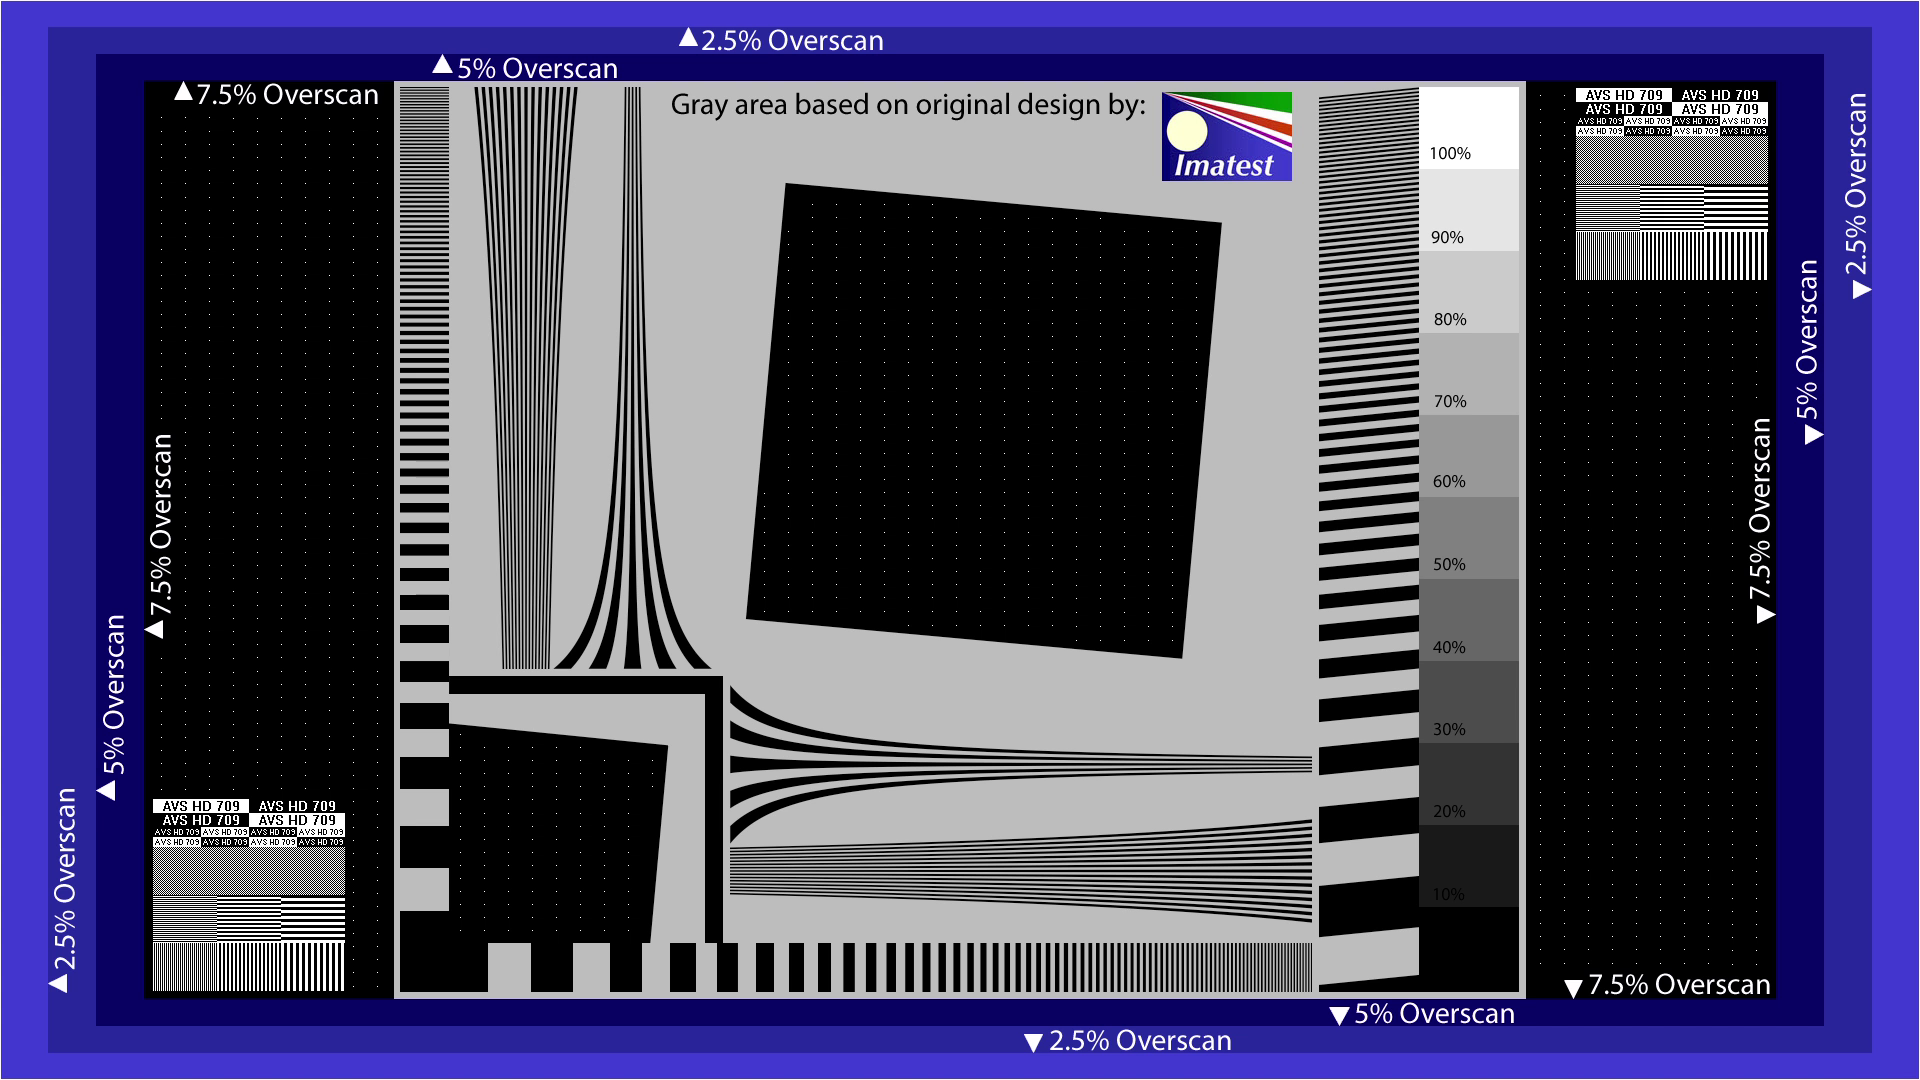
 |
 |
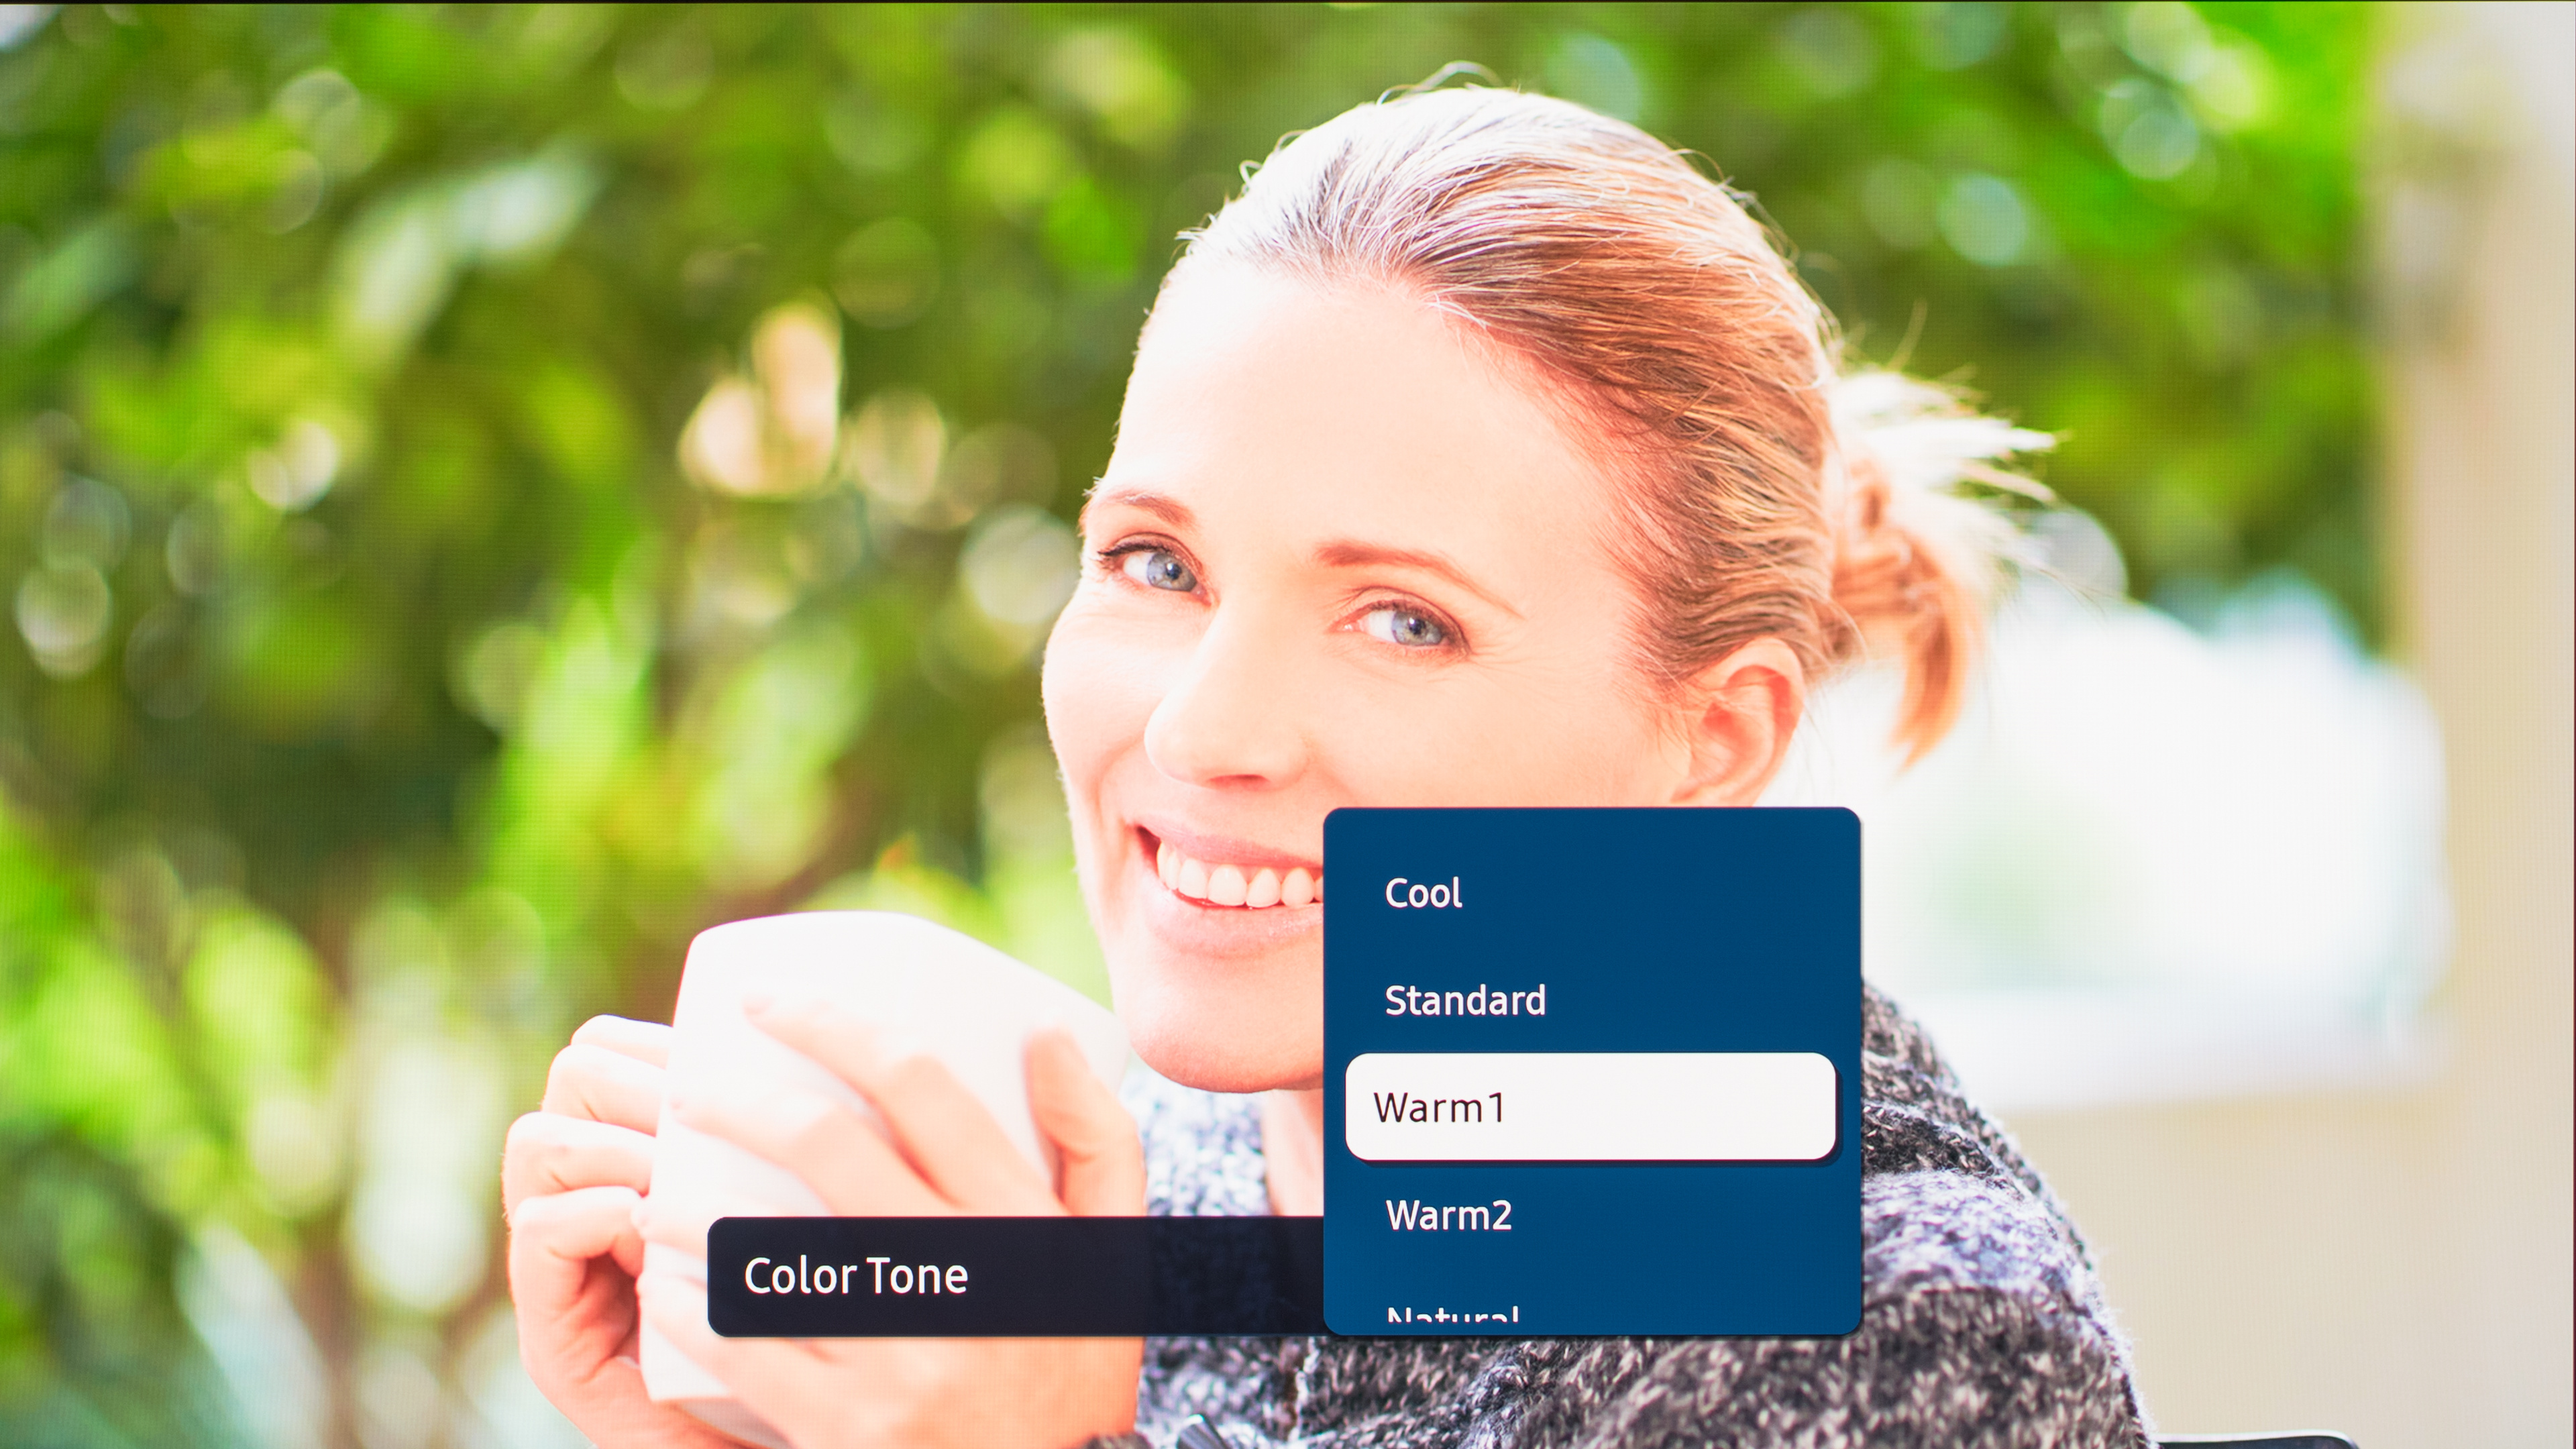
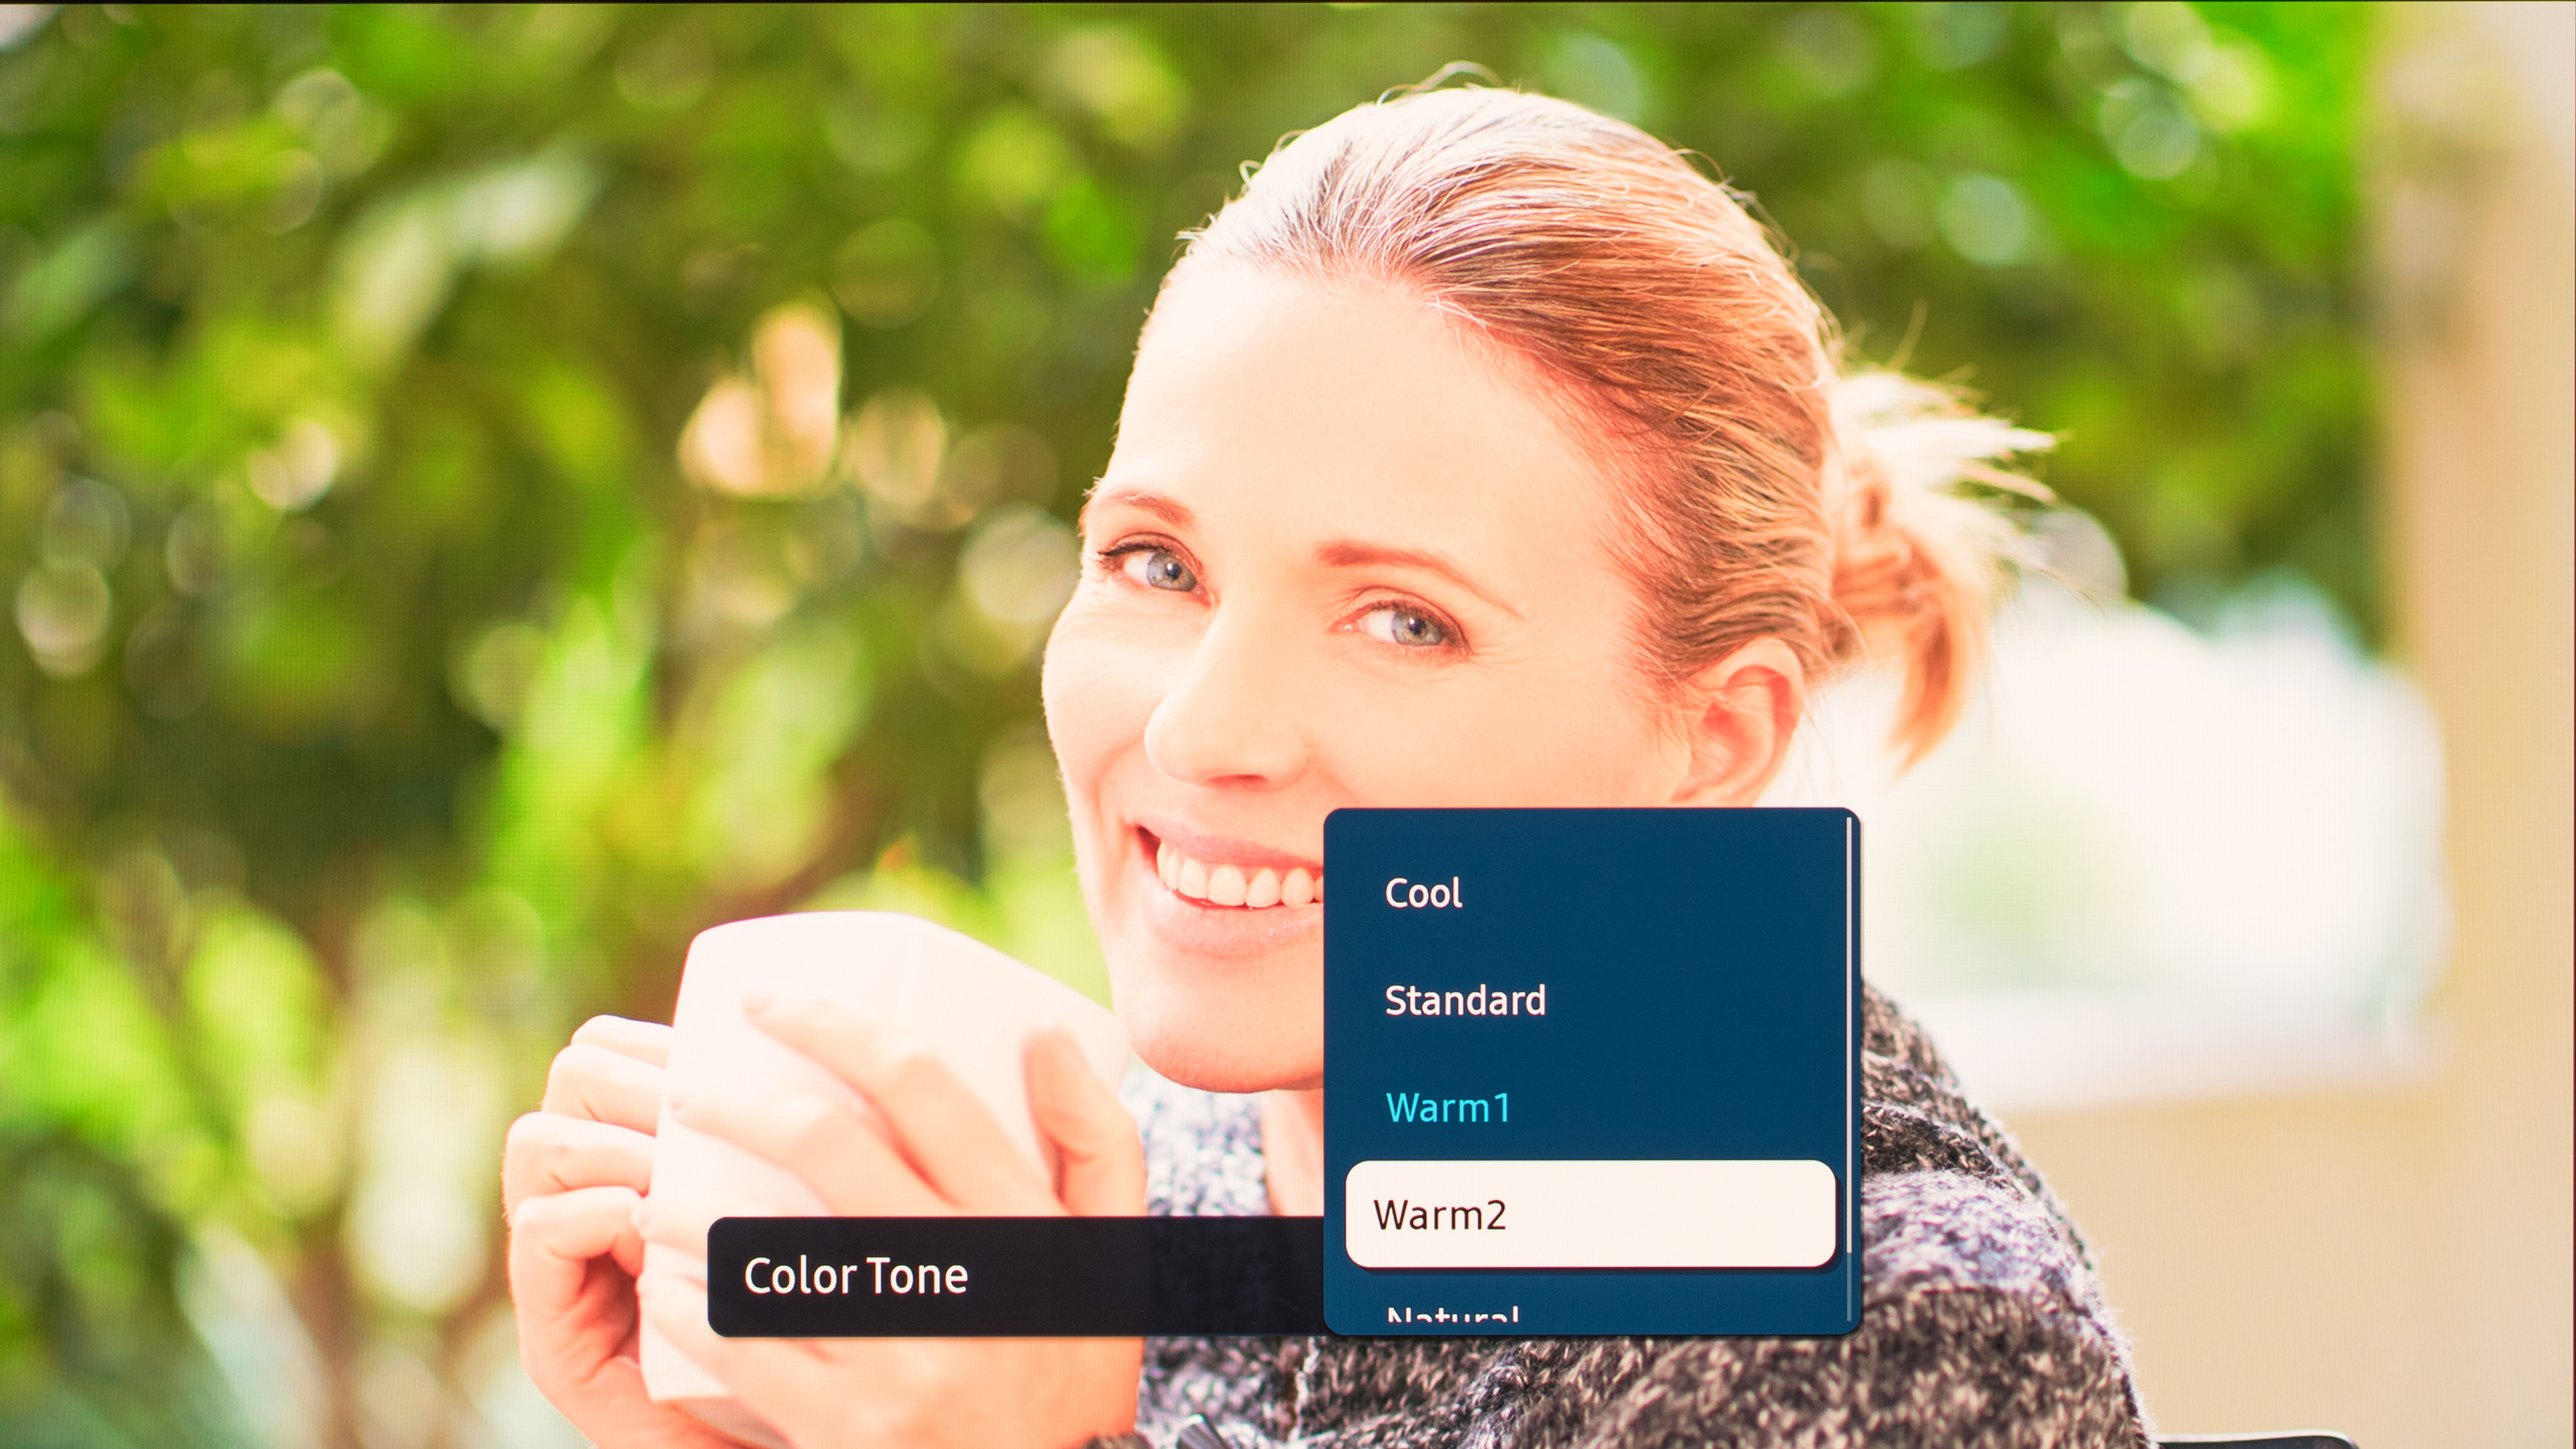
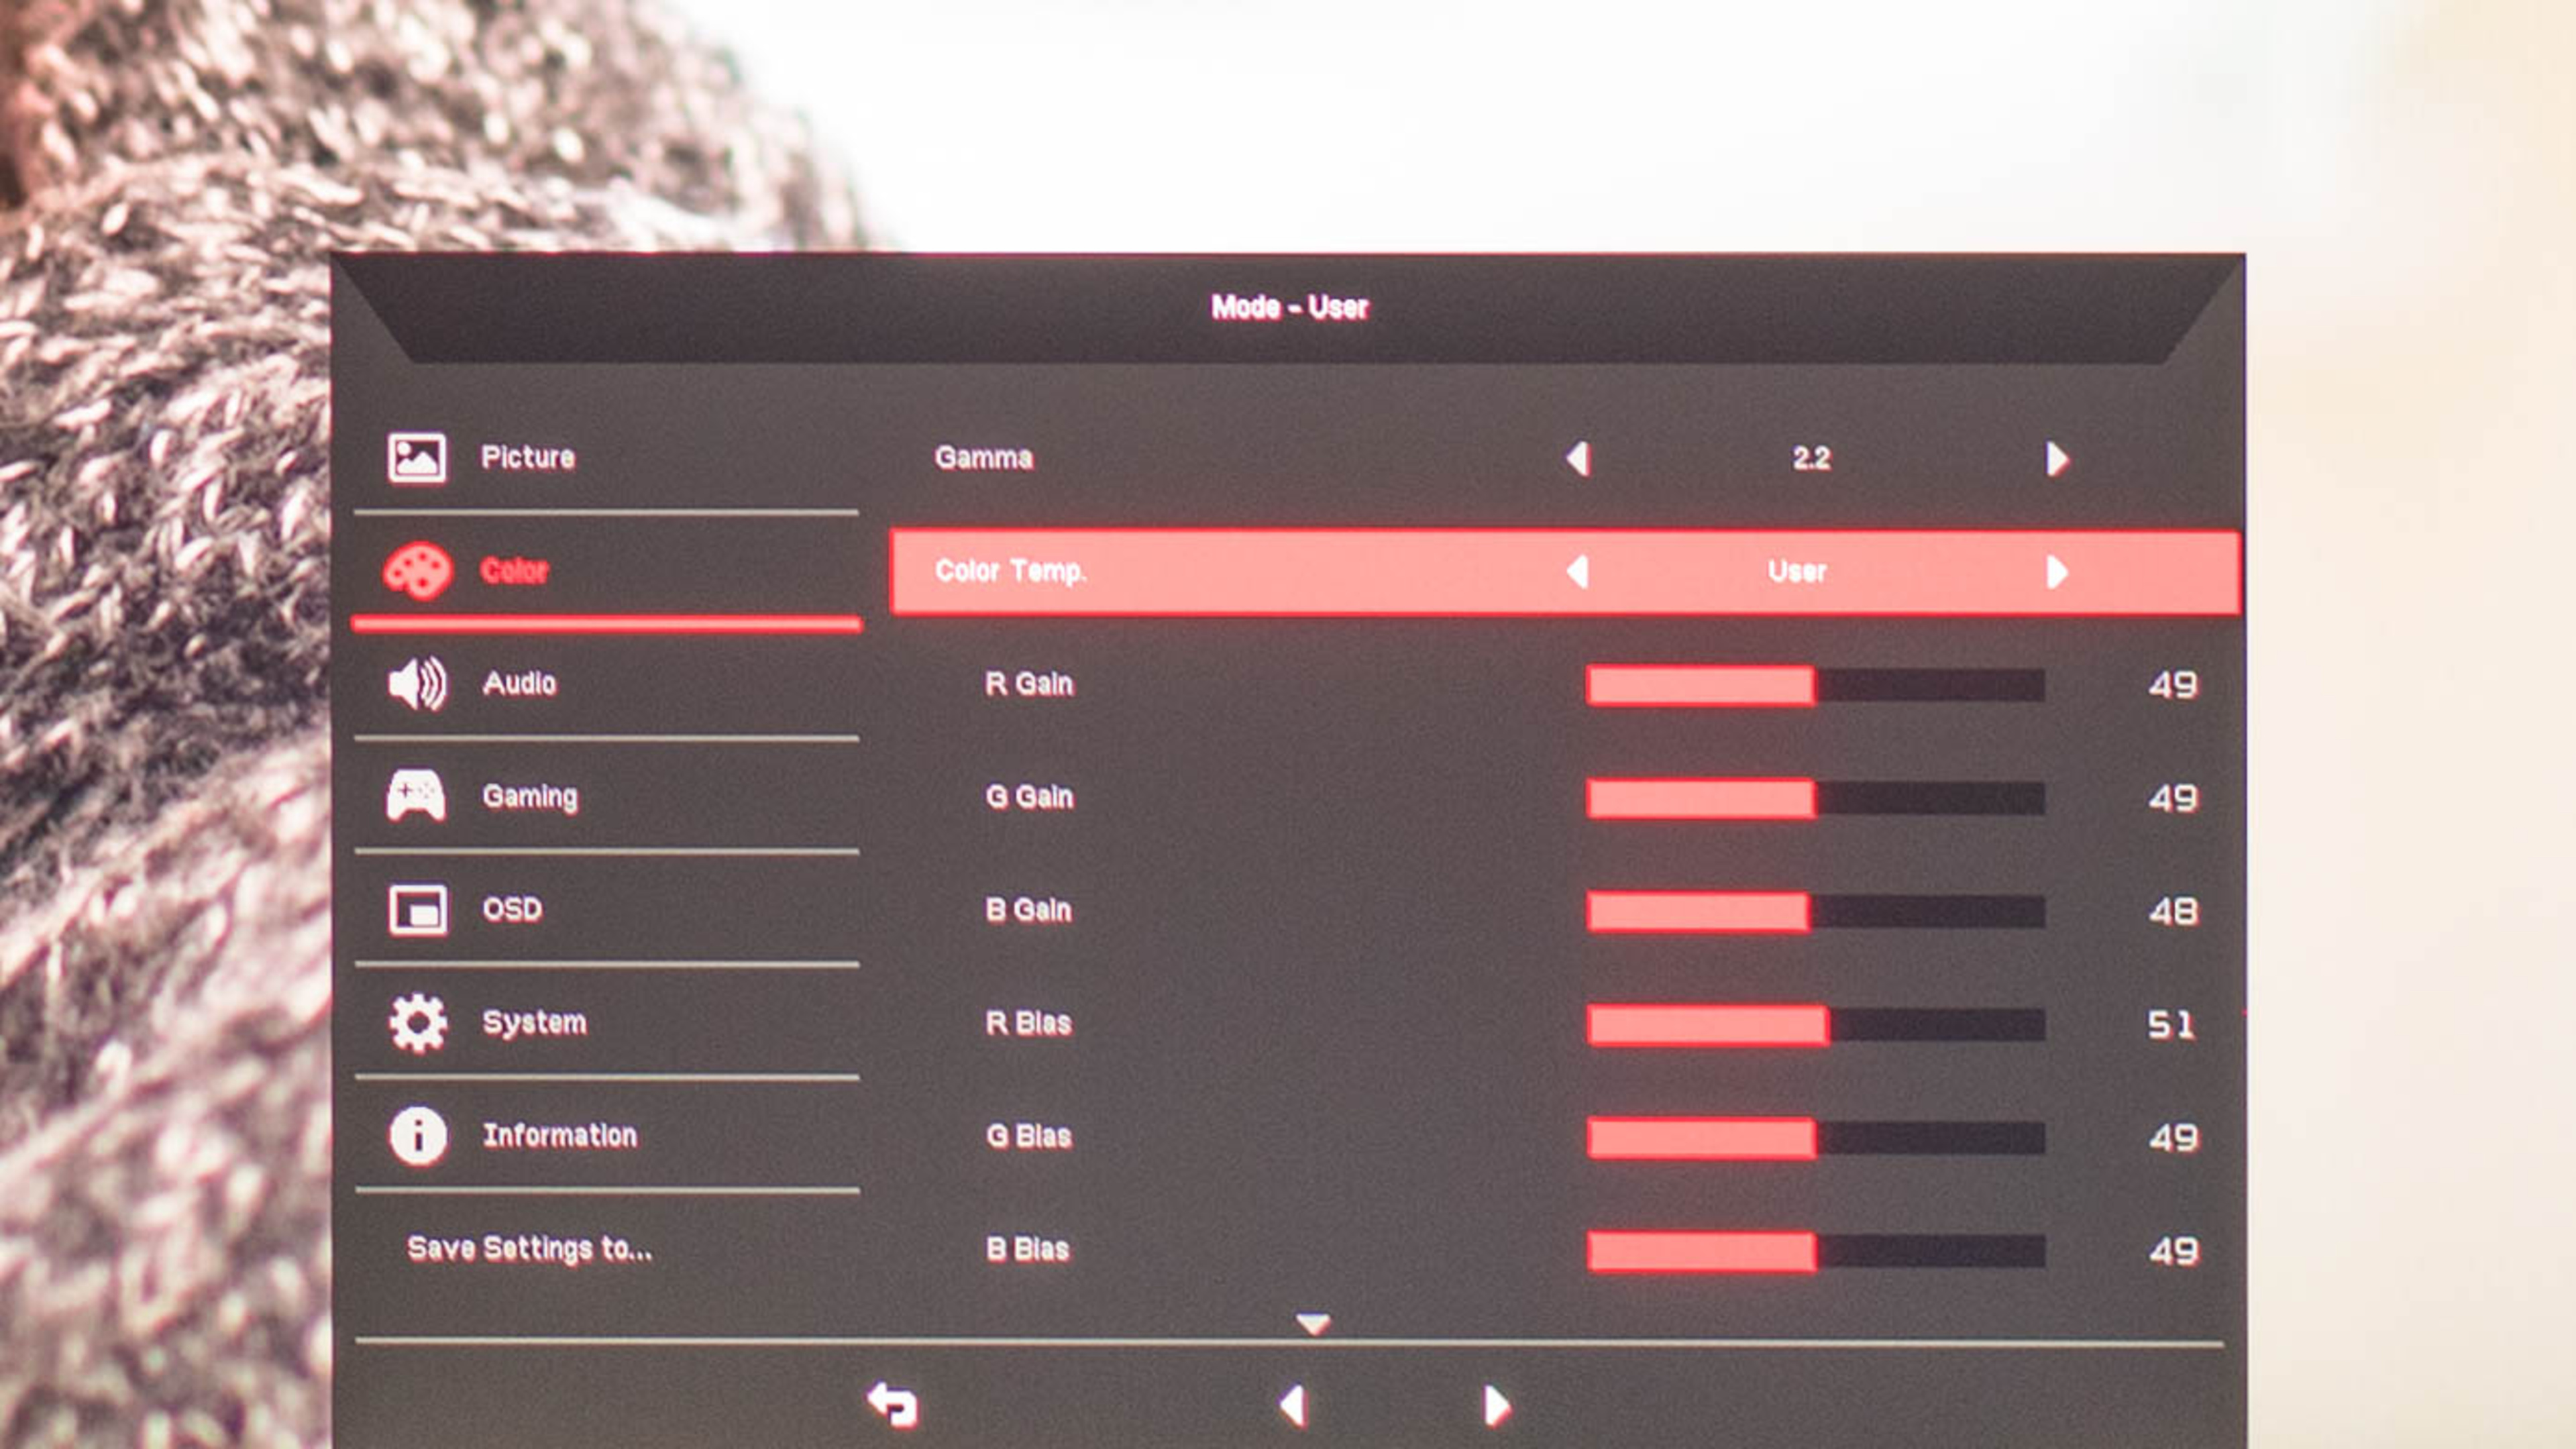
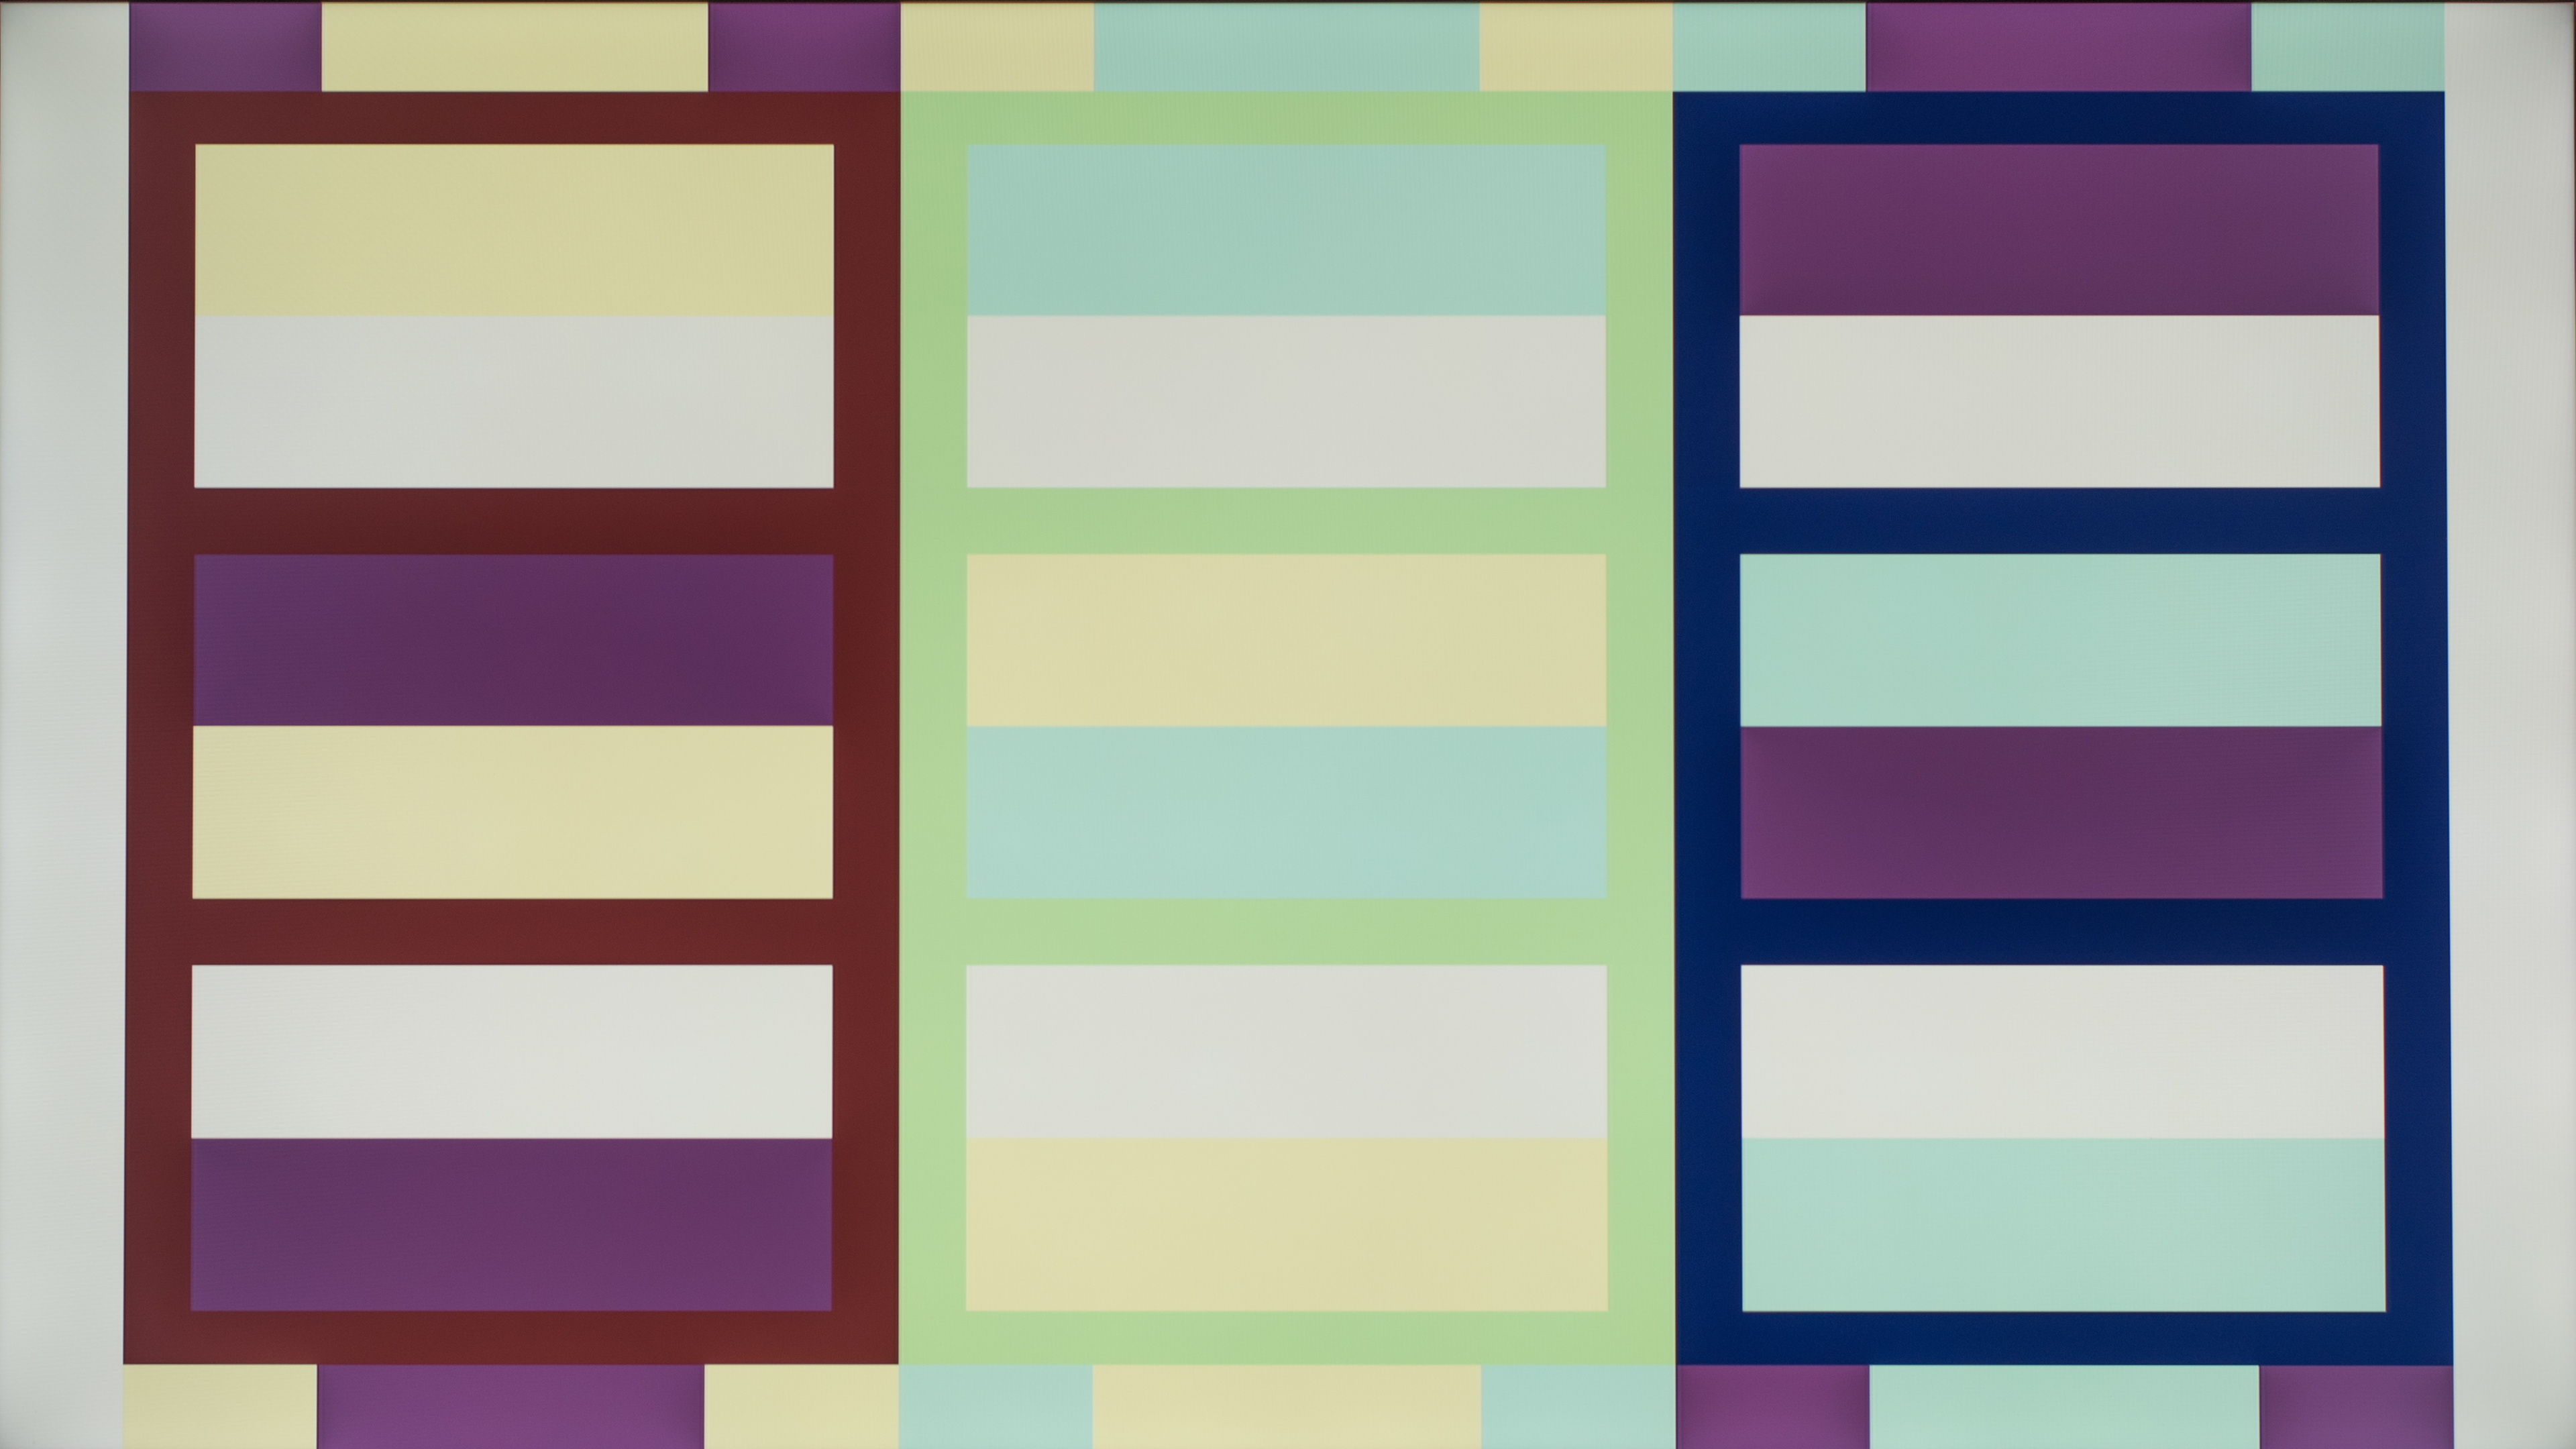
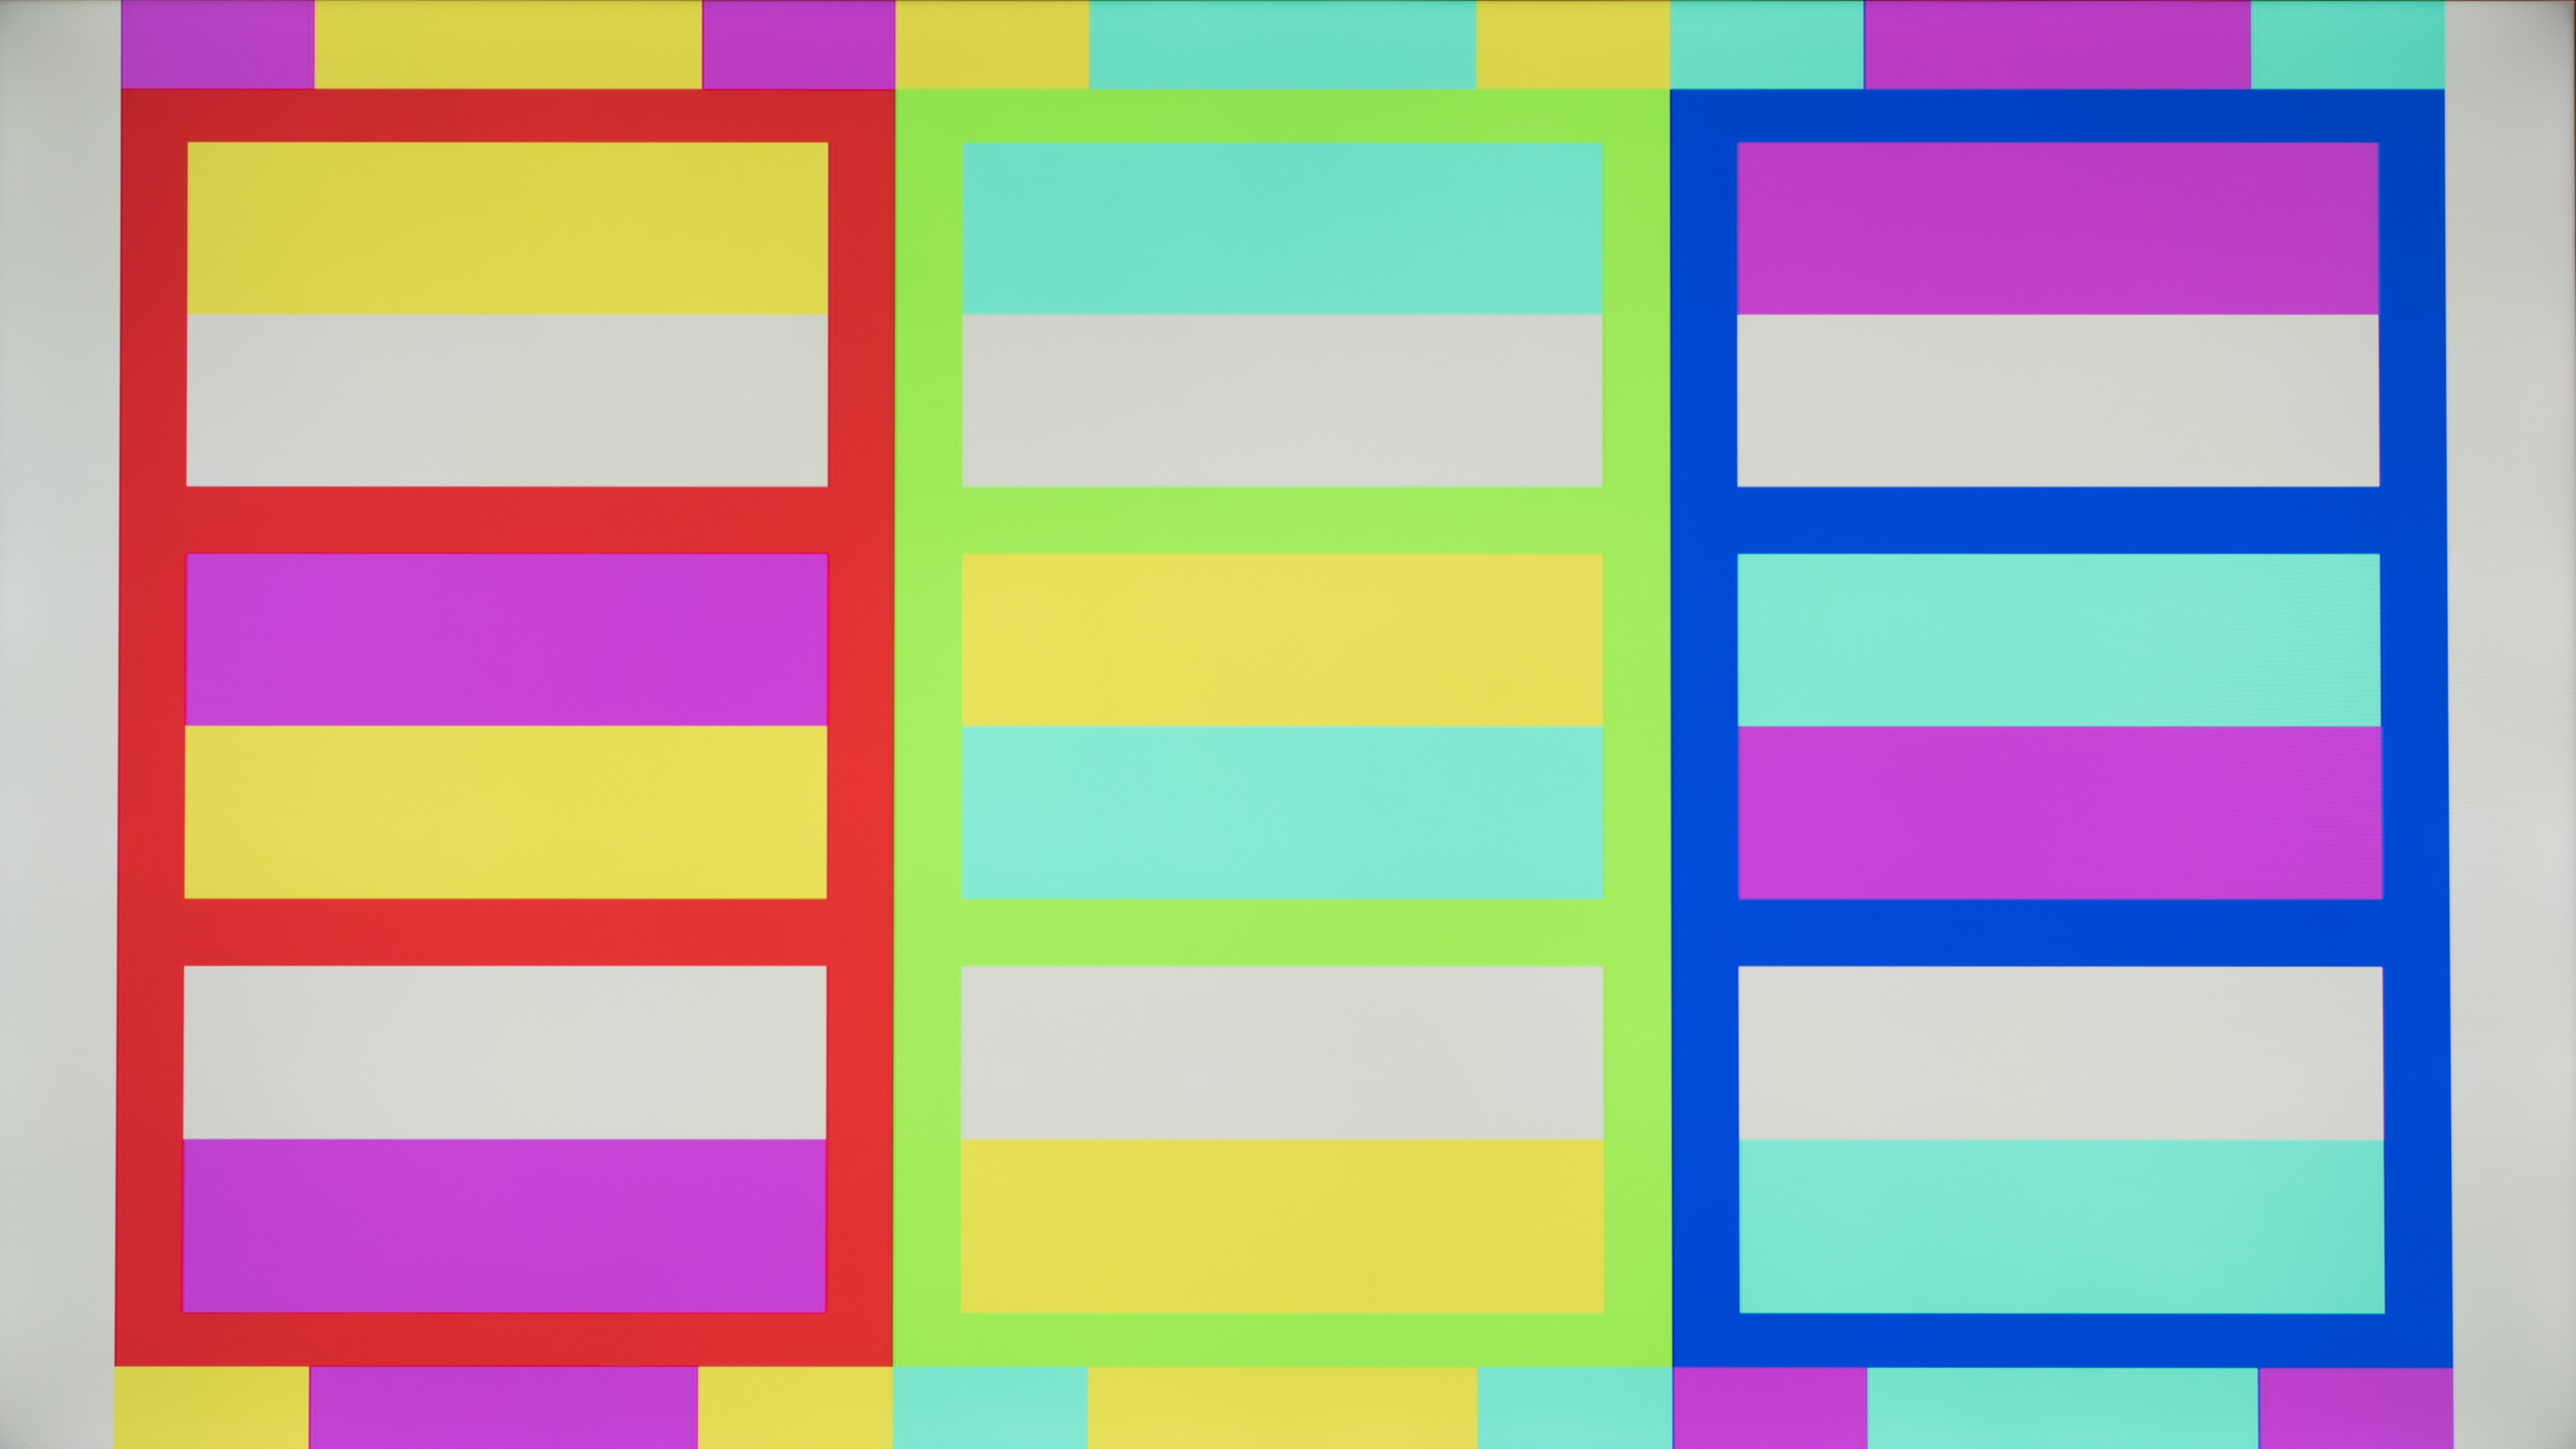
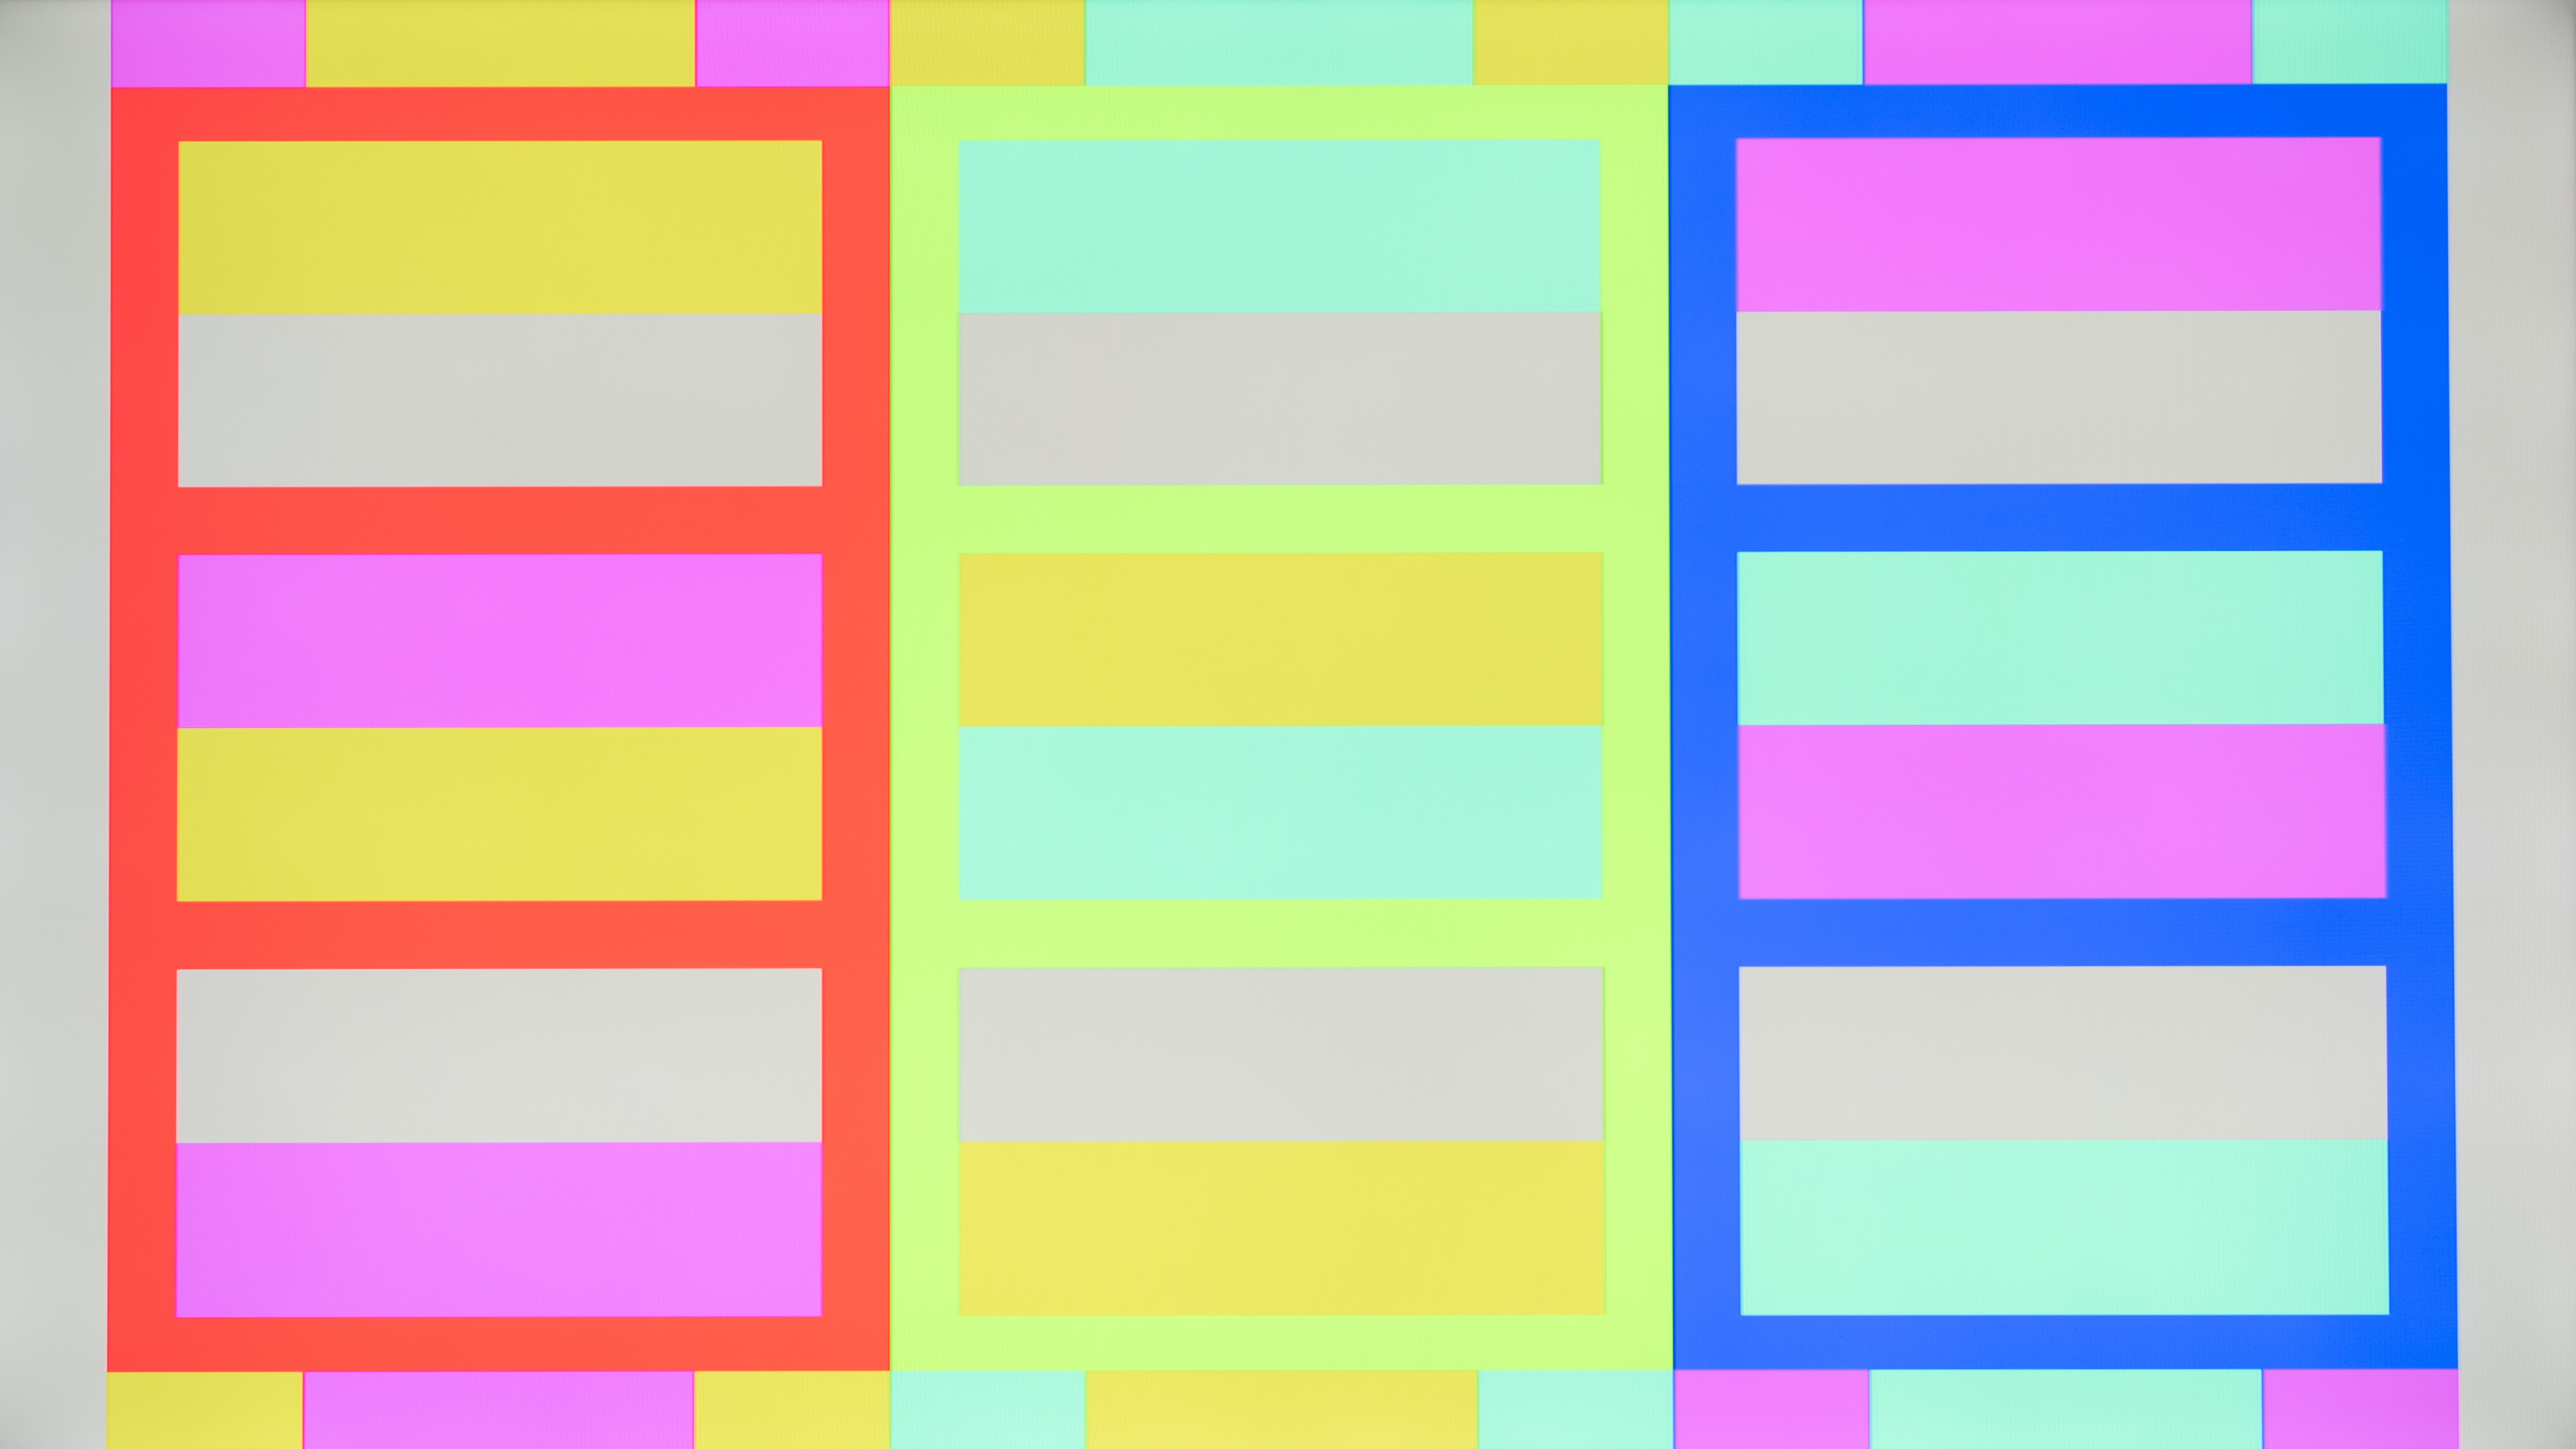
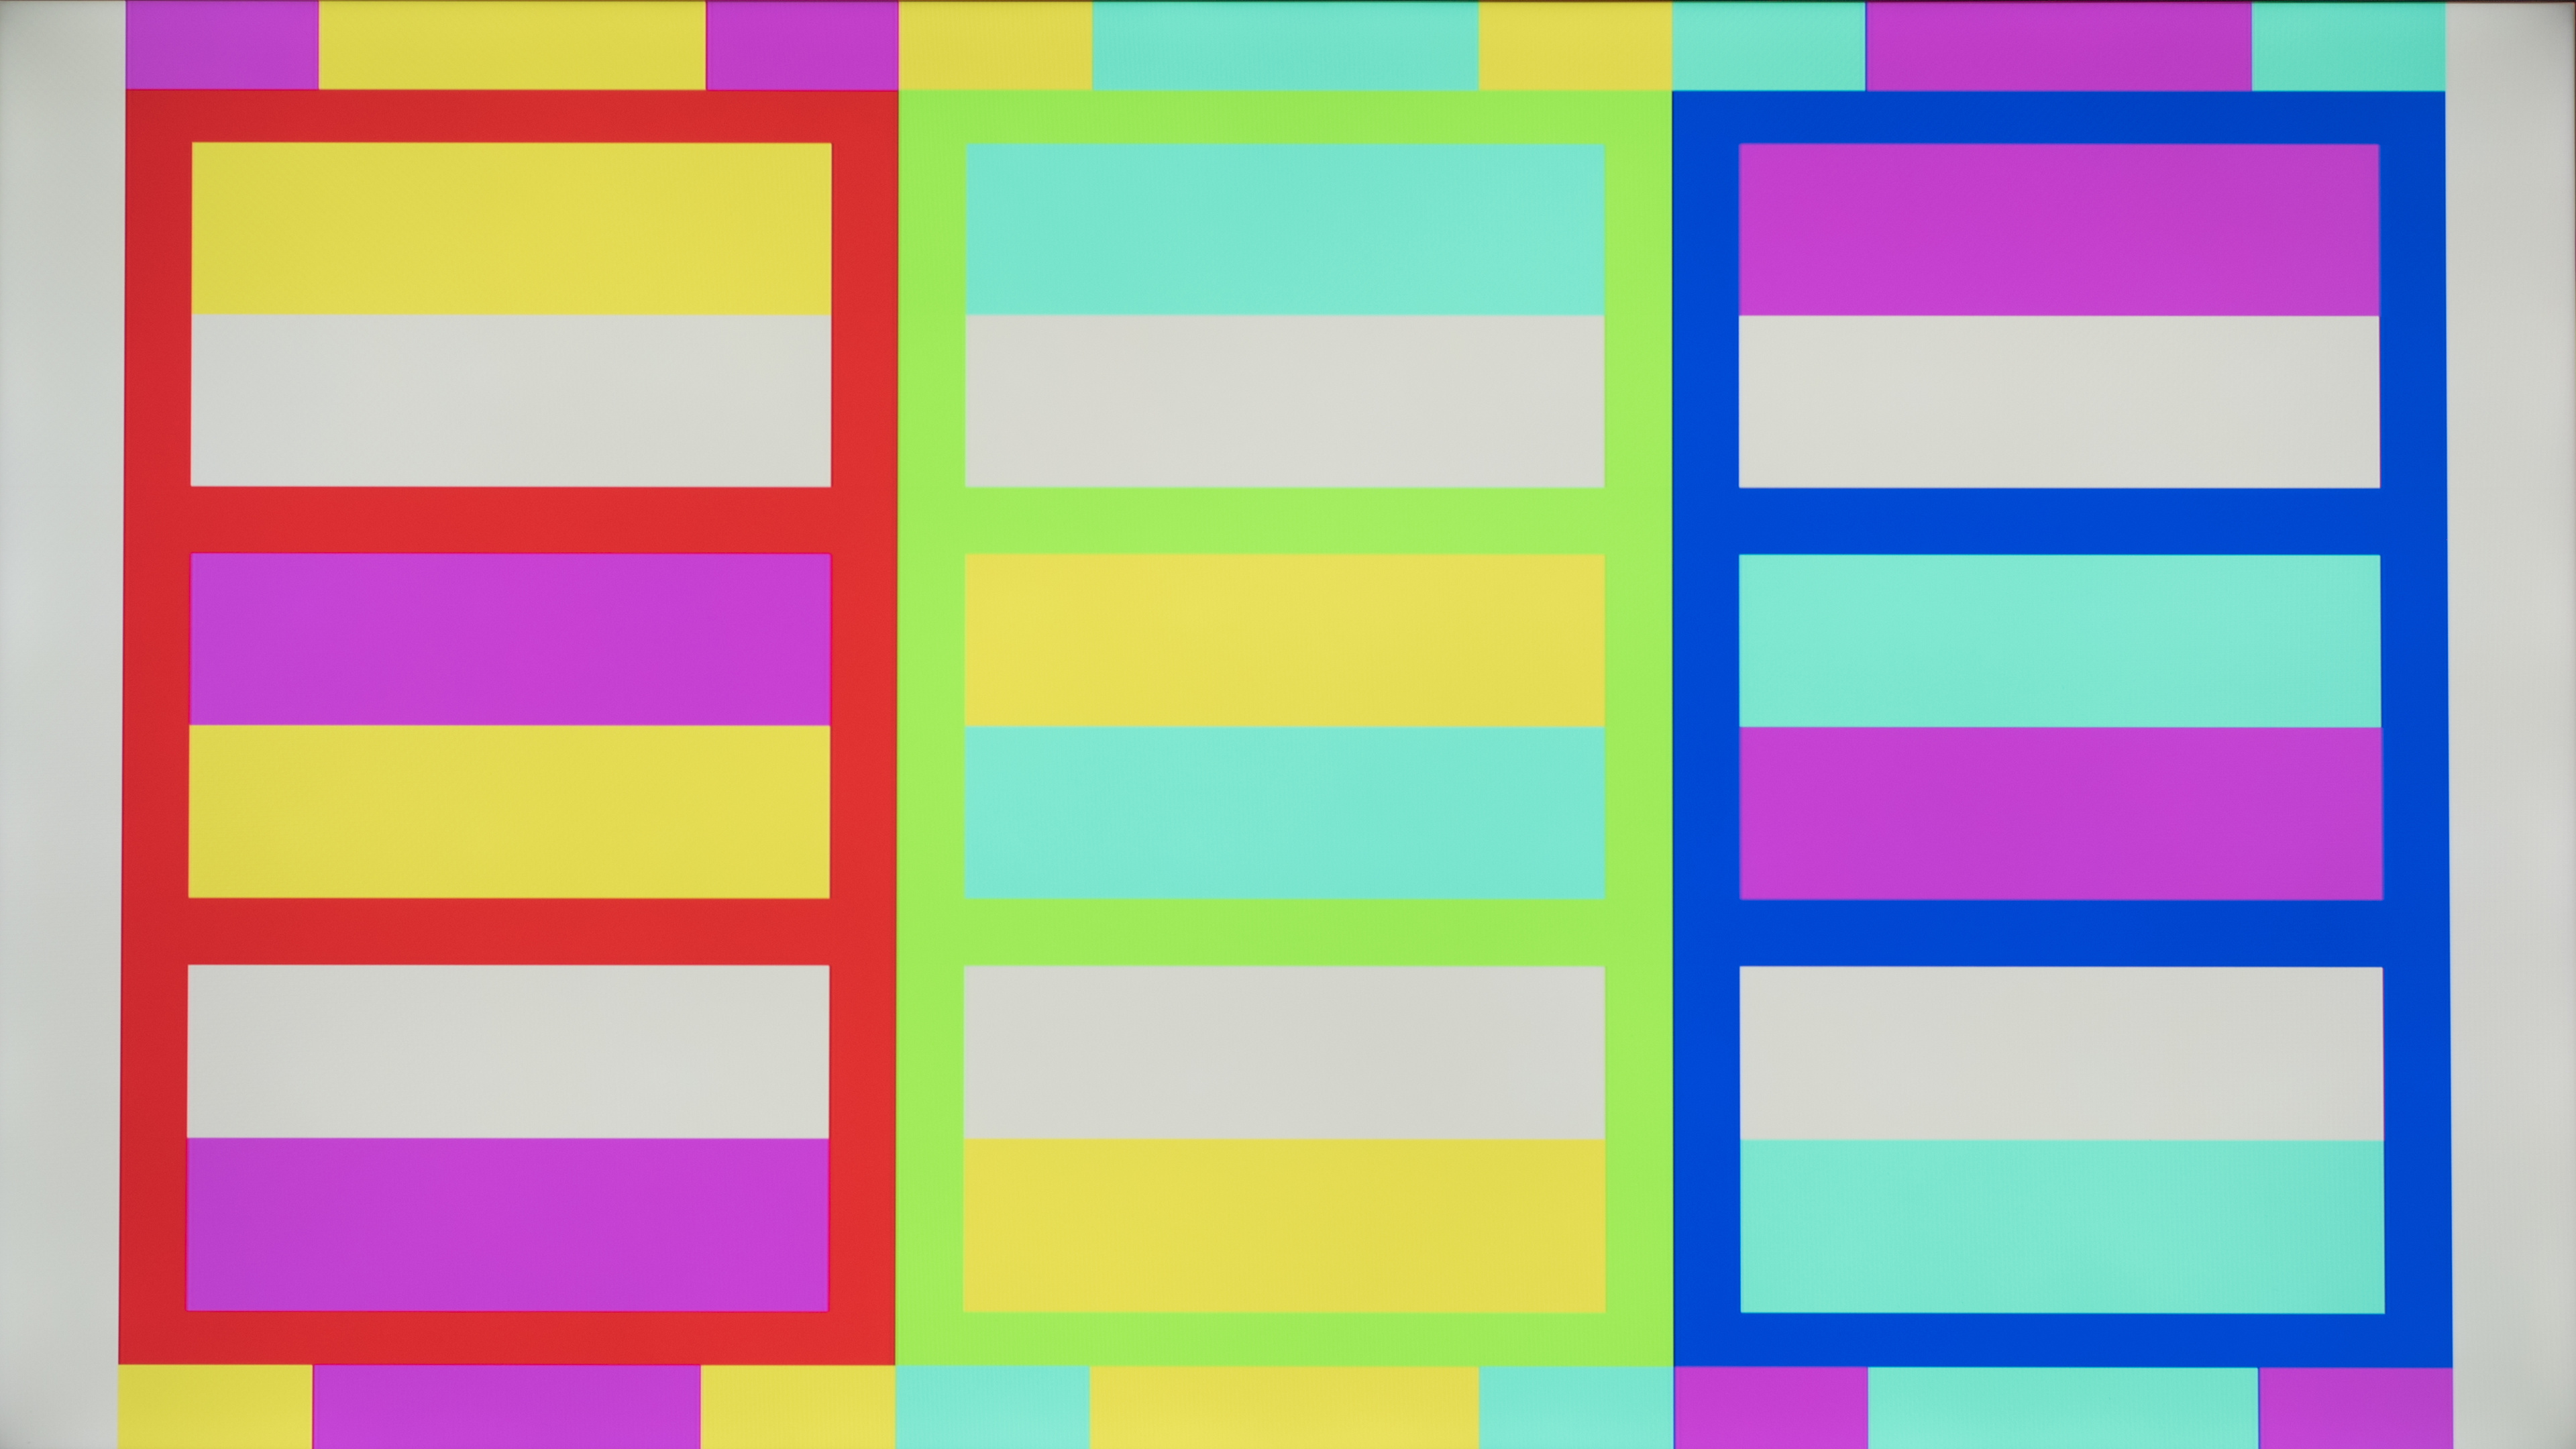
Color Temperature
Typically Accurate Setting: Default, or 6500K
The color temperature is one of the most easily noticeable aspects of a monitor's calibration. This is because if the color temperature is too warm, the image has a red tint, and if it's too cold, then it's blue. So essentially, when the color temperature is off, most colors are inaccurate, but ultimately, choosing the right color temperature setting is a personal preference. Most monitors aim for a color temperature of 6500K, while a higher color temperature, like 7200K, means it's cold, and a lower color temperature is warm.
Monitors across various brands handle the color temperature setting differently. Some monitors have presets, like Cool or Warm, while others have customizable RGB values as part of their color temperature setting. Adjusting these RGB values requires a bit more expertise, as this is what we use during our calibration process, but you can certainly try if you want to finely adjust the picture quality.
You can see examples of different color temperature settings with the Samsung Odyssey OLED G80SD S32DG80 below.
| Warm 1 | Warm 2 | Natural | Cool |
|---|---|---|---|
 |
 |
 |
 |
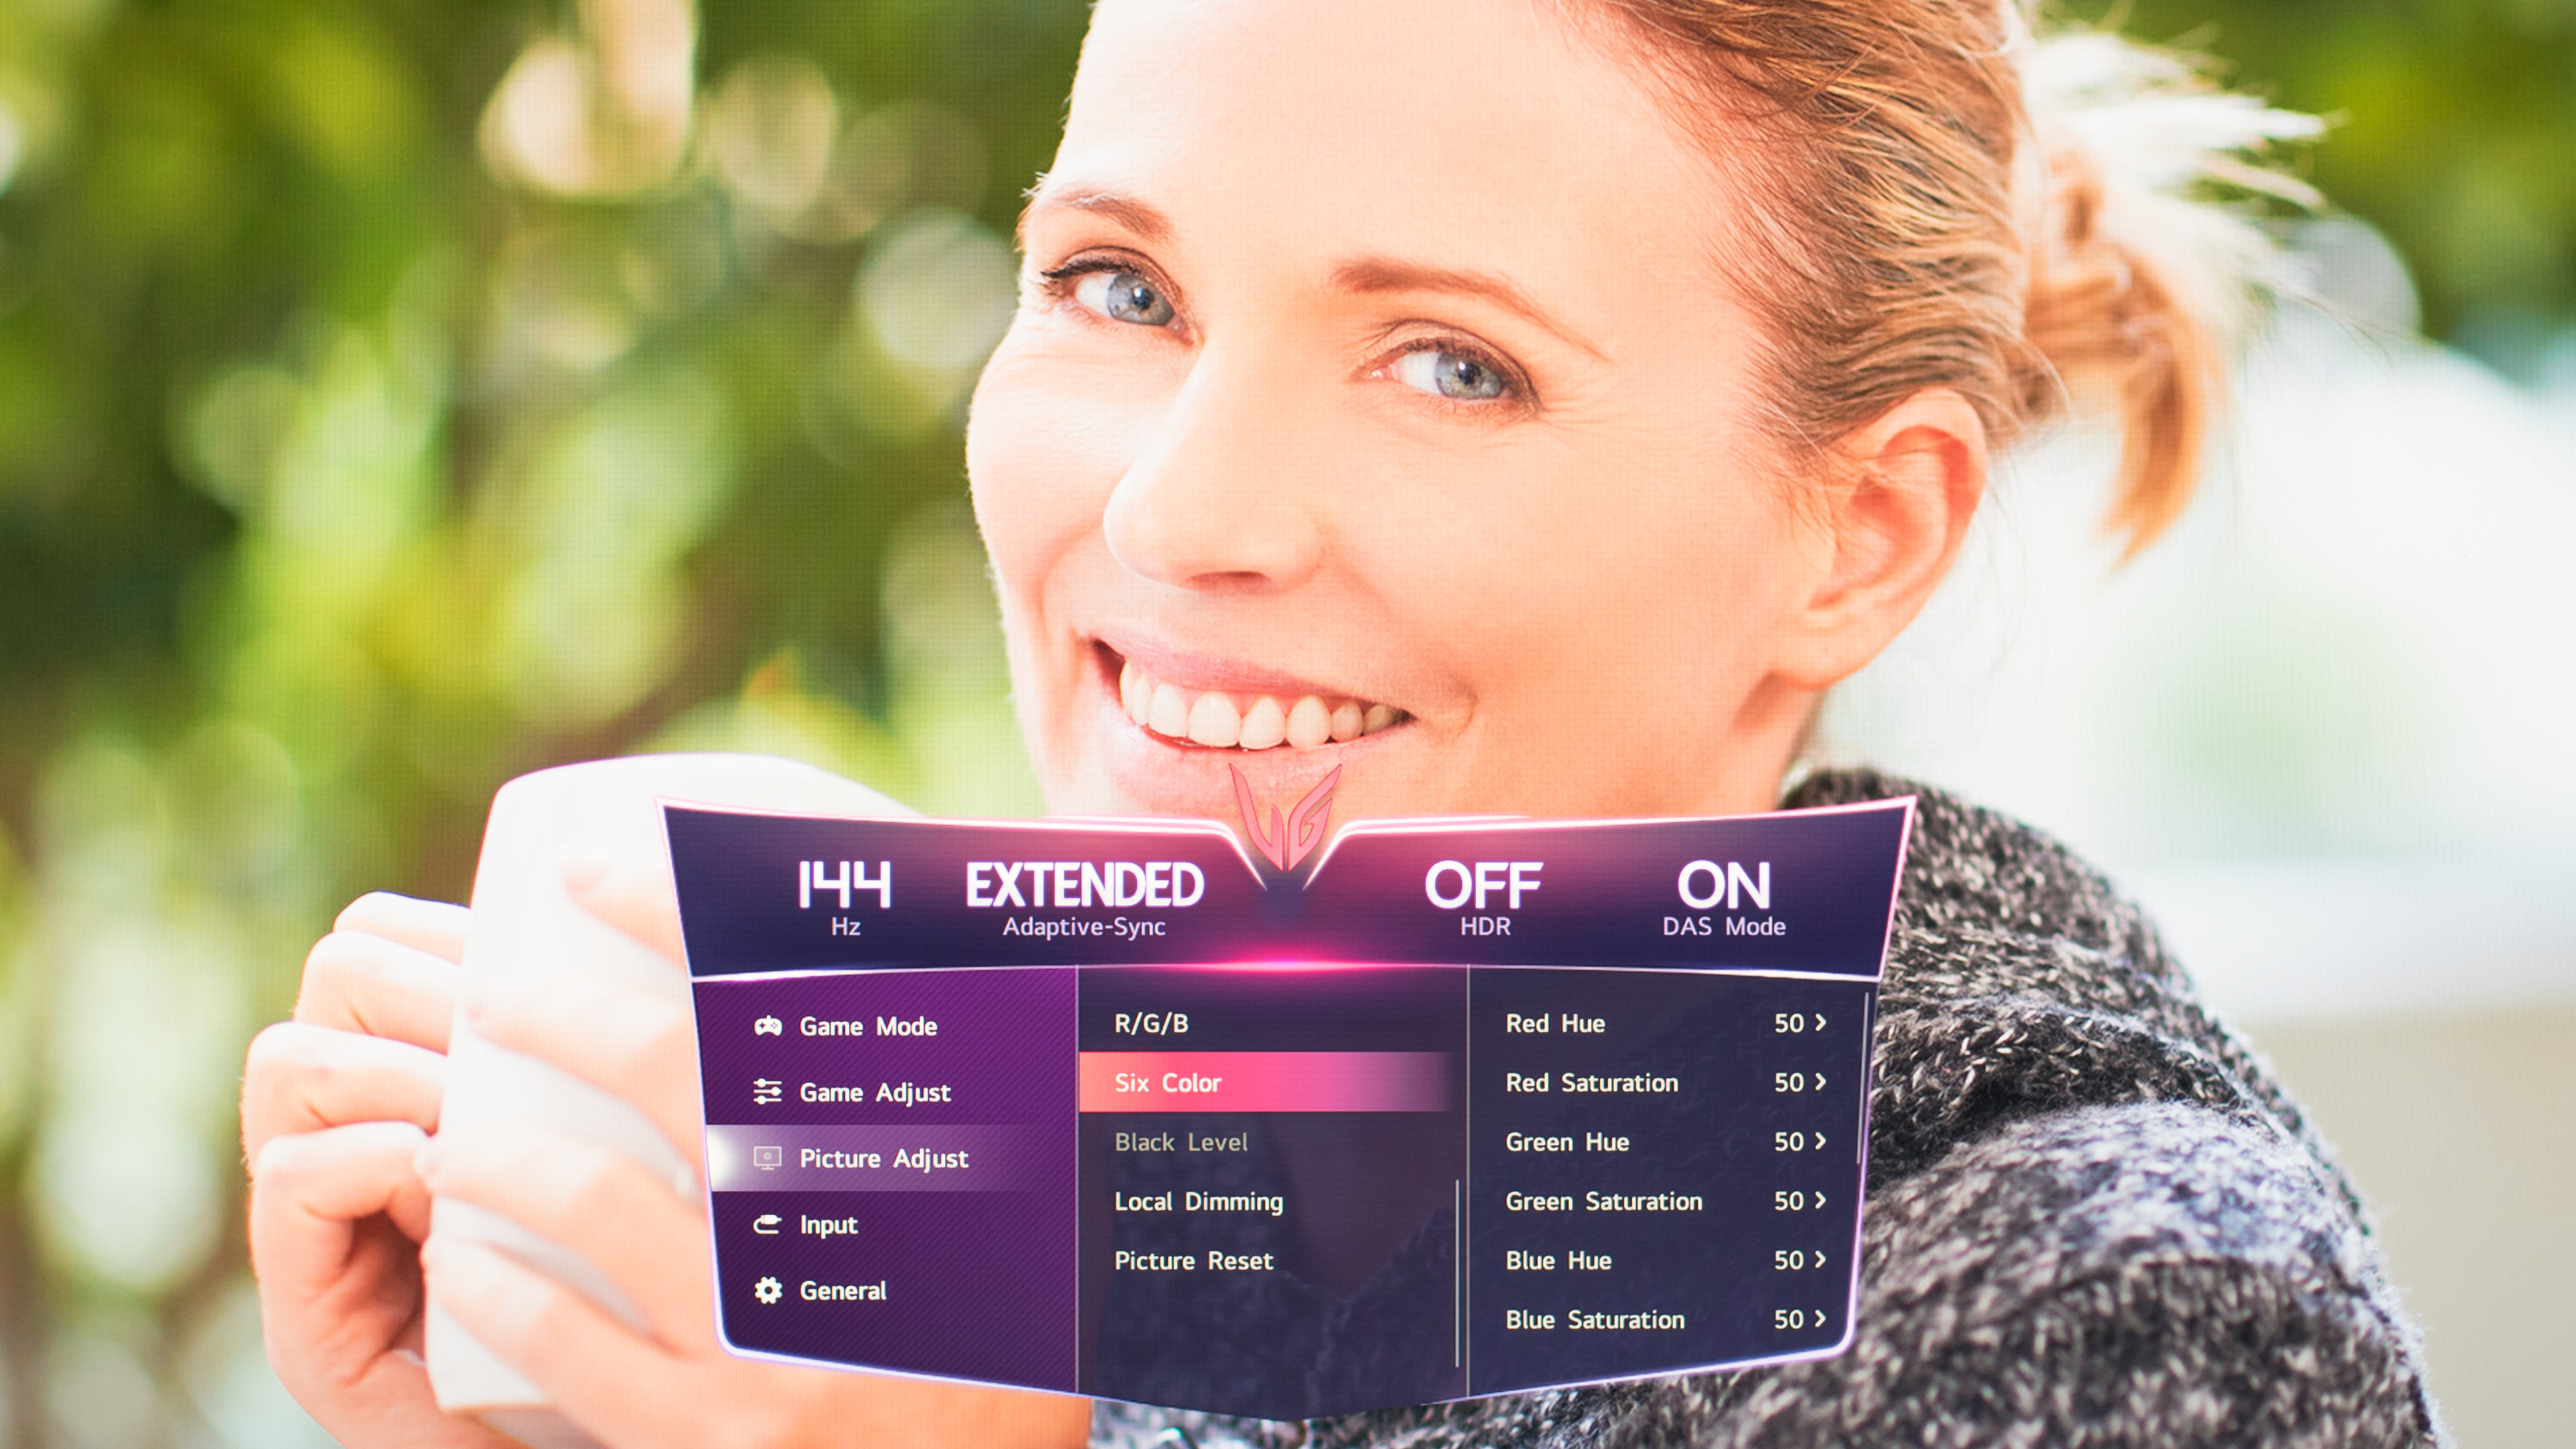
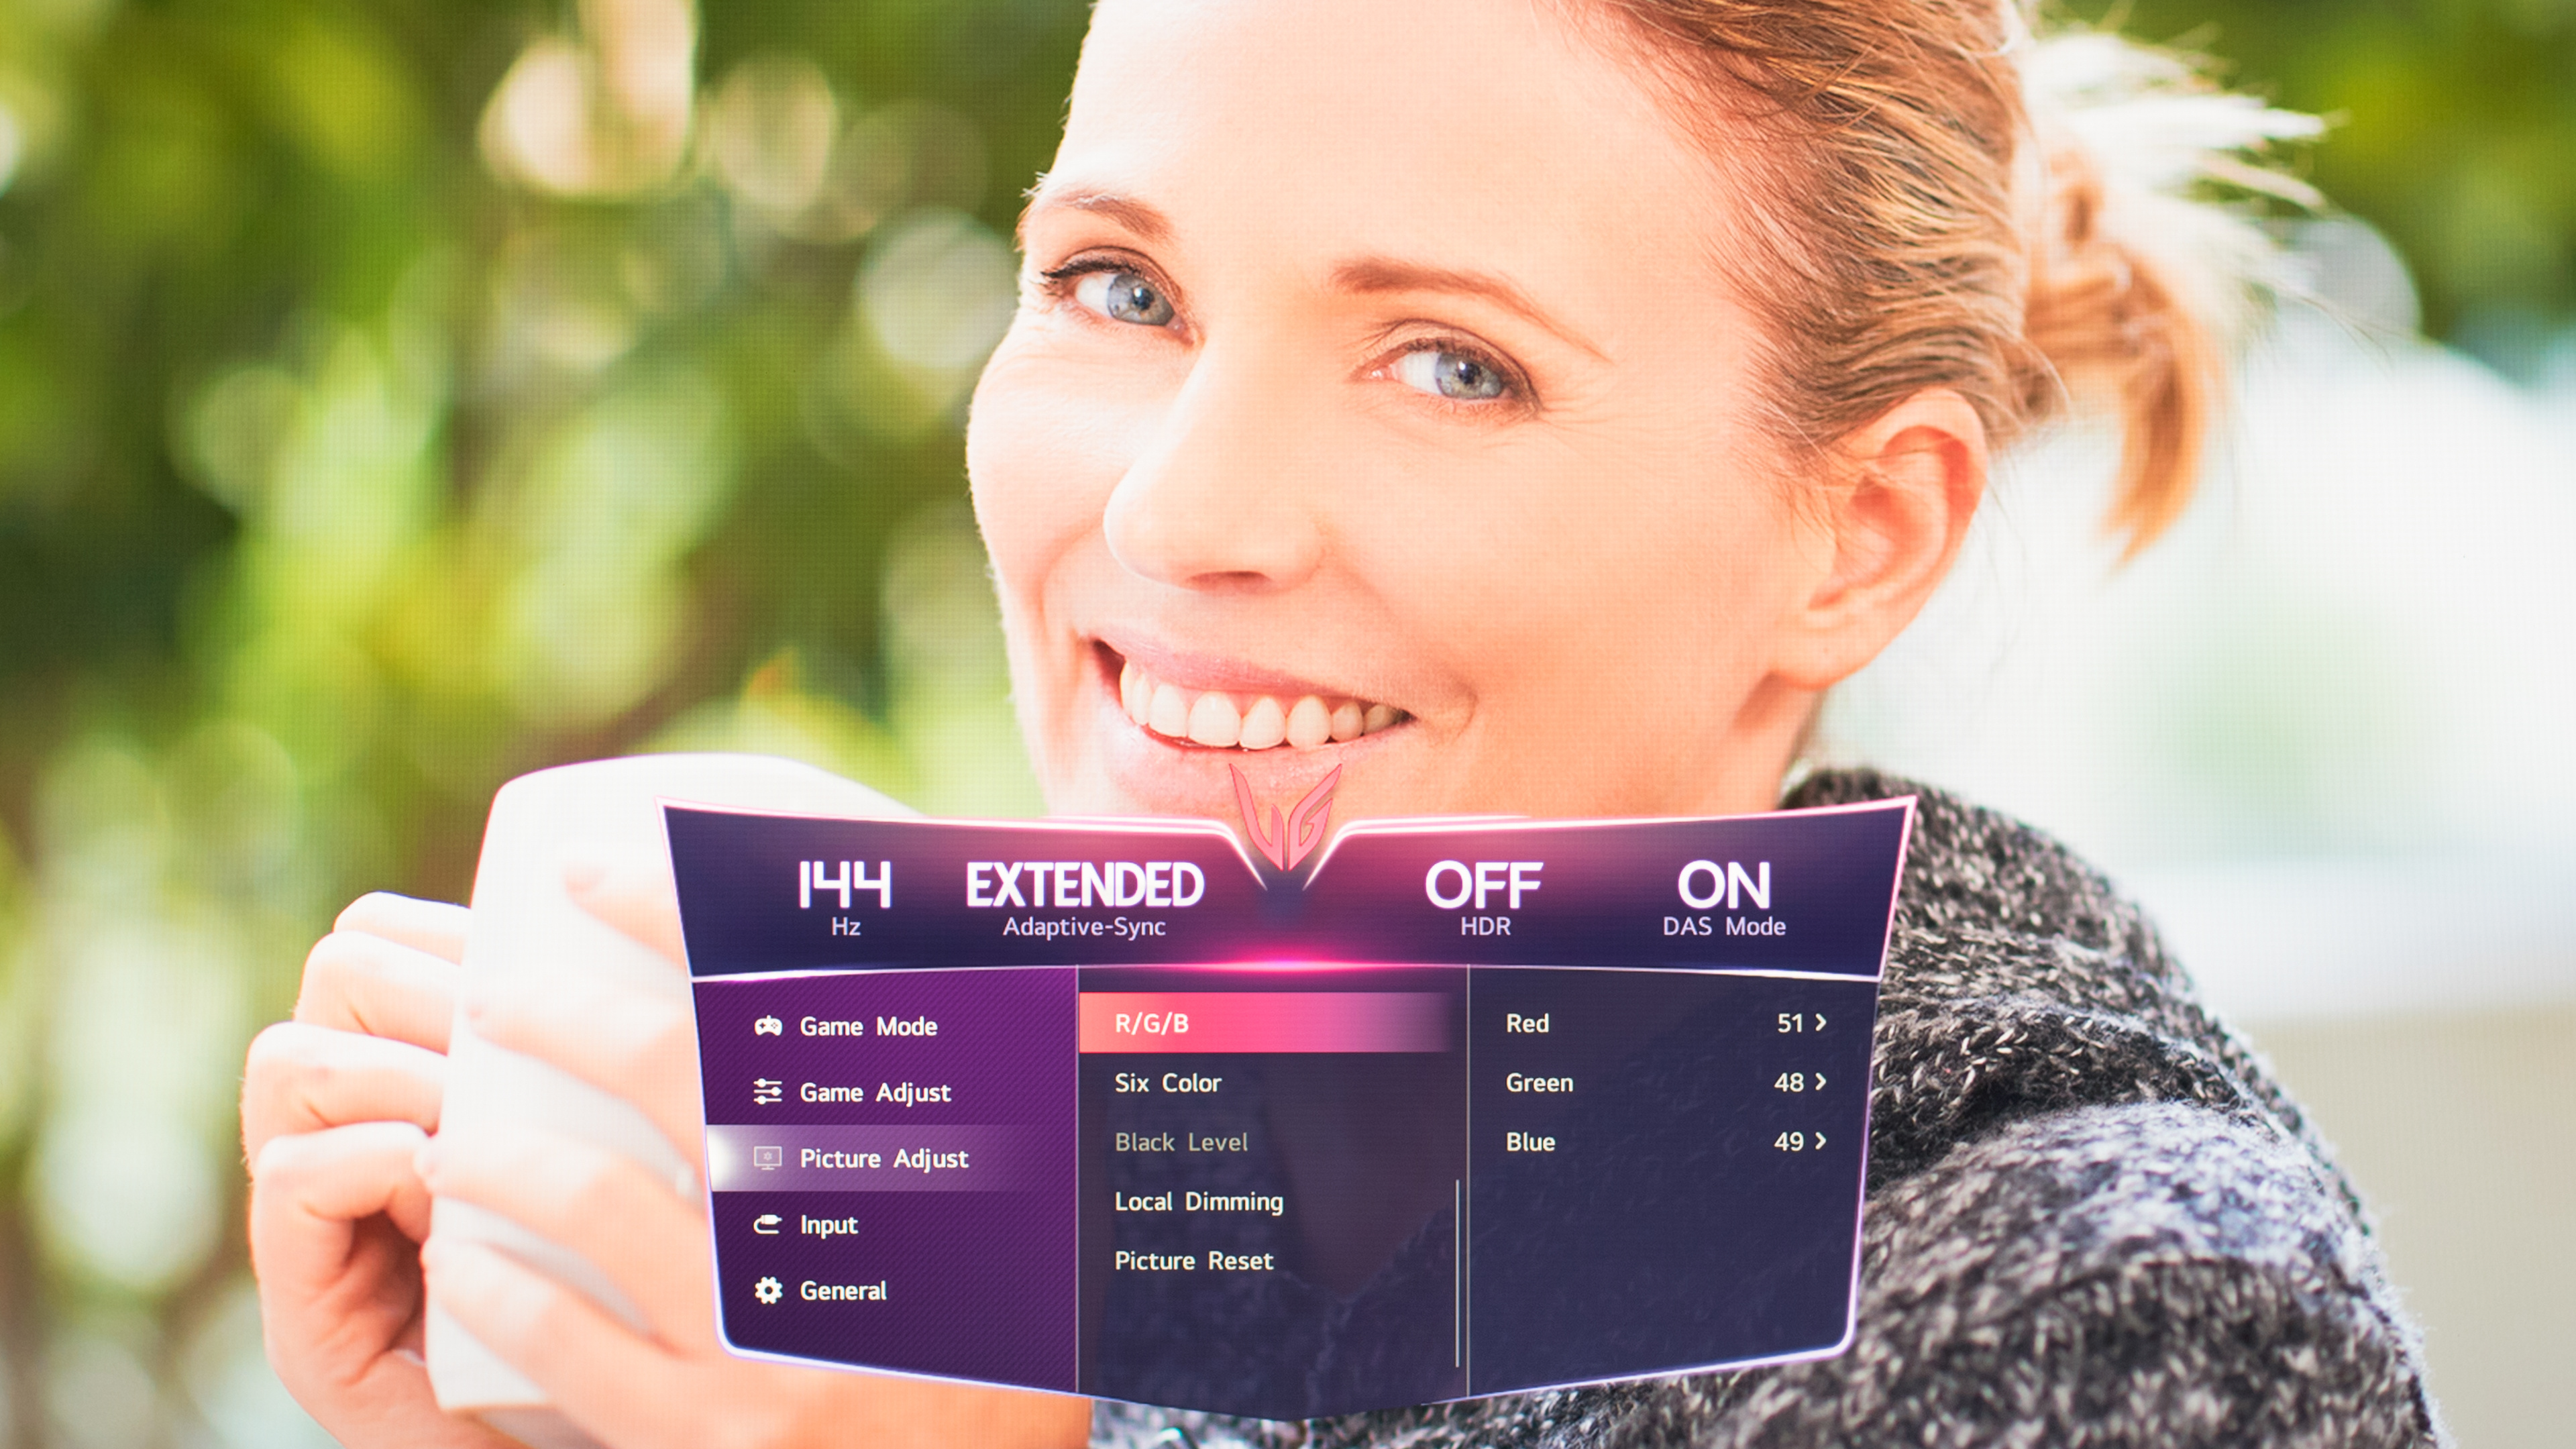
Color Settings
Typically Accurate Setting: Default
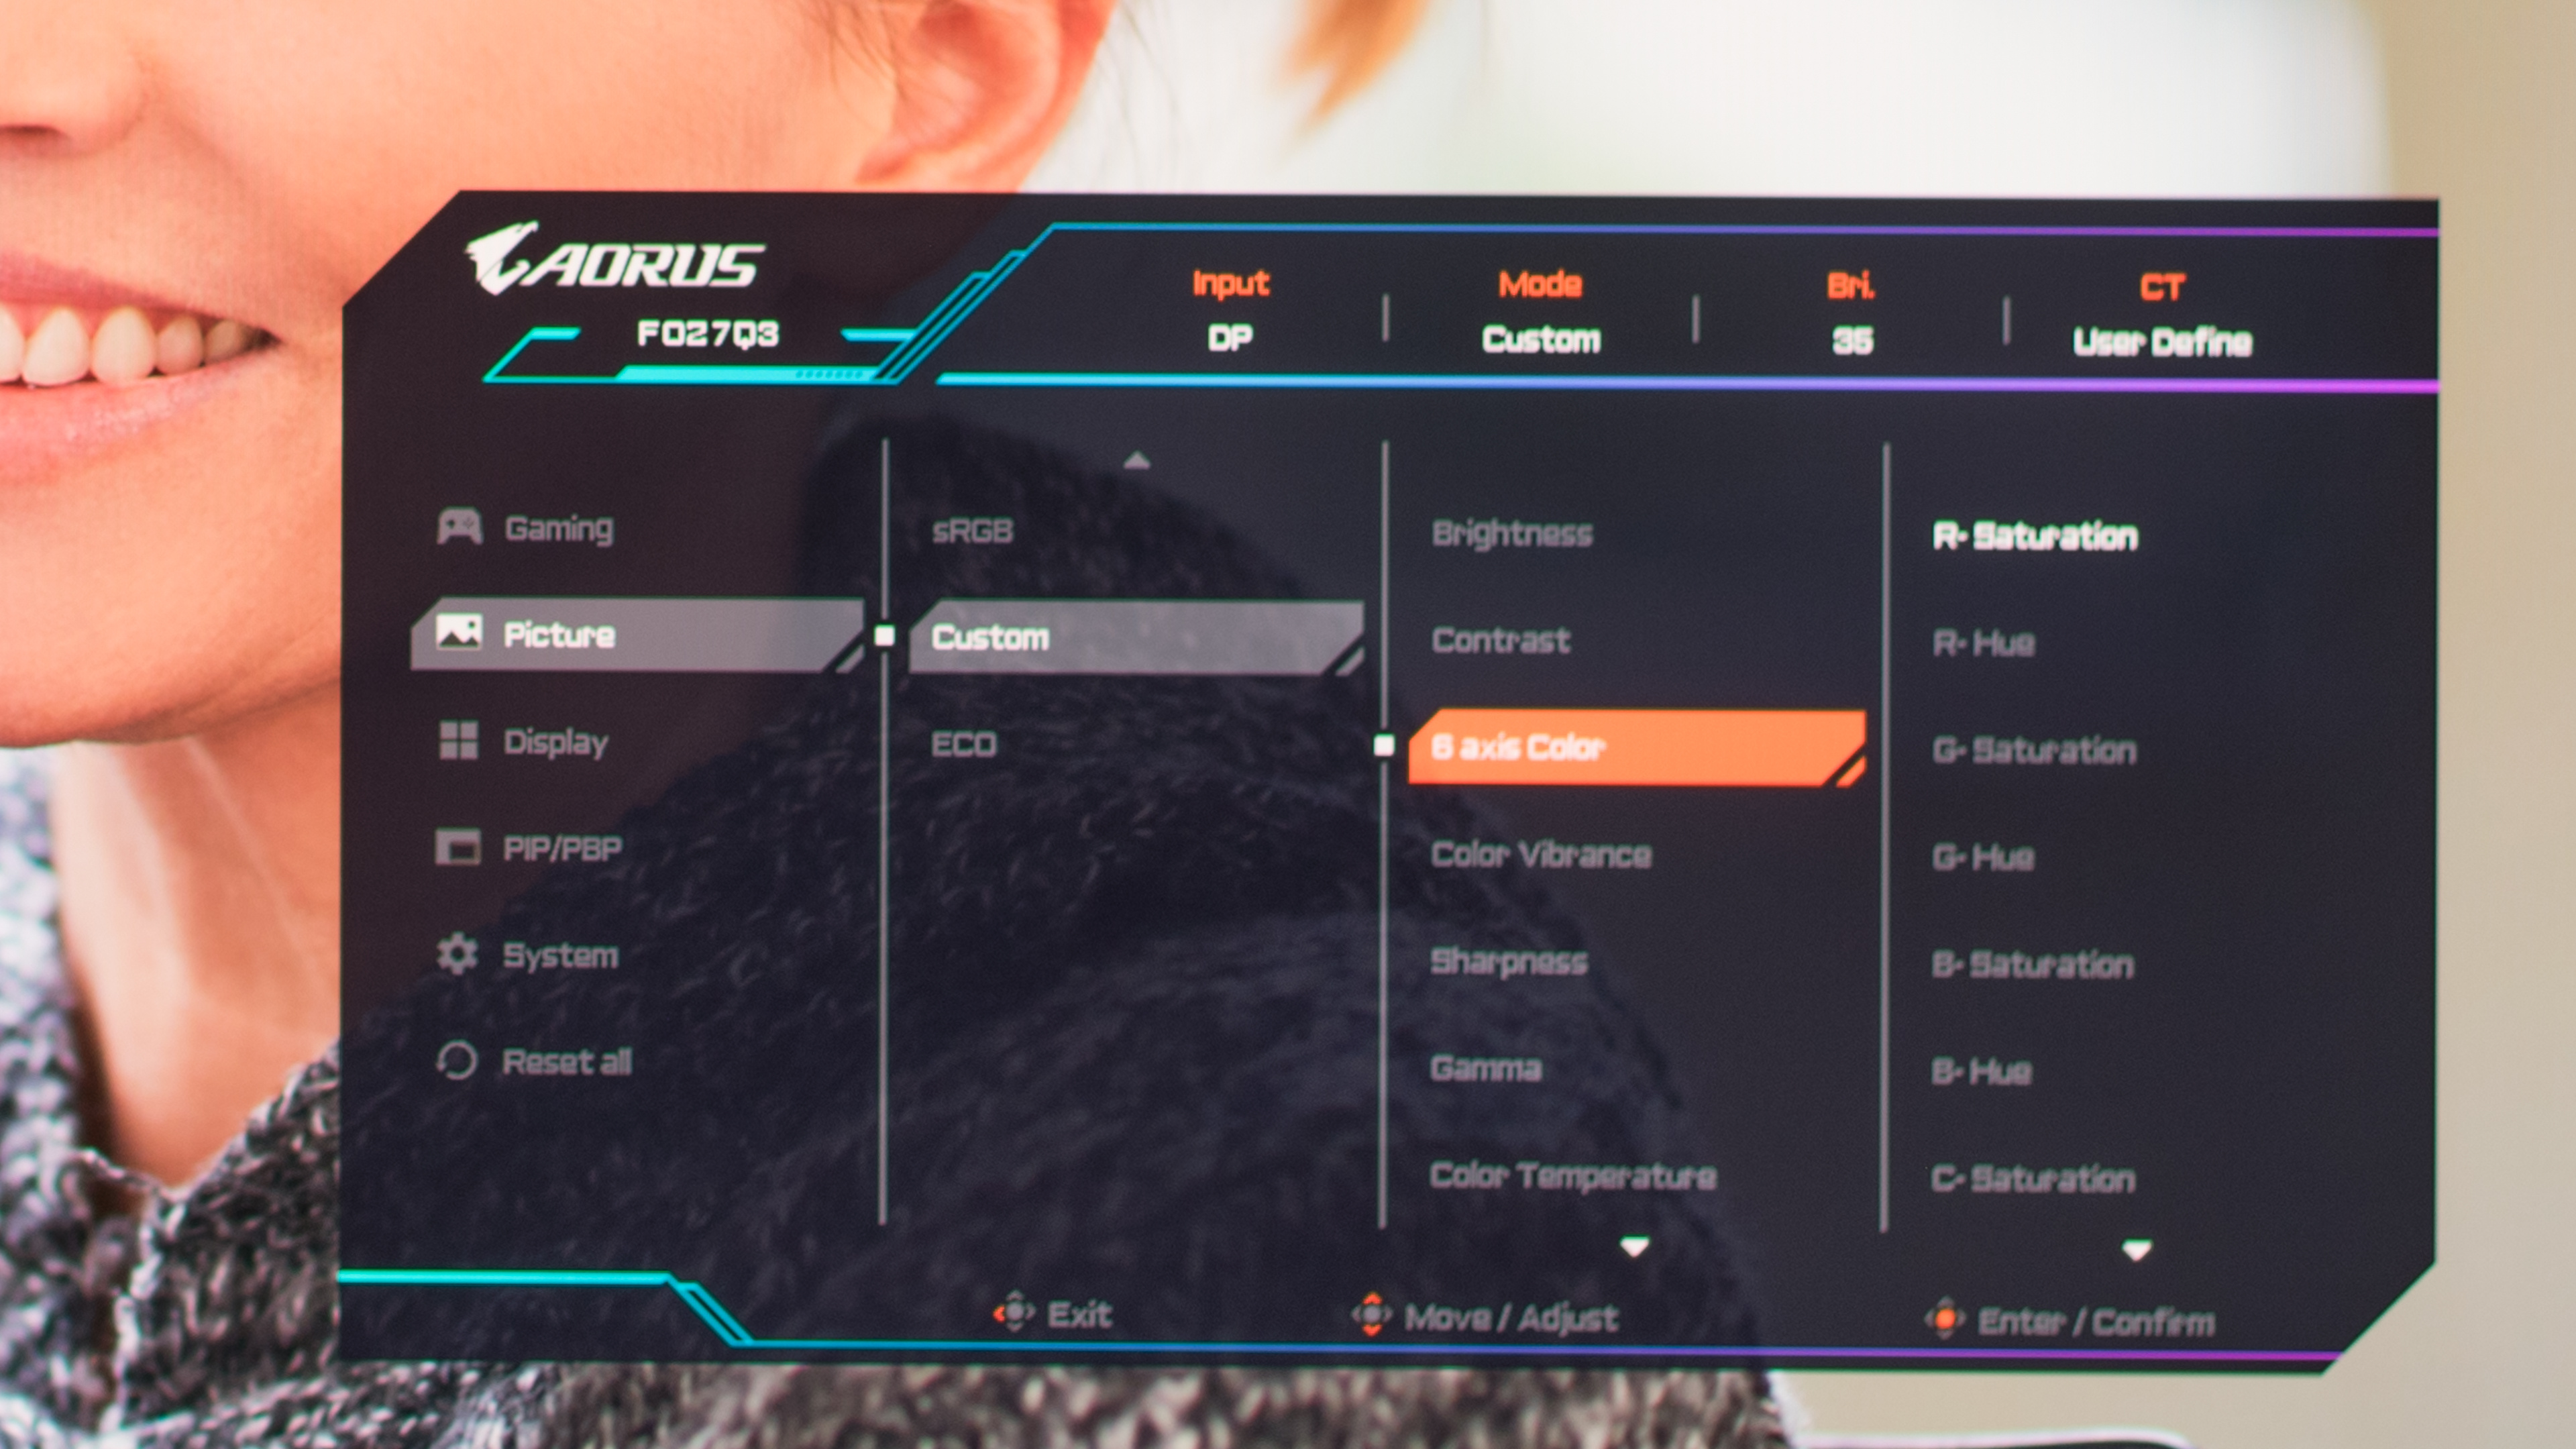
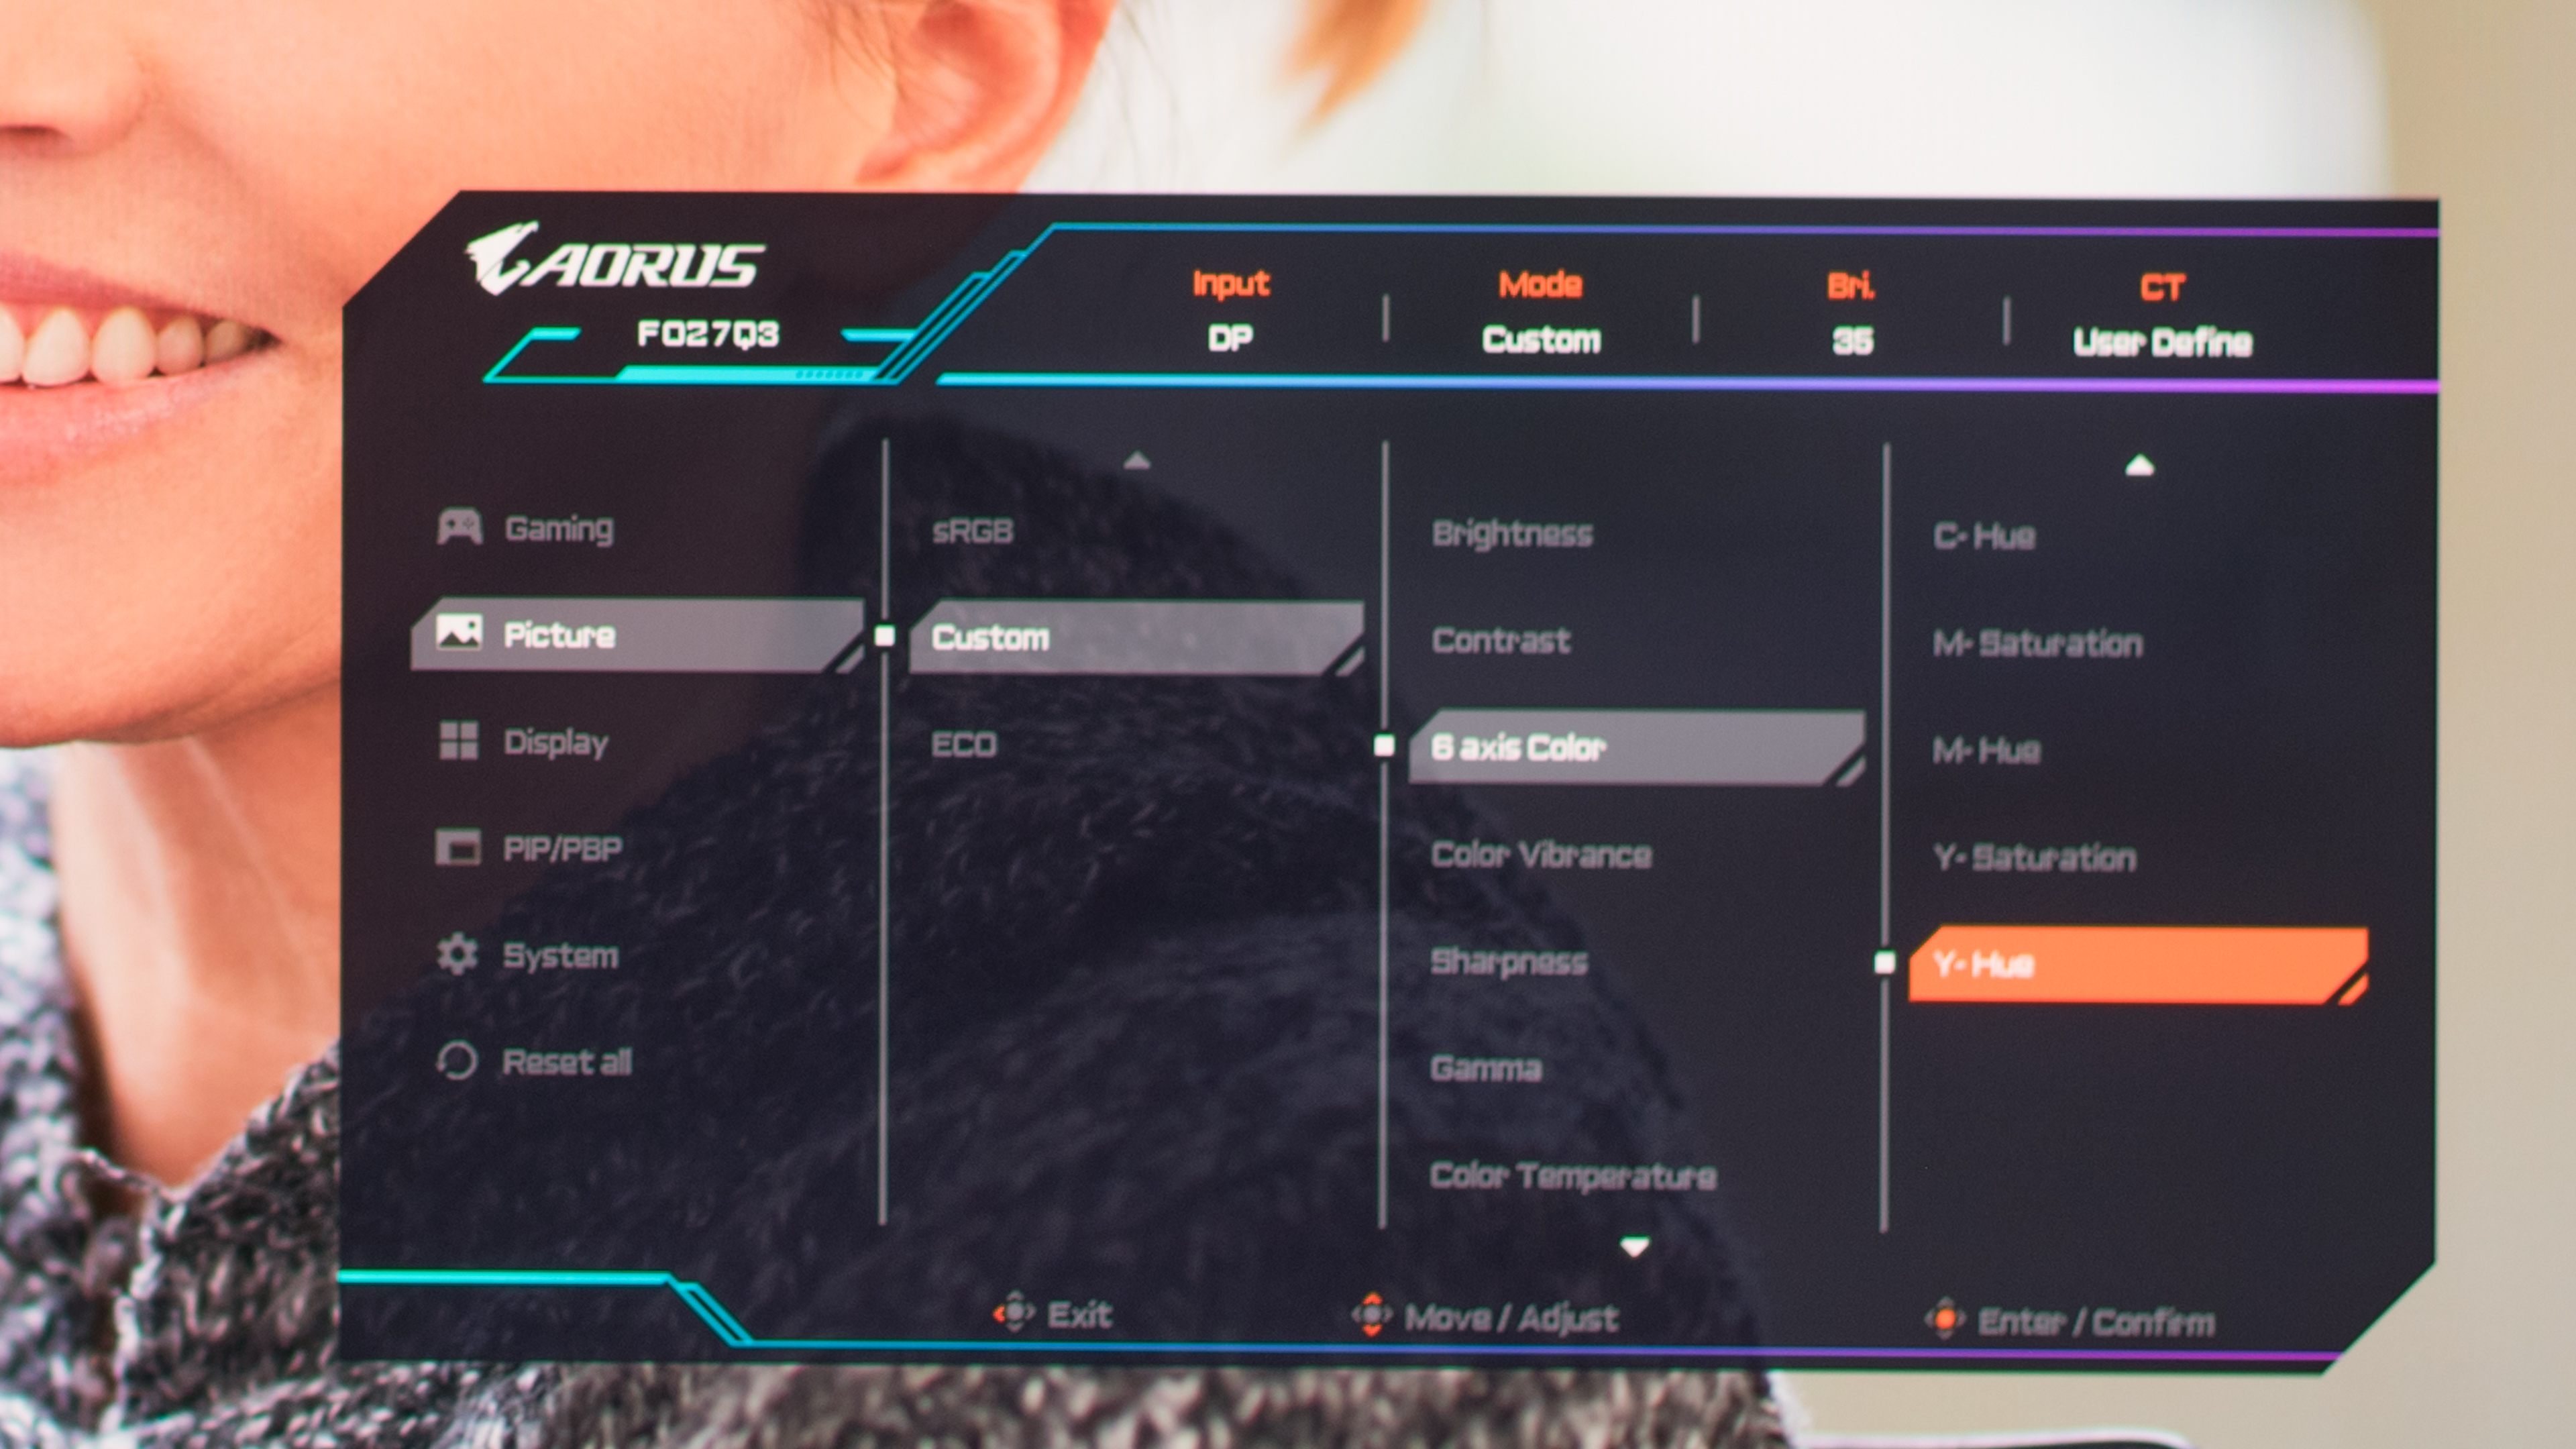
As mentioned, some monitors have individual color settings as part of the color temperature setting. Others have these color settings in a separate part of the menu, and some even allow you to adjust the saturation, gain, bias, and hue of red, green, and blue. These are meant for precise calibration, and you should only adjust them if you have the proper tools to understand how accurate your display is. That said, you can and should play around with these settings to find levels that you prefer if you don't like the default image.
Below are examples of these color adjustment settings on different monitors. Some brands, like Samsung, also label these color settings as 'White Balance,' similar to TVs.
| LG 27GR95UM-B | Gigabyte AORUS FO27Q3 | Acer Nitro XV275K P3biipruzx | ||
|---|---|---|---|---|
 |
 |
 |
 |
 |
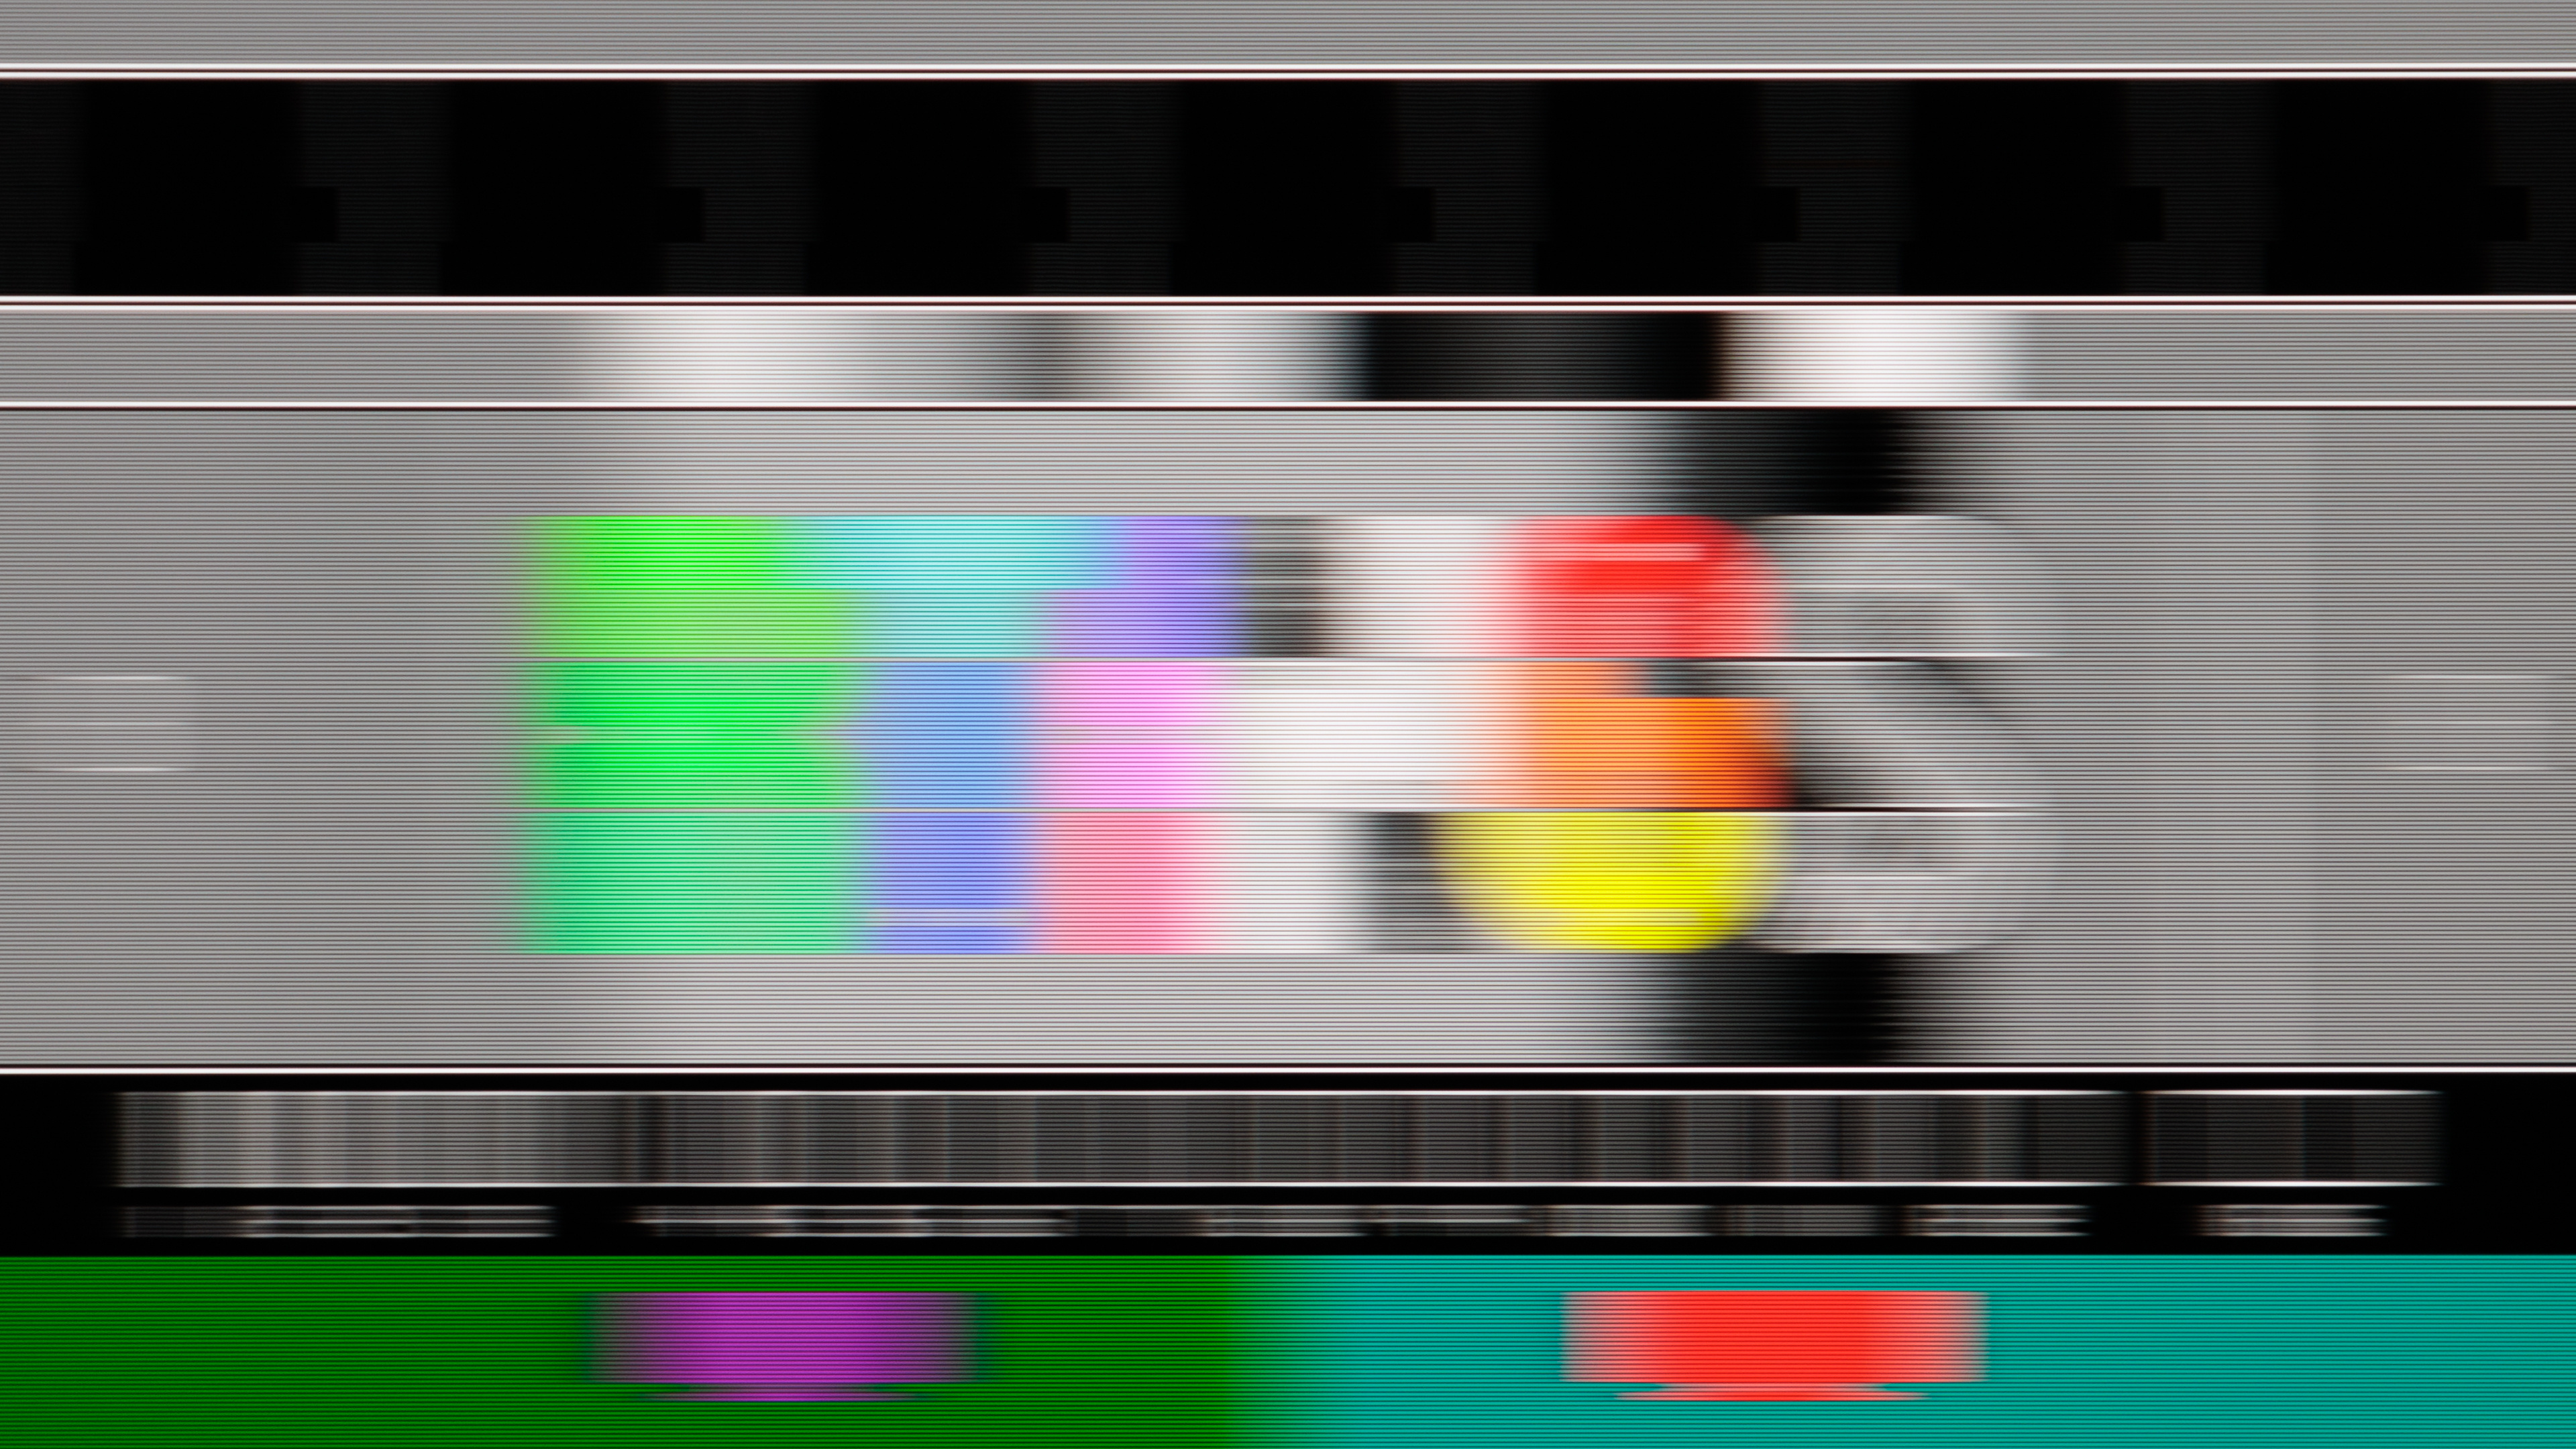
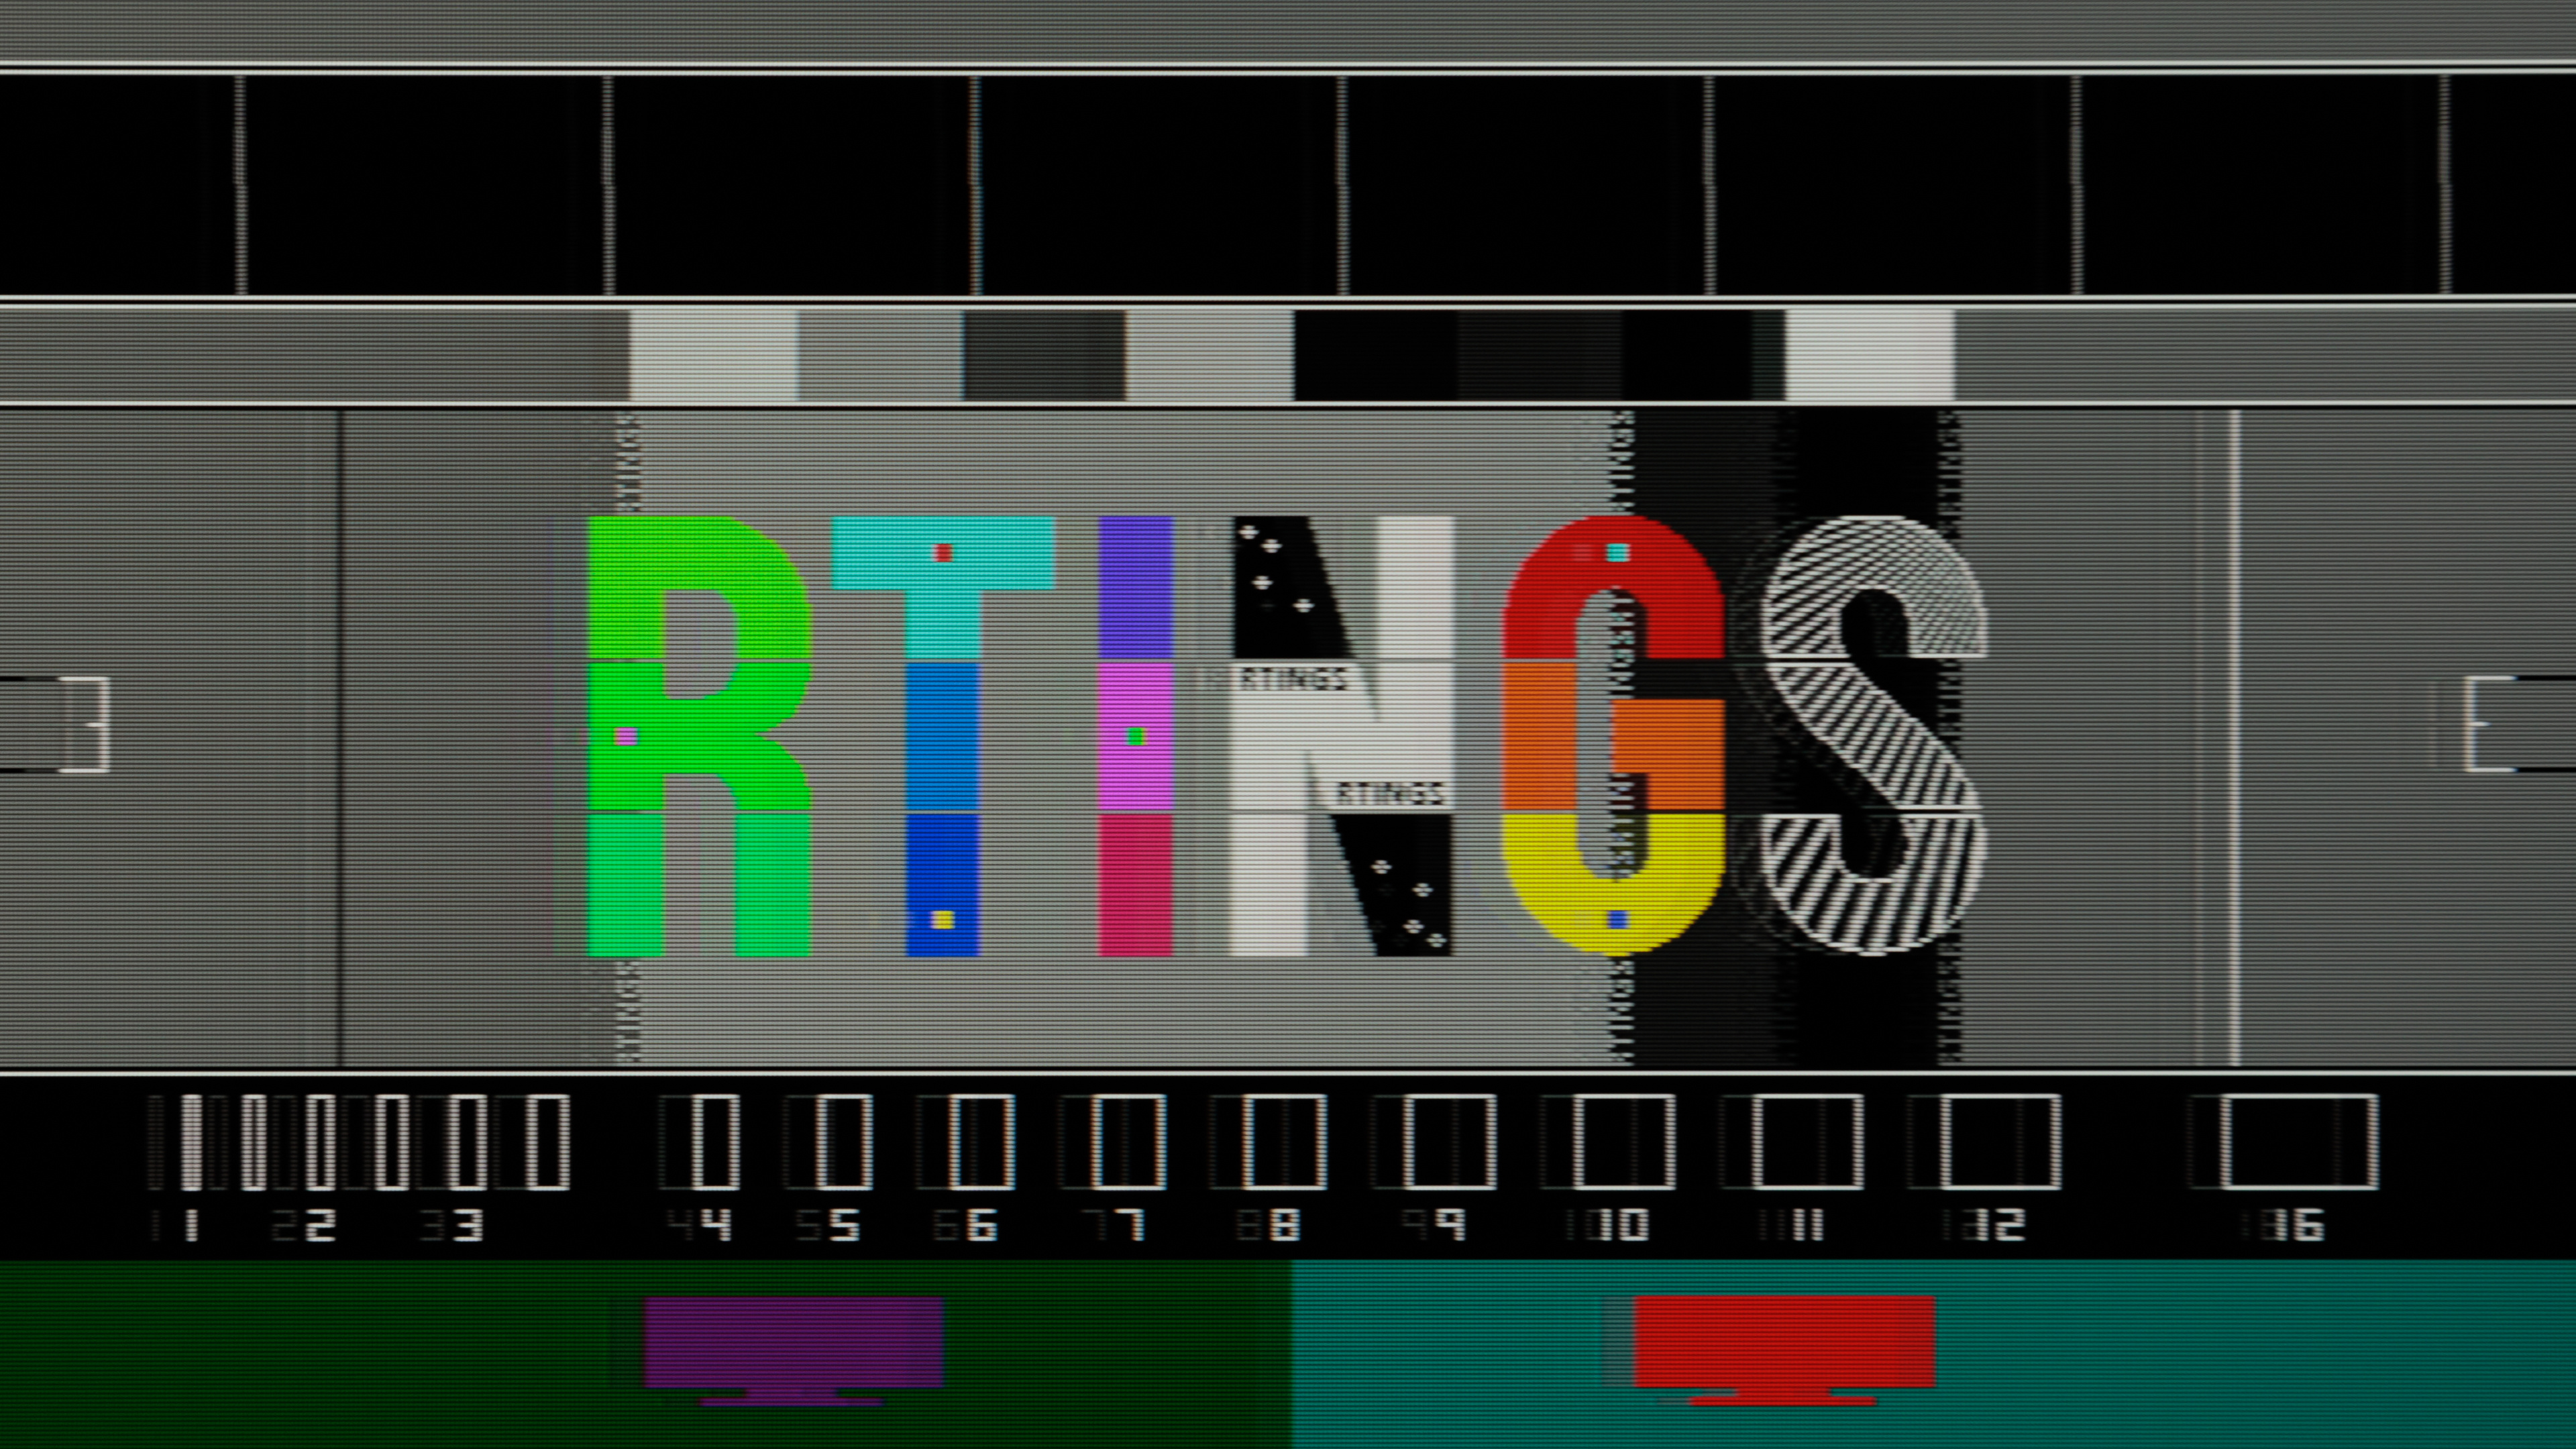
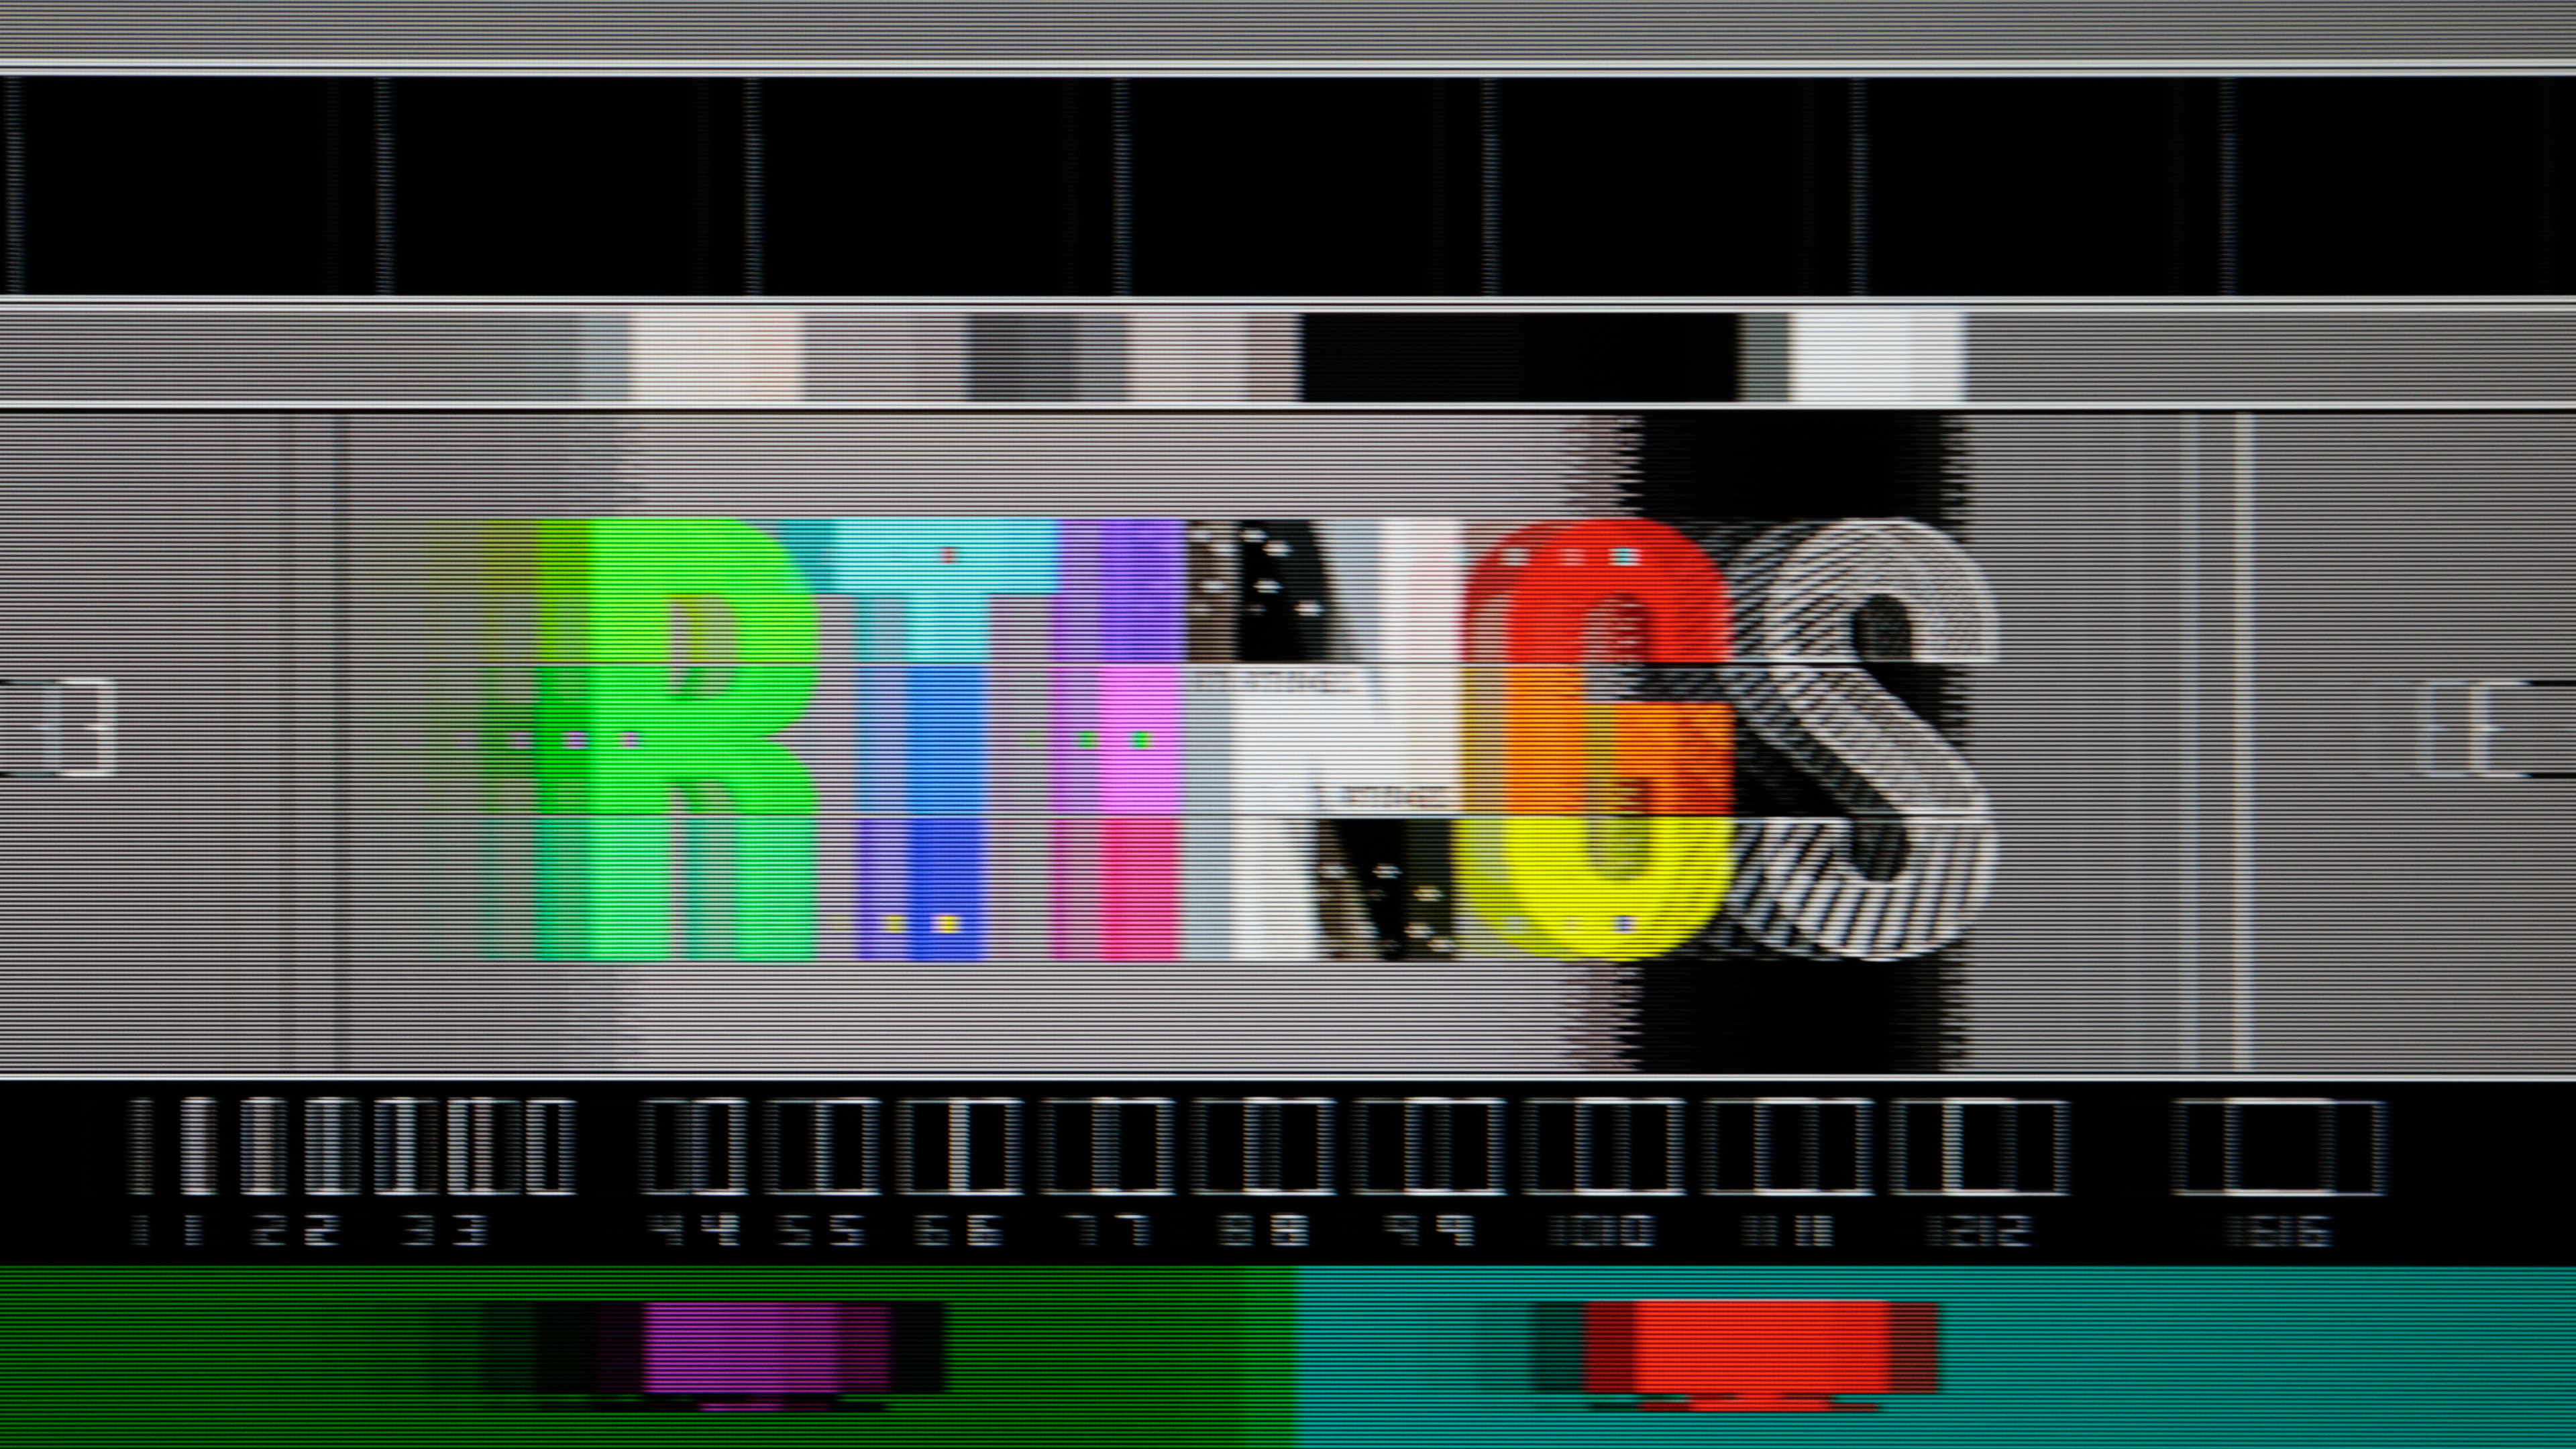
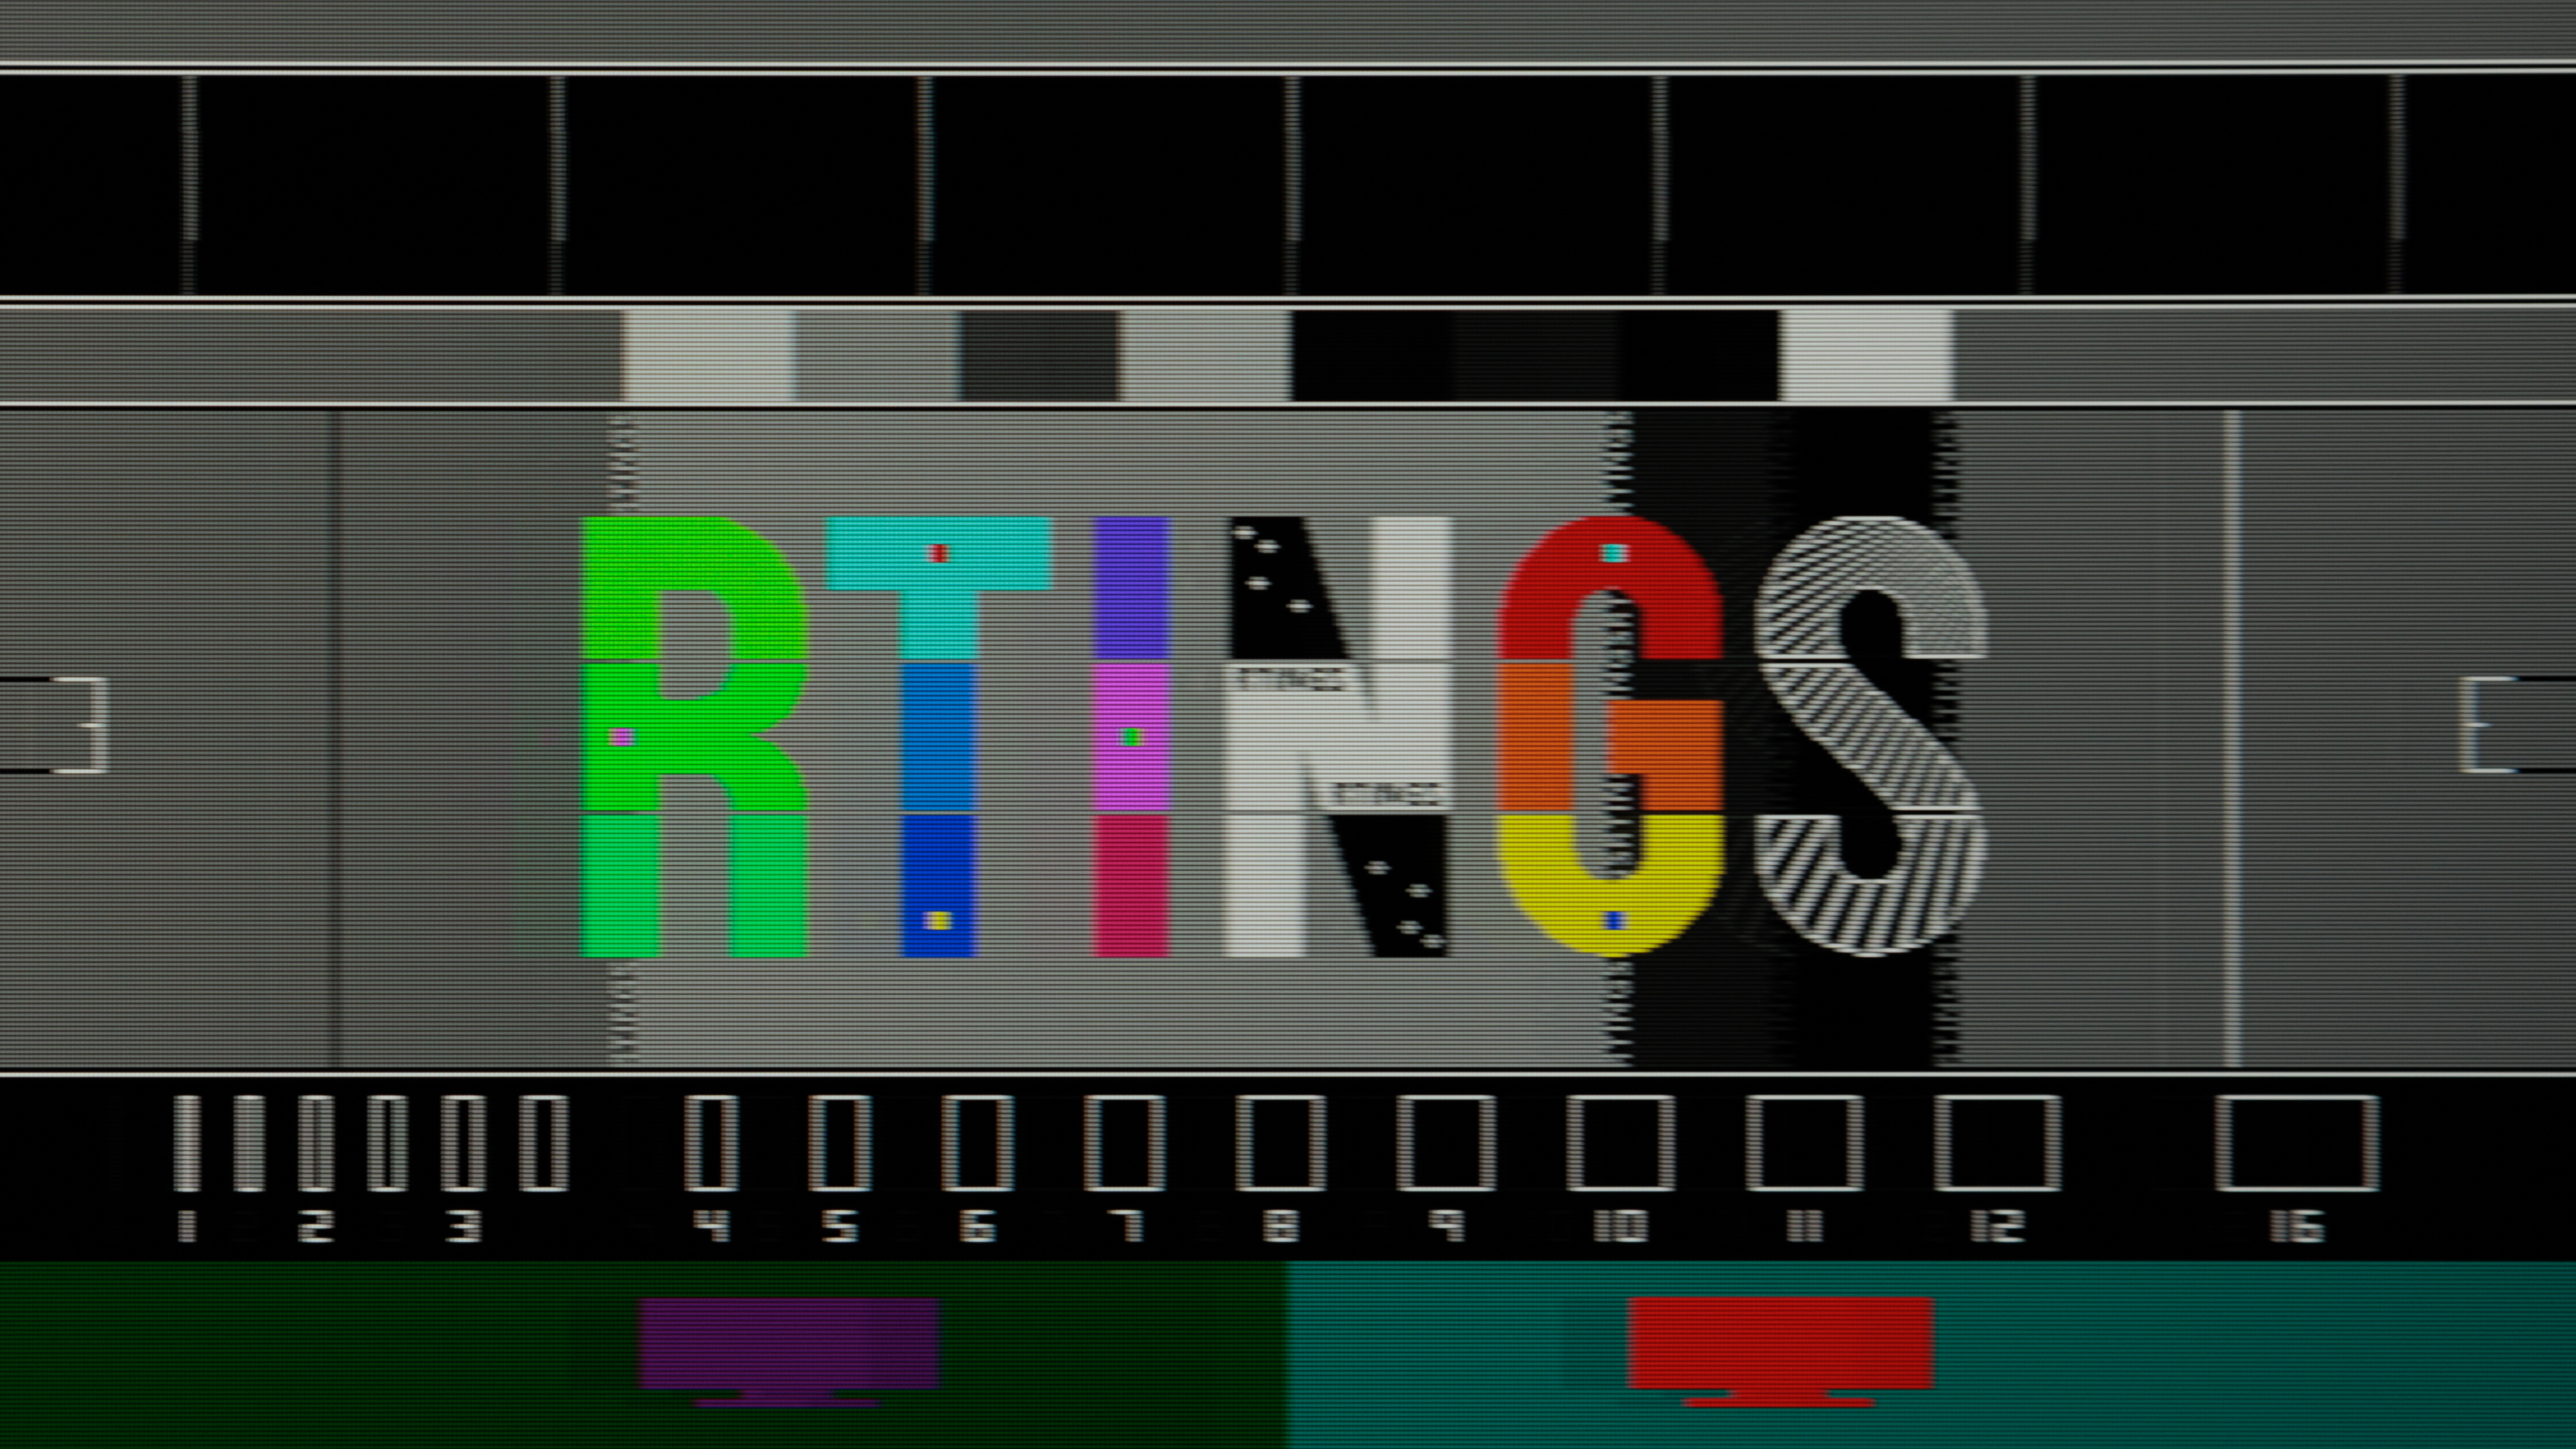
You can also use a test pattern to adjust the color and tint. You can use the pattern to see what looks correct, and you can also see what looks off in the examples below.
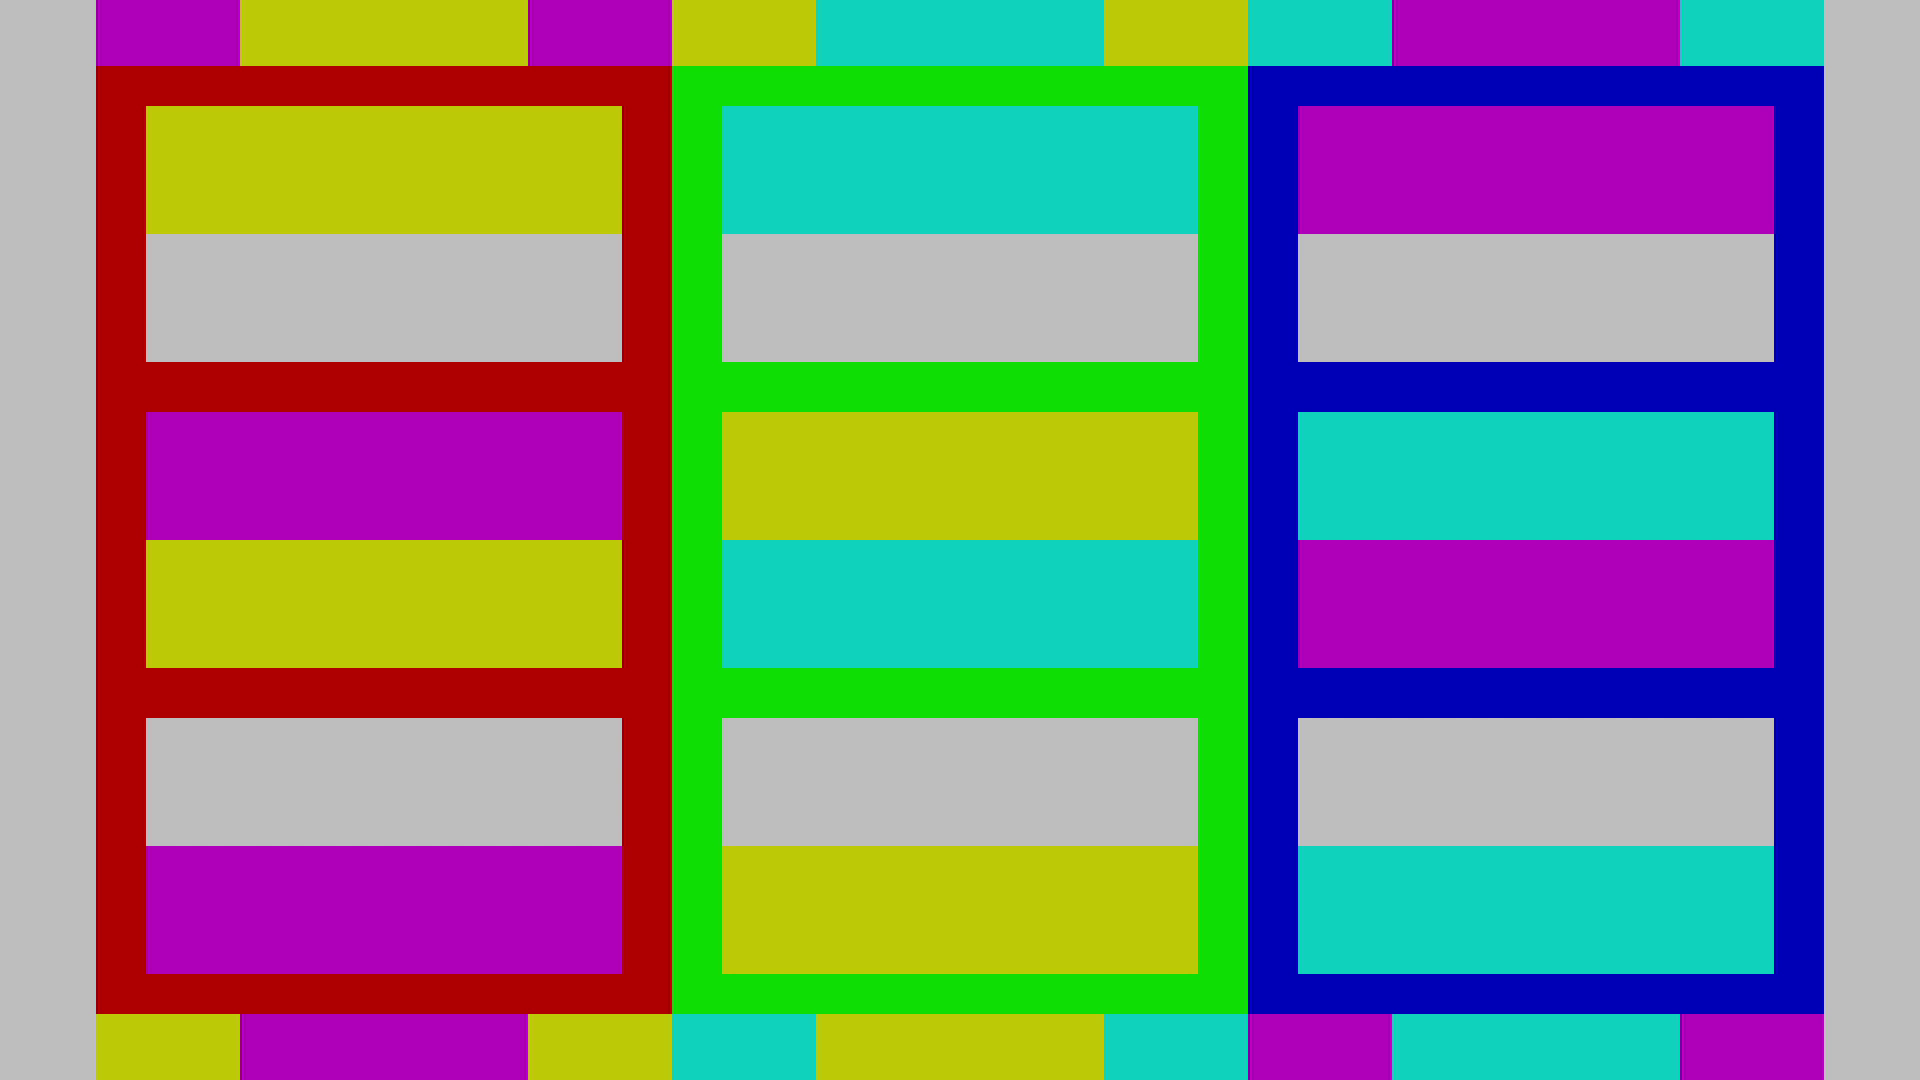
 |
 |
 |
 |
 |
 |
Motion Settings
Besides picture settings, monitors often include motion settings that can improve your gaming experience. These settings are more personal than the picture settings as there's no perfect choice, so adjust them how you like.
Overdrive
| Acer | ASUS | Dell | Gigabyte | LG | MSI | Samsung | |
|---|---|---|---|---|---|---|---|
| Over Drive | OD | Variable OD | Response Time | Overdrive | Overdrive | Response Time | Response Time |
|
|
|
|
|
|
|
|
The most common setting you may want to change for gaming is the overdrive setting, which is called response time on some monitors. Above, you can see some examples of what various brands call this setting and the available options. Just keep in mind that even two models from the same brand may have different settings available. Also note that only LED-backlit LCD monitors have overdrive settings, not OLEDs.
The overdrive settings control how hard the monitor drives the pixels to achieve the target level with fast-moving objects—a more aggressive setting has a faster response time, but at the cost of overshoot that causes inverse ghosting. Inversely, the least aggressive settings have a slower response time and no inverse ghosting, but that means they have more motion blur. Like with any other setting, choosing the right one all depends on what you prefer.
You can see an example of different overdrive settings with the LG 32GR93U-B below.
| Off | Normal | Fast | Faster |
|---|---|---|---|
 |
 |
 |
 |
Black Frame Insertion/Backlight Strobing
| ASUS | Dell | Gigabyte | LG | MSI | Samsung |
|---|---|---|---|---|---|
| ELMB | MPRT | Aim Stabilizer | Motion Blur Reduction | MPRT | Game Motion Plus |
Some monitors have a setting to reduce persistence blur, which is considered backlight strobing on LED-backlight monitors and black frame insertion on OLED monitors. The name for this setting varies across brands, and even the way each brand implements it on the monitors changes. For example, some monitors can use this feature at the same time as VRR, while others can't. NVIDIA also offers its own implementation of it on native G-SYNC monitors, called Ultra Low Motion Blur (ULMB).
Whether or not you want to use this feature is up to you. Monitors with a good implementation can successfully reduce persistence blur and improve the appearance of motion, but many monitors have a bad implementation, resulting in image duplication. You can see examples of what good backlight strobing looks like versus a bad version.
| Good: ViewSonic XG2431 | Bad: LG 32GN650-B/32GN63T-B |
|---|---|
 |
 |
 |
 |
Refresh Rate
The refresh rate of your monitor refers to the frequency at which it refreshes itself every second. A higher refresh rate results in a smoother feel and helps with fast-moving objects. There are sometimes settings on the monitor to allow for a higher refresh rate, like overclocks, but most of the time, you need to make sure your computer or source allows for high frame rates to get these high refresh rates. Another benefit of a high refresh rate is that it allows for lower input lag for a more responsive feel.
You can see how a high refresh rate makes motion look smoother than at a low refresh rate, even though the response time is the same between the two images below. These examples are from the MSI MPG 321URX QD-OLED.
Find out if you need a high refresh rate monitor for your usage.
| 240Hz | 60Hz |
|---|---|
 |
 |
G-SYNC and FreeSync
G-SYNC and FreeSync are variable refresh rate (VRR) technologies that allow the monitor to synchronize its refresh rate with the frame rate of your computer. It helps reduce screen tearing and is good to use if your PC can't maintain consistent frame rates. Unless there are bugs or the monitor has VRR flicker, there are no real downsides to using it, as it doesn't increase input lag or make motion look worse. Most monitors support VRR and don't have settings for this, as you need to enable it from your computer, but there are still some where you need to enable a setting on the monitor.
You can learn more about FreeSync vs G-SYNC.
Local Dimming
Local dimming is a feature that some LED-backlit monitors have to improve picture quality in dark scenes. Most local dimming features have limited performance, but there are a handful of monitors whose local dimming actually improves picture quality. Another advantage of this feature is that it can help make the screen brighter. You should enable or disable local dimming as you wish, but on some monitors, local dimming is locked on in HDR, and you can't disable it.
You can see the difference in black uniformity between two monitors with local dimming: the Xiaomi G Pro 27i and the Dell G2724D. The Xiaomi's local dimming feature is much better, as the uniformity is actually worse with local dimming enabled on the Dell. This Dell is also one of those monitors where local dimming is always on in HDR.
| Good | Bad |
|---|---|
 |
 |
 |
 |
Low Blue Light
Many monitors have a blue light filter feature that aims to reduce the amount of blue light that they emit, giving them a warmer color temperature. While choosing to use this feature is a personal preference, we found through our testing that these modes on most monitors are ineffective at actually reducing blue light. Instead, if you want a more effective feature, it's better to use the Windows Night Light mode.
Eco Mode
Many monitors come with a series of energy-saving features. This generally limits the picture quality and/or features that you can use, and you shouldn't use it if you're calibrating the monitor. If you would like to reduce the energy consumption of your monitor, try reducing your backlight setting instead. Simply turning off your monitor every time you step away from your desk also reduces idle consumption.
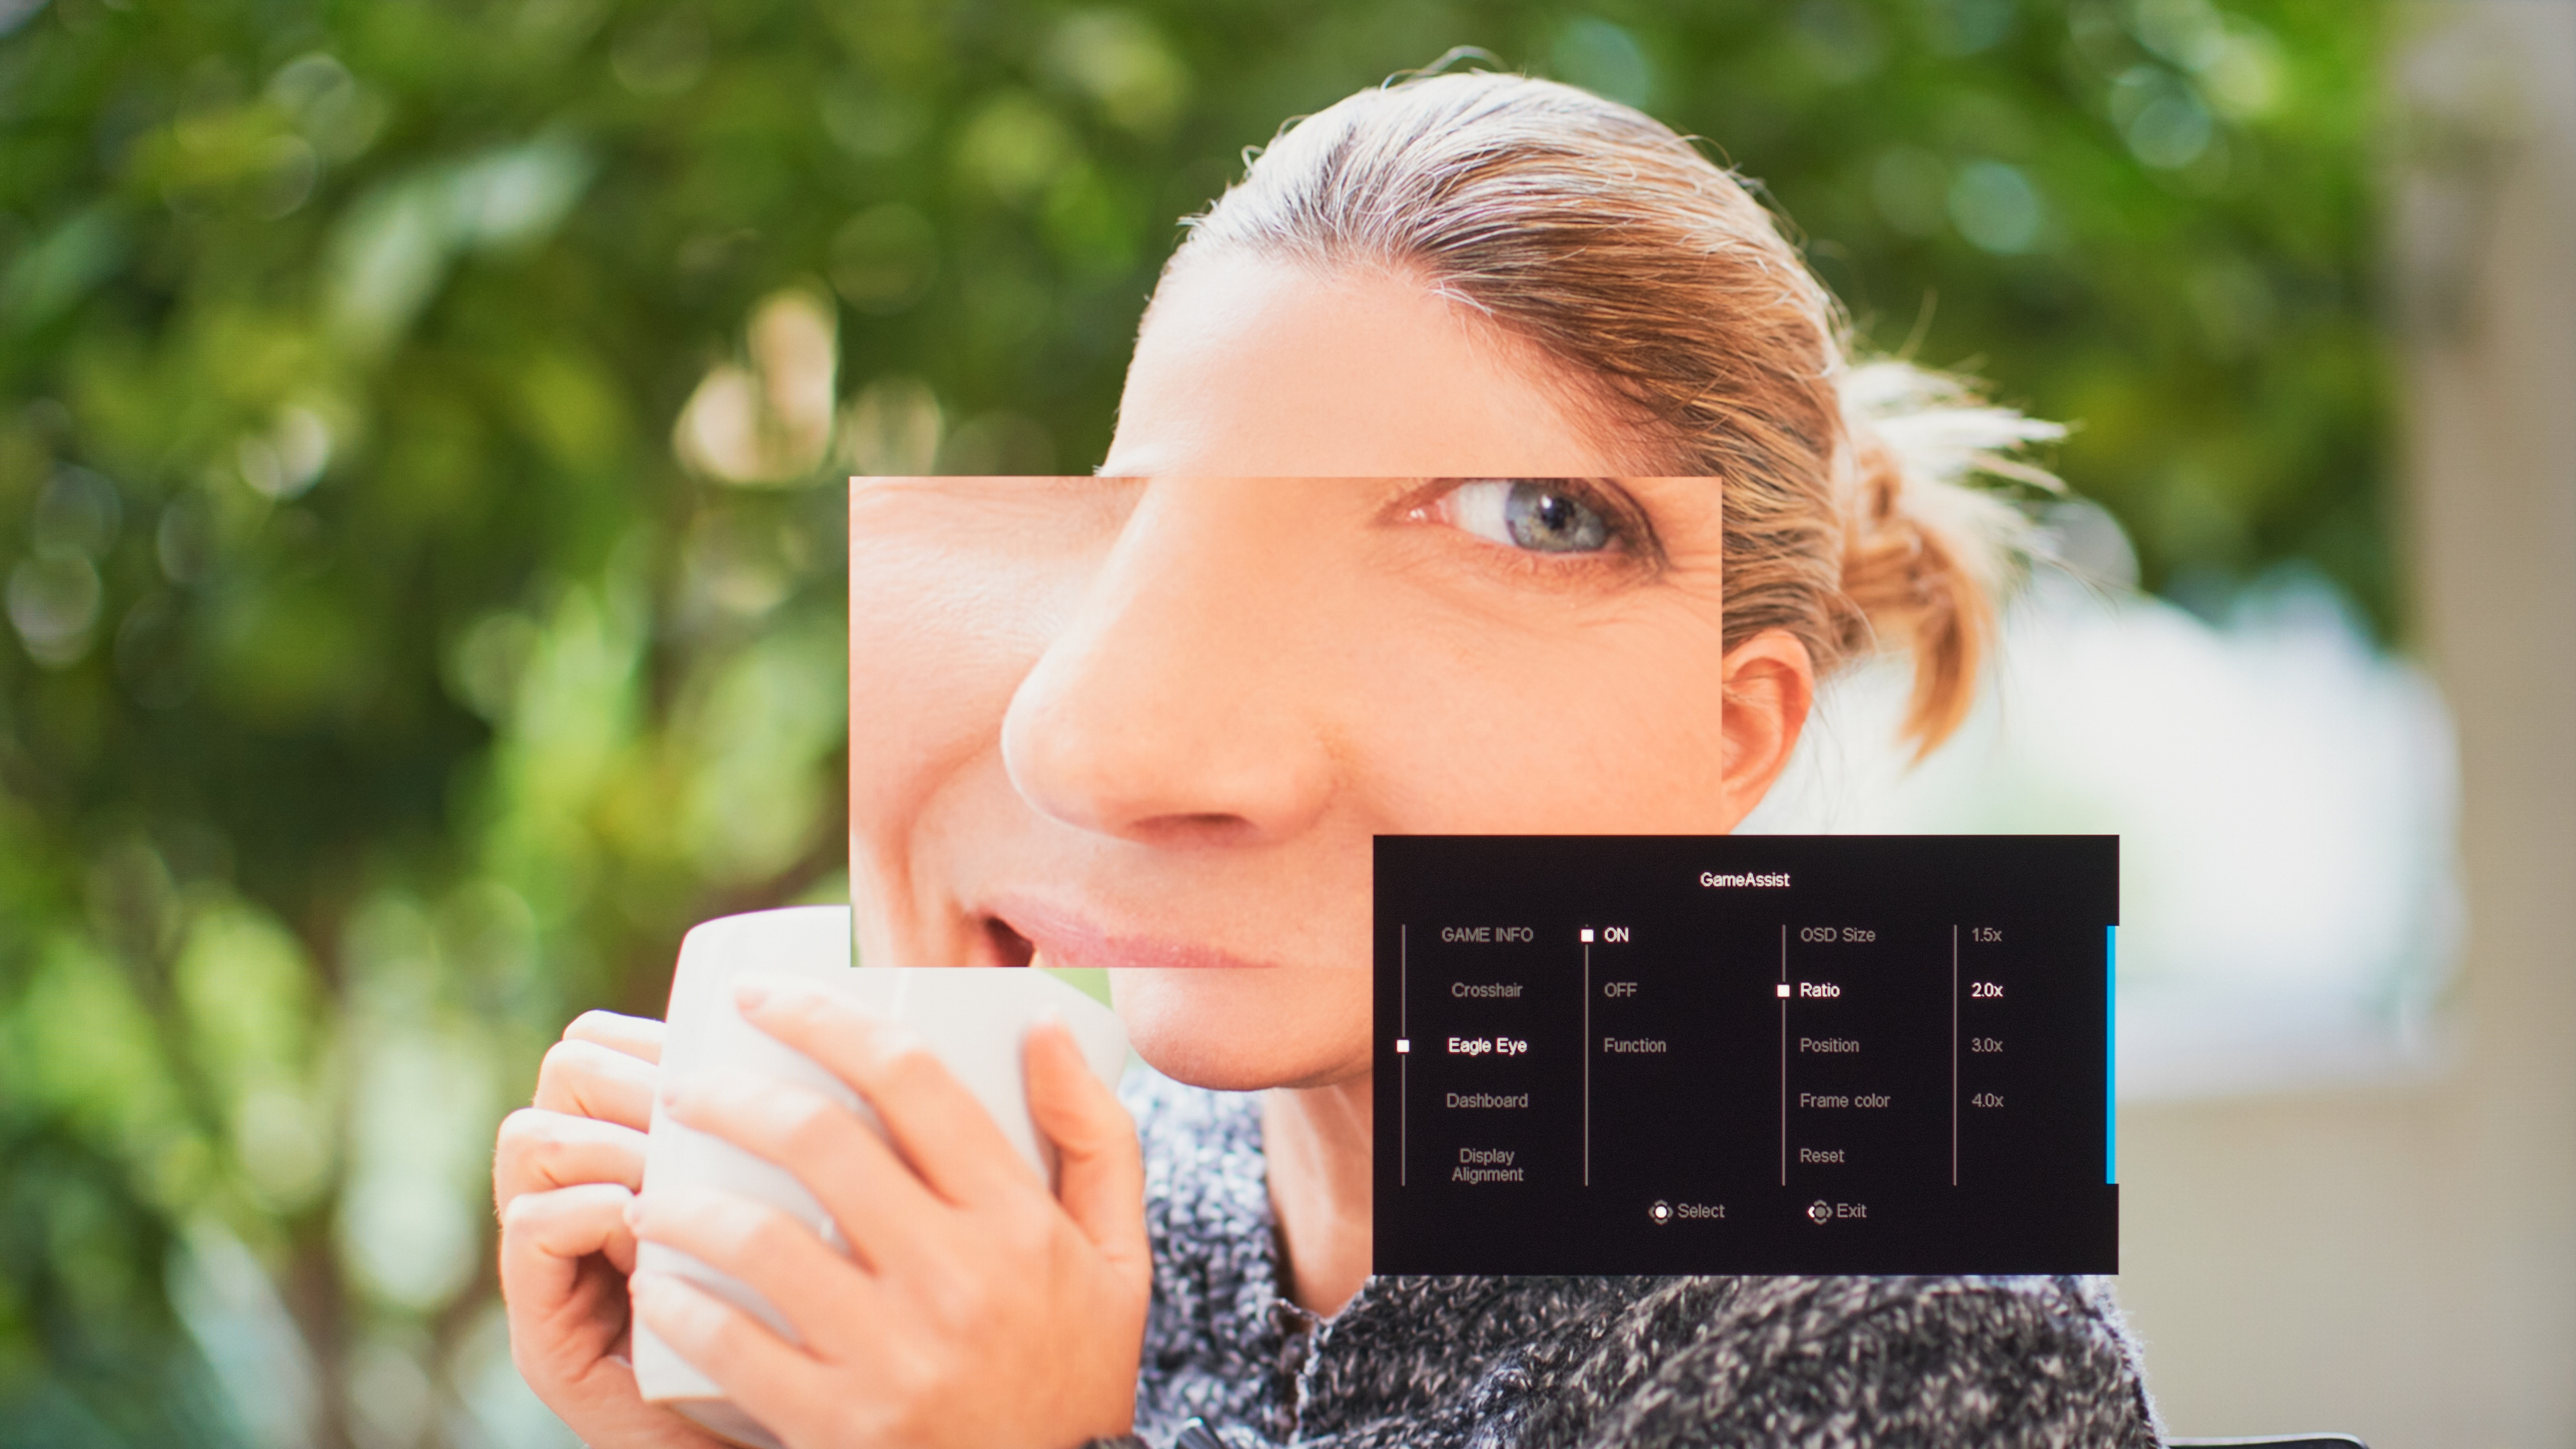
Crosshairs
Most monitors also have gaming features to enhance your gaming experience. One of those is virtual crosshairs that your game's anti-cheat tool won't detect. These can help you aim for opponents more easily, but the style of crosshairs and different options available vary between brands and models.
For example, the Gigabyte M27Q X has a typical crosshair and an Eagle Eye mode that zooms in on part of the screen.
| Crosshair | Eagle Eye |
|---|---|
 |
 |
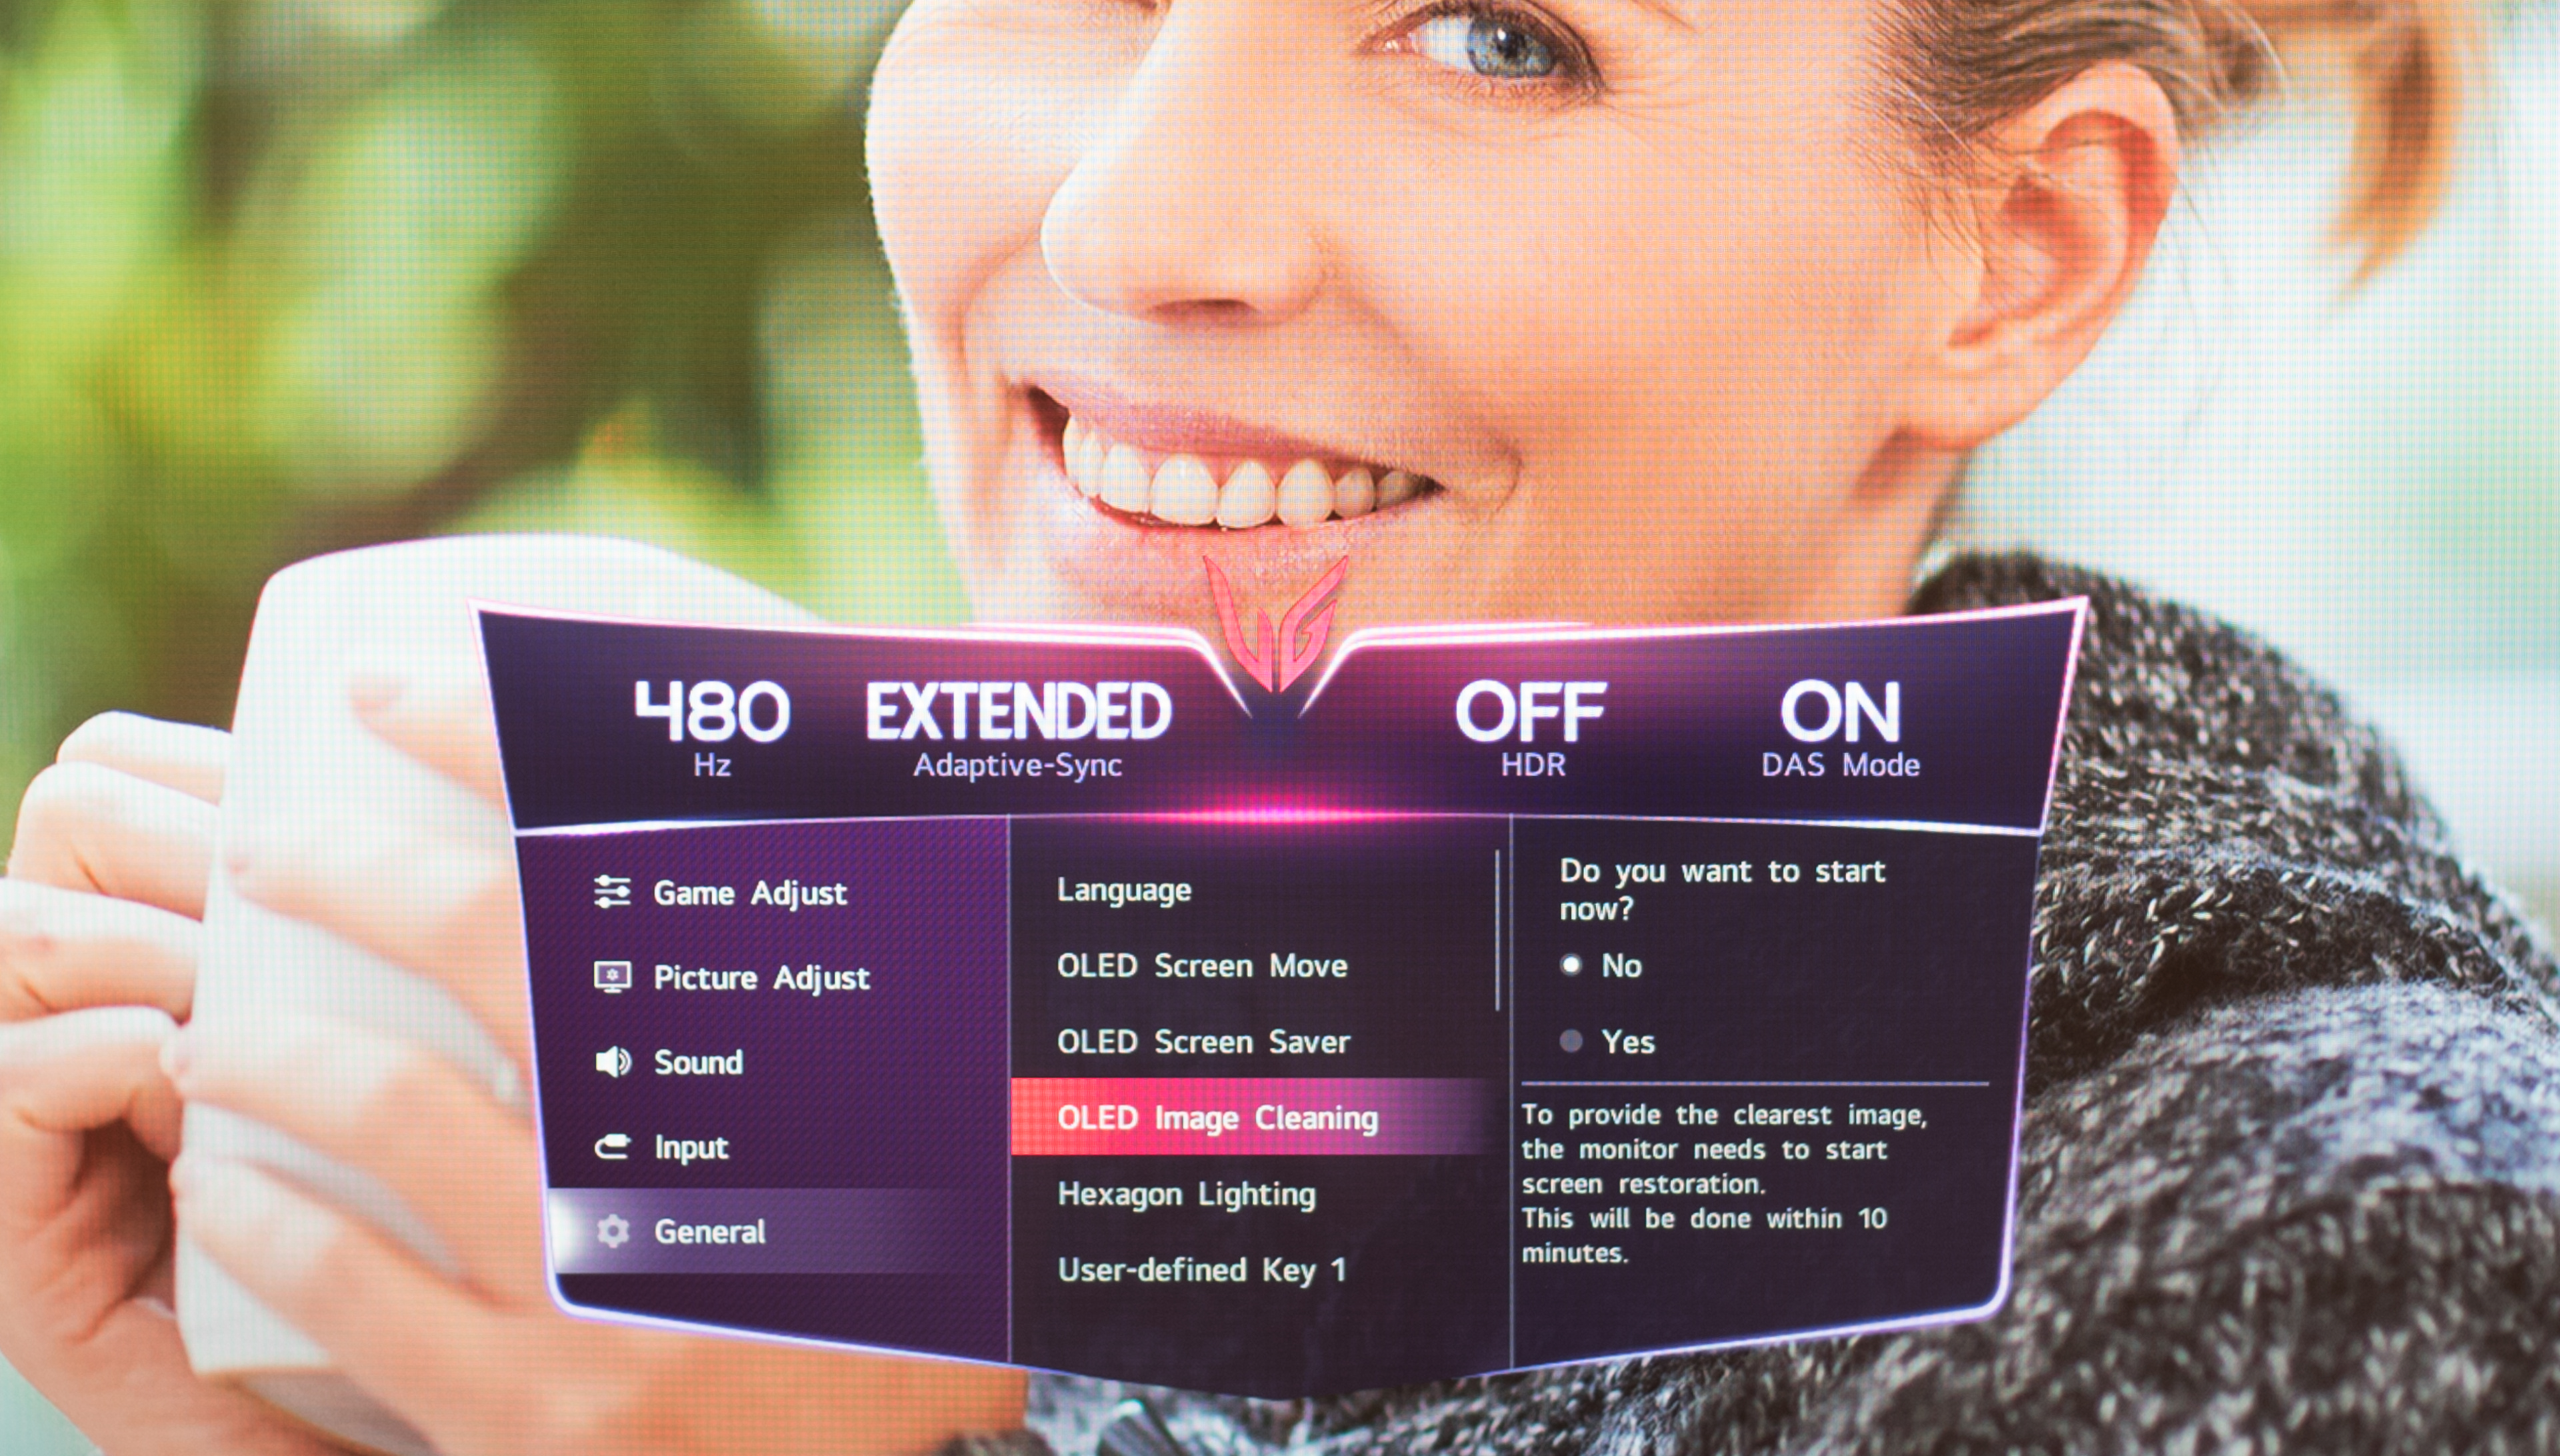
OLED Burn-IN
While not impacting the picture quality, many OLEDs come with settings and features to reduce the risk of burn-in and extend the life of the panel. The exact setting names and their features vary by brand, but most OLED monitors have a pixel cleaning setting that's meant to help fix any pixels showing signs of burn-in. Others have features to dim static logos that appear on the screen, and there are some with screen or pixel move settings that slightly shift the image so that pixels aren't always displaying the same thing.
You should consult your monitor's manual to understand the settings available and what they do.
ICC Profiles
When we calibrate our monitors using professional equipment, we create an ICC profile that's linked in every review. However, this ICC profile is there for reference only, and you should not copy the ICC profile or our calibrated settings. This is because every unit requires different calibration values, and the ICC profile for our unit won't produce the same results on yours. If you want to professionally calibrate your monitor, you need the proper tools and programs. You should also consider recalibrating your monitor a few times every year due to panel degradation.
HDR
Most of the settings mentioned above apply for SDR calibration, but many monitors have the same settings available in HDR. You can use this guide as a reference for HDR calibration, but we don't calibrate our monitors in HDR, and we generally leave settings at their default. On top of that, some monitors lock settings in HDR. That said, if you can adjust the settings on your monitor in HDR and wish to adjust the picture, you should. You can also try using the Windows HDR Calibration app to improve the picture quality and color accuracy in HDR.
Conclusion
Unless you have the equipment to perform a thorough calibration, adjusting the picture settings until you find something you like is largely a trial-and-error process, so it may take a few tries before you get the results that you're looking for. Fortunately, most monitors have a variety of settings available for you to adjust the picture quality and even motion handling. While choosing the right settings is a personal preference, understanding what they each do can help you get your display close to a professionally calibrated one.